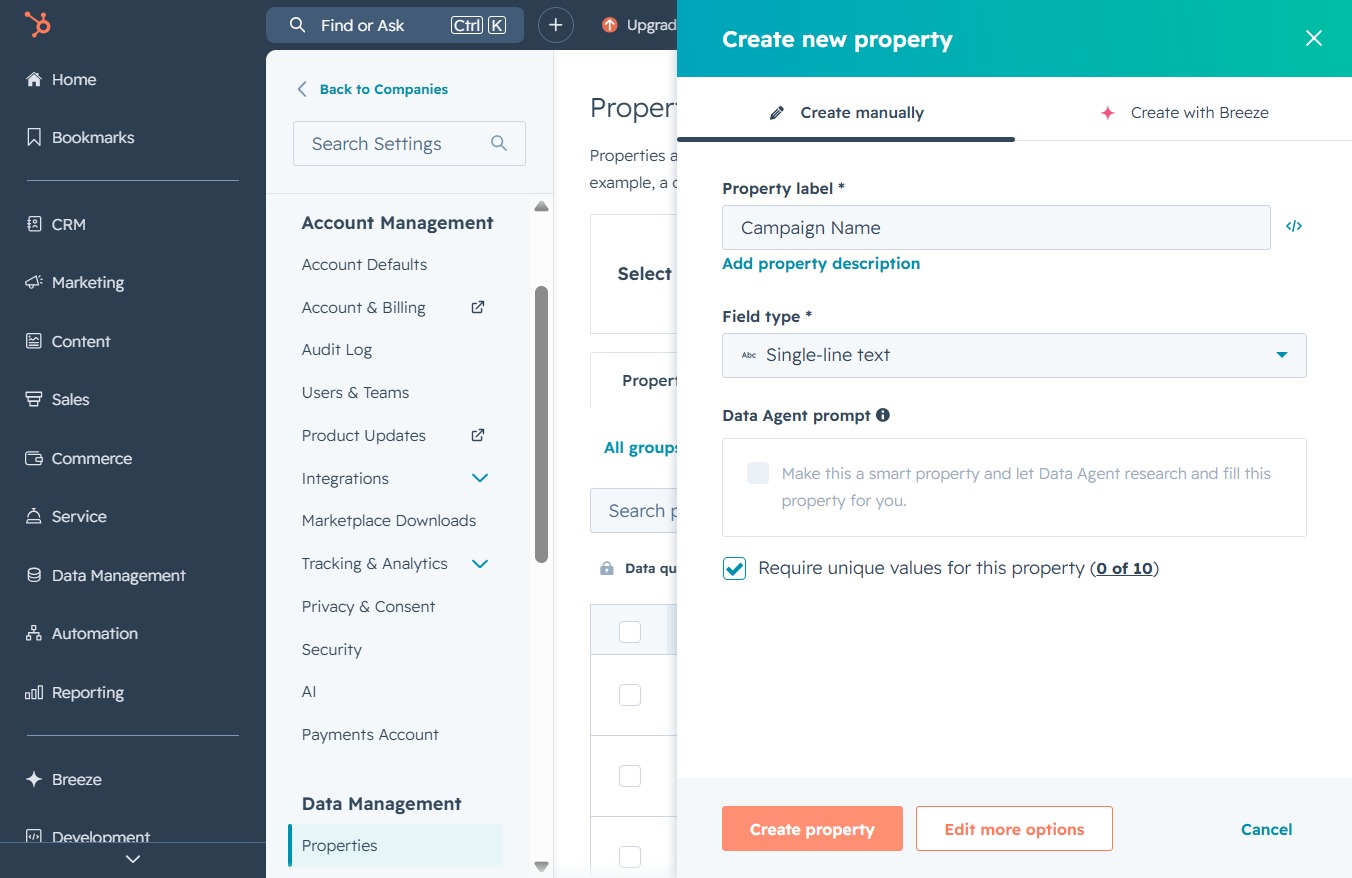
Click the CRM menu item
Selecting the CRM menu item will navigate you to the CRM section, where you can manage customer relationships, view contacts, and track sales activities.
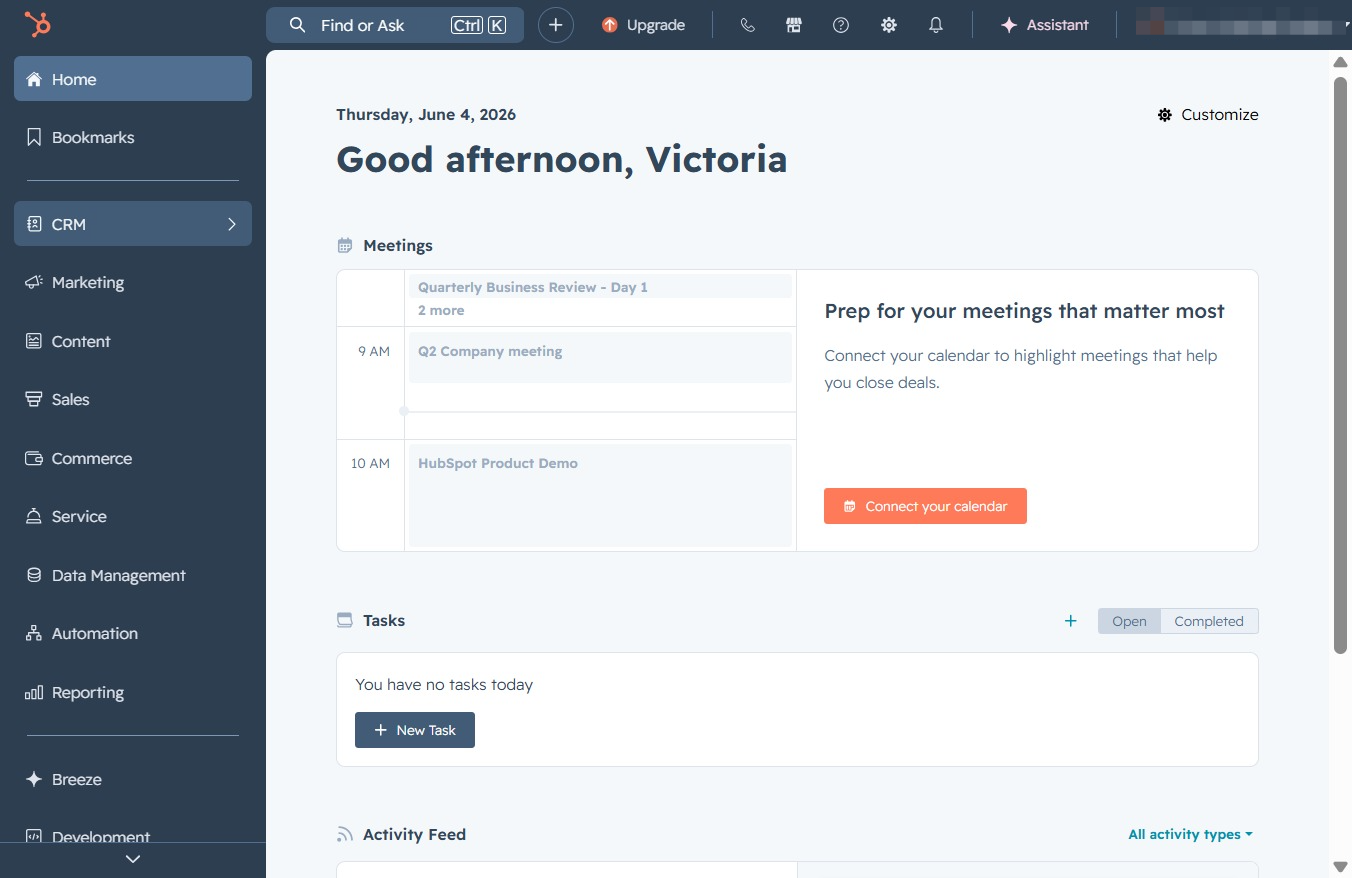
Loading screenshot…
100%
Enhance your CRM company records by creating and editing custom properties, enabling better data management and tailored information for your contacts and sales activities.
 viktoria
Enhance your CRM company records by creating and editing custom properties, enabling better data management and tailored information for your contacts and sales activities.
Selecting the CRM menu item will navigate you to the CRM section, where you can manage customer relationships, view contacts, and track sales activities.
This will take you to the Companies section, where you can view and manage your company contacts and related information.
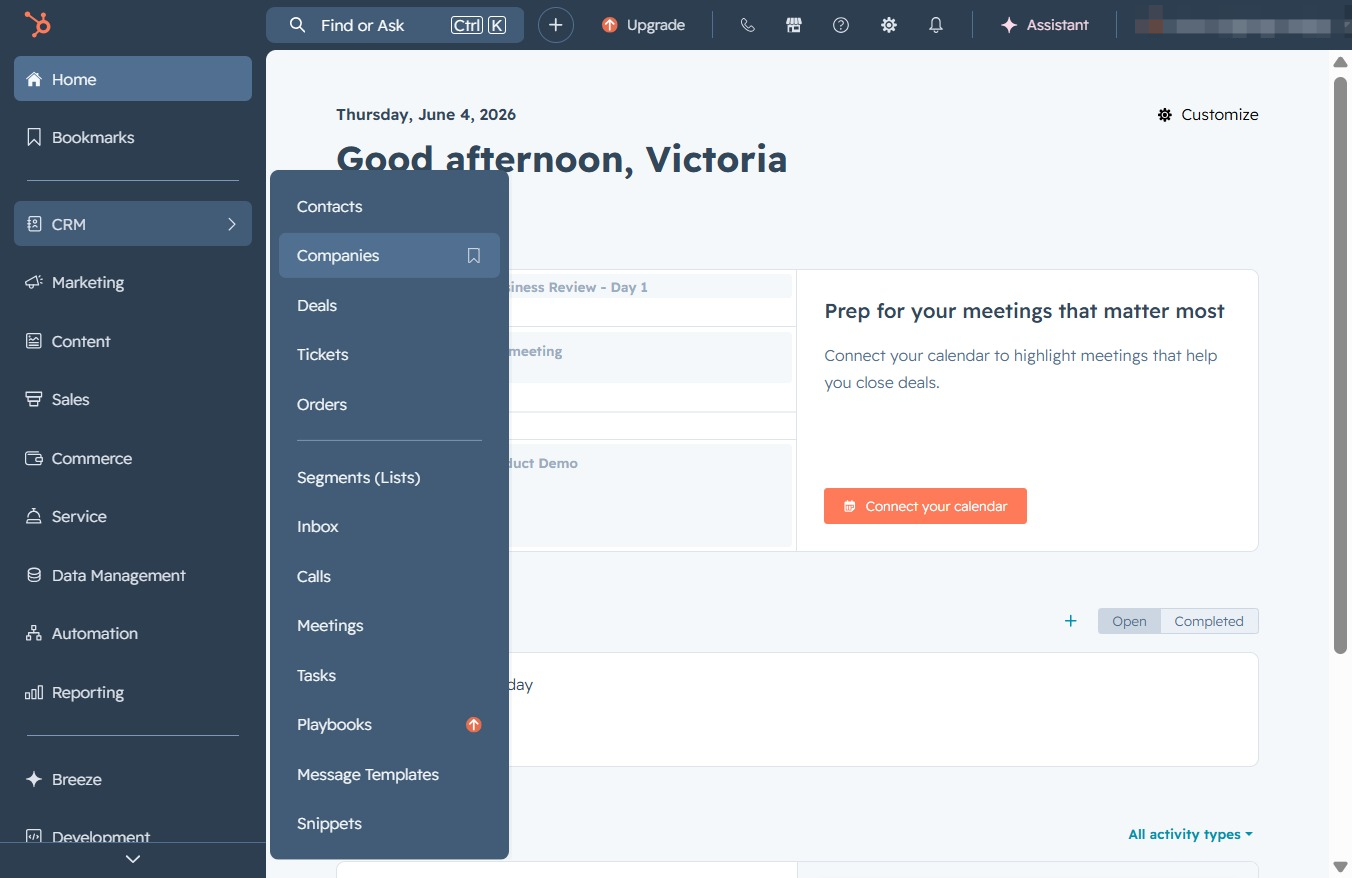
This opens a dropdown menu with various options for managing your data operations, such as importing or exporting companies.
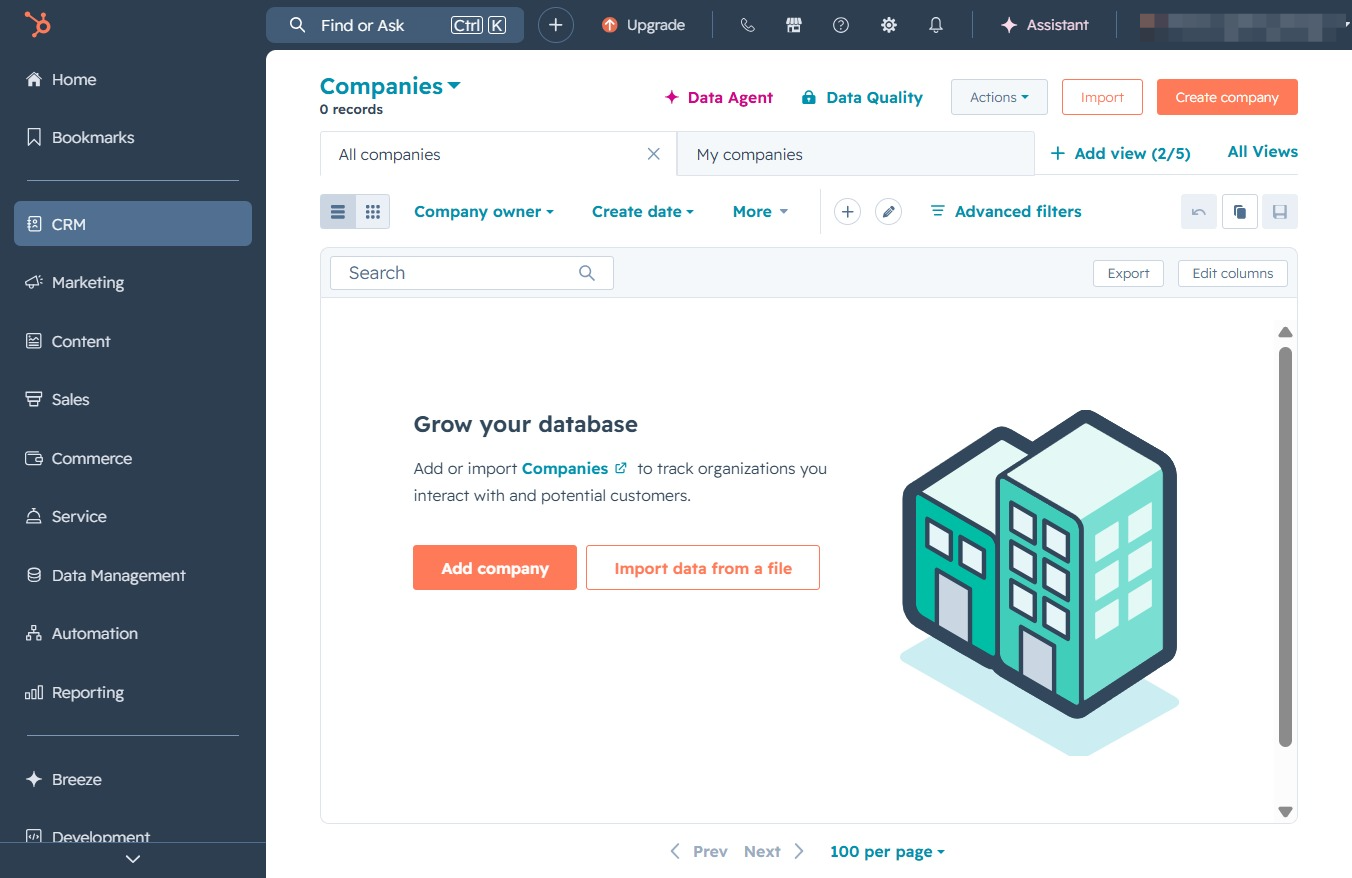
Selecting 'Edit properties' allows you to modify the details of the selected company, enabling updates to fields such as company owner or state.

This action opens a form where you can define new property details for company properties in your account. You can specify attributes that the properties will hold, enhancing your data management capabilities.
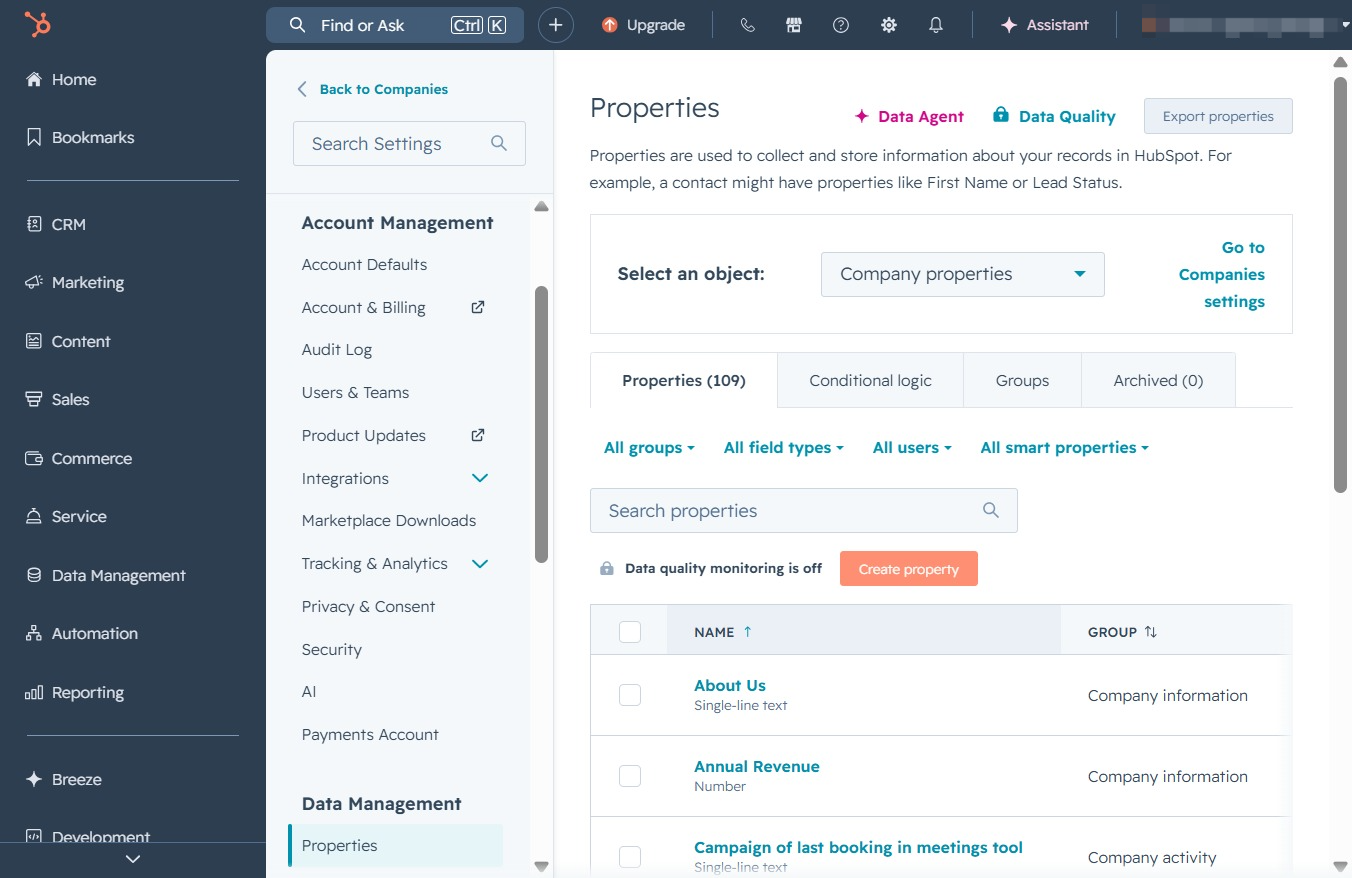
This action allows you to manually create a new property by entering a property label, description, and selecting the field type. You can also specify if it should be a smart property through the Data Agent prompt.
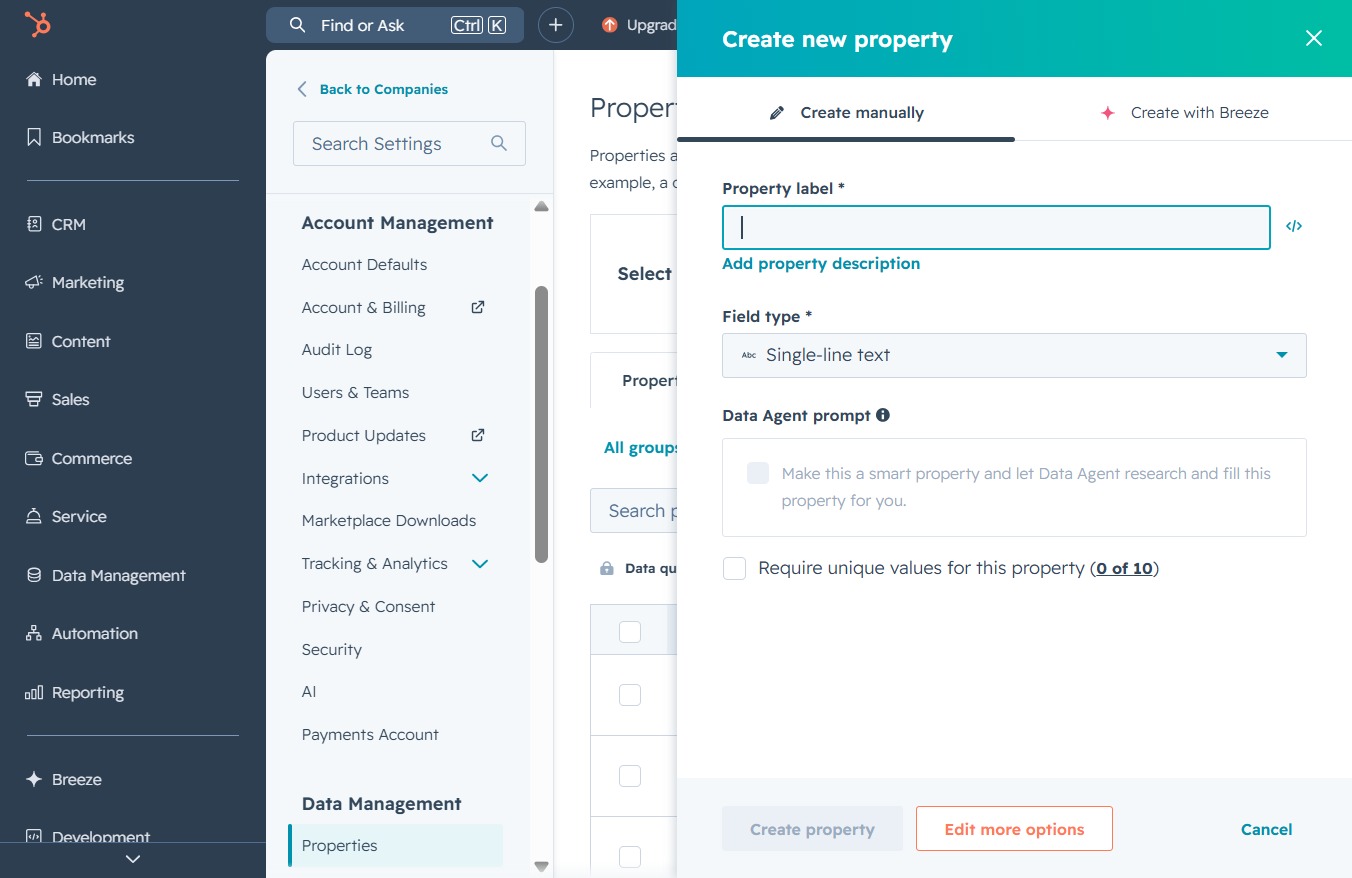
In the 'Create new property' dialog, enter the desired name for your campaign in the 'Property label' field. This label will be used to identify the campaign within your account.

This action opens a form allowing you to manually create a new property by specifying a property label, description, and field type, along with additional settings.
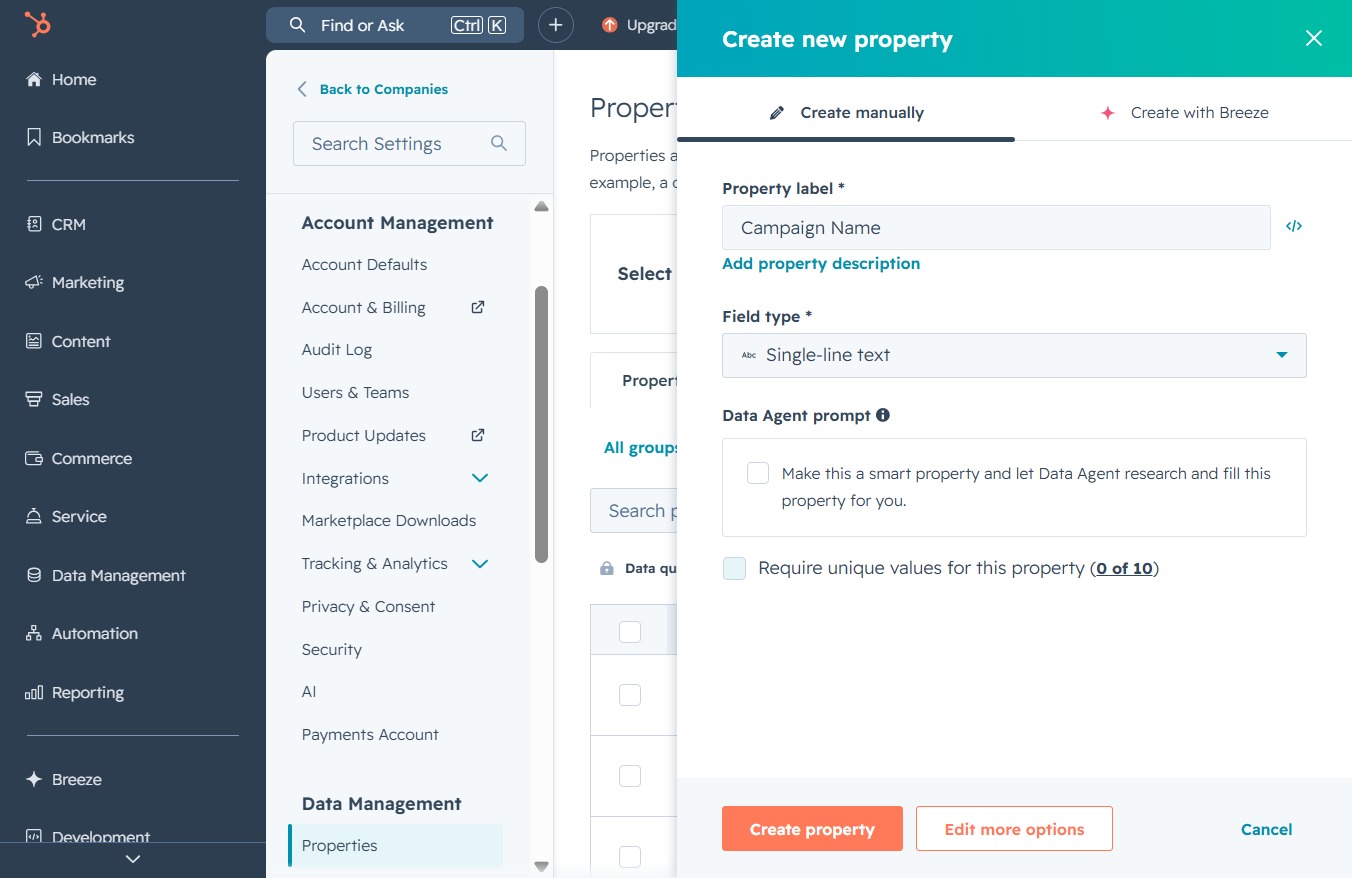
This action will save the new property settings, including the property label and field type, allowing you to utilize it within your account management.