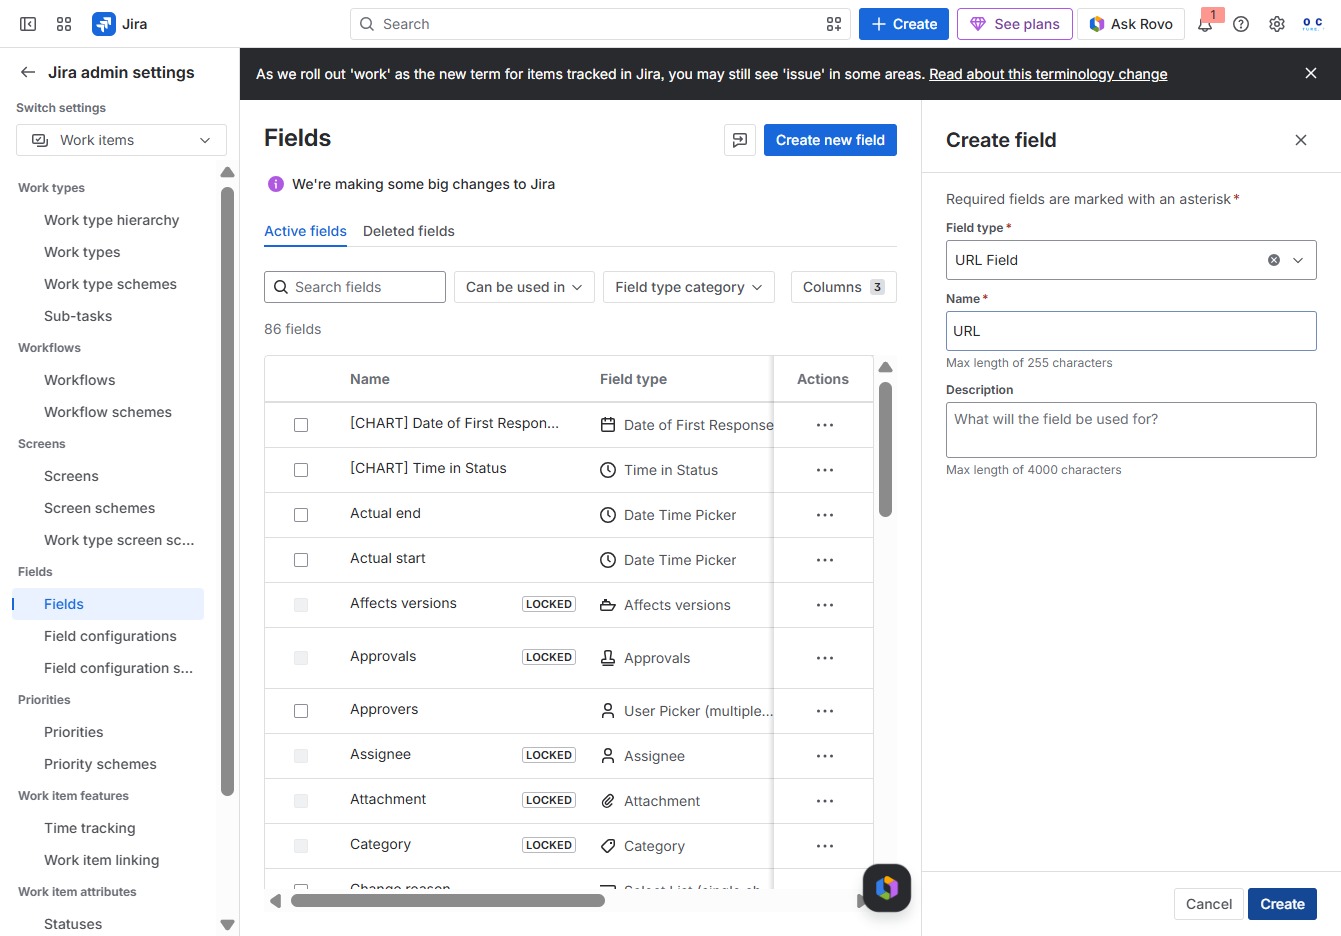
Click the Settings option
This will open the settings menu where you can configure your preferences and account details in the application.
Loading screenshot…
100%
This guide walks you through the step-by-step process of adding custom fields in Jira, from accessing the settings menu to defining the field name and type.
 viktoria
This guide walks you through the step-by-step process of adding custom fields in Jira, from accessing the settings menu to defining the field name and type. By following these instructions, you'll be able to customize your Jira project effectively to meet your specific needs.
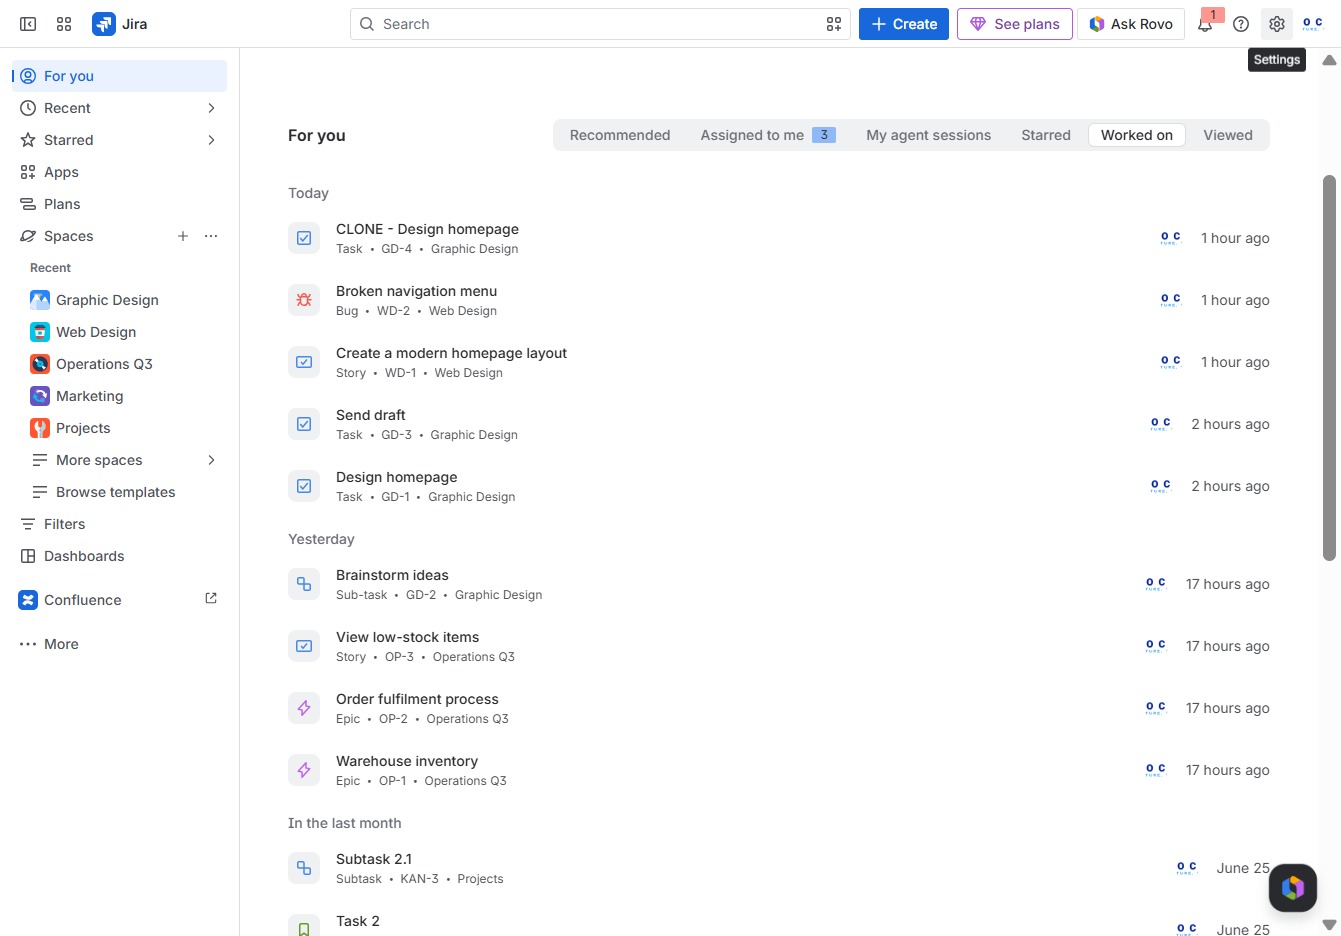
This will open the settings menu where you can configure your preferences and account details in the application.
This action takes you to the Work items section where you can view and manage all your tasks and related activities.

This will expand the Fields section, allowing you to view and manage the various work types and their configurations within your project.
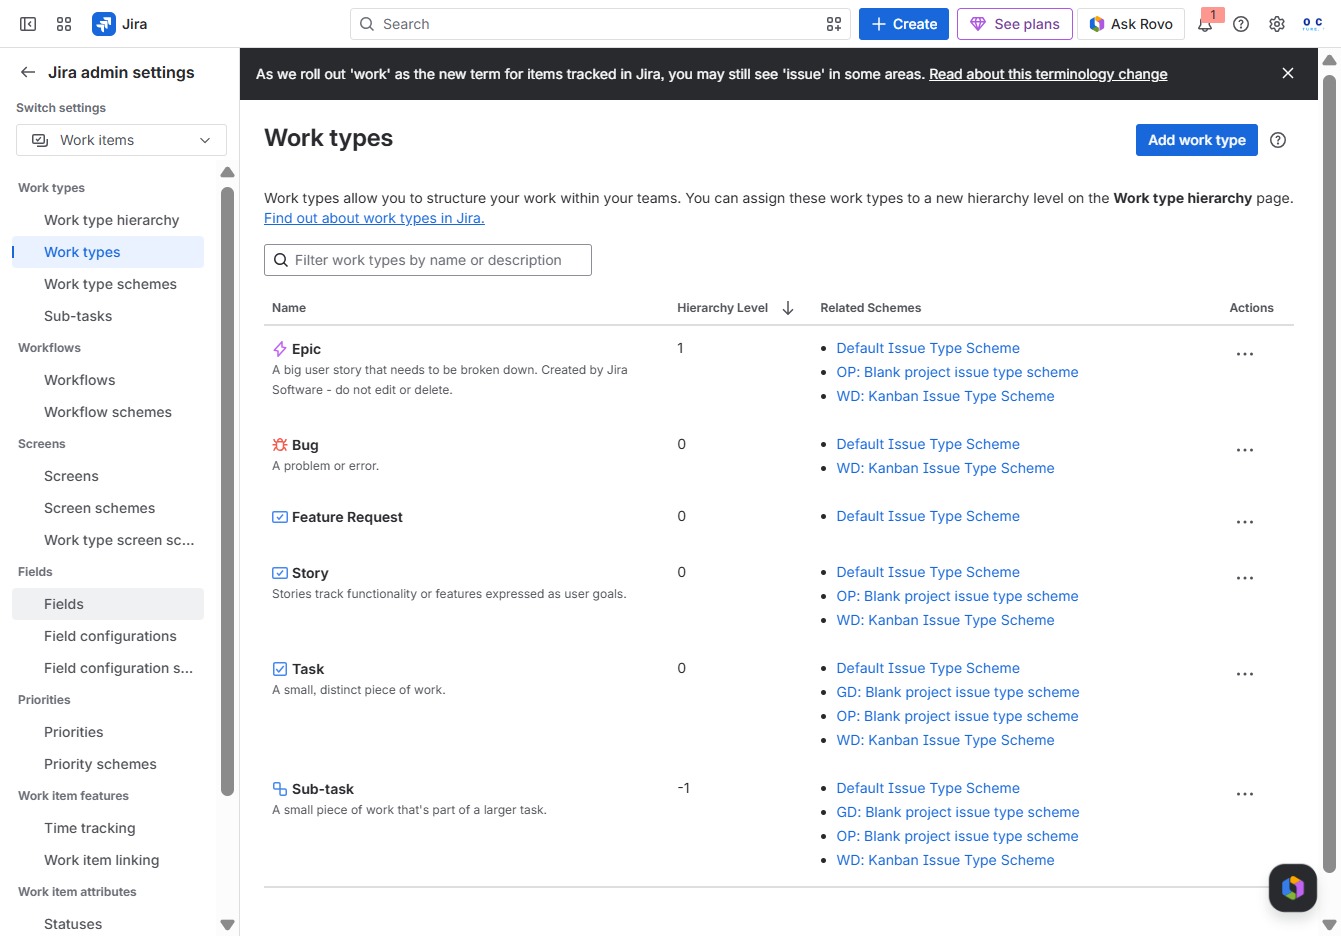
This action allows you to initiate the process of adding a new custom field to your Jira project. After clicking, you will be taken to a screen where you can define the field's type and settings.

This action will open the form to create a new field in your Jira settings, allowing you to specify the field name and its purpose.

Clicking the URL Field allows you to input or edit a single URL, which can be used for linking to external resources or pages relevant to your Jira project.

By clicking this option, you will initiate the process to create a new custom field in Jira, allowing you to define its attributes and functionality as needed.
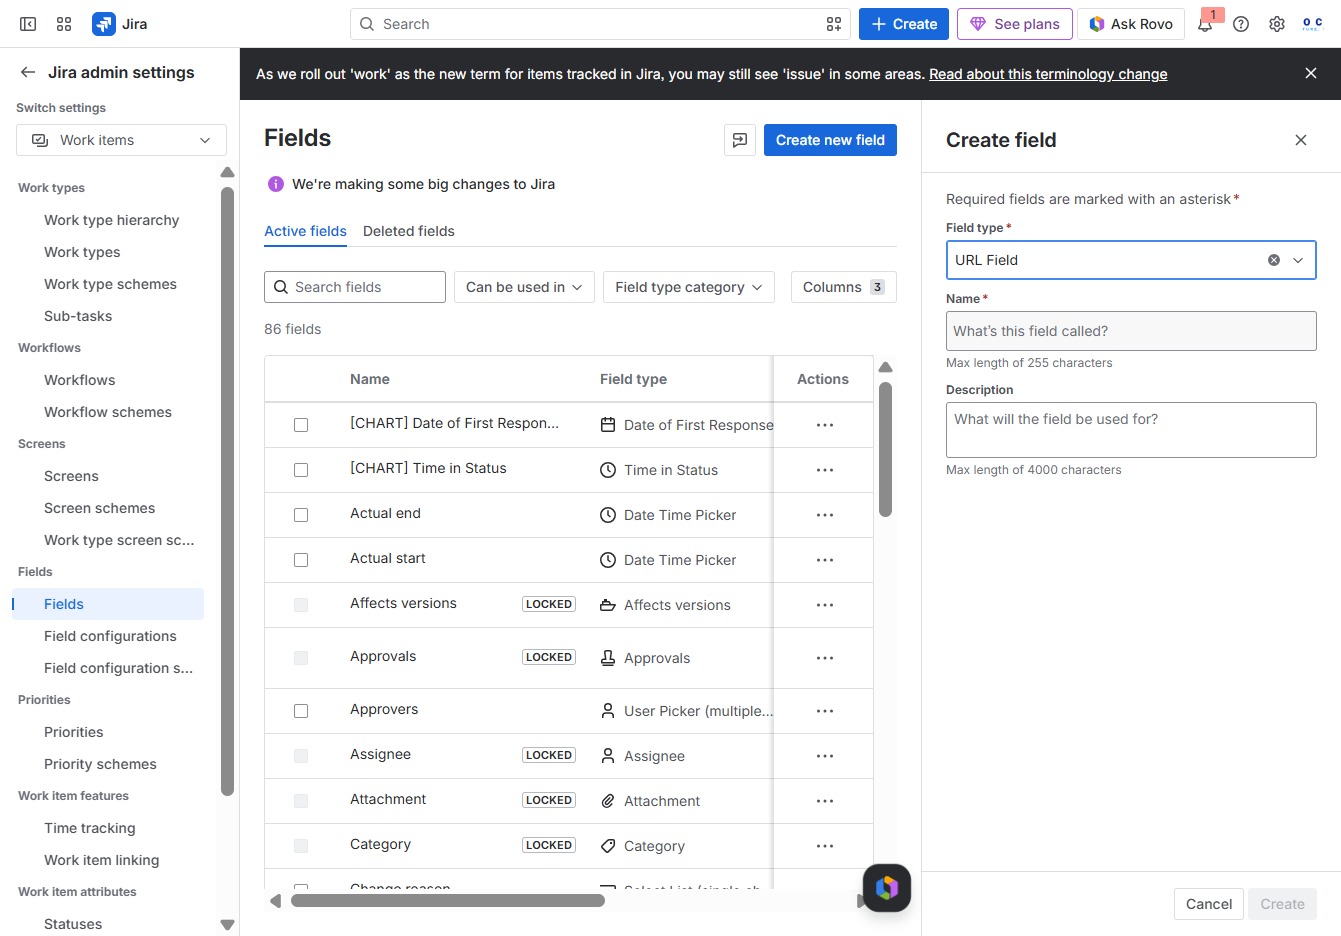
Enter a name for the new custom field in the 'Field Name' input box. This name will be used to identify the field throughout Jira, making it easier to manage and reference.
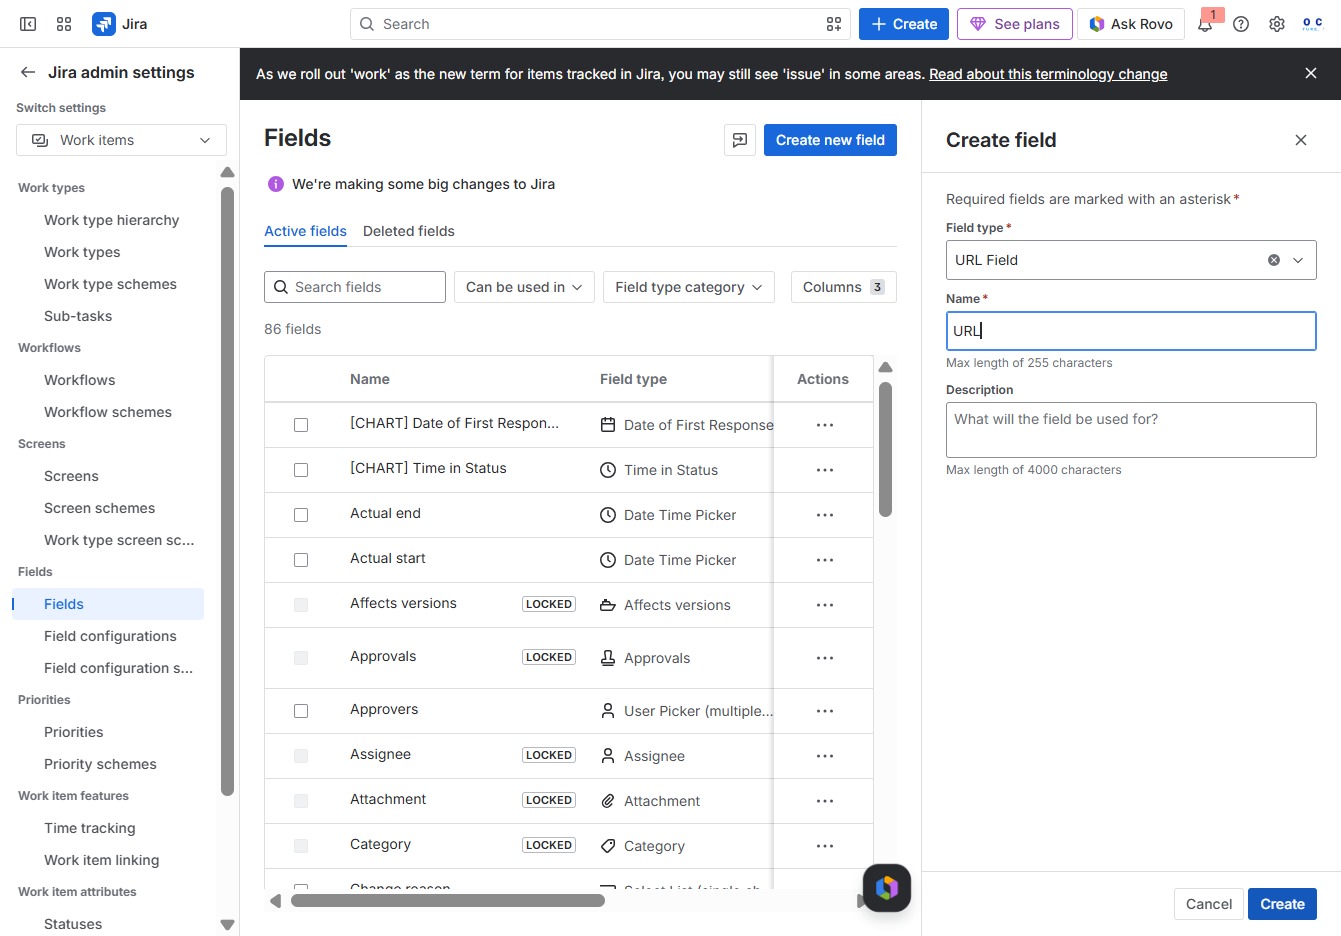
This action initiates the process to create a new field in Jira. You will be prompted to enter details such as the field name and type to configure the new field settings.