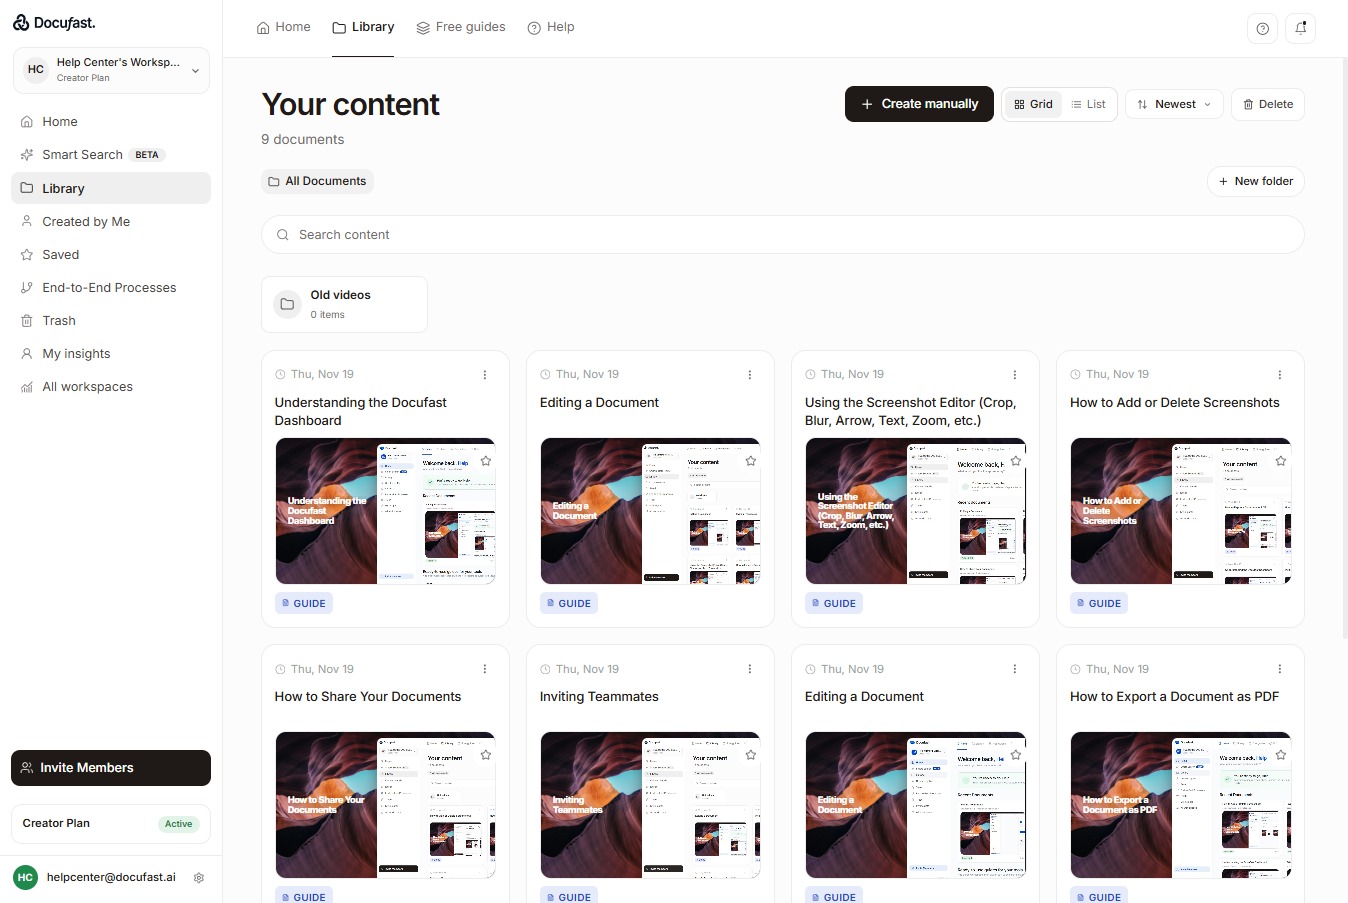
Open the Library
Select Library to access your saved documents and templates.
Loading screenshot…
100%
Edit Mode is your control center in Docufast — it lets you fine-tune your guides, add missing steps, edit instructions, and polish screenshots.
Edit Mode is your control center in Docufast — it lets you fine-tune your guides, add missing steps, edit instructions, and polish screenshots. With Edit Mode, you can make sure your documentation is clear, accurate, and ready to share.
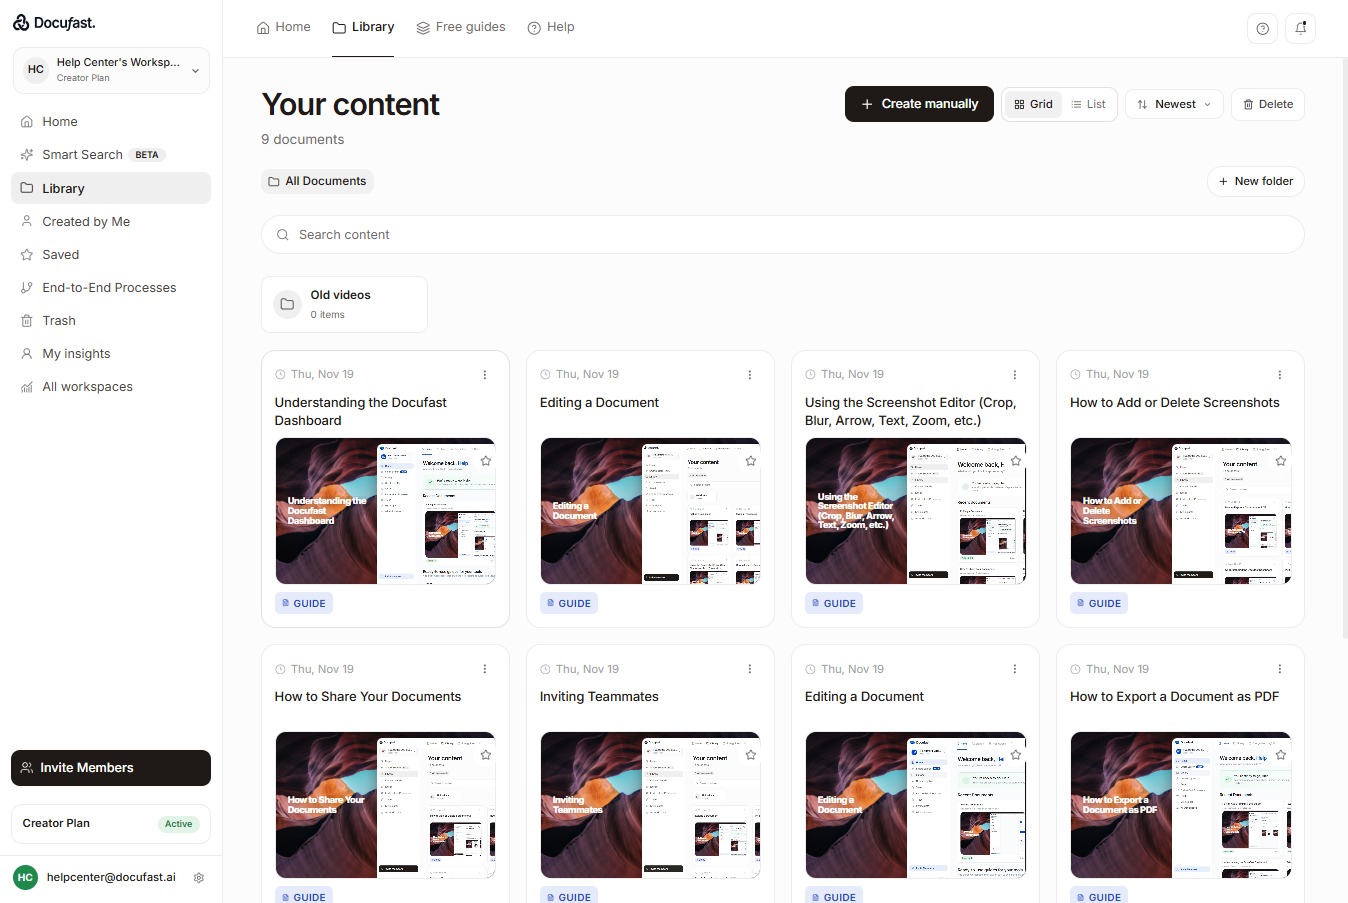
Select Library to access your saved documents and templates.
Select the recorded workflow you want to edit.
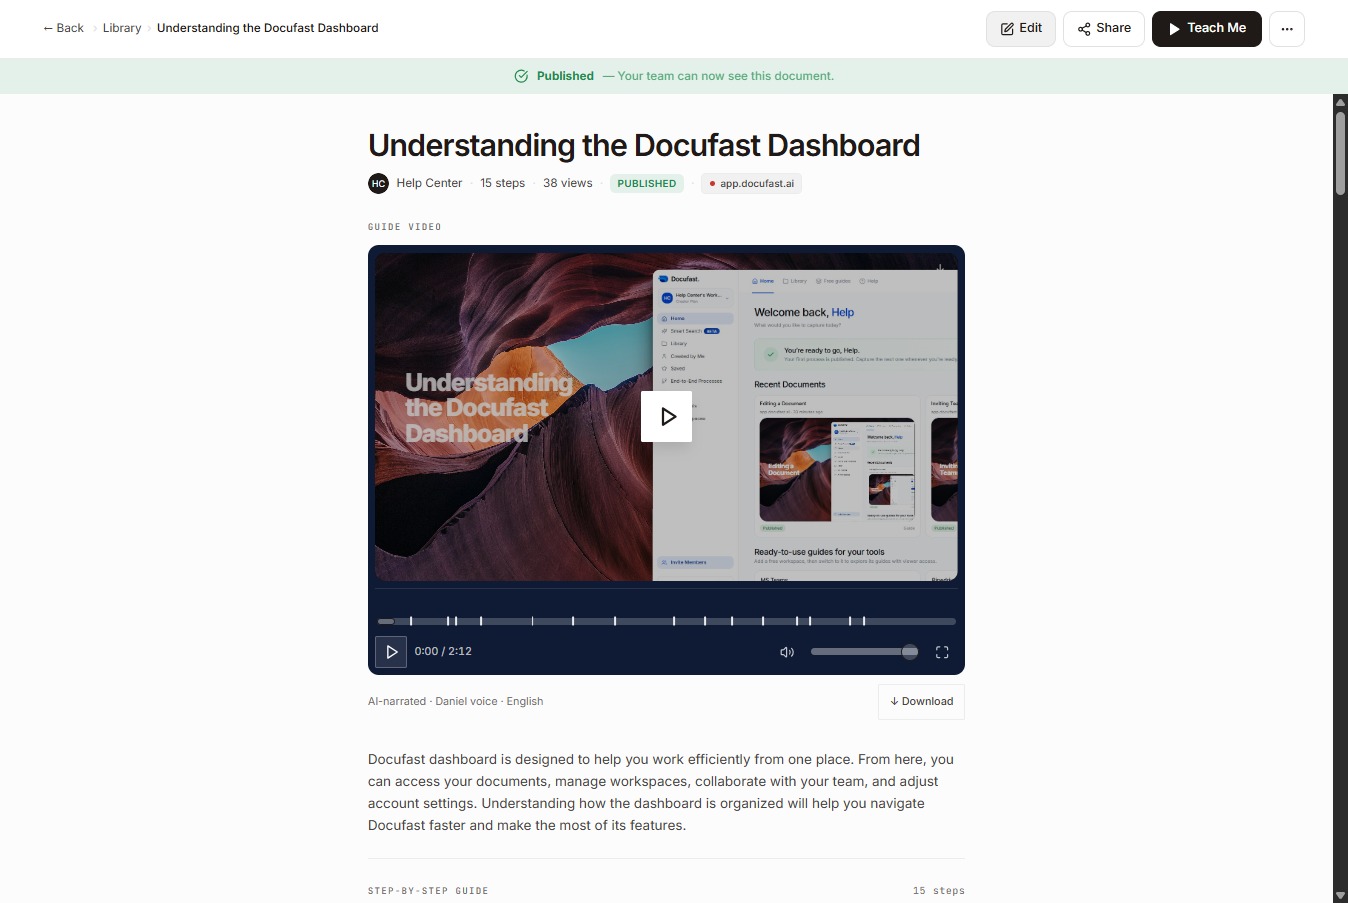
At the top of the document, select Edit to enter editing mode.
To change the document title, just click it and type the new title in the title field.
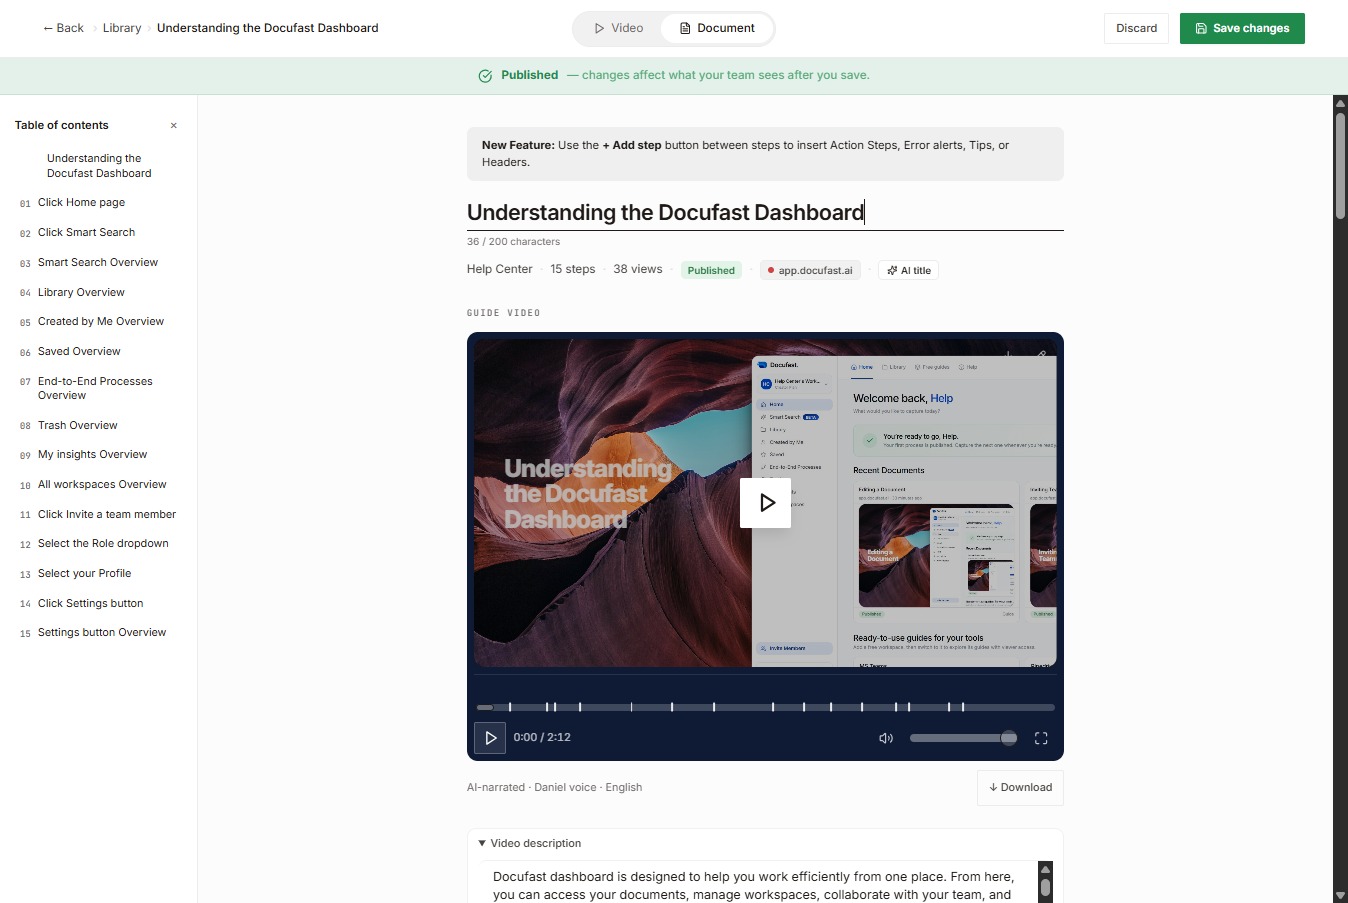
Now, scroll down until you see the Video Description
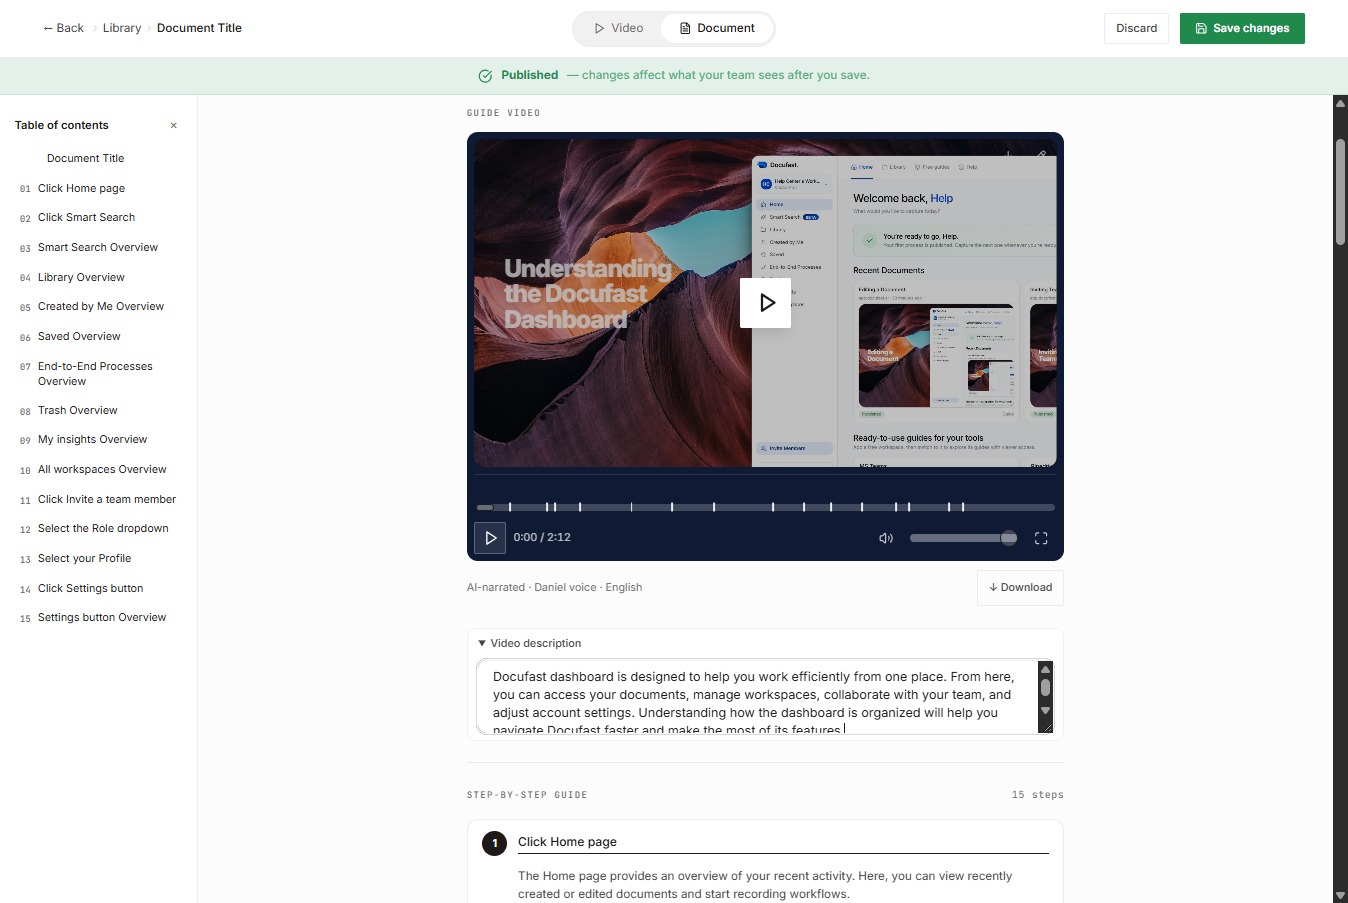
Click the Video Description field.
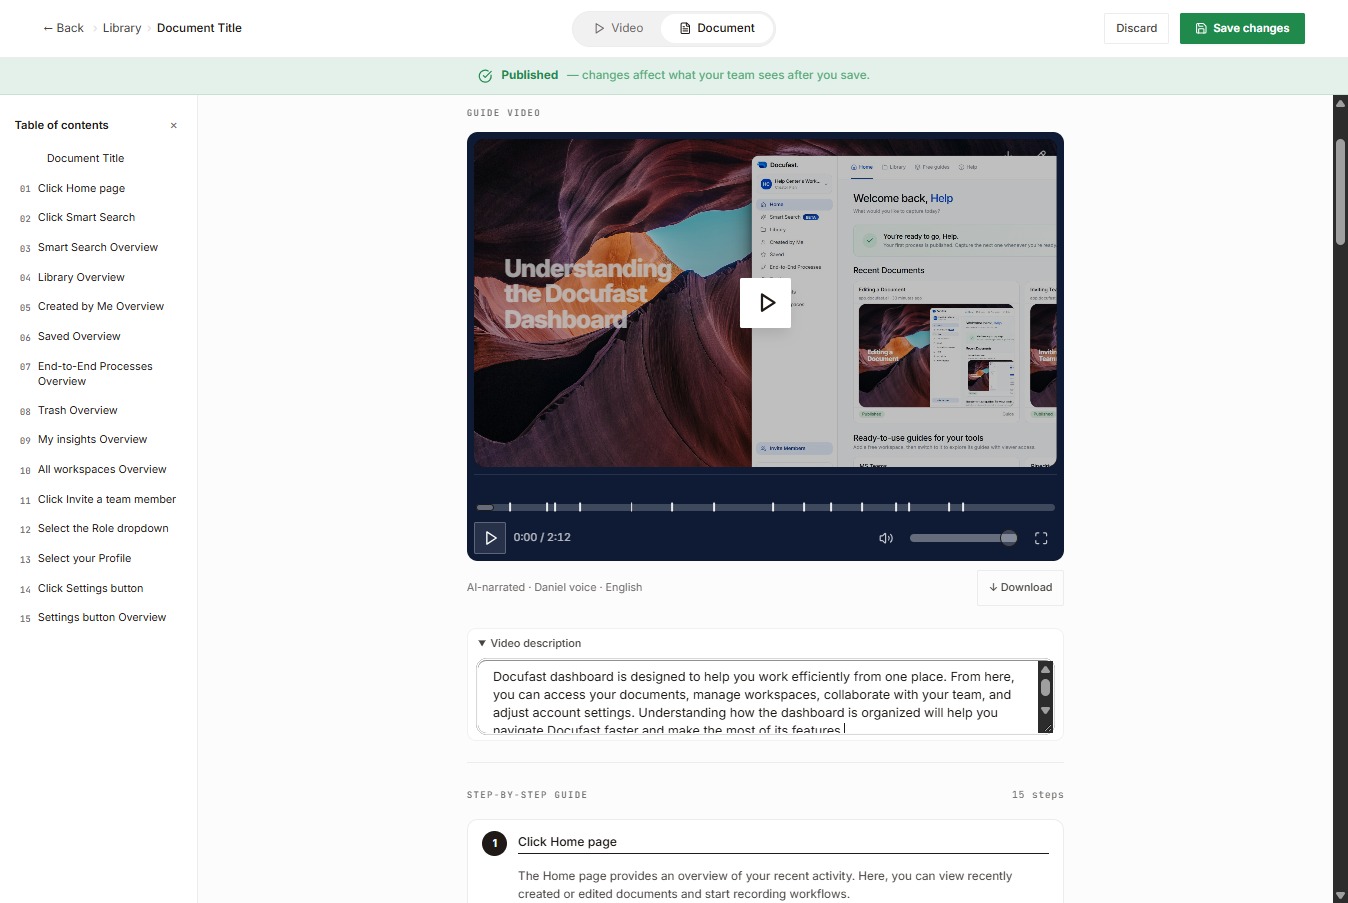
And, type a brief description of the video in the text box to help users understand its content.
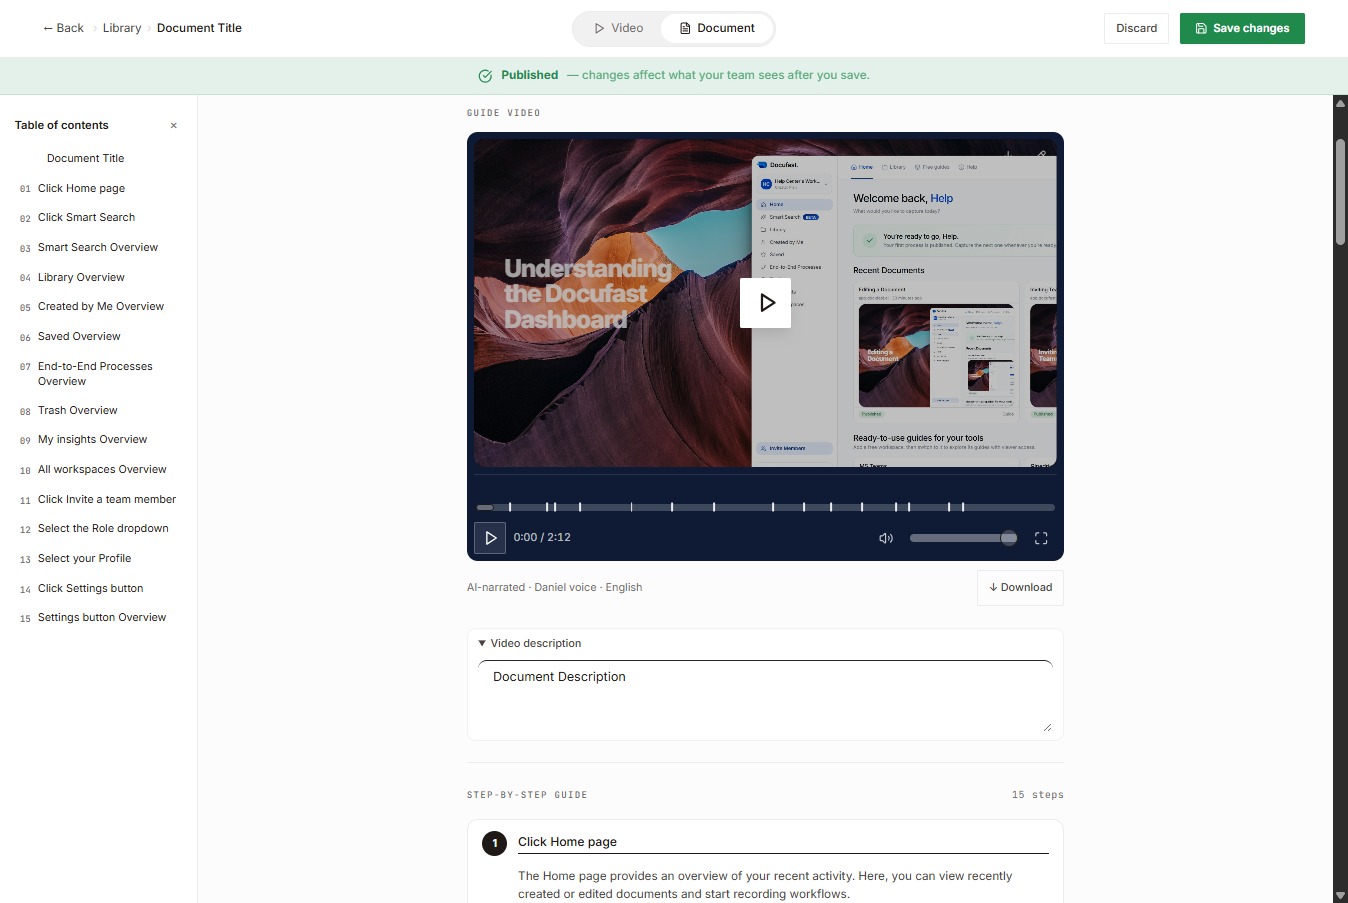
Now let's go to step action.
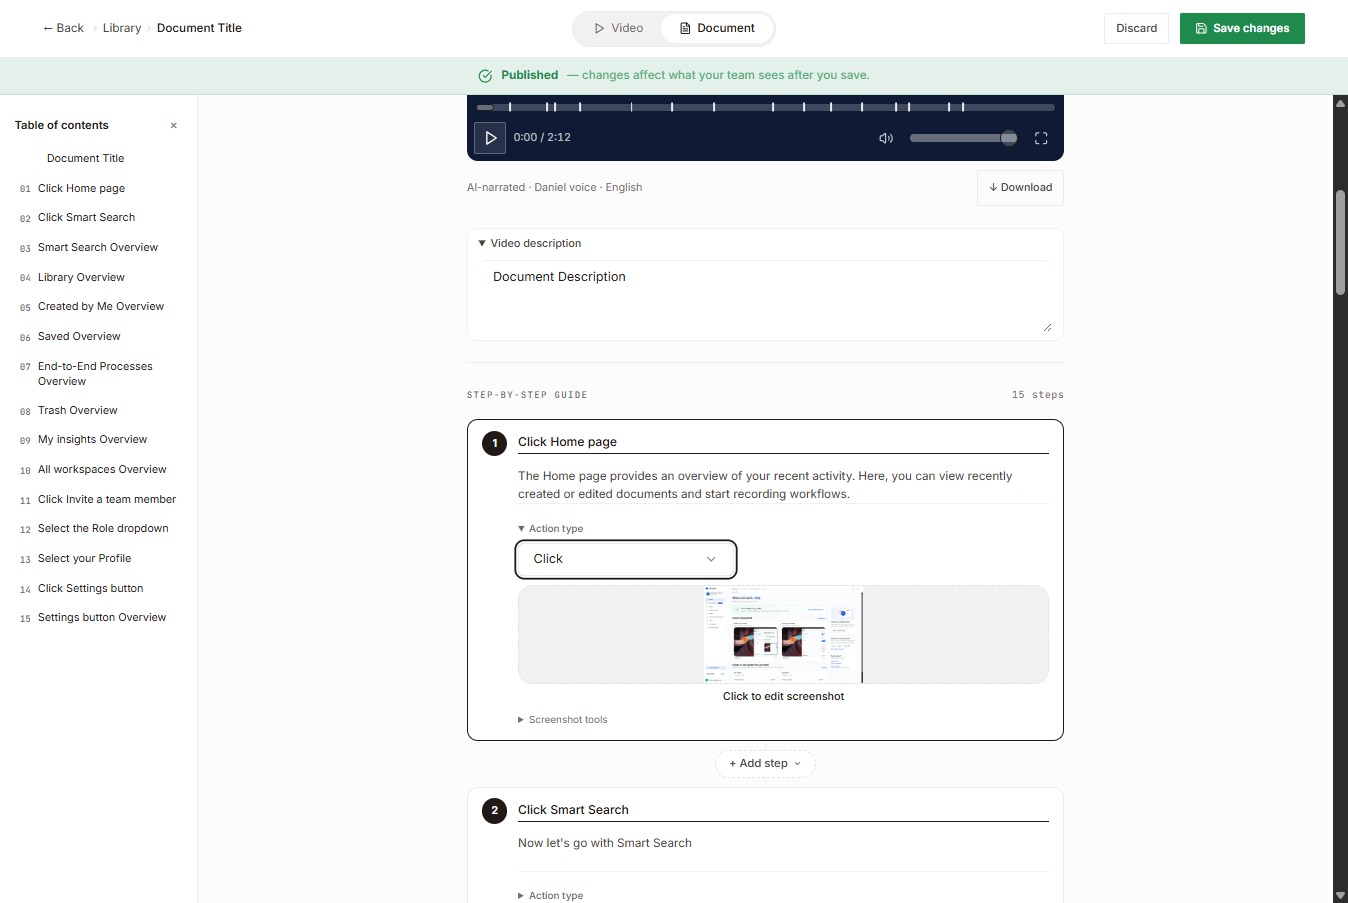
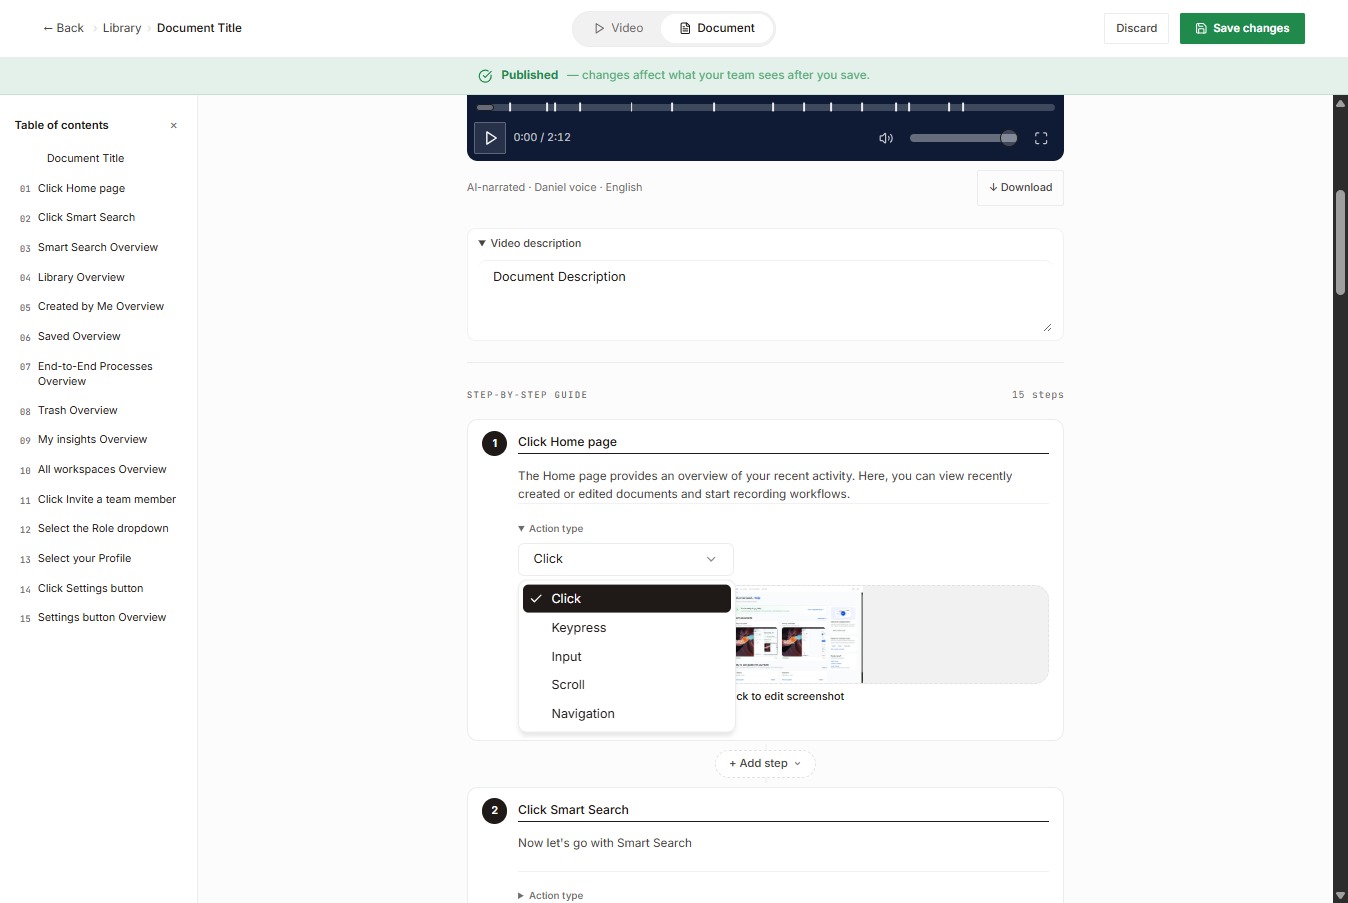
Each step in your guide has a Step Action, which tells users what kind of action to perform. The main actions are click, keypress, input, scroll, and navigation.
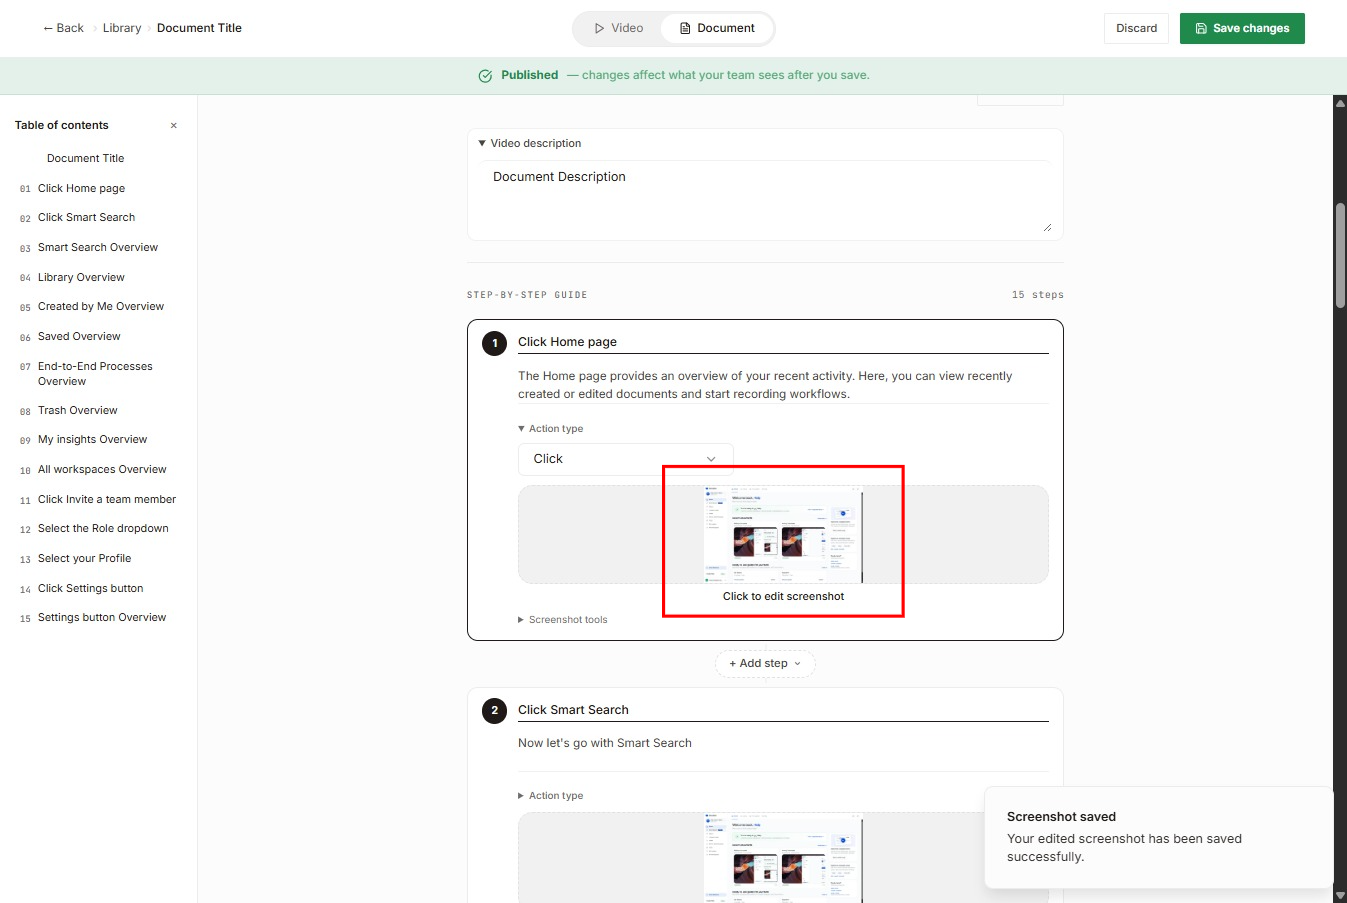
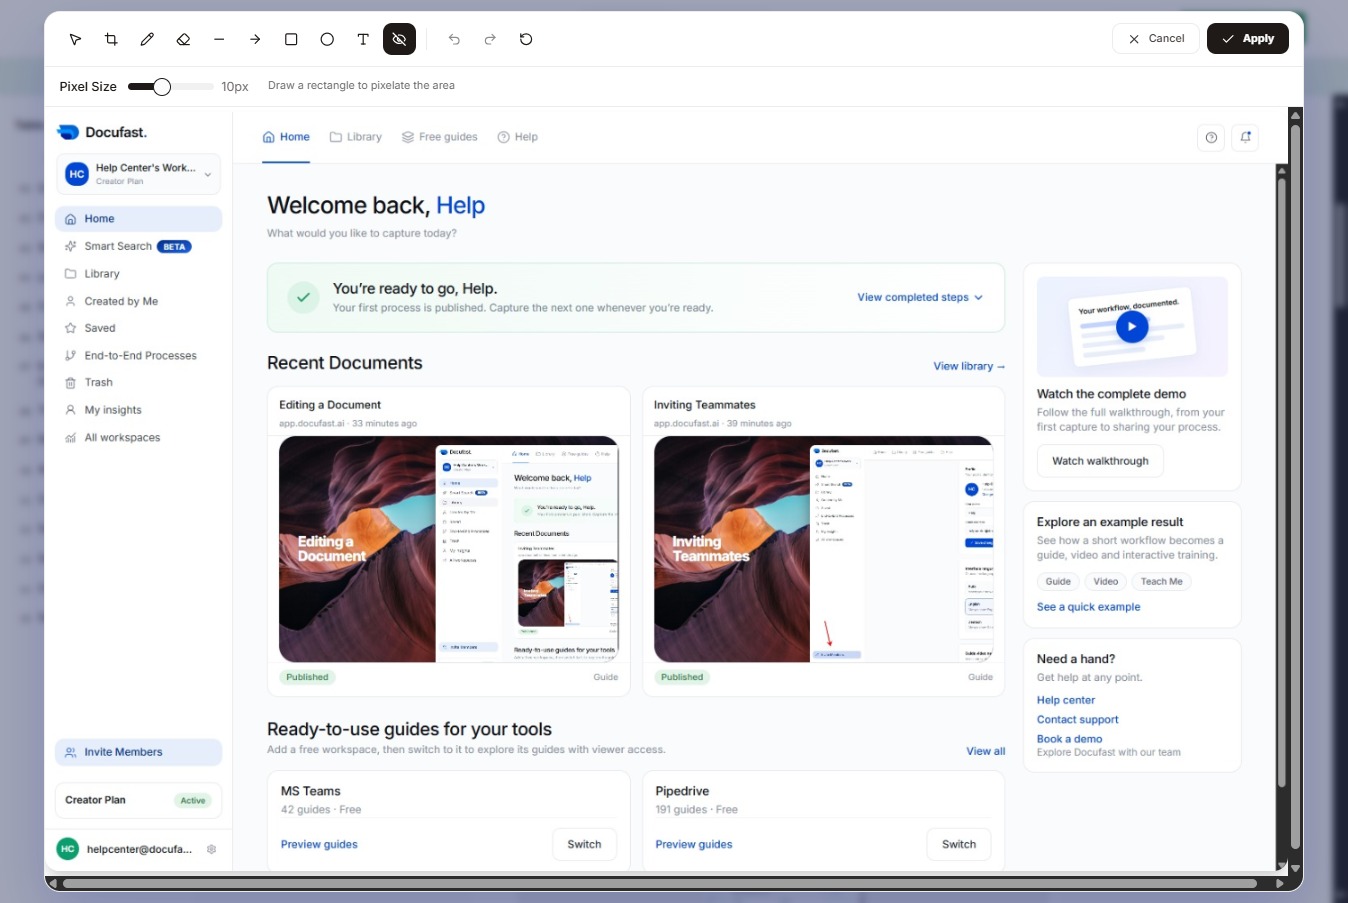
Now let’s go over how to edit a screenshot. Start with the screenshot thumbnail, which shows a miniature preview of the captured screenshot for that step, and click it.
Once you’re in Edit mode, you’ll see different tools you can use, such as blurring sensitive info, adding annotations, drawing, highlighting, and more.
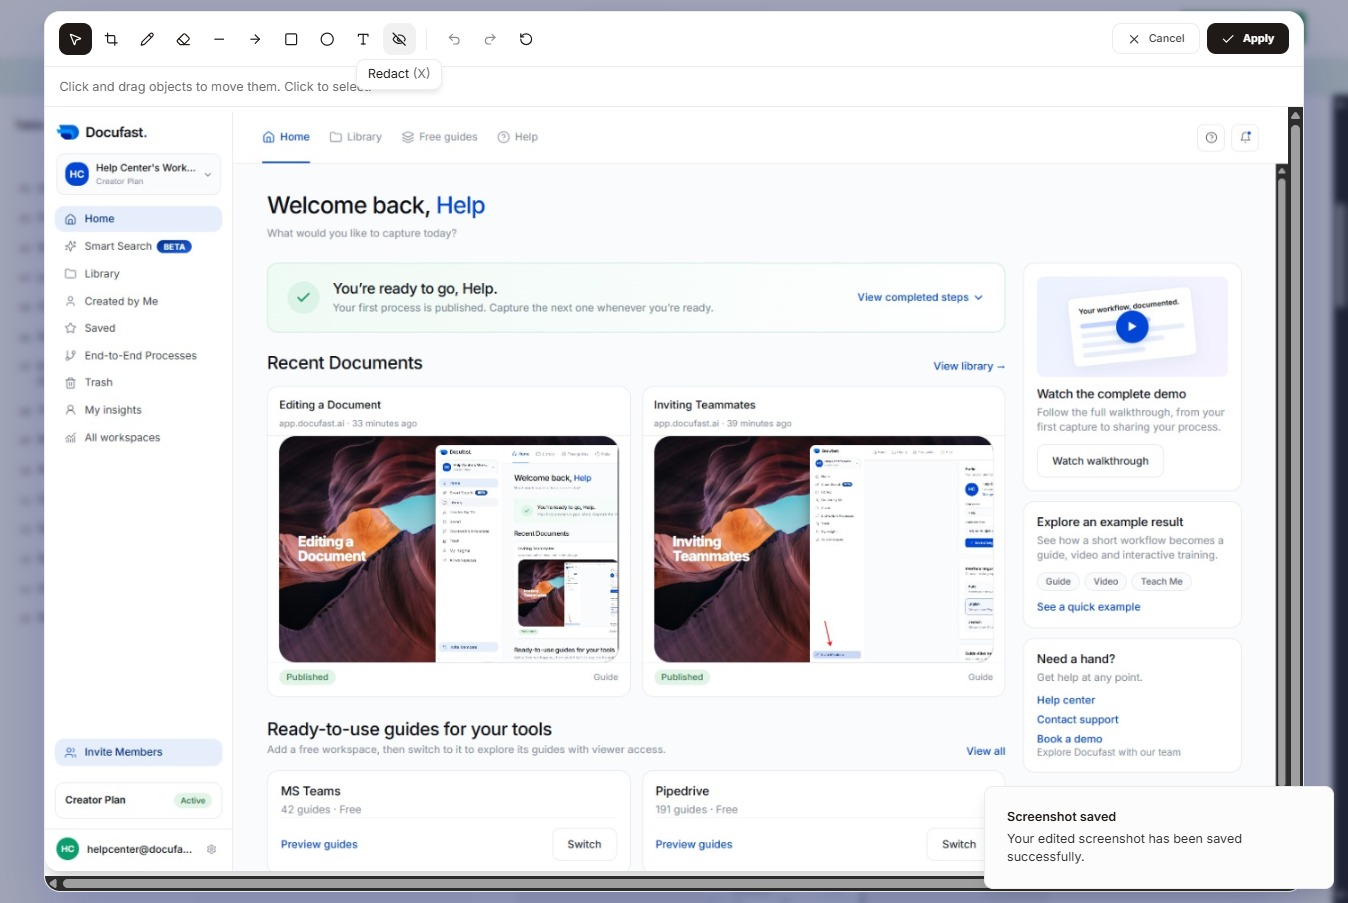
Once you're done, just click Apply to save the changes you made to the document.
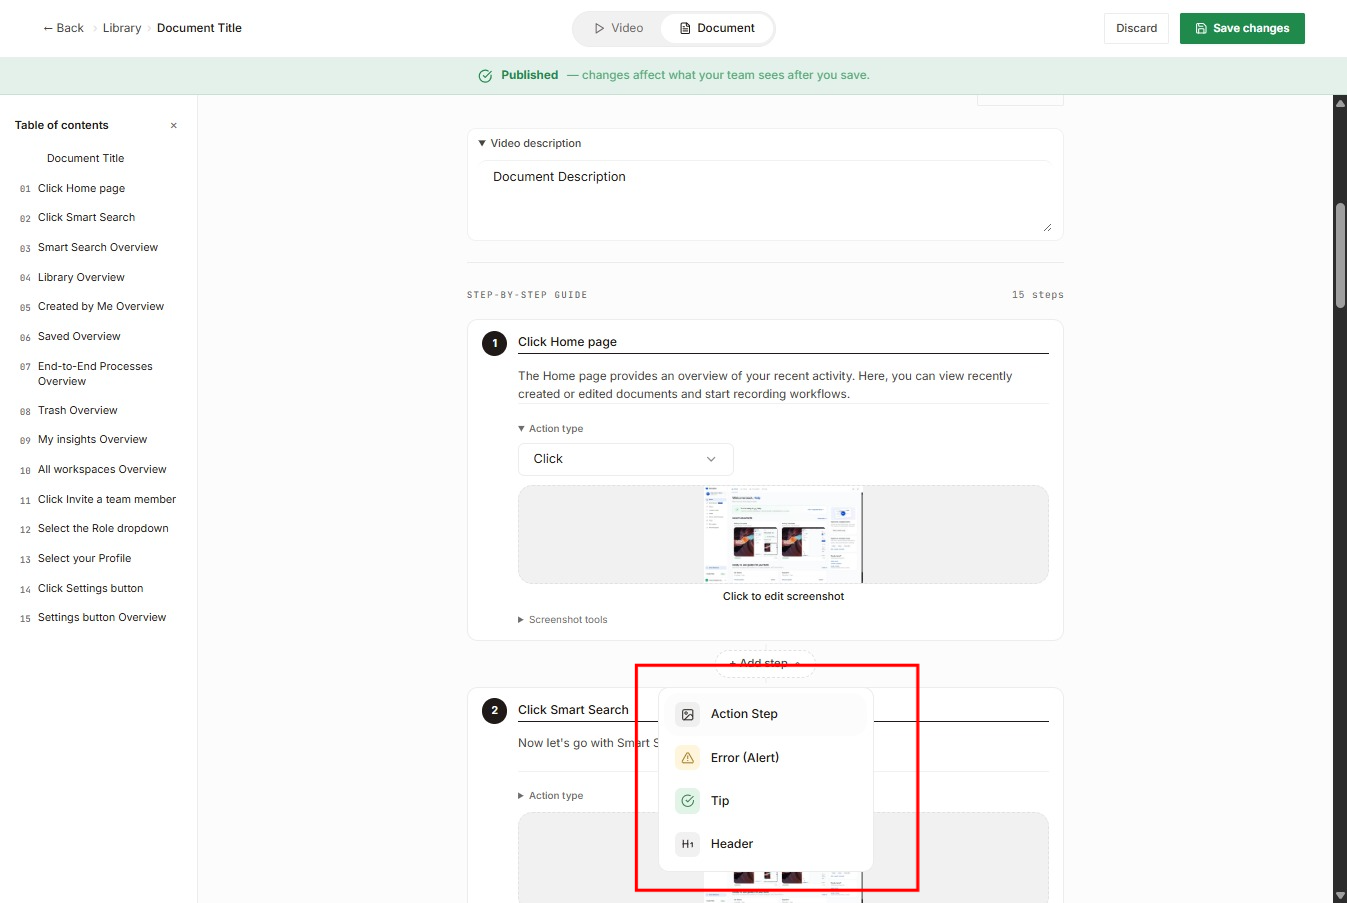
Now, to add a step, click the Add step button.
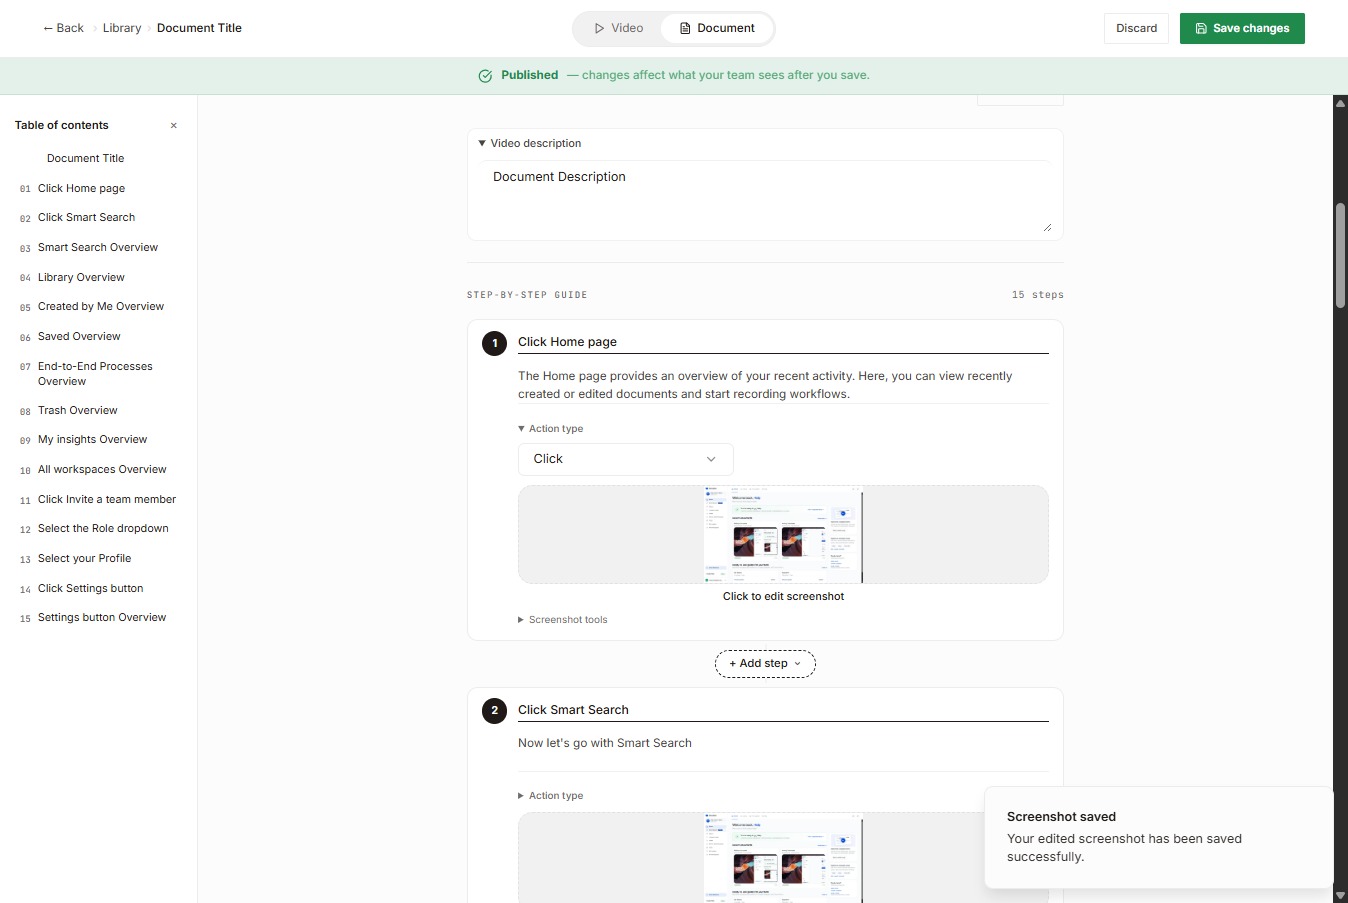
The Add Step button is located between every step. Click it to insert a new step to your guide. Always check the step order after adding new steps to make sure your guide flows correctly.
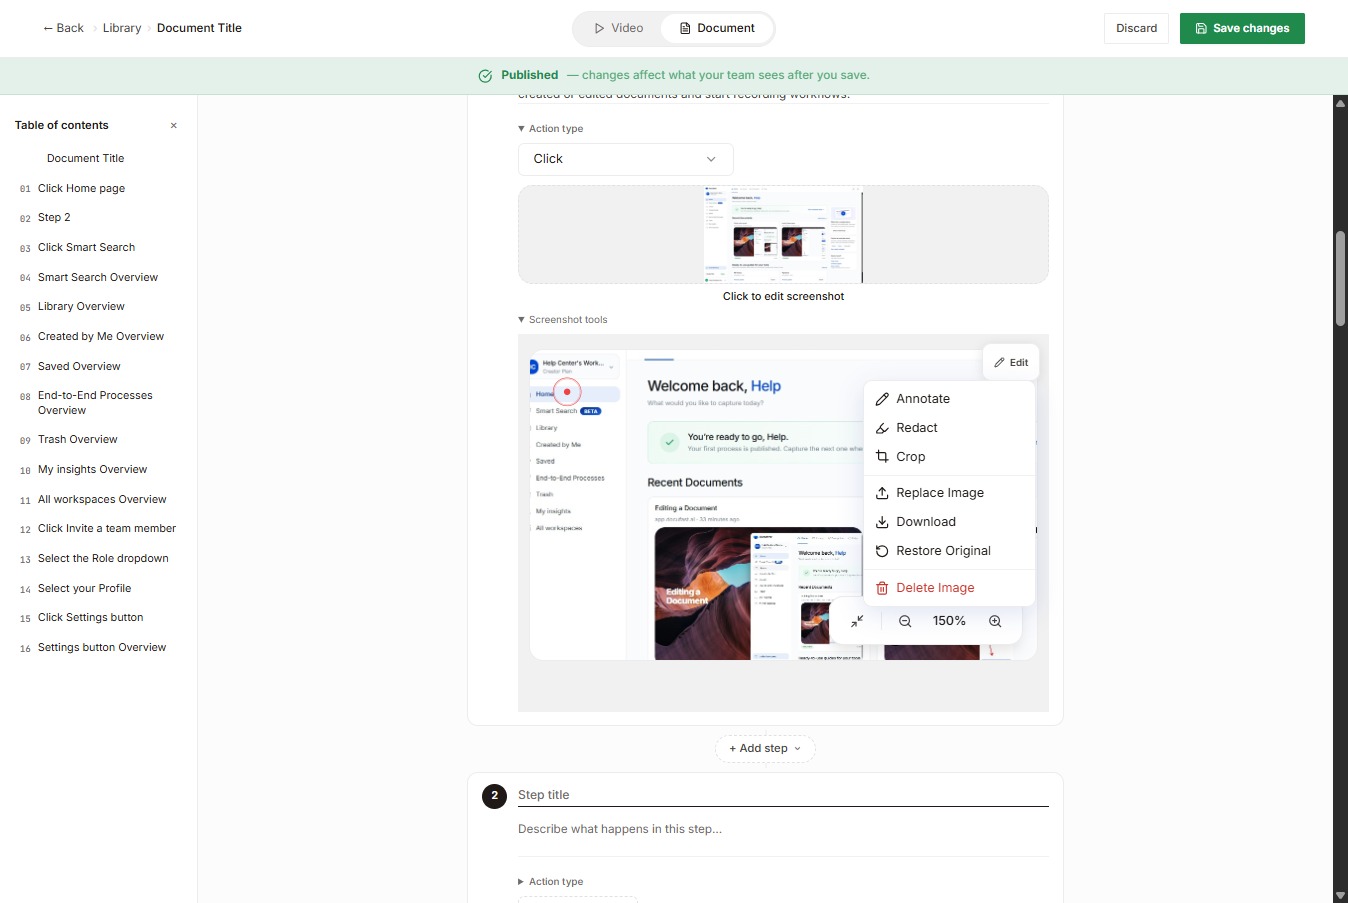
If you want to access more editing options, click Screenshot Tools
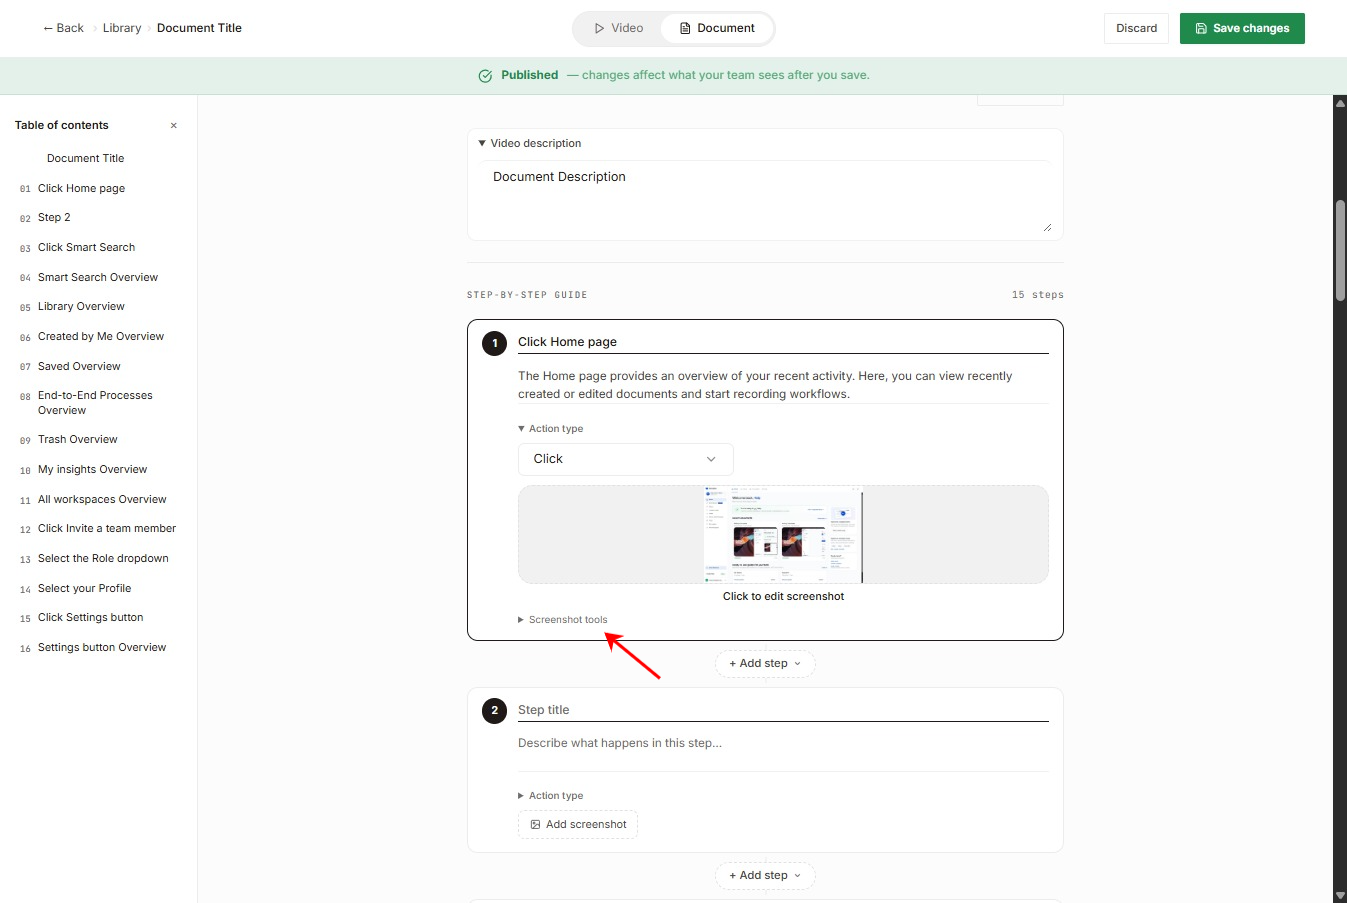
And then select the Edit button to modify the current document.
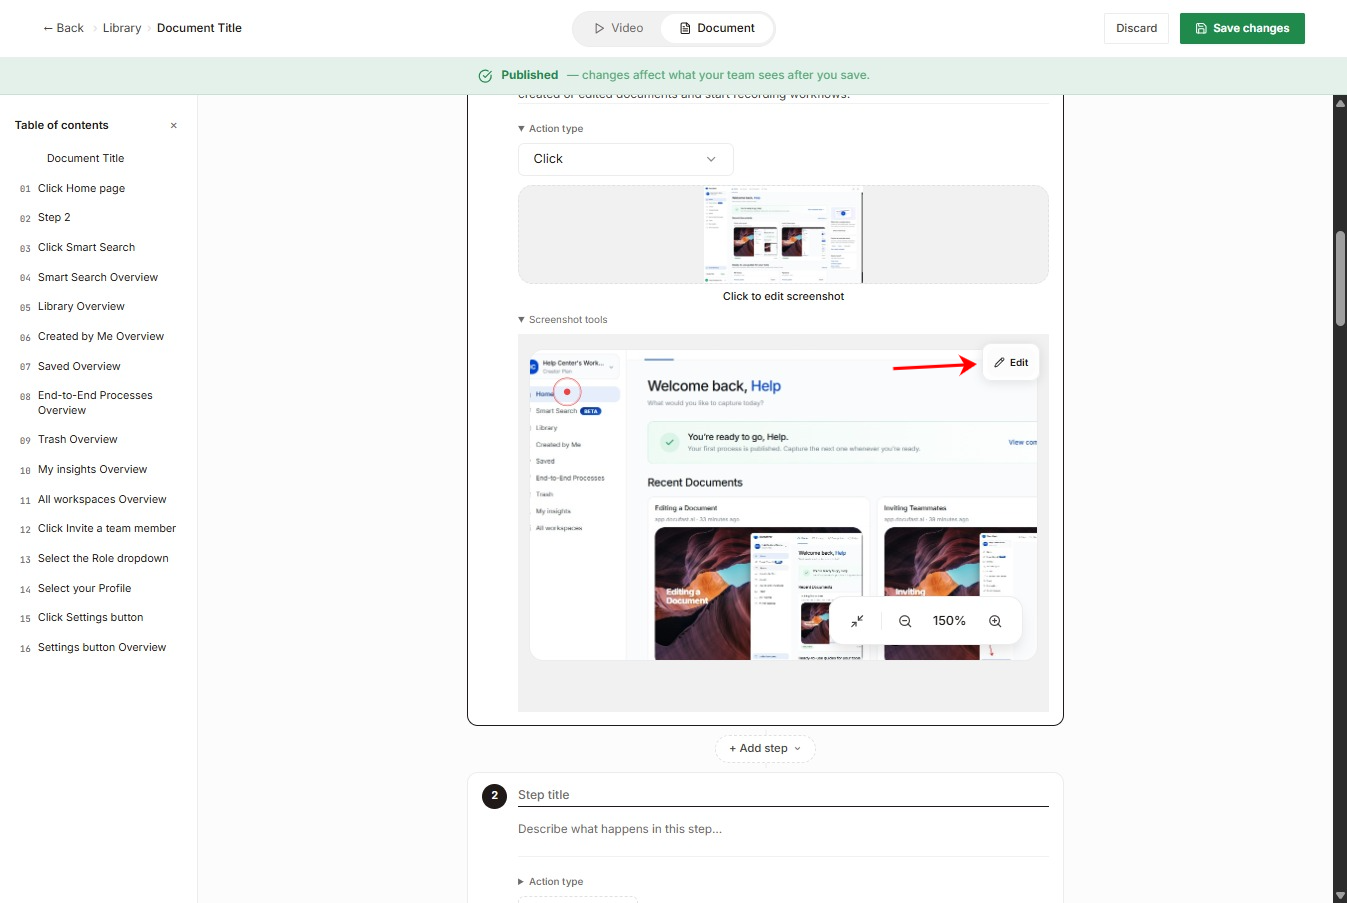
From there, you can Annotate, Redact, Crop, Replace Image, Download, Restore Original, or Delete the image.