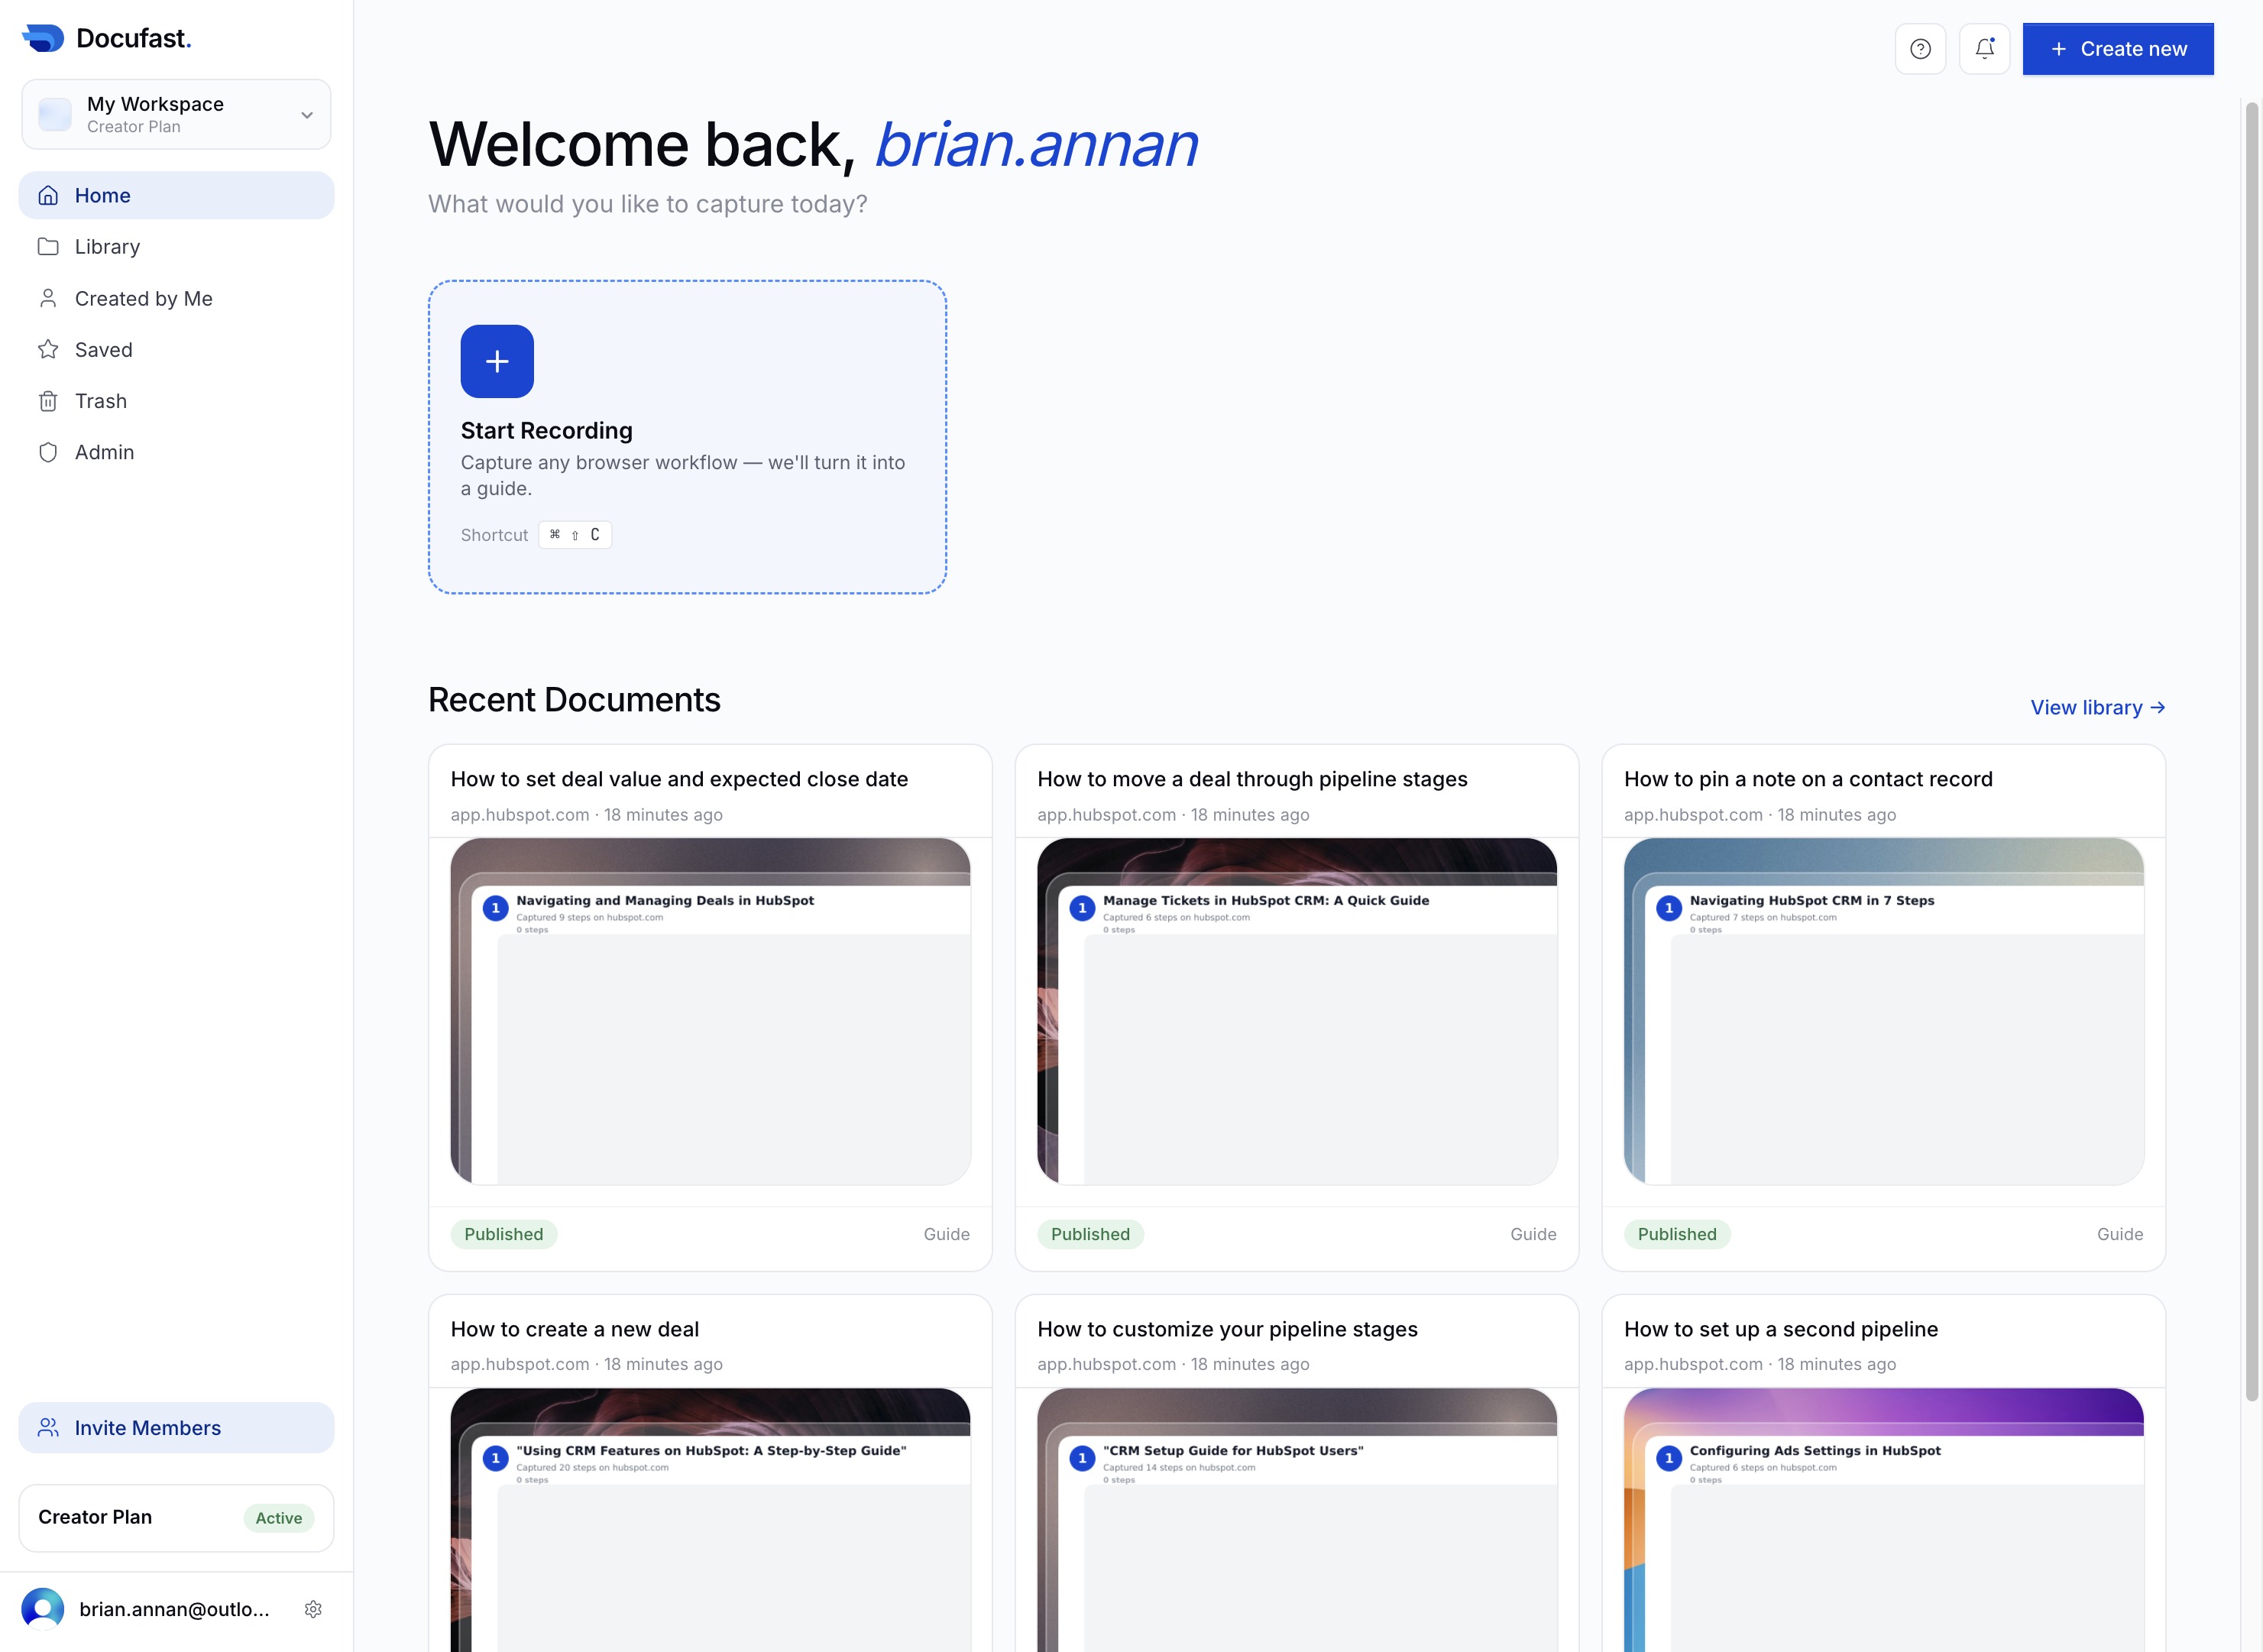
Click the Home link
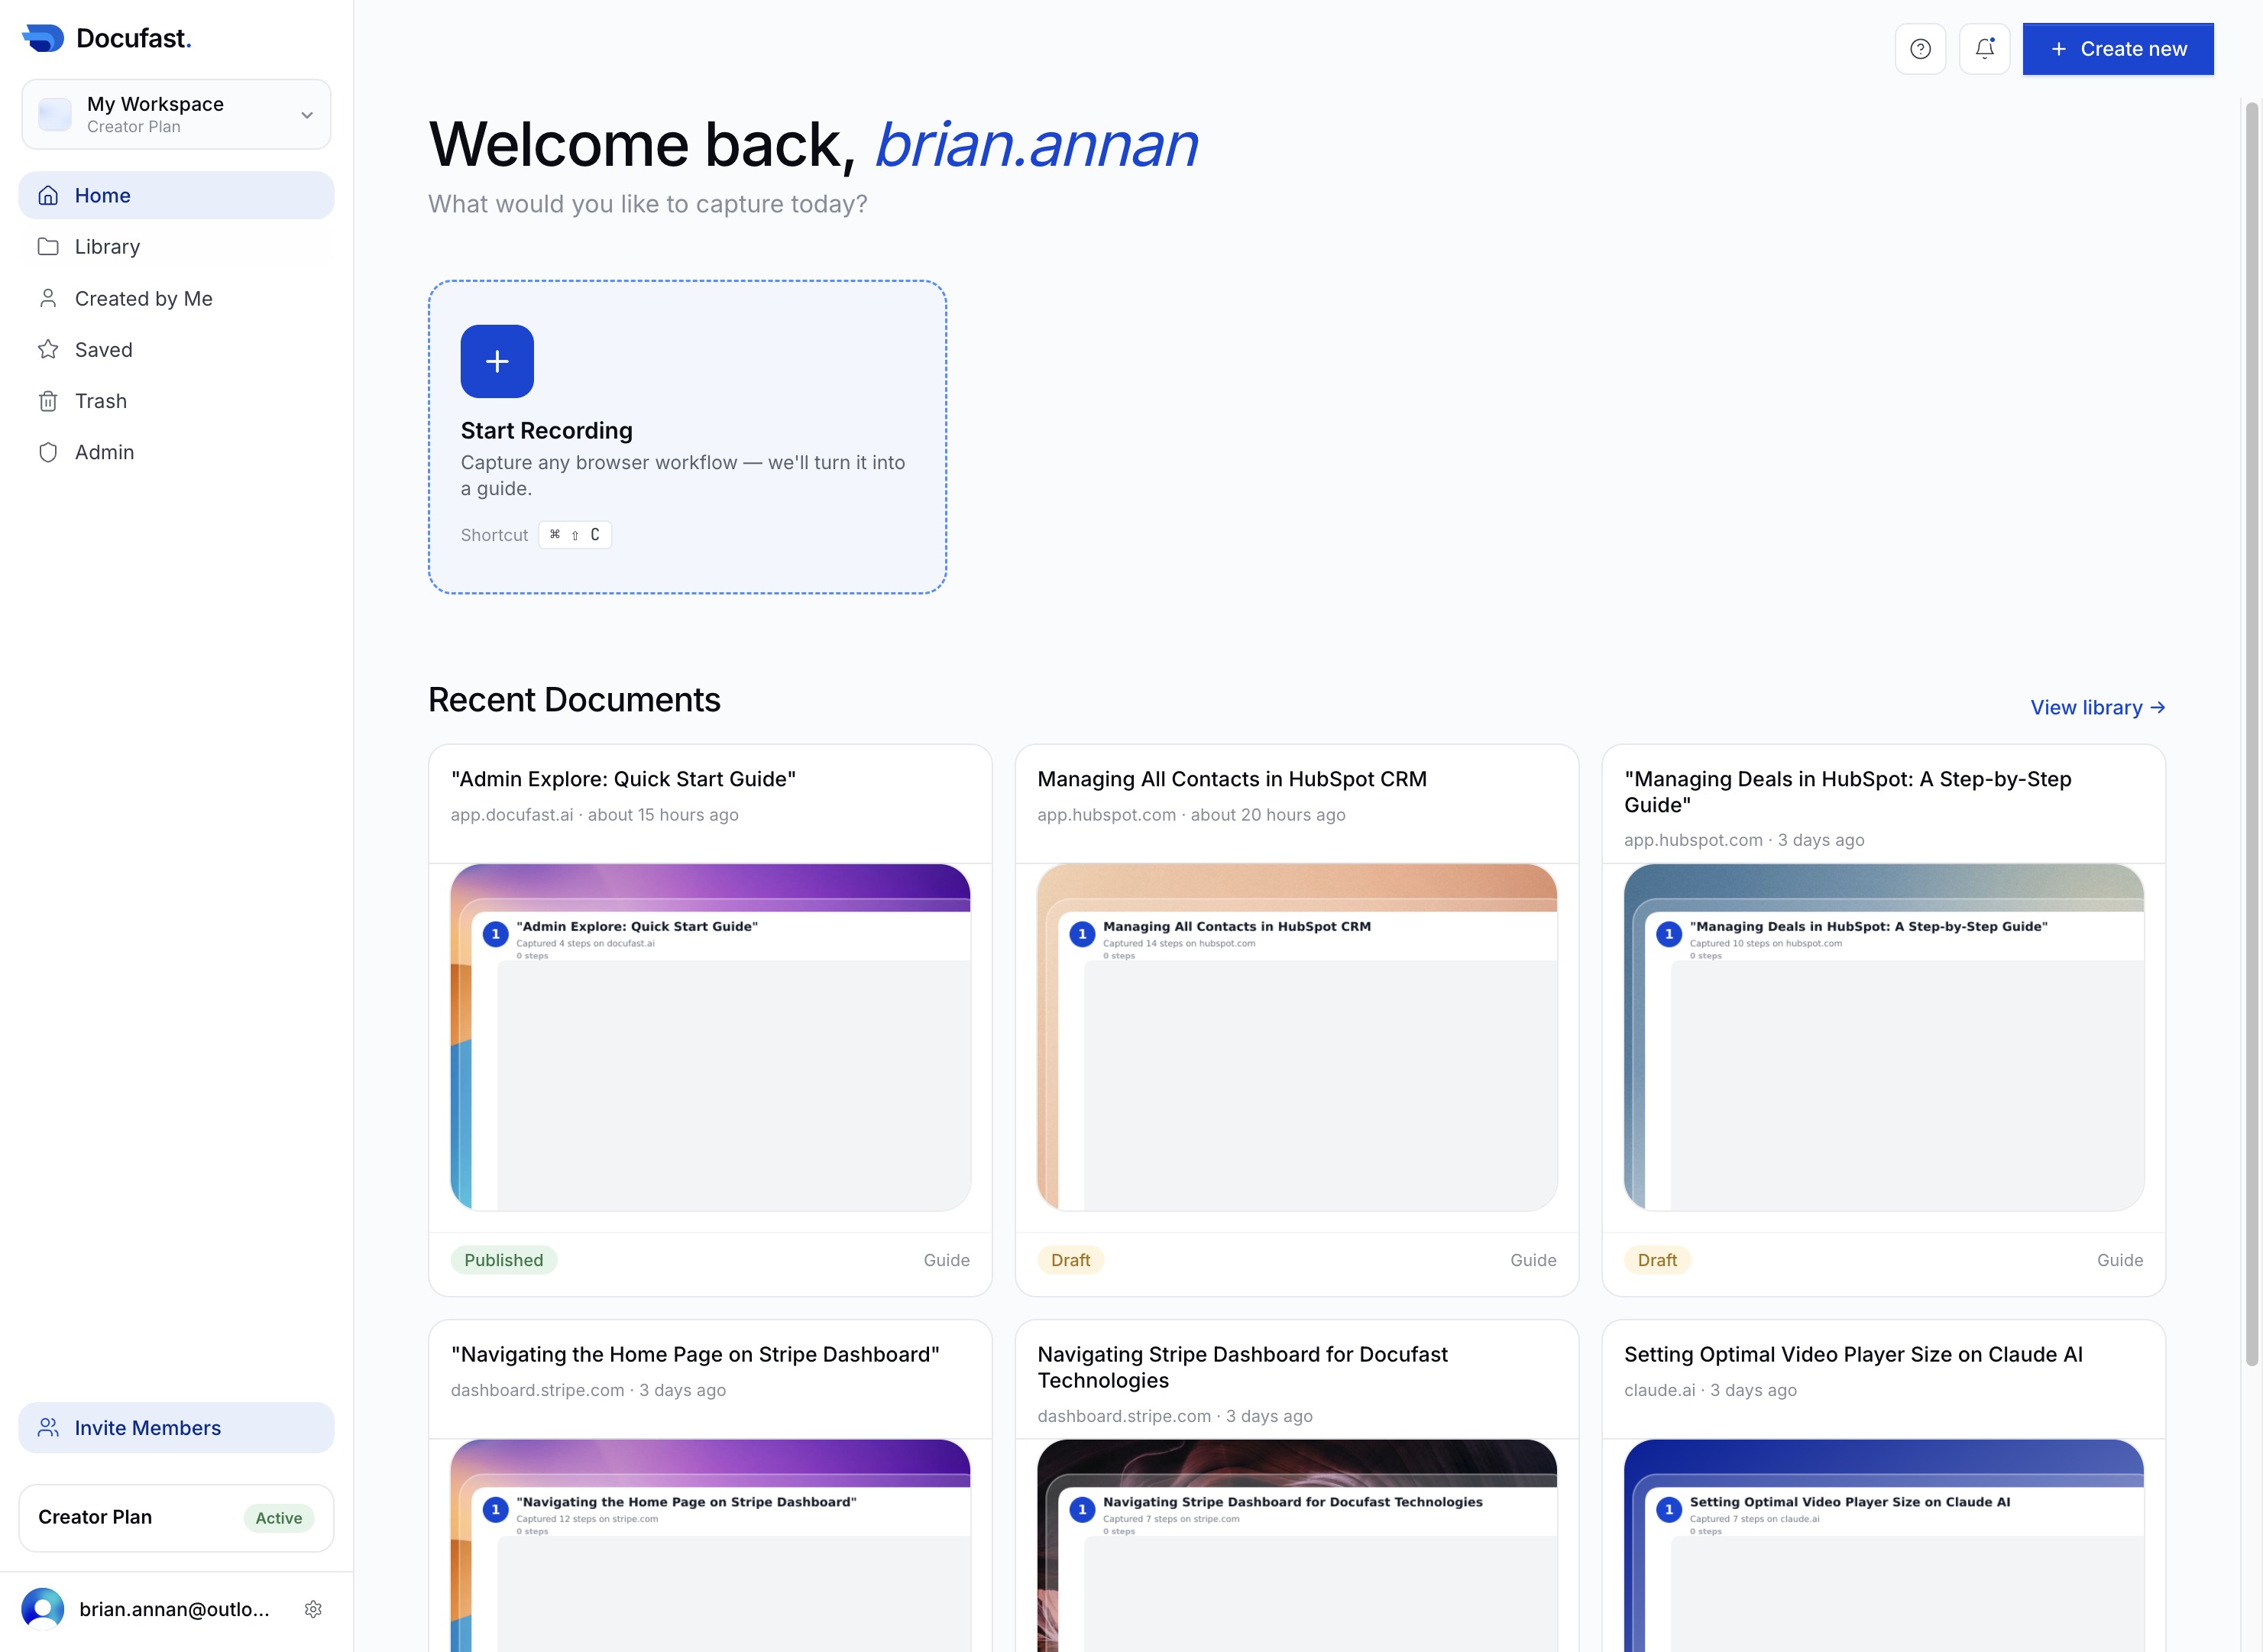
Clicking the Home link will navigate you to your main dashboard, where you can access your workspace, recent documents, and other features.
Loading screenshot…
100%
In this guide, you'll learn how to effectively navigate the DocuFast Dashboard, from accessing your main workspace to managing documents, users, and notifications.
 brian.annan
In this guide, you'll learn how to effectively navigate the DocuFast Dashboard, from accessing your main workspace to managing documents, users, and notifications. Follow the step-by-step instructions to streamline your document management and enhance your workflow within the platform.
Clicking the Home link will navigate you to your main dashboard, where you can access your workspace, recent documents, and other features.
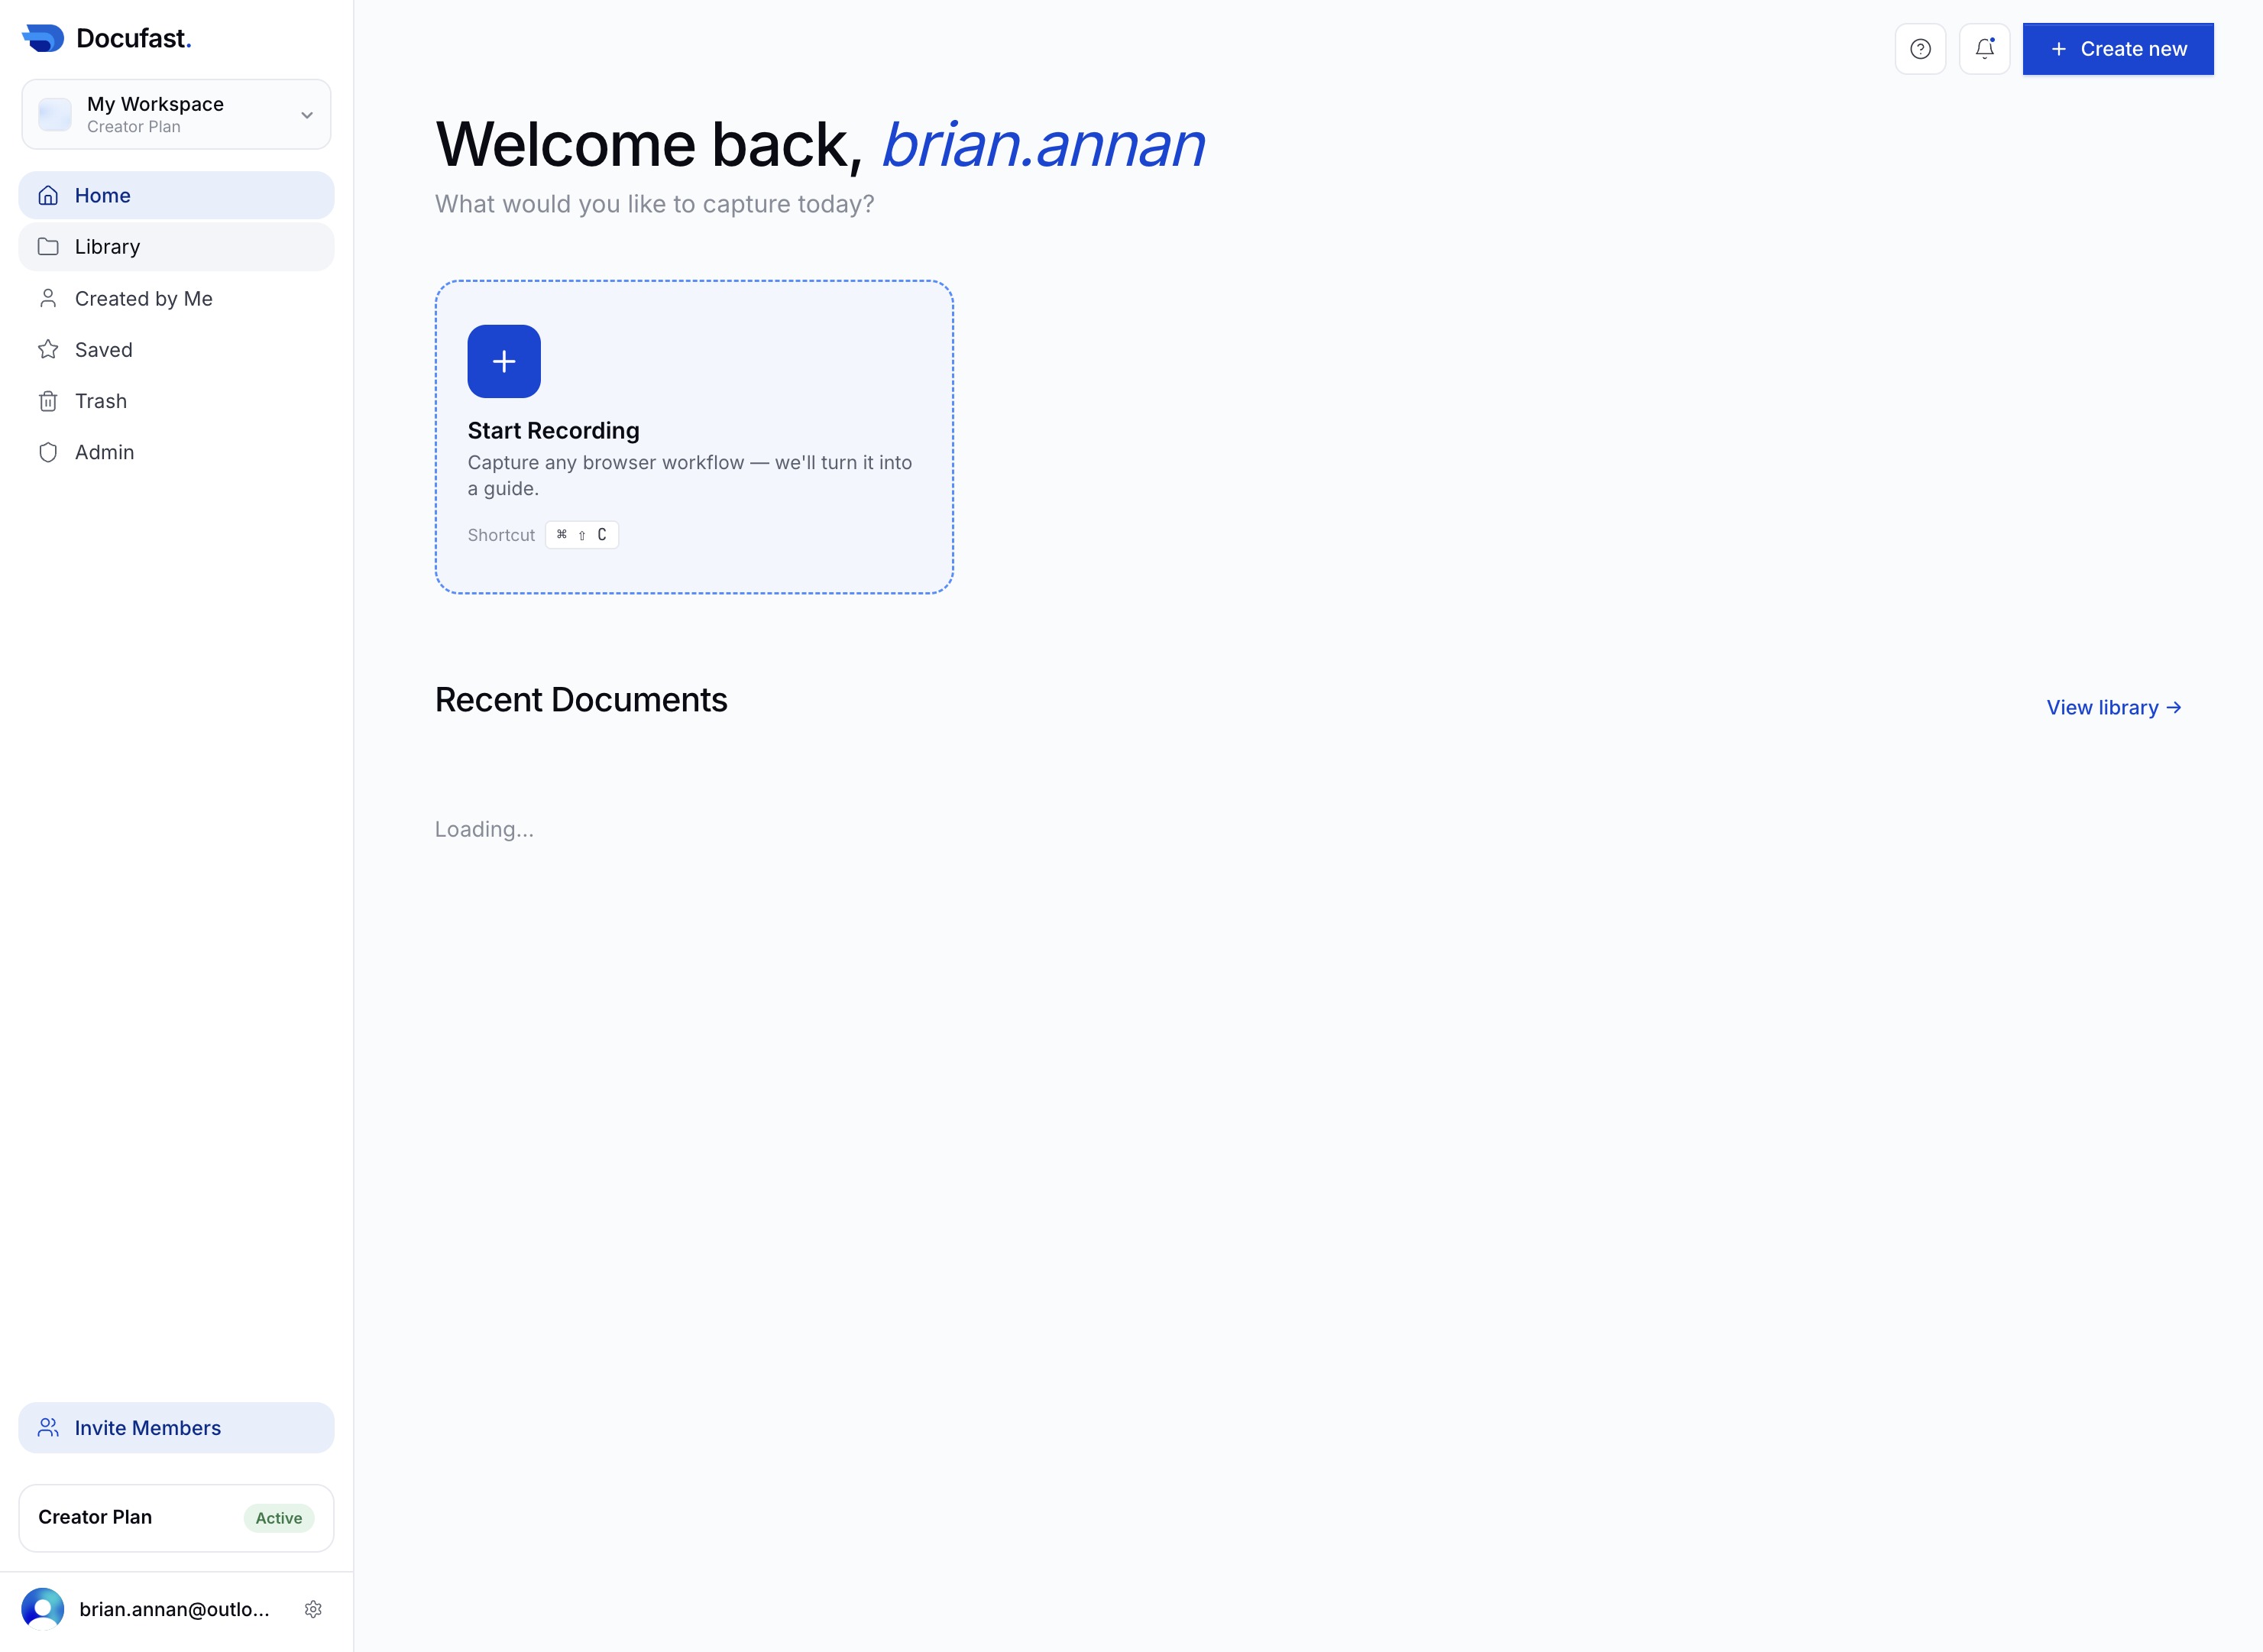
Clicking on 'Library' will take you to the section where you can access your saved documents and resources.
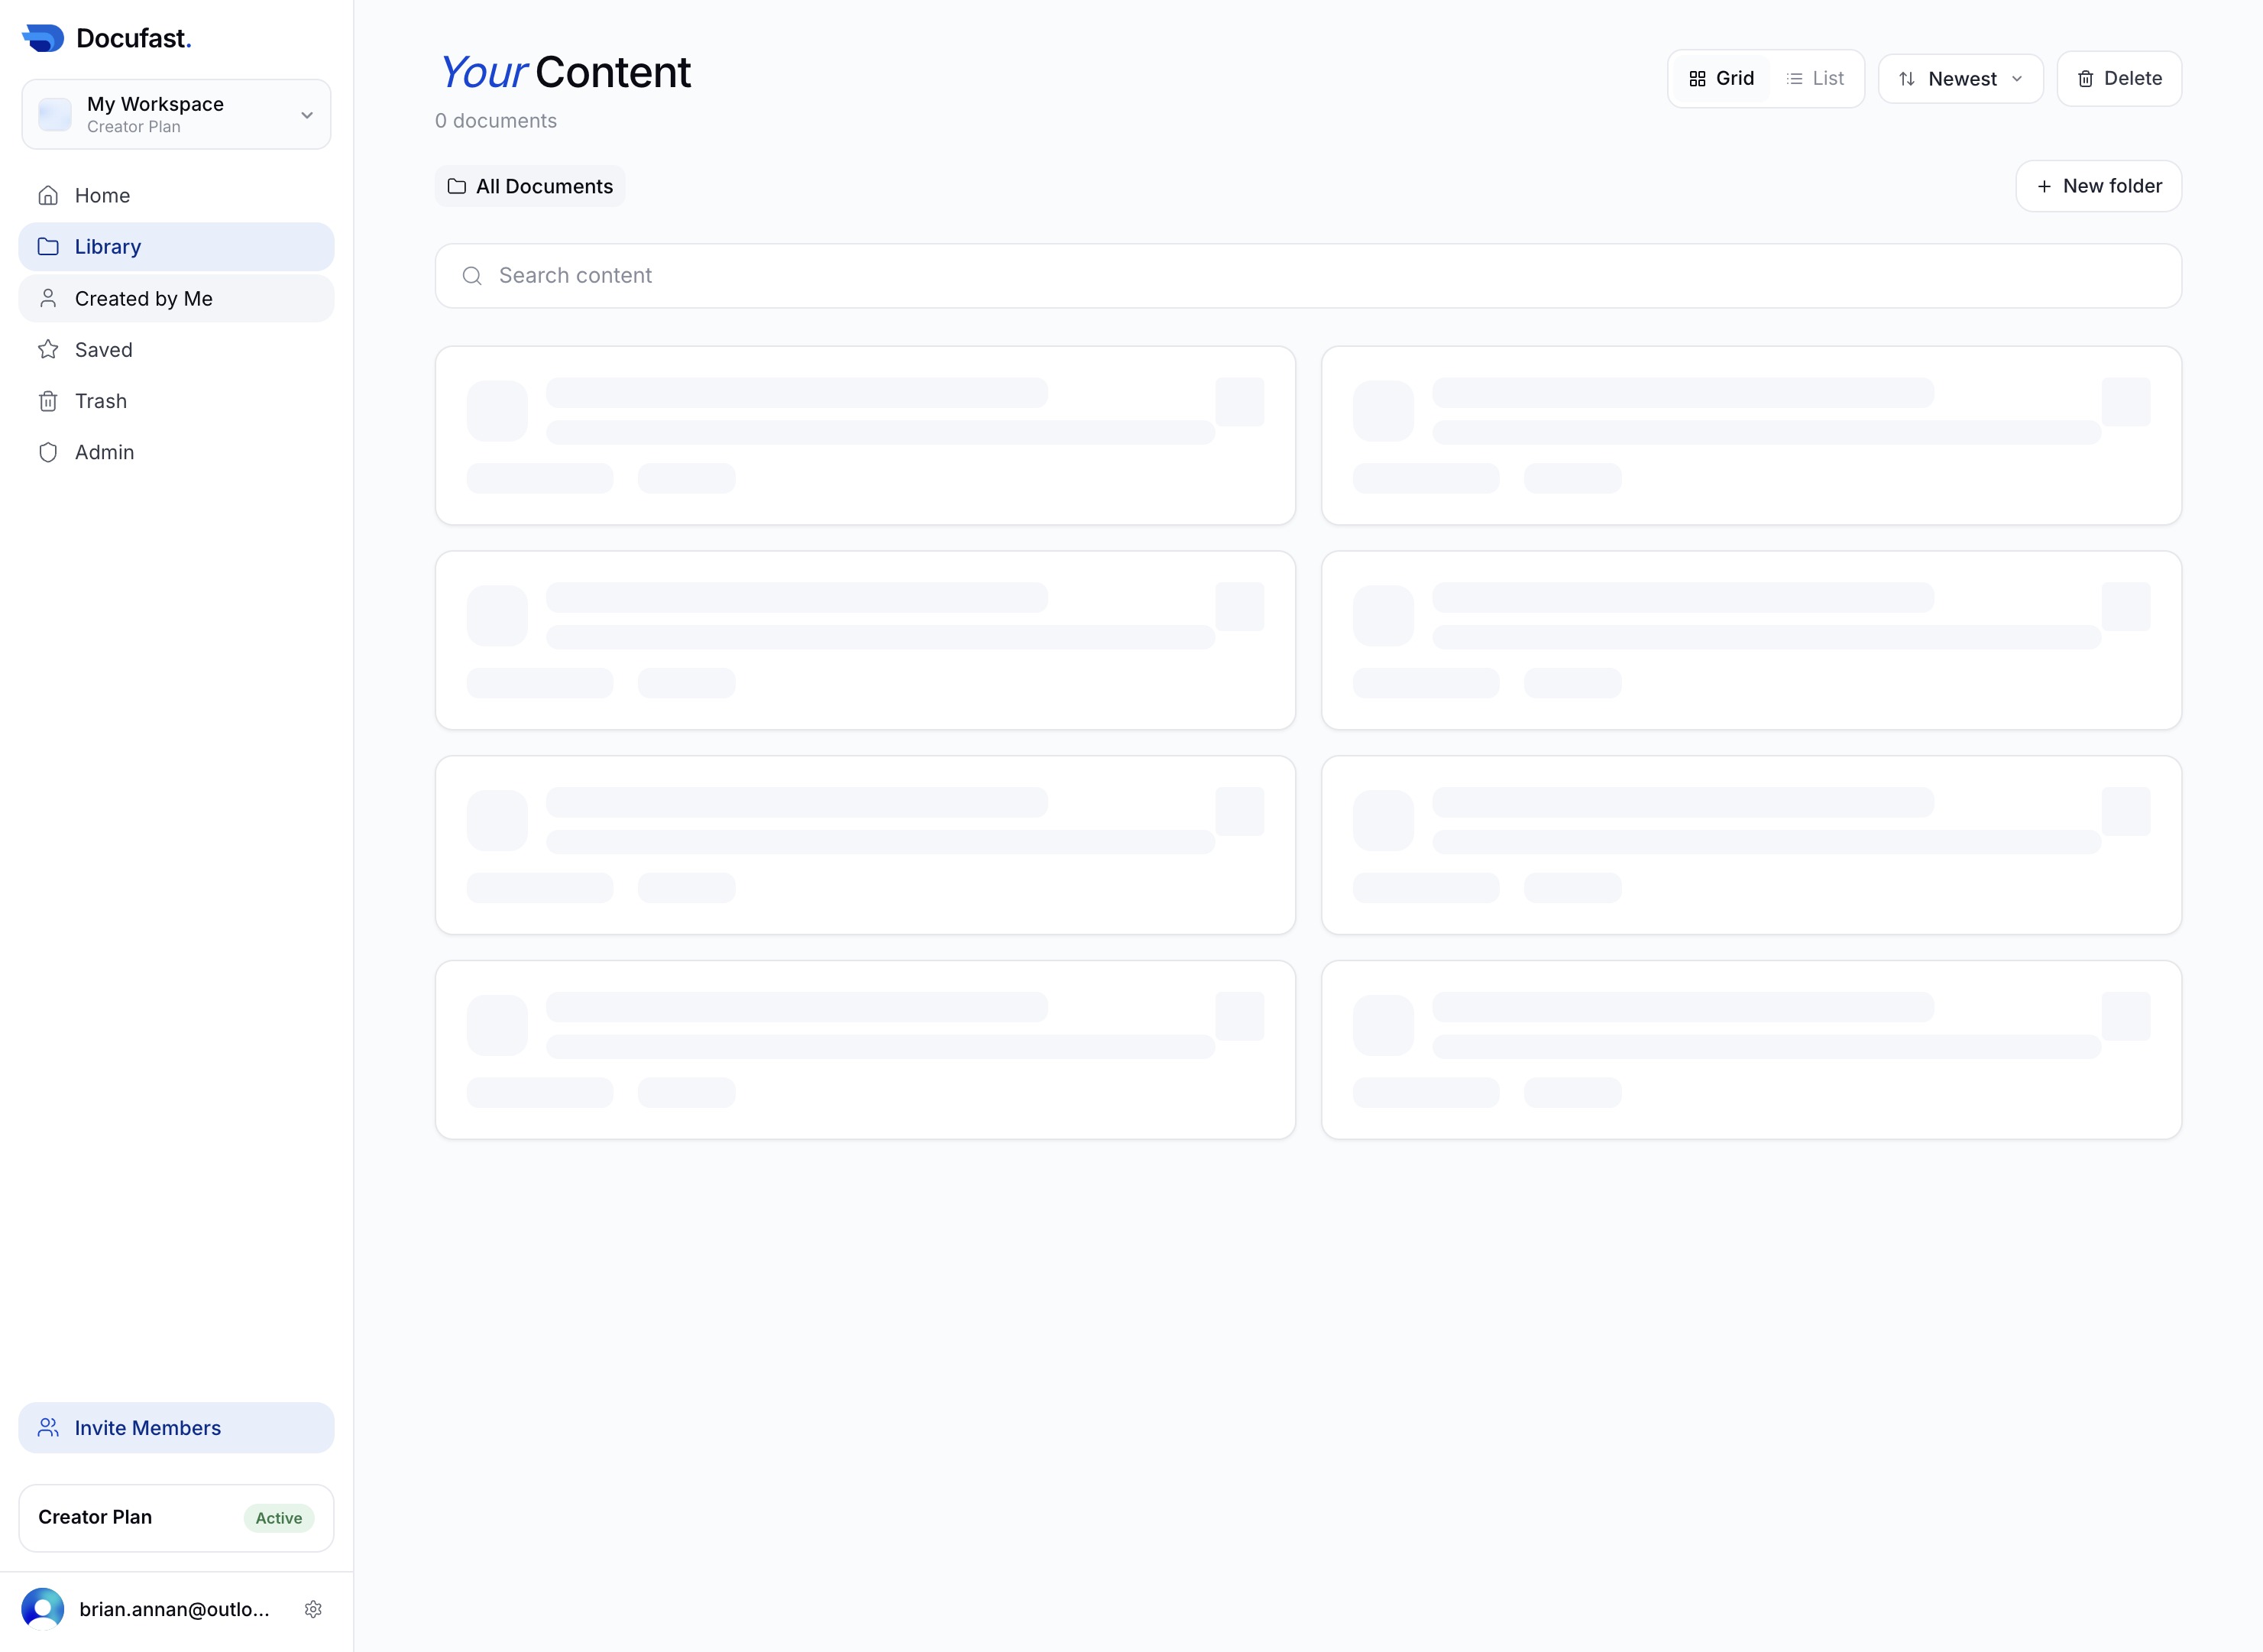
This action will display all documents that you have created, allowing you to manage or review your content.
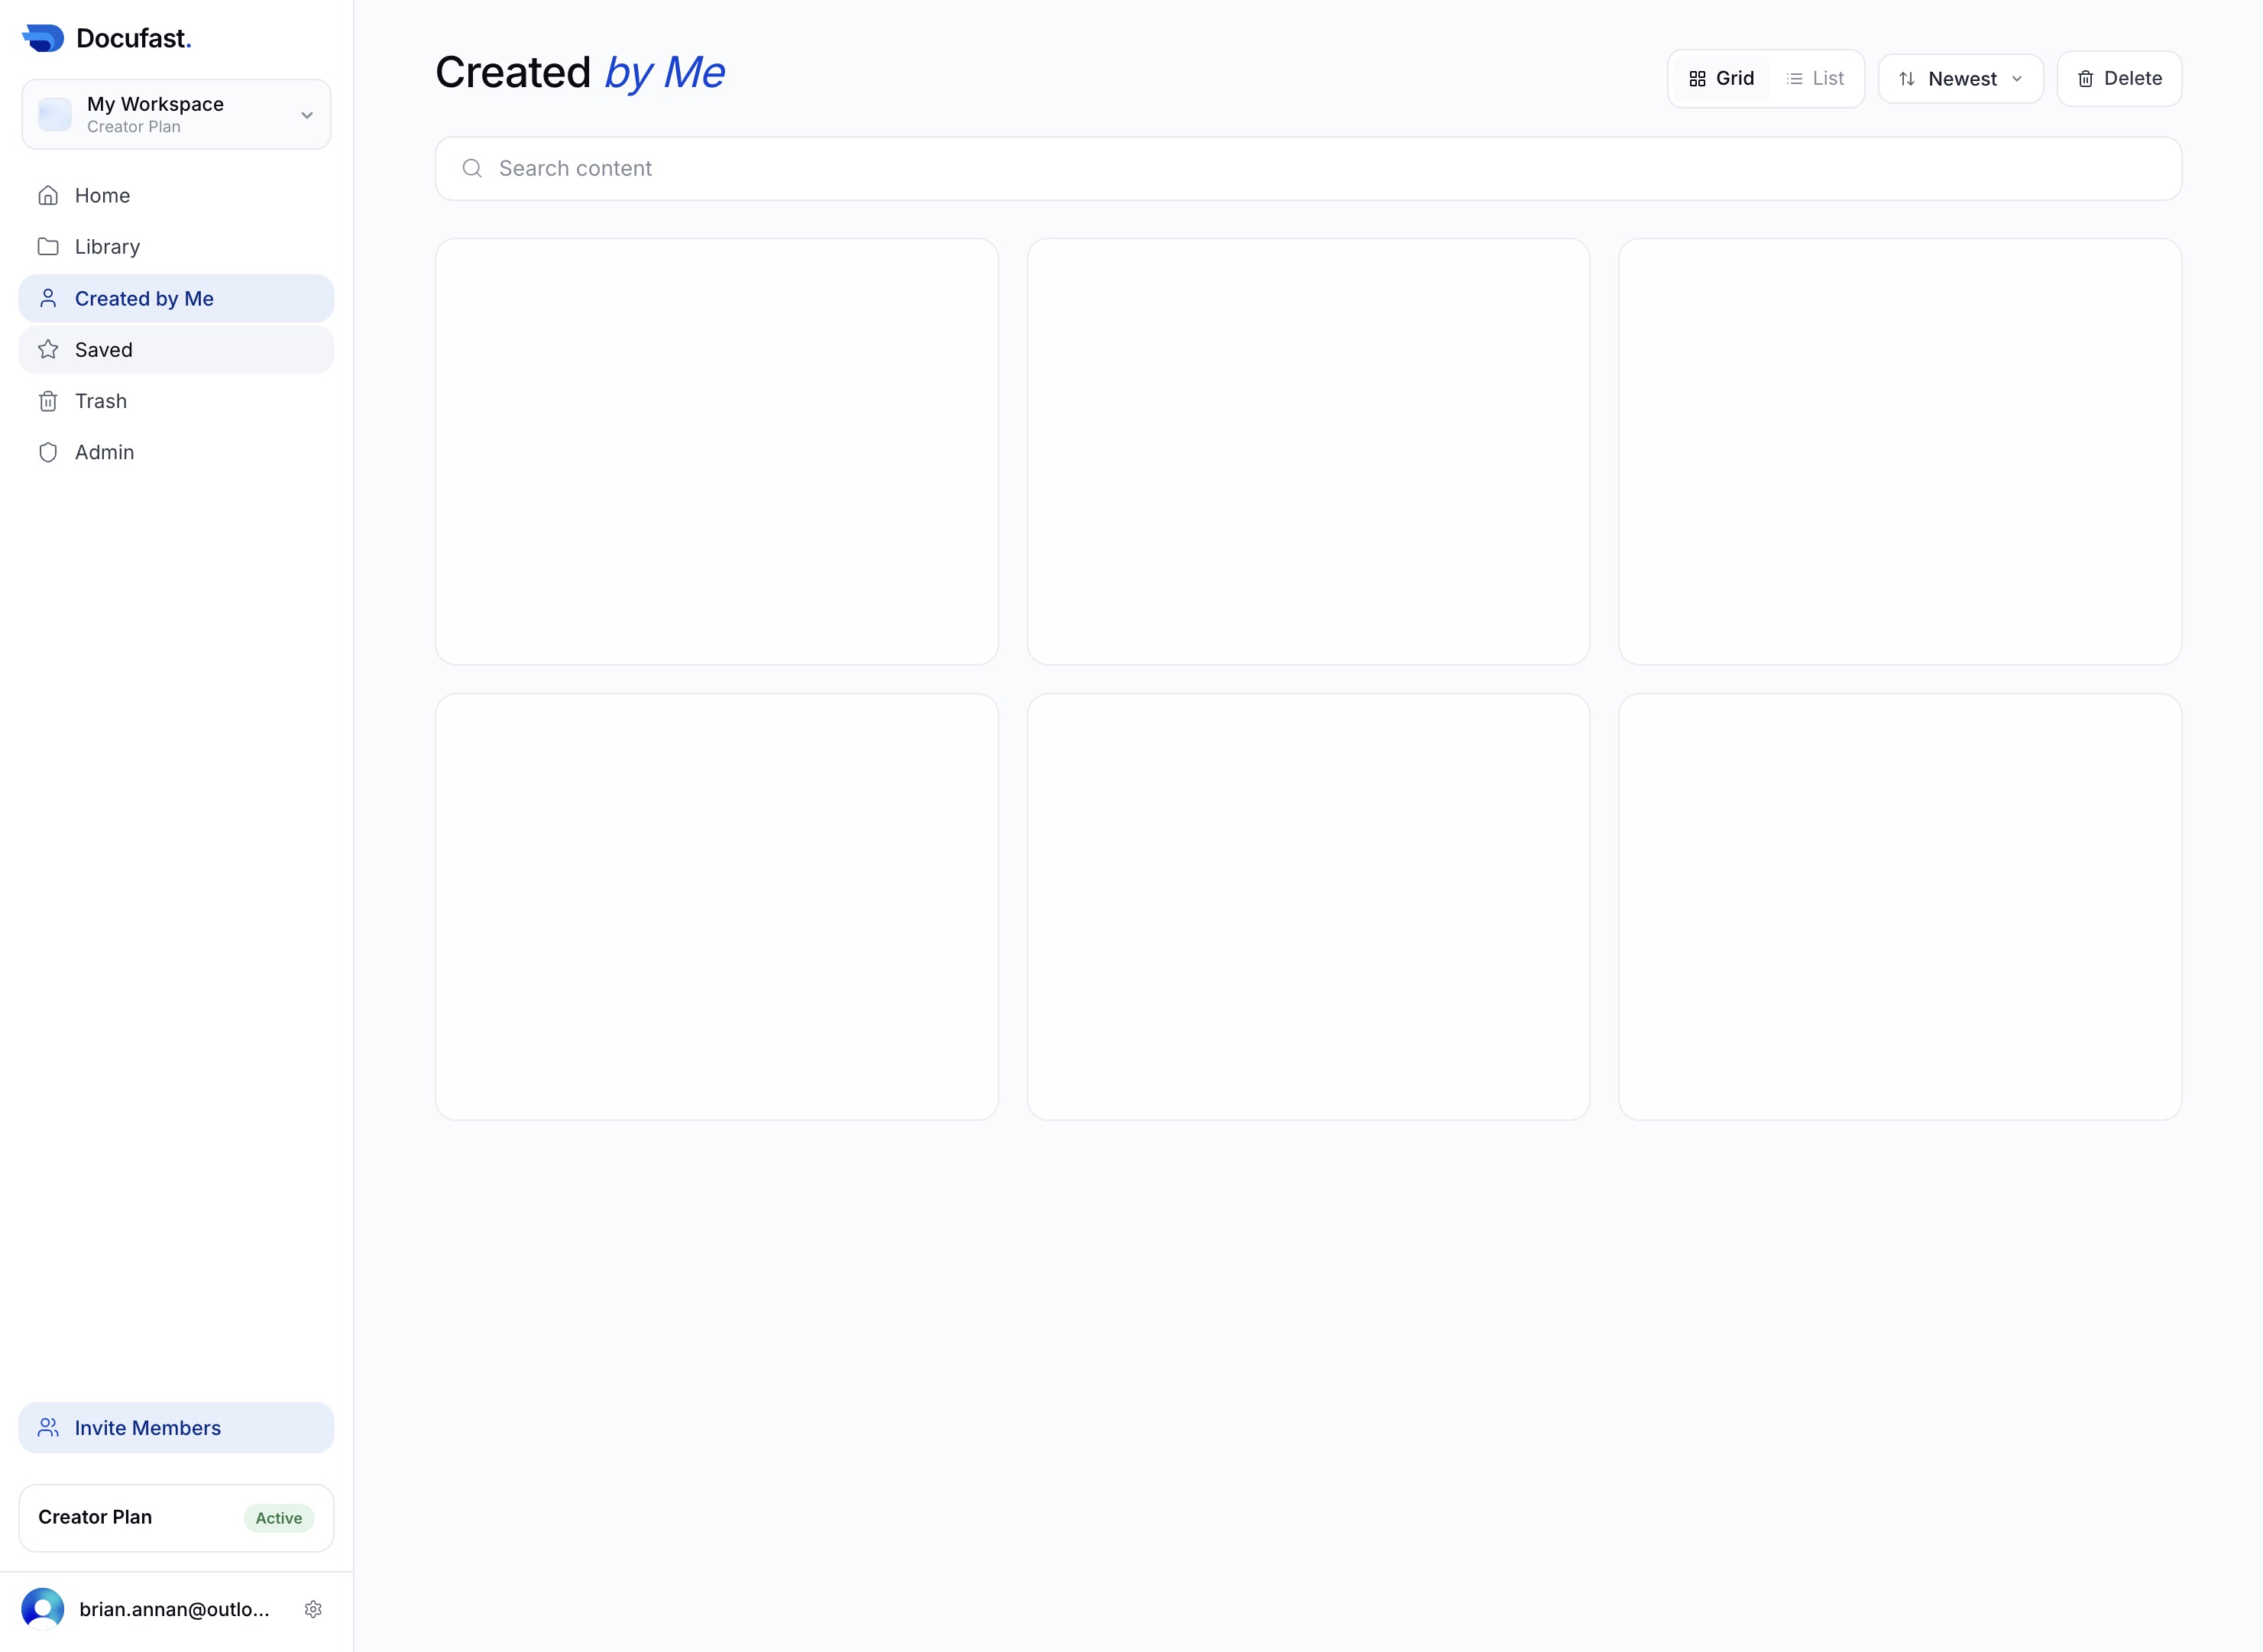
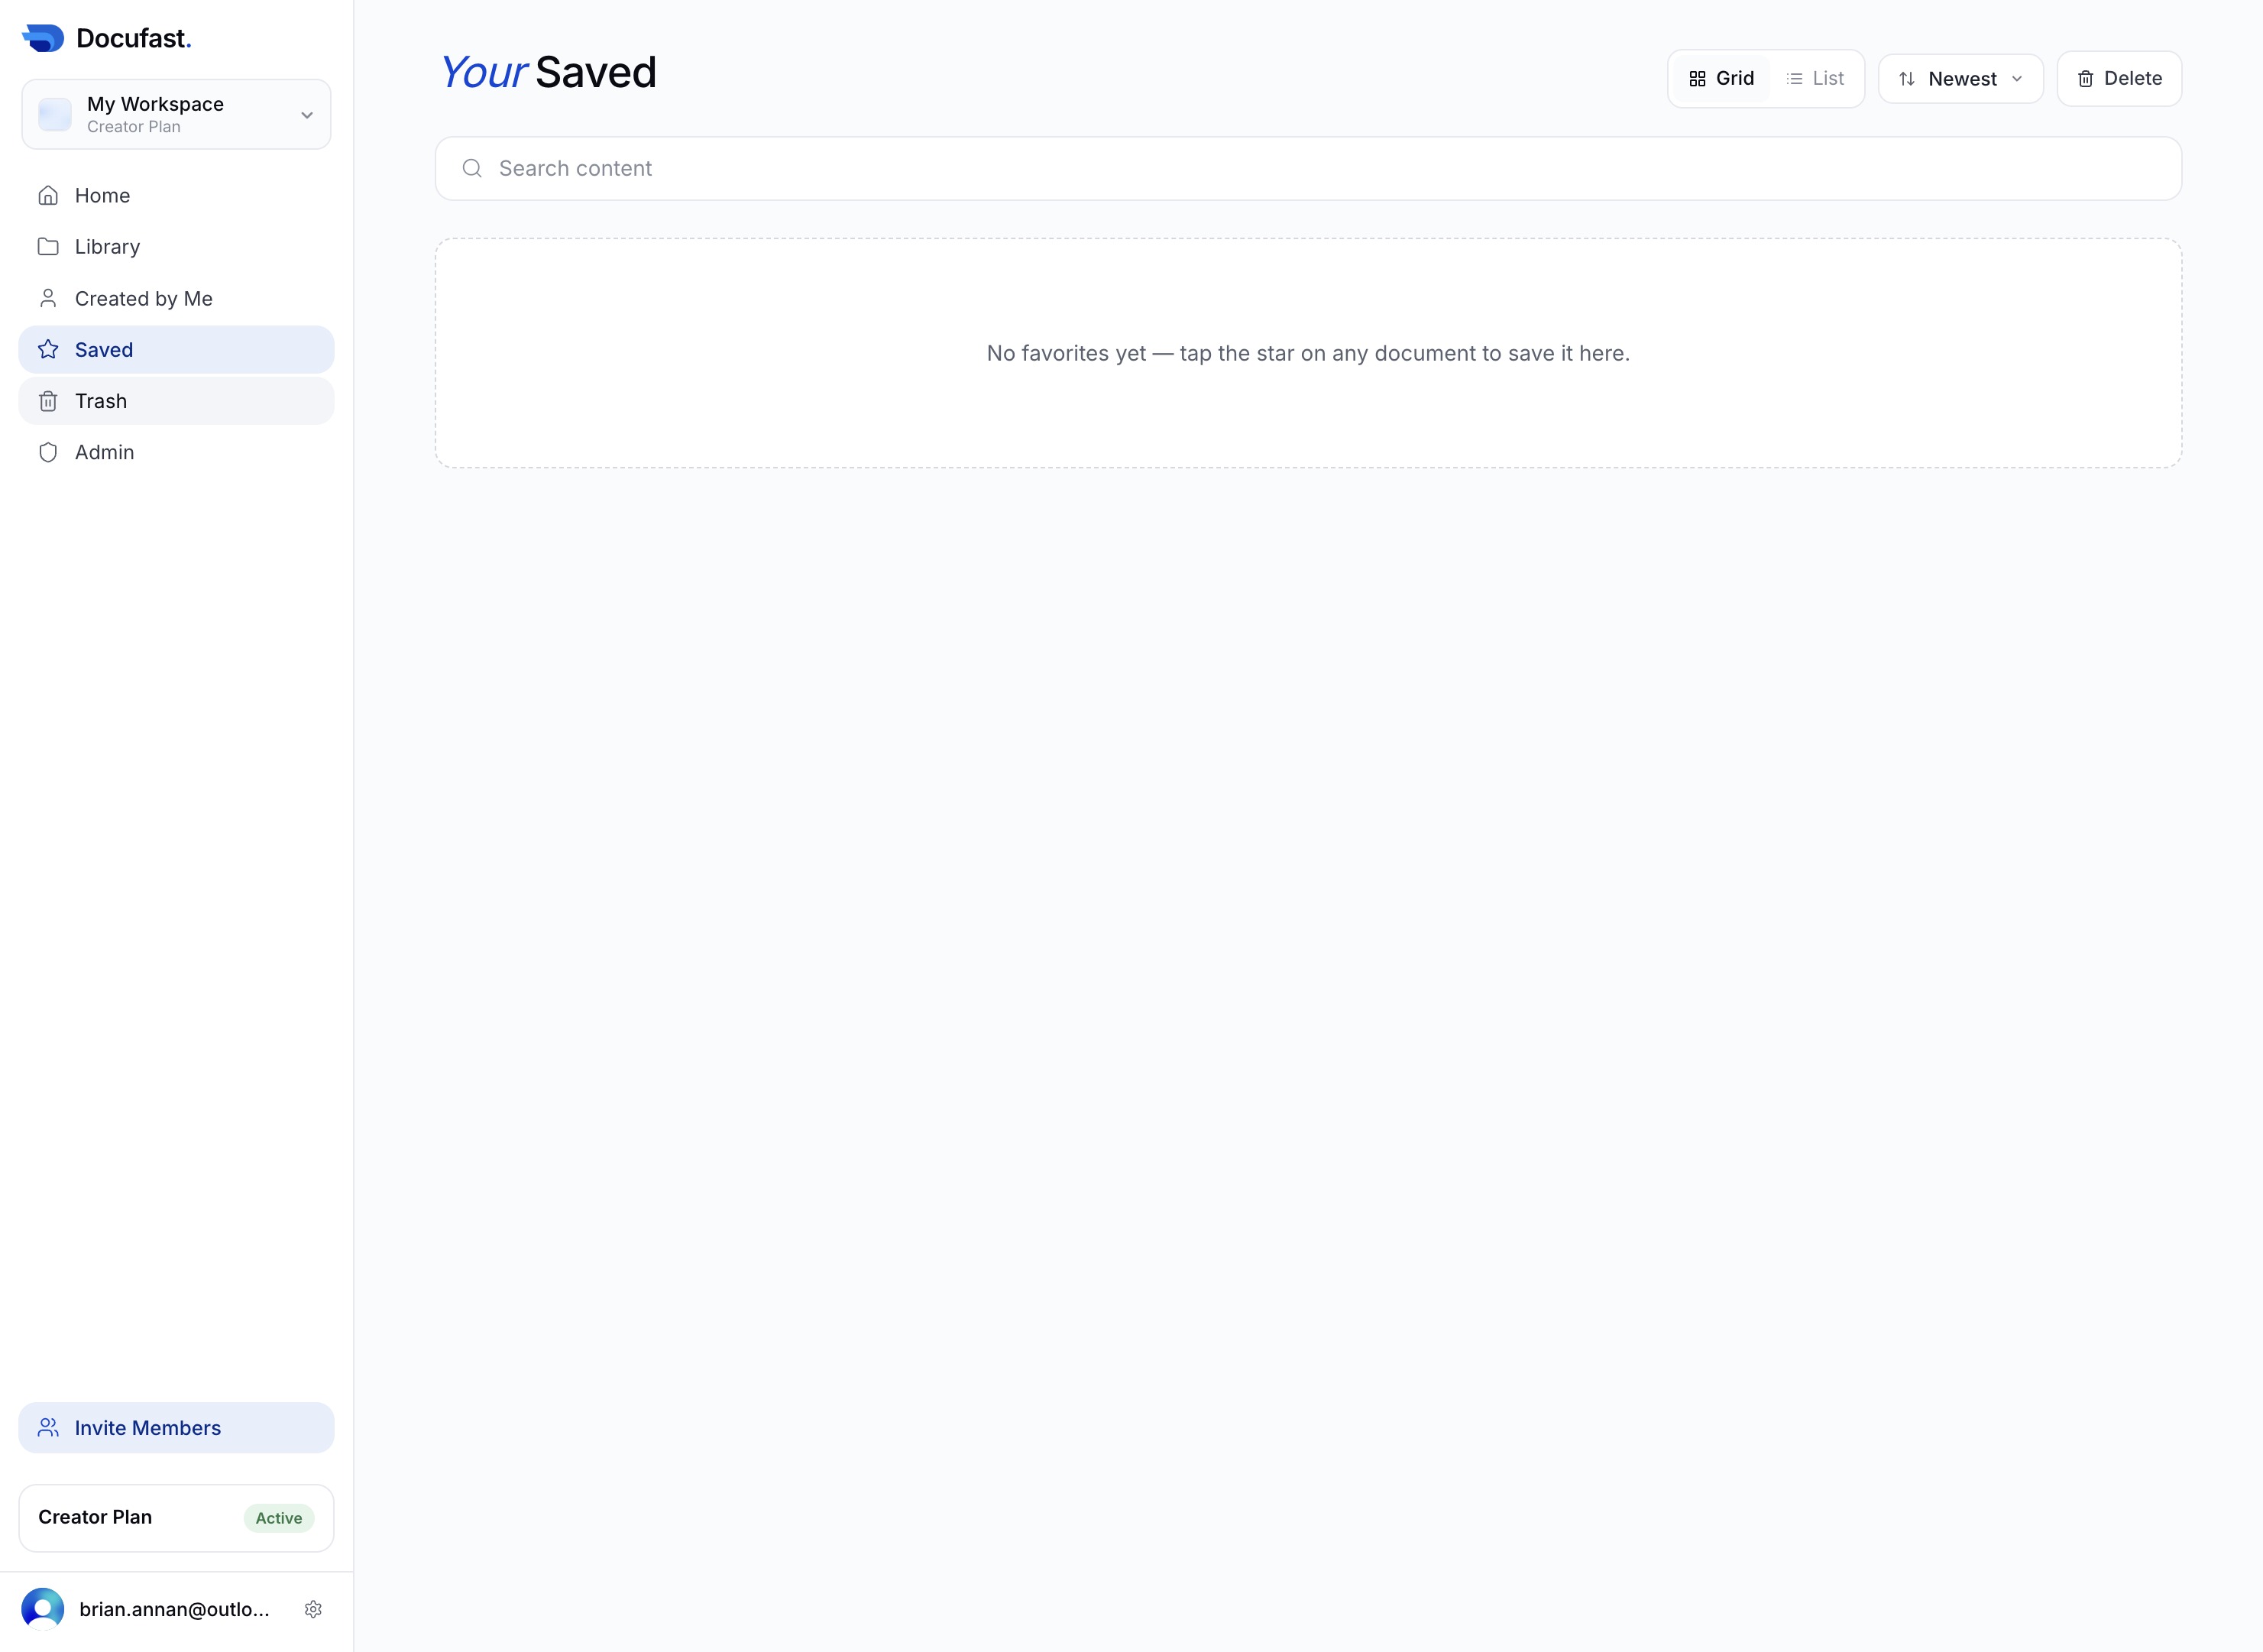
Selecting the 'Saved' option allows you to view the content that you have previously saved for quick access within the 'Created by Me' section.
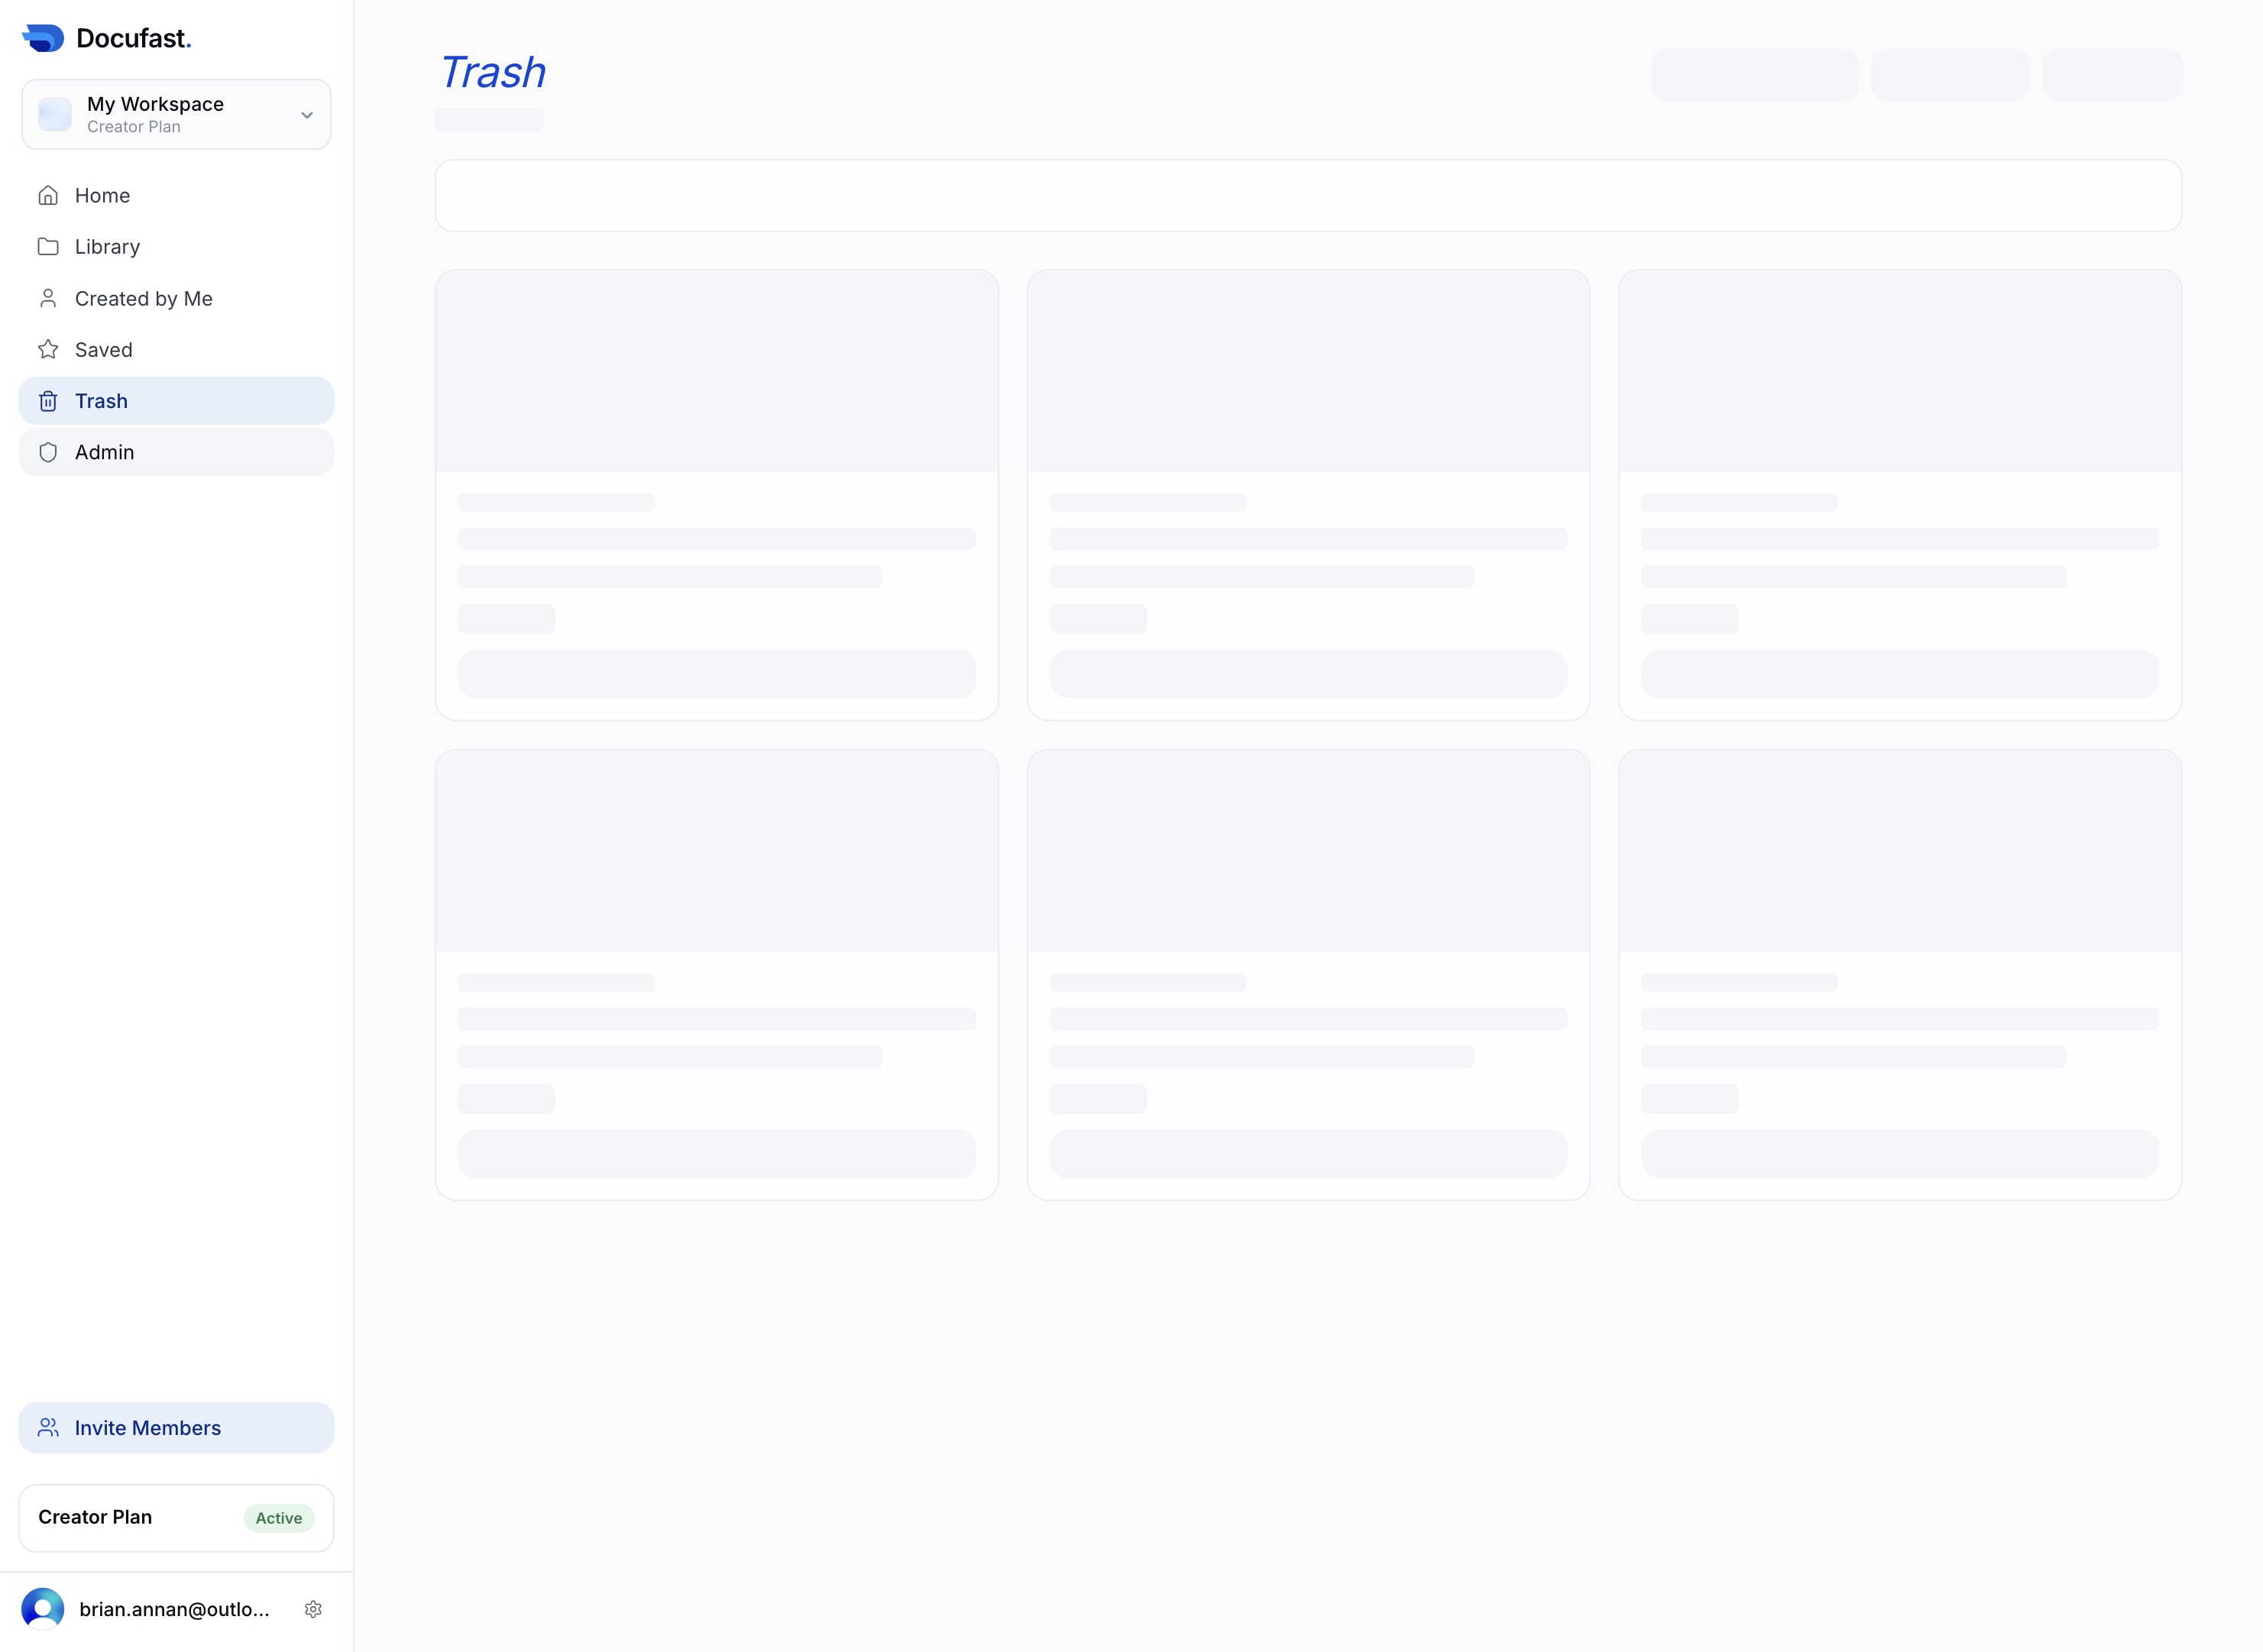
Clicking the Trash icon will allow you to delete selected items from your saved list in Docufast. This action will prompt a confirmation to ensure you want to permanently remove the chosen content.

Clicking the Admin link will direct you to the administrative settings where you can manage user permissions and application configurations.
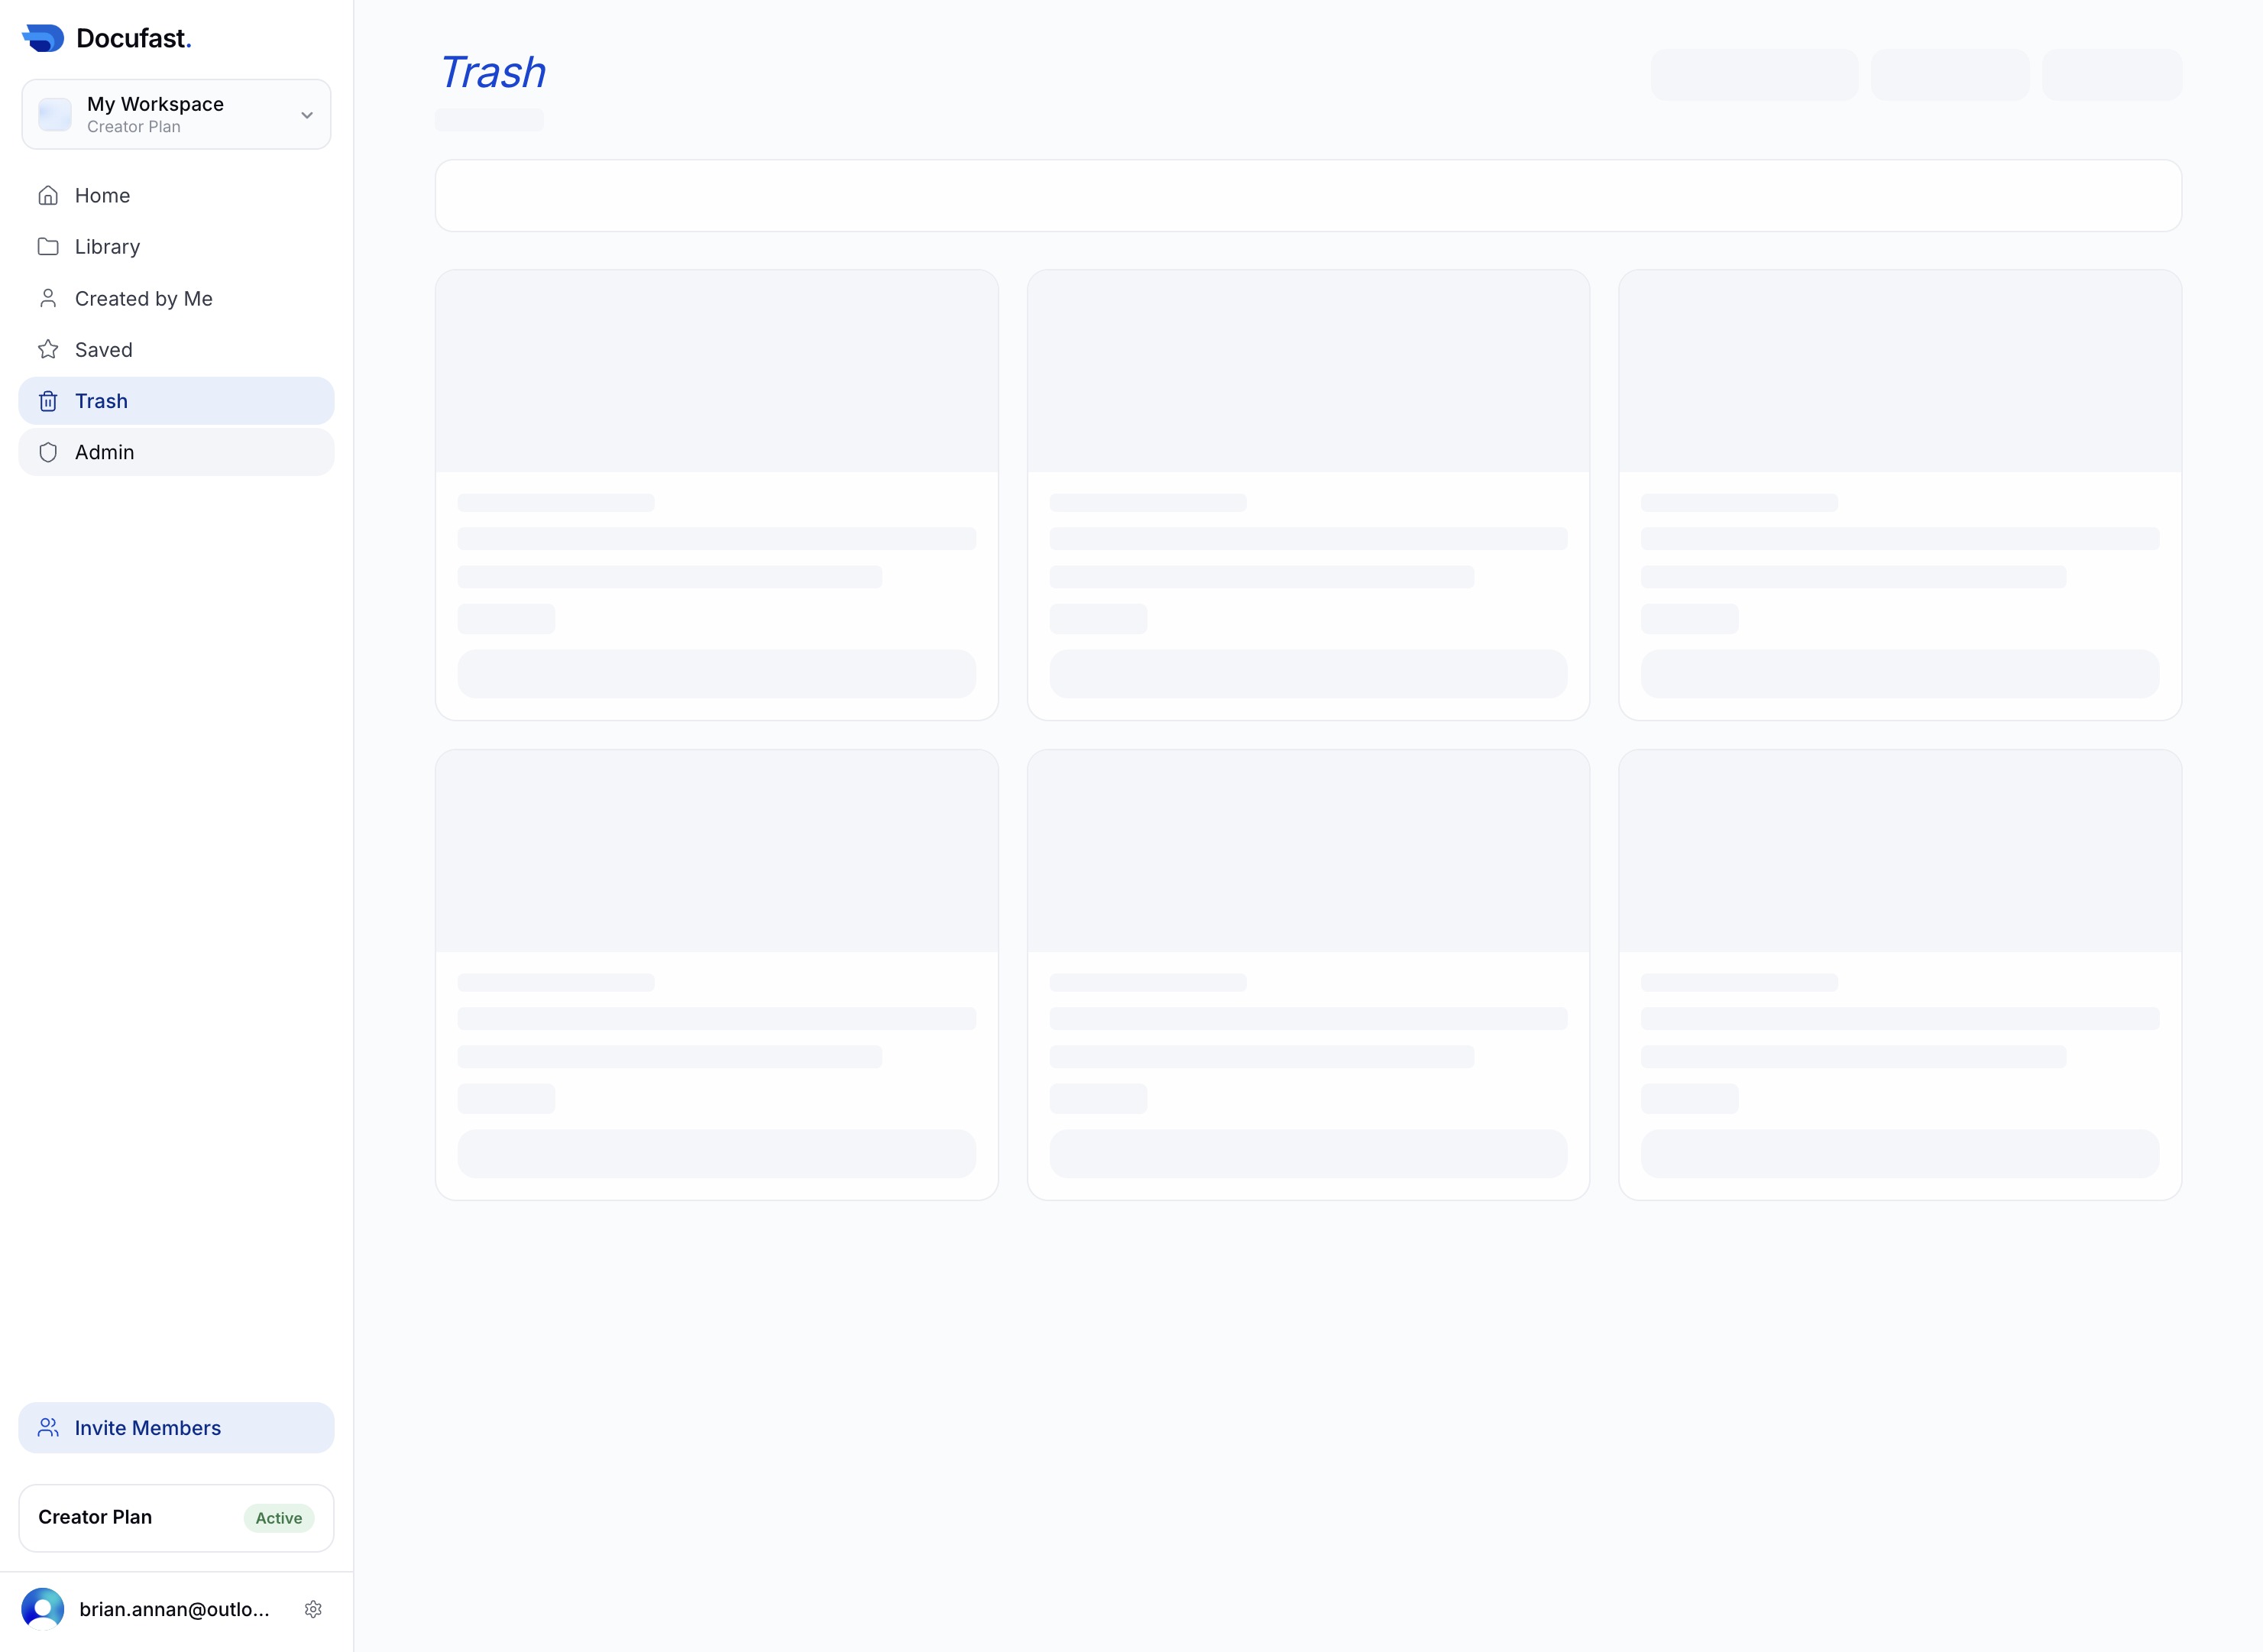
Clicking this link will direct you to the Platform users section, where you can search, filter, and manage user accounts across the platform.

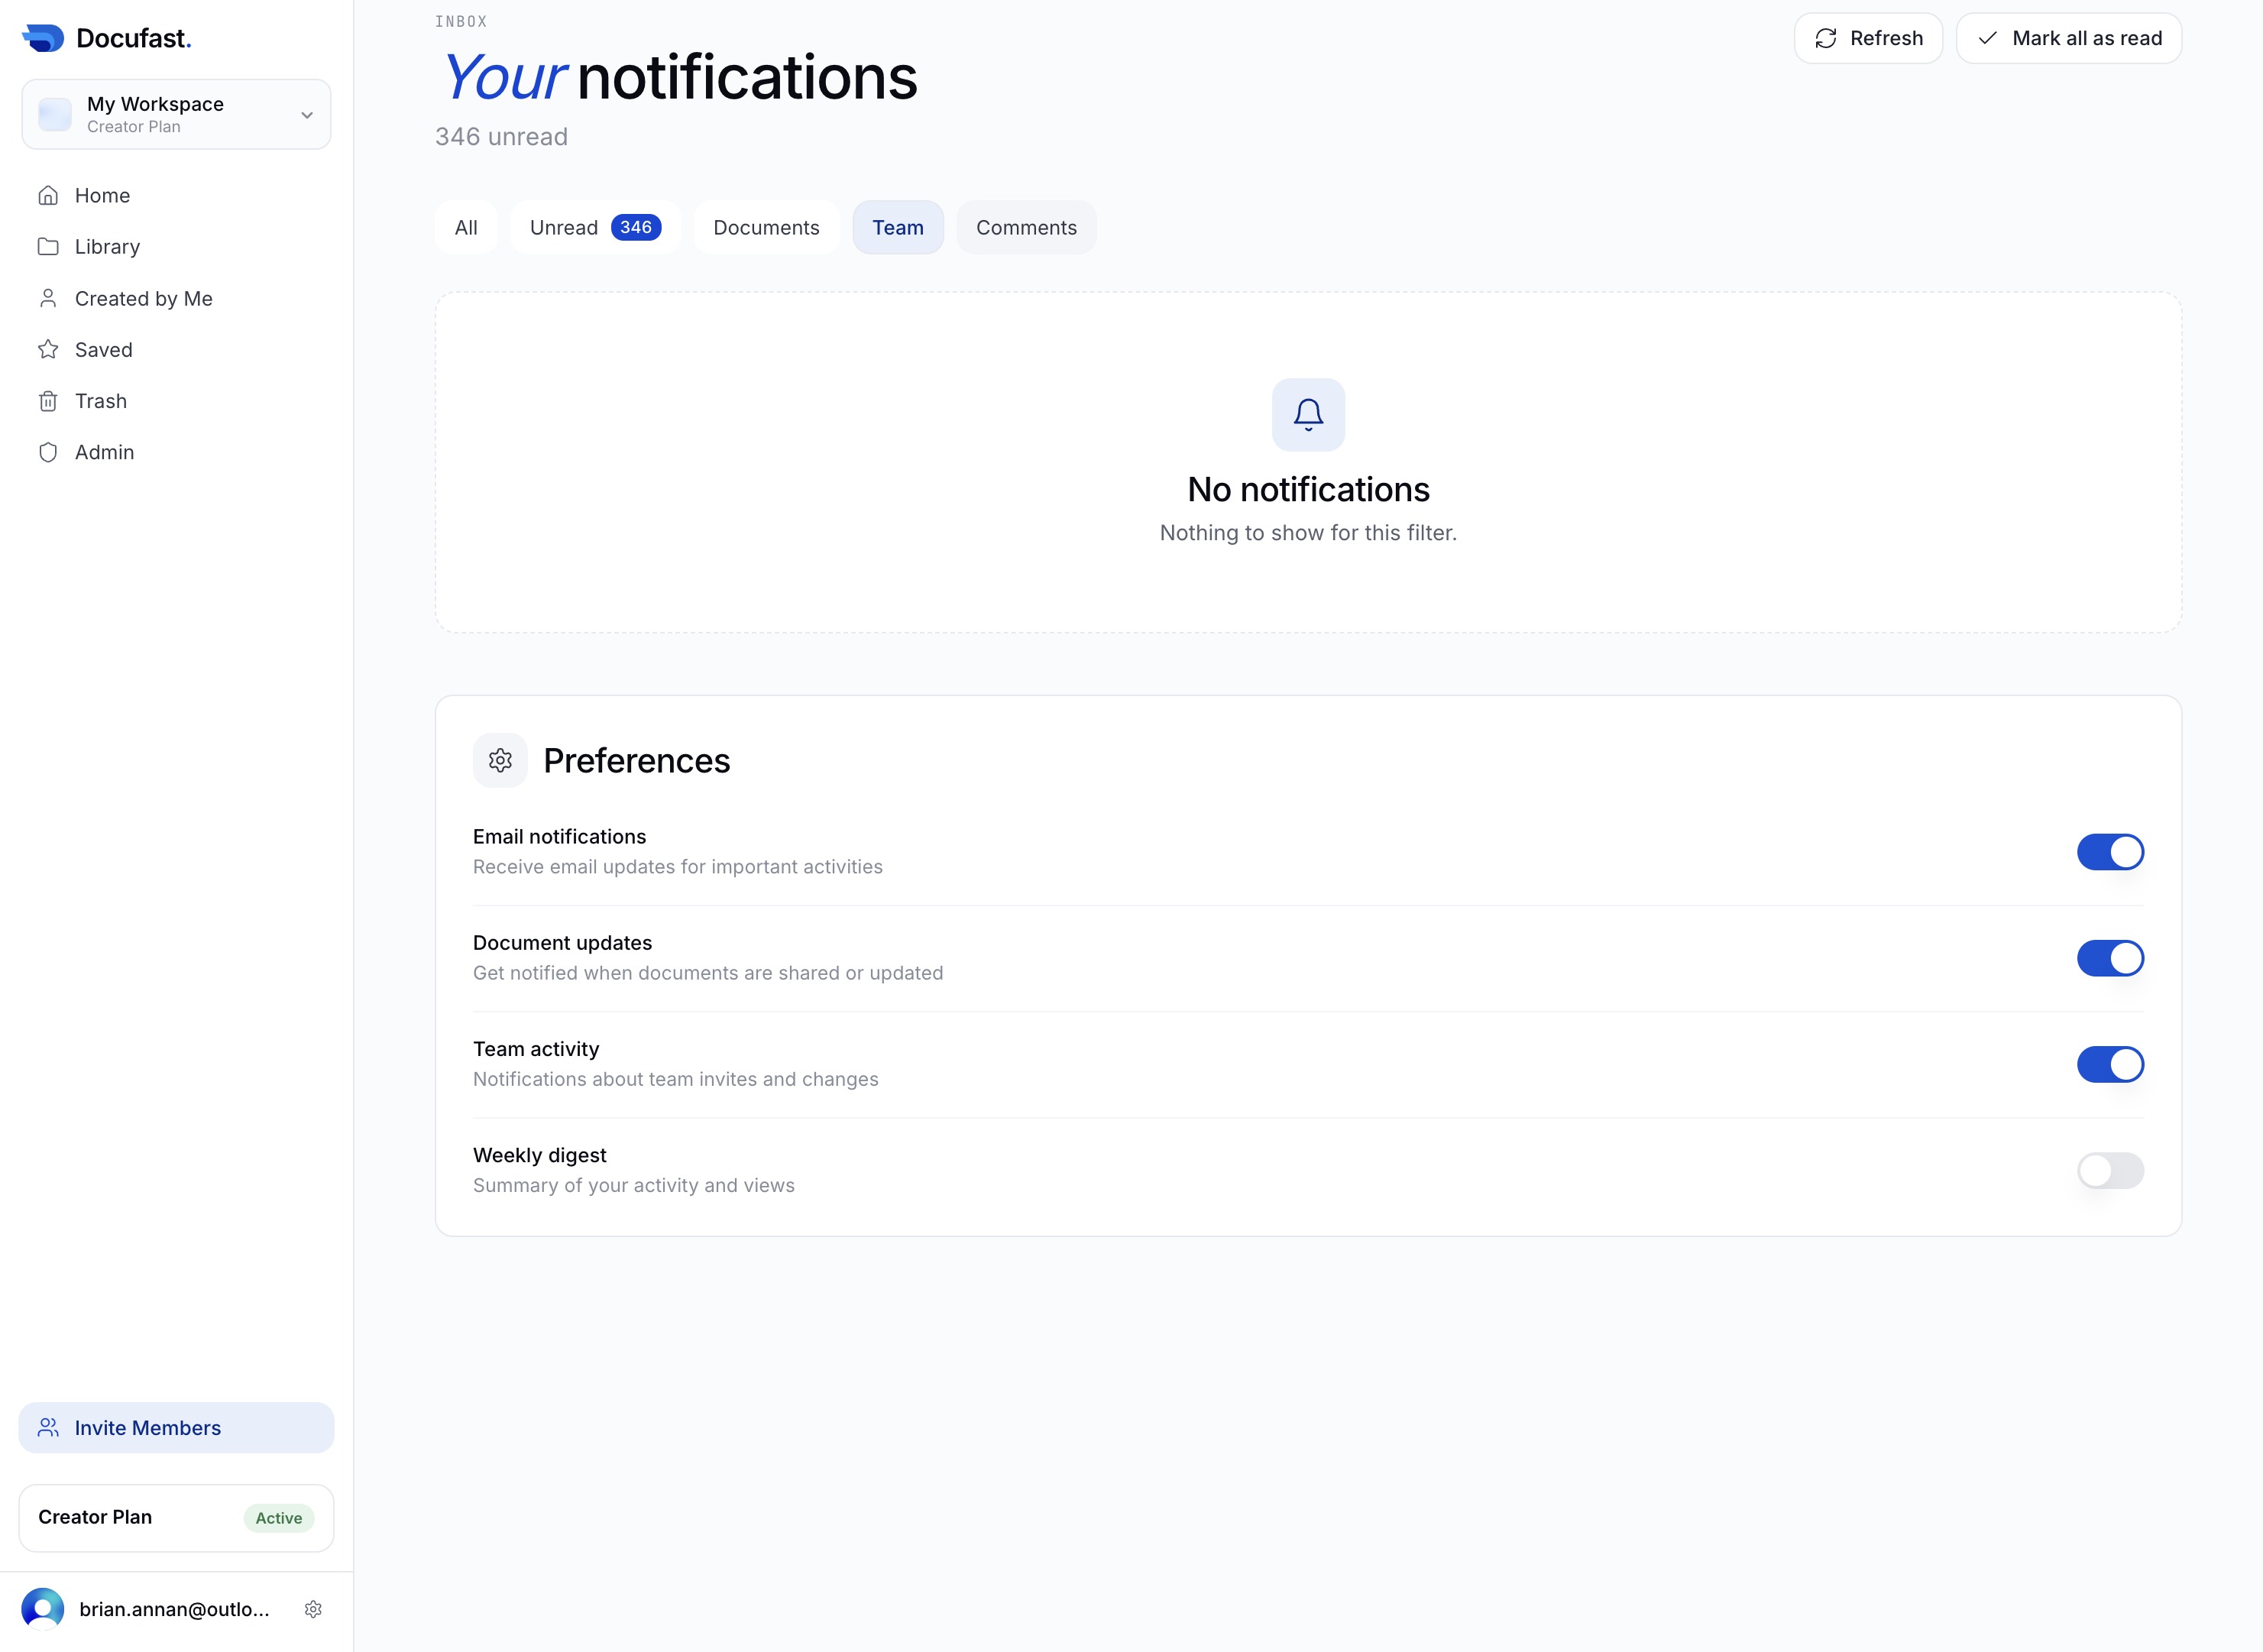
Clicking the Notifications link will display any alerts and updates related to your account, allowing you to stay informed about important activities.

This action will open your unread notifications, allowing you to review any new documents or updates related to your HubSpot activities.
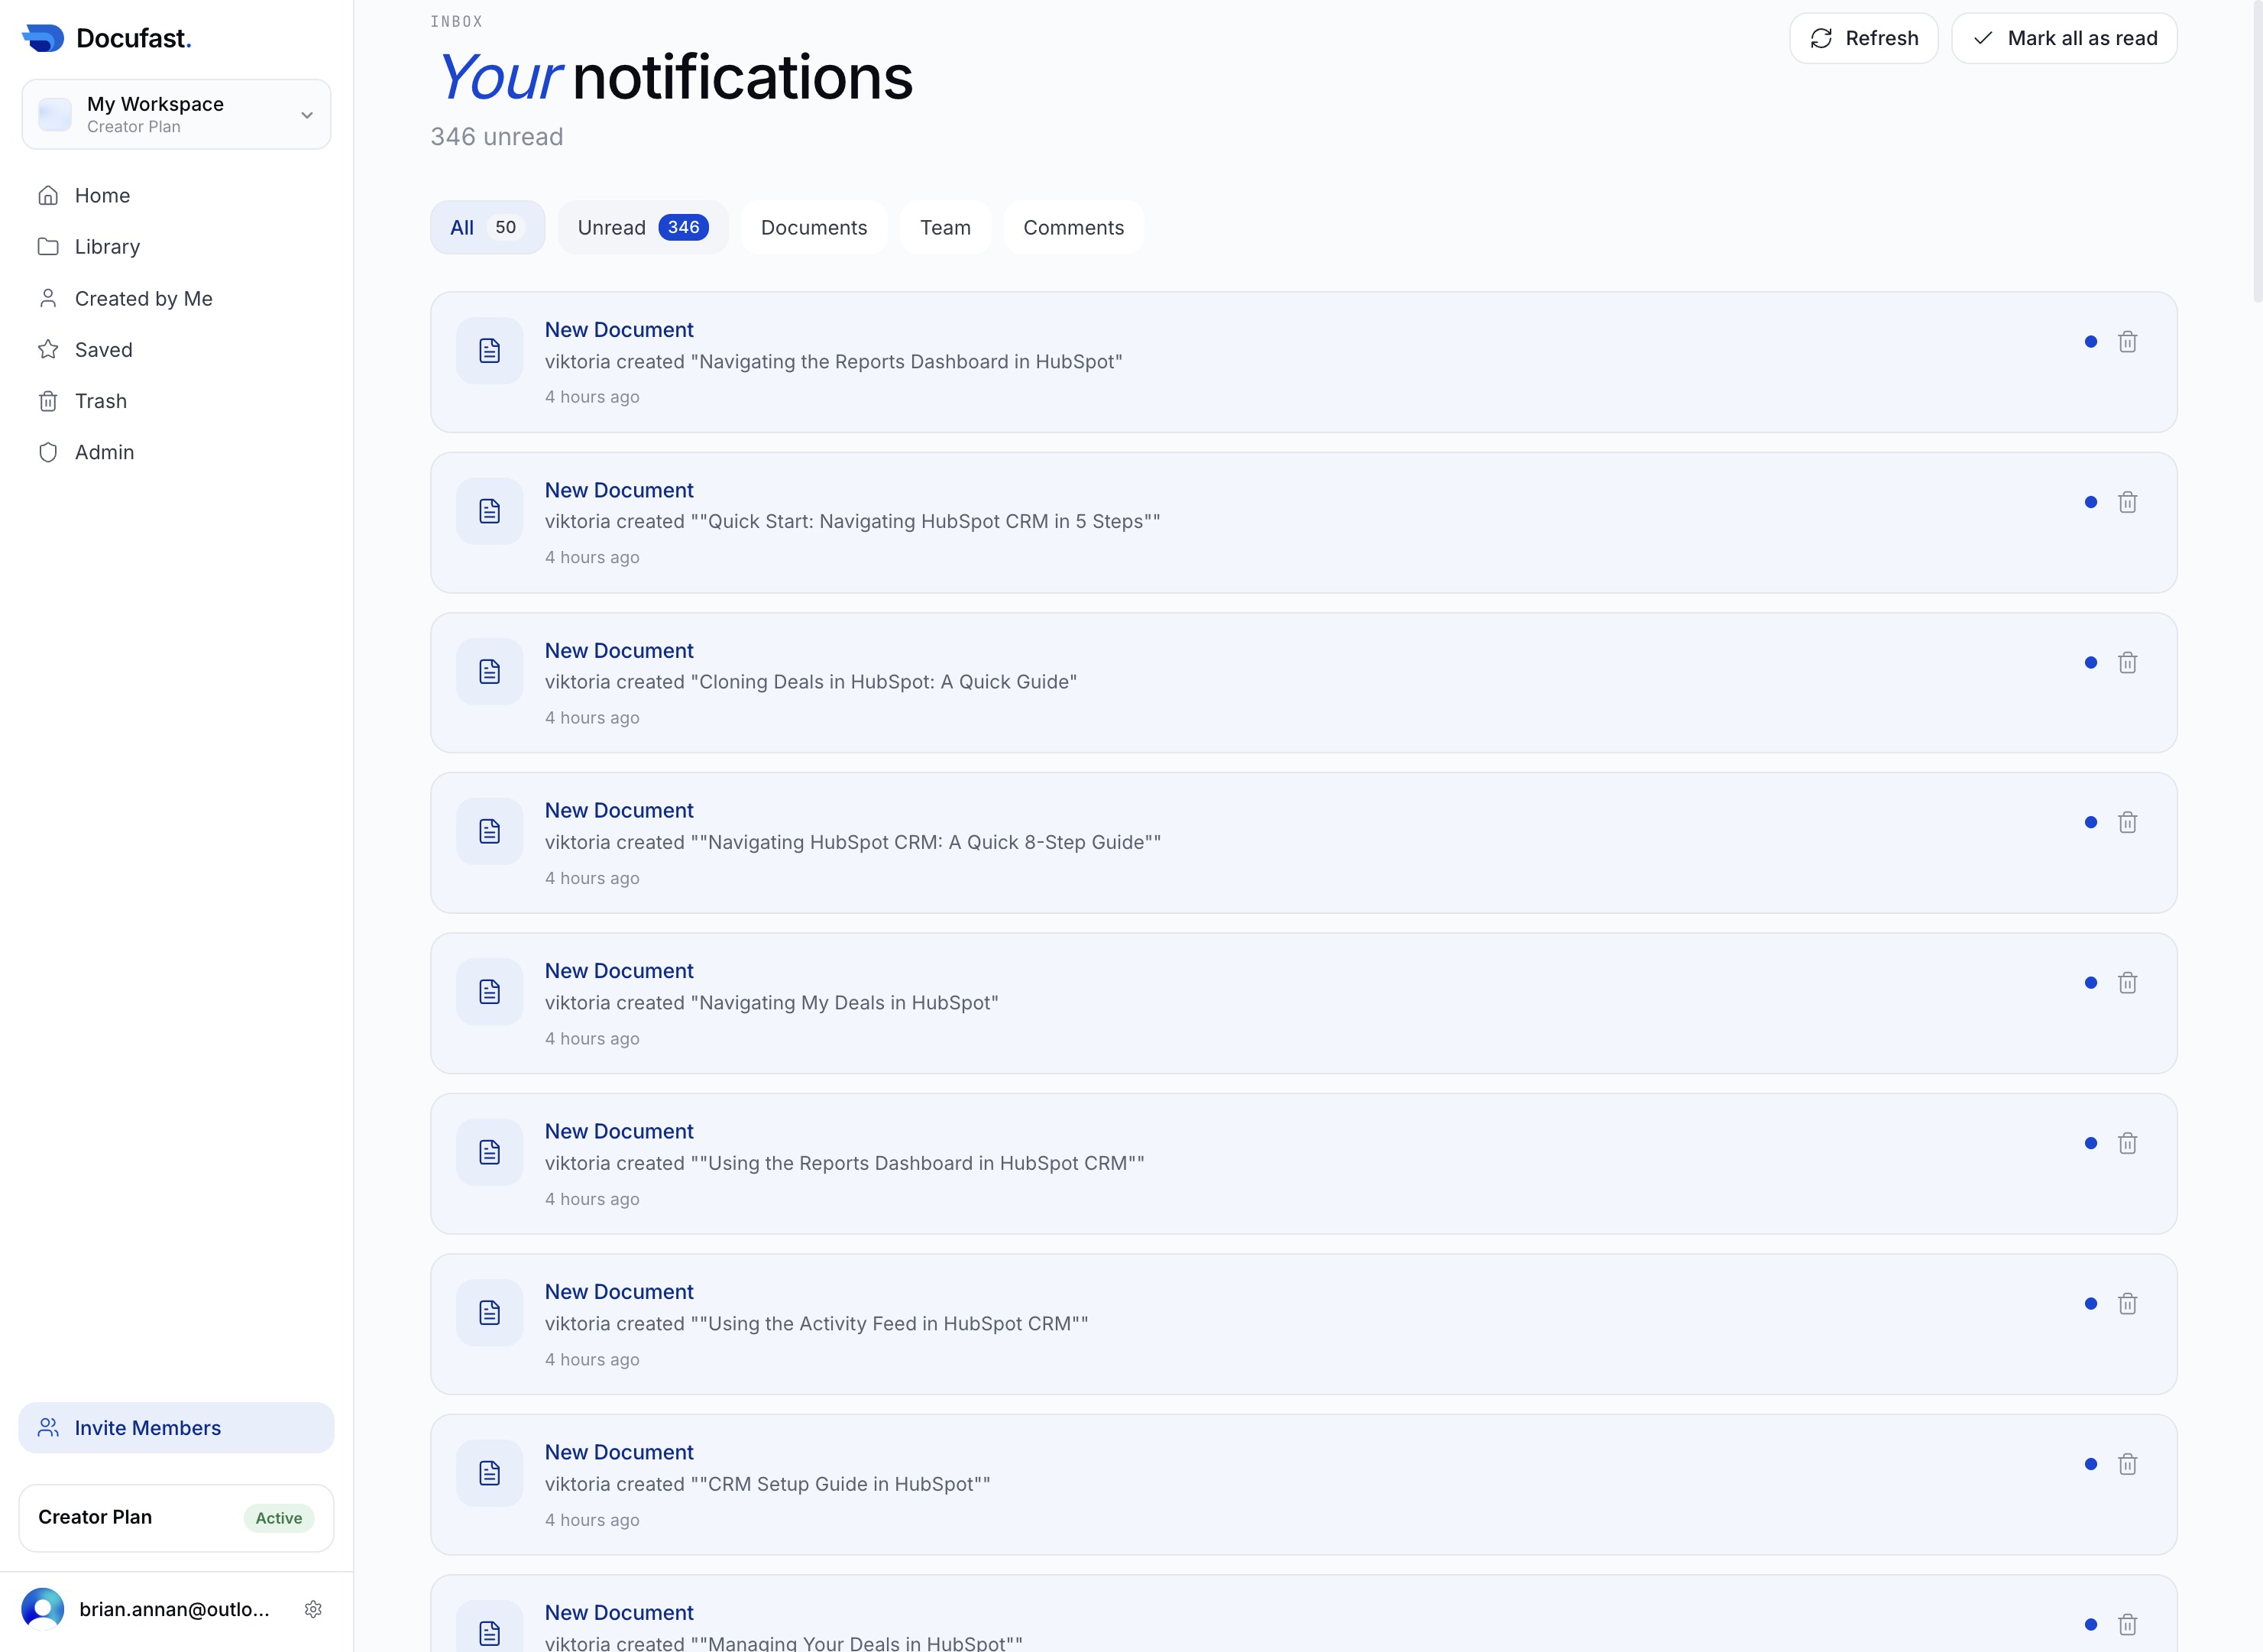
This action will open the Documents section, allowing you to view and manage your stored documents in HubSpot.
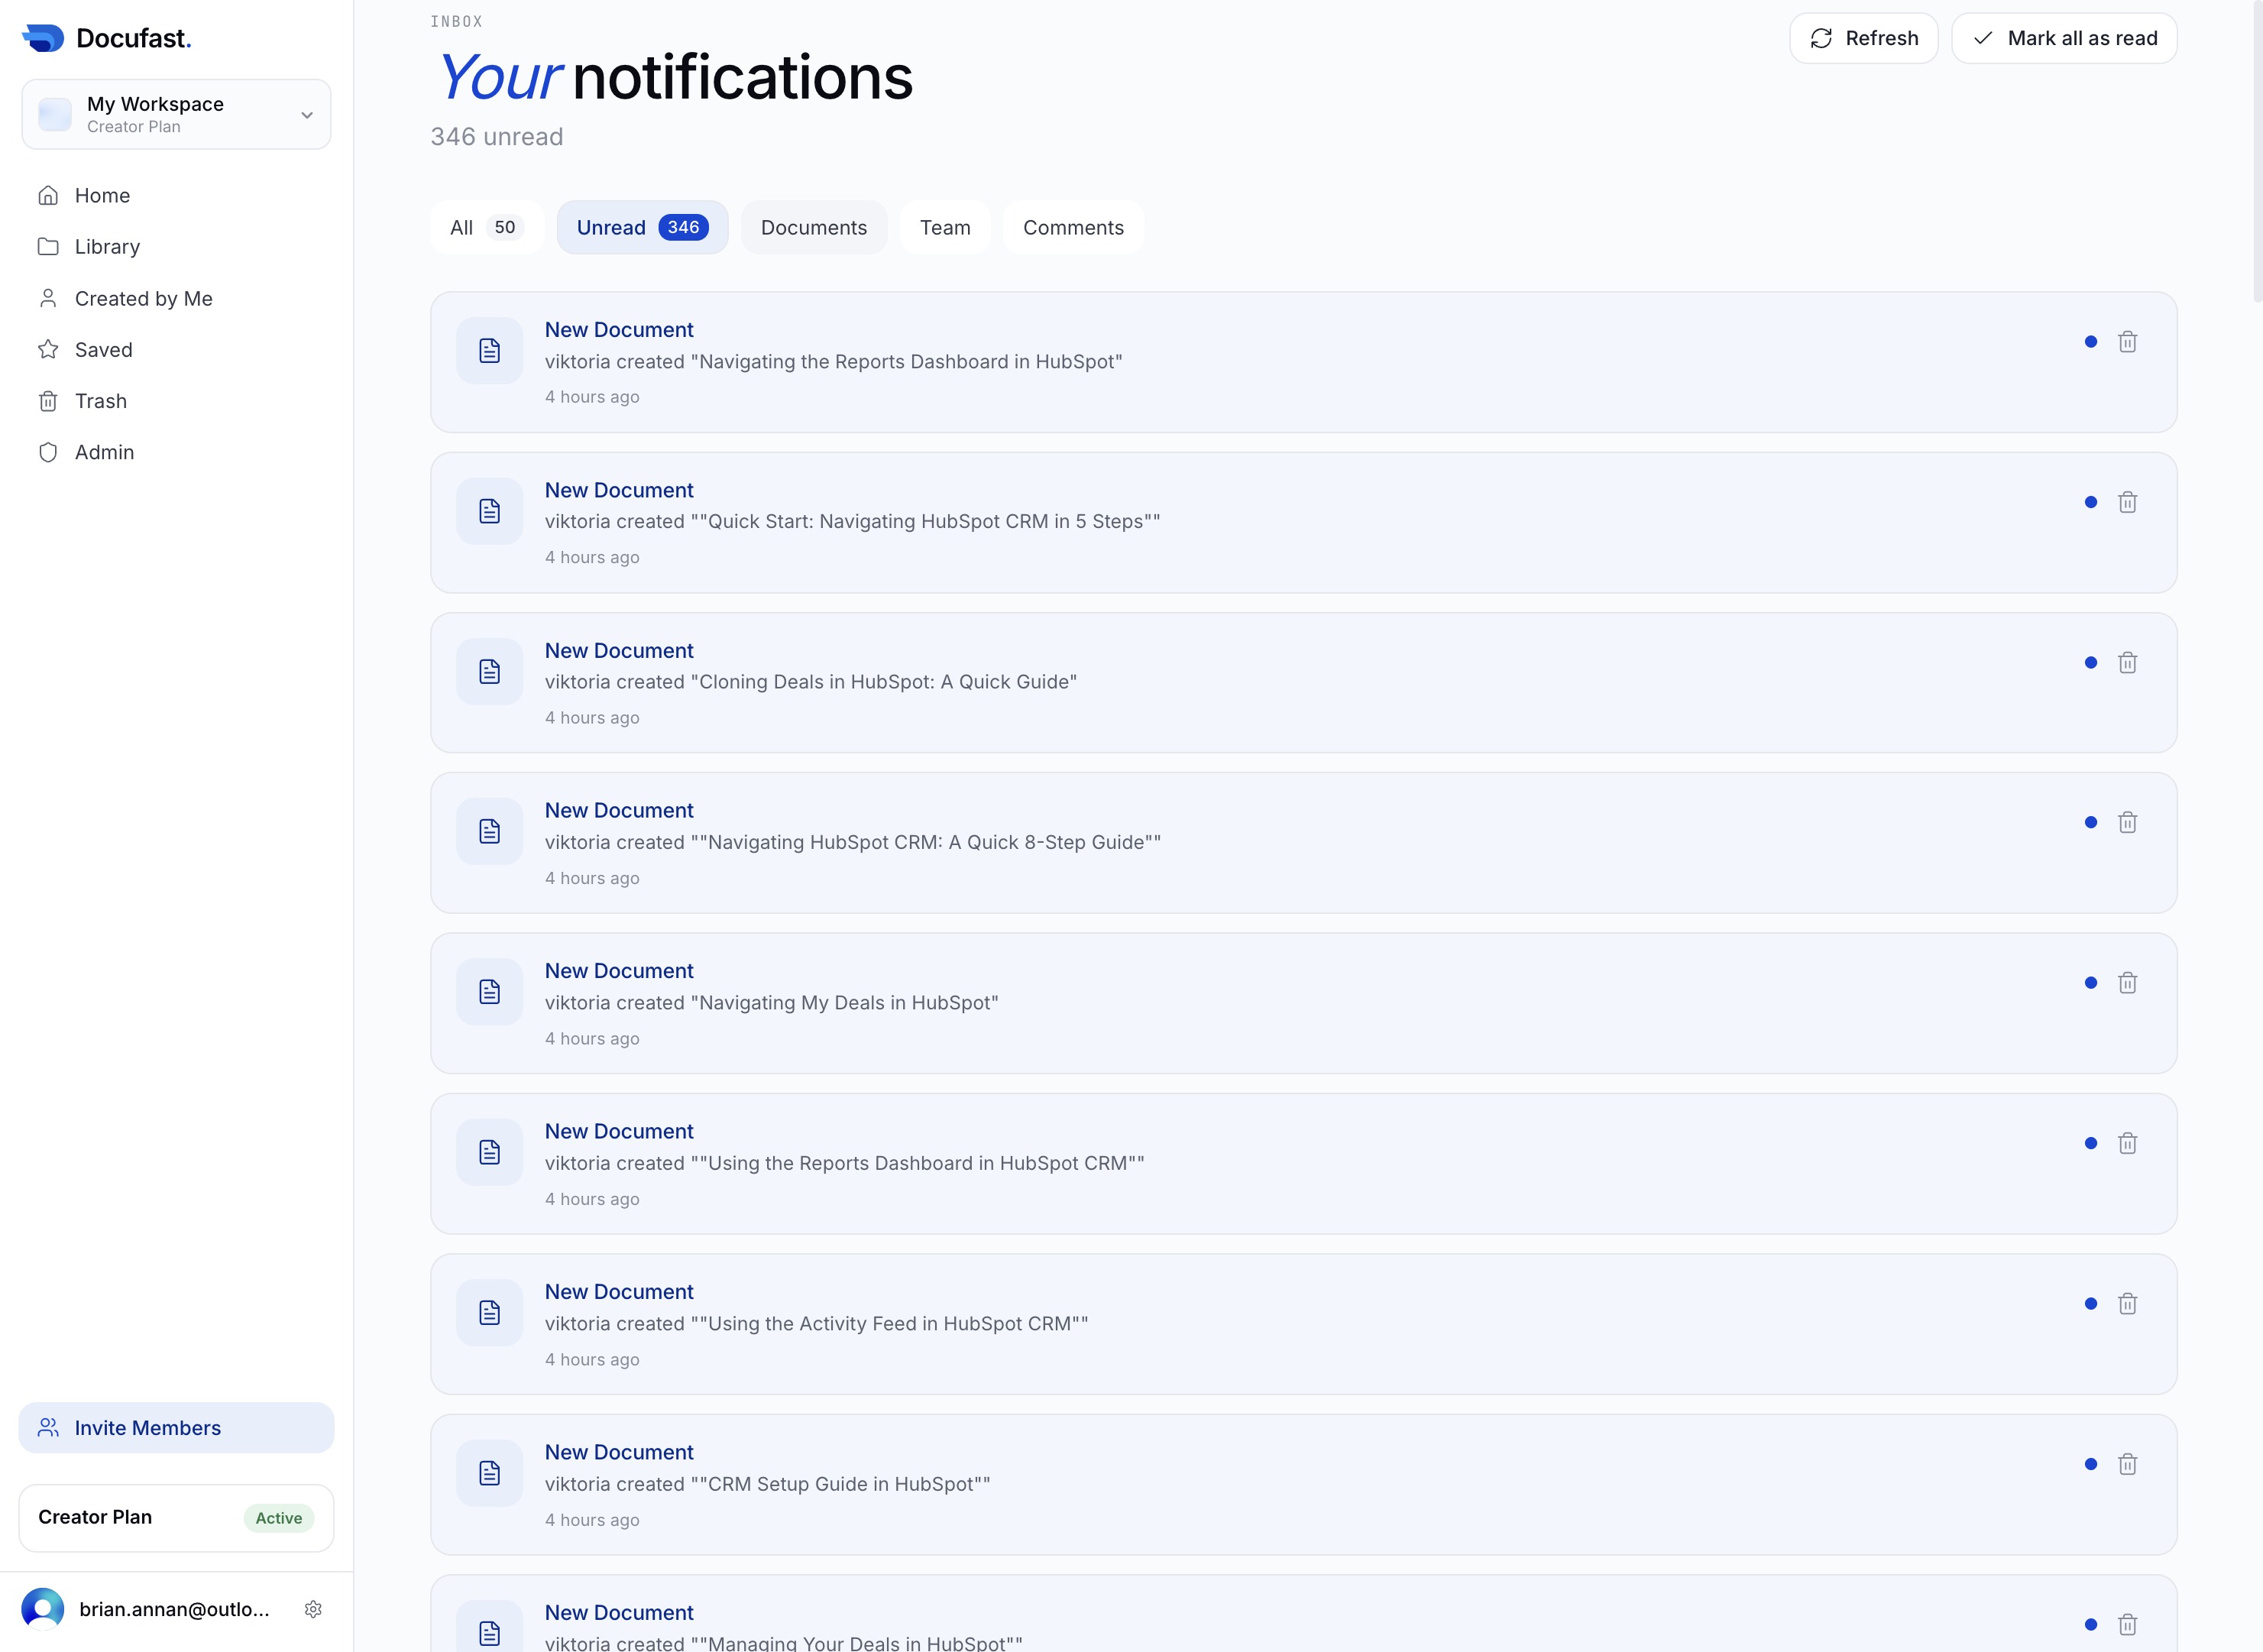
Clicking the 'Team' button will direct you to the team management section where you can view and manage team members and their roles.
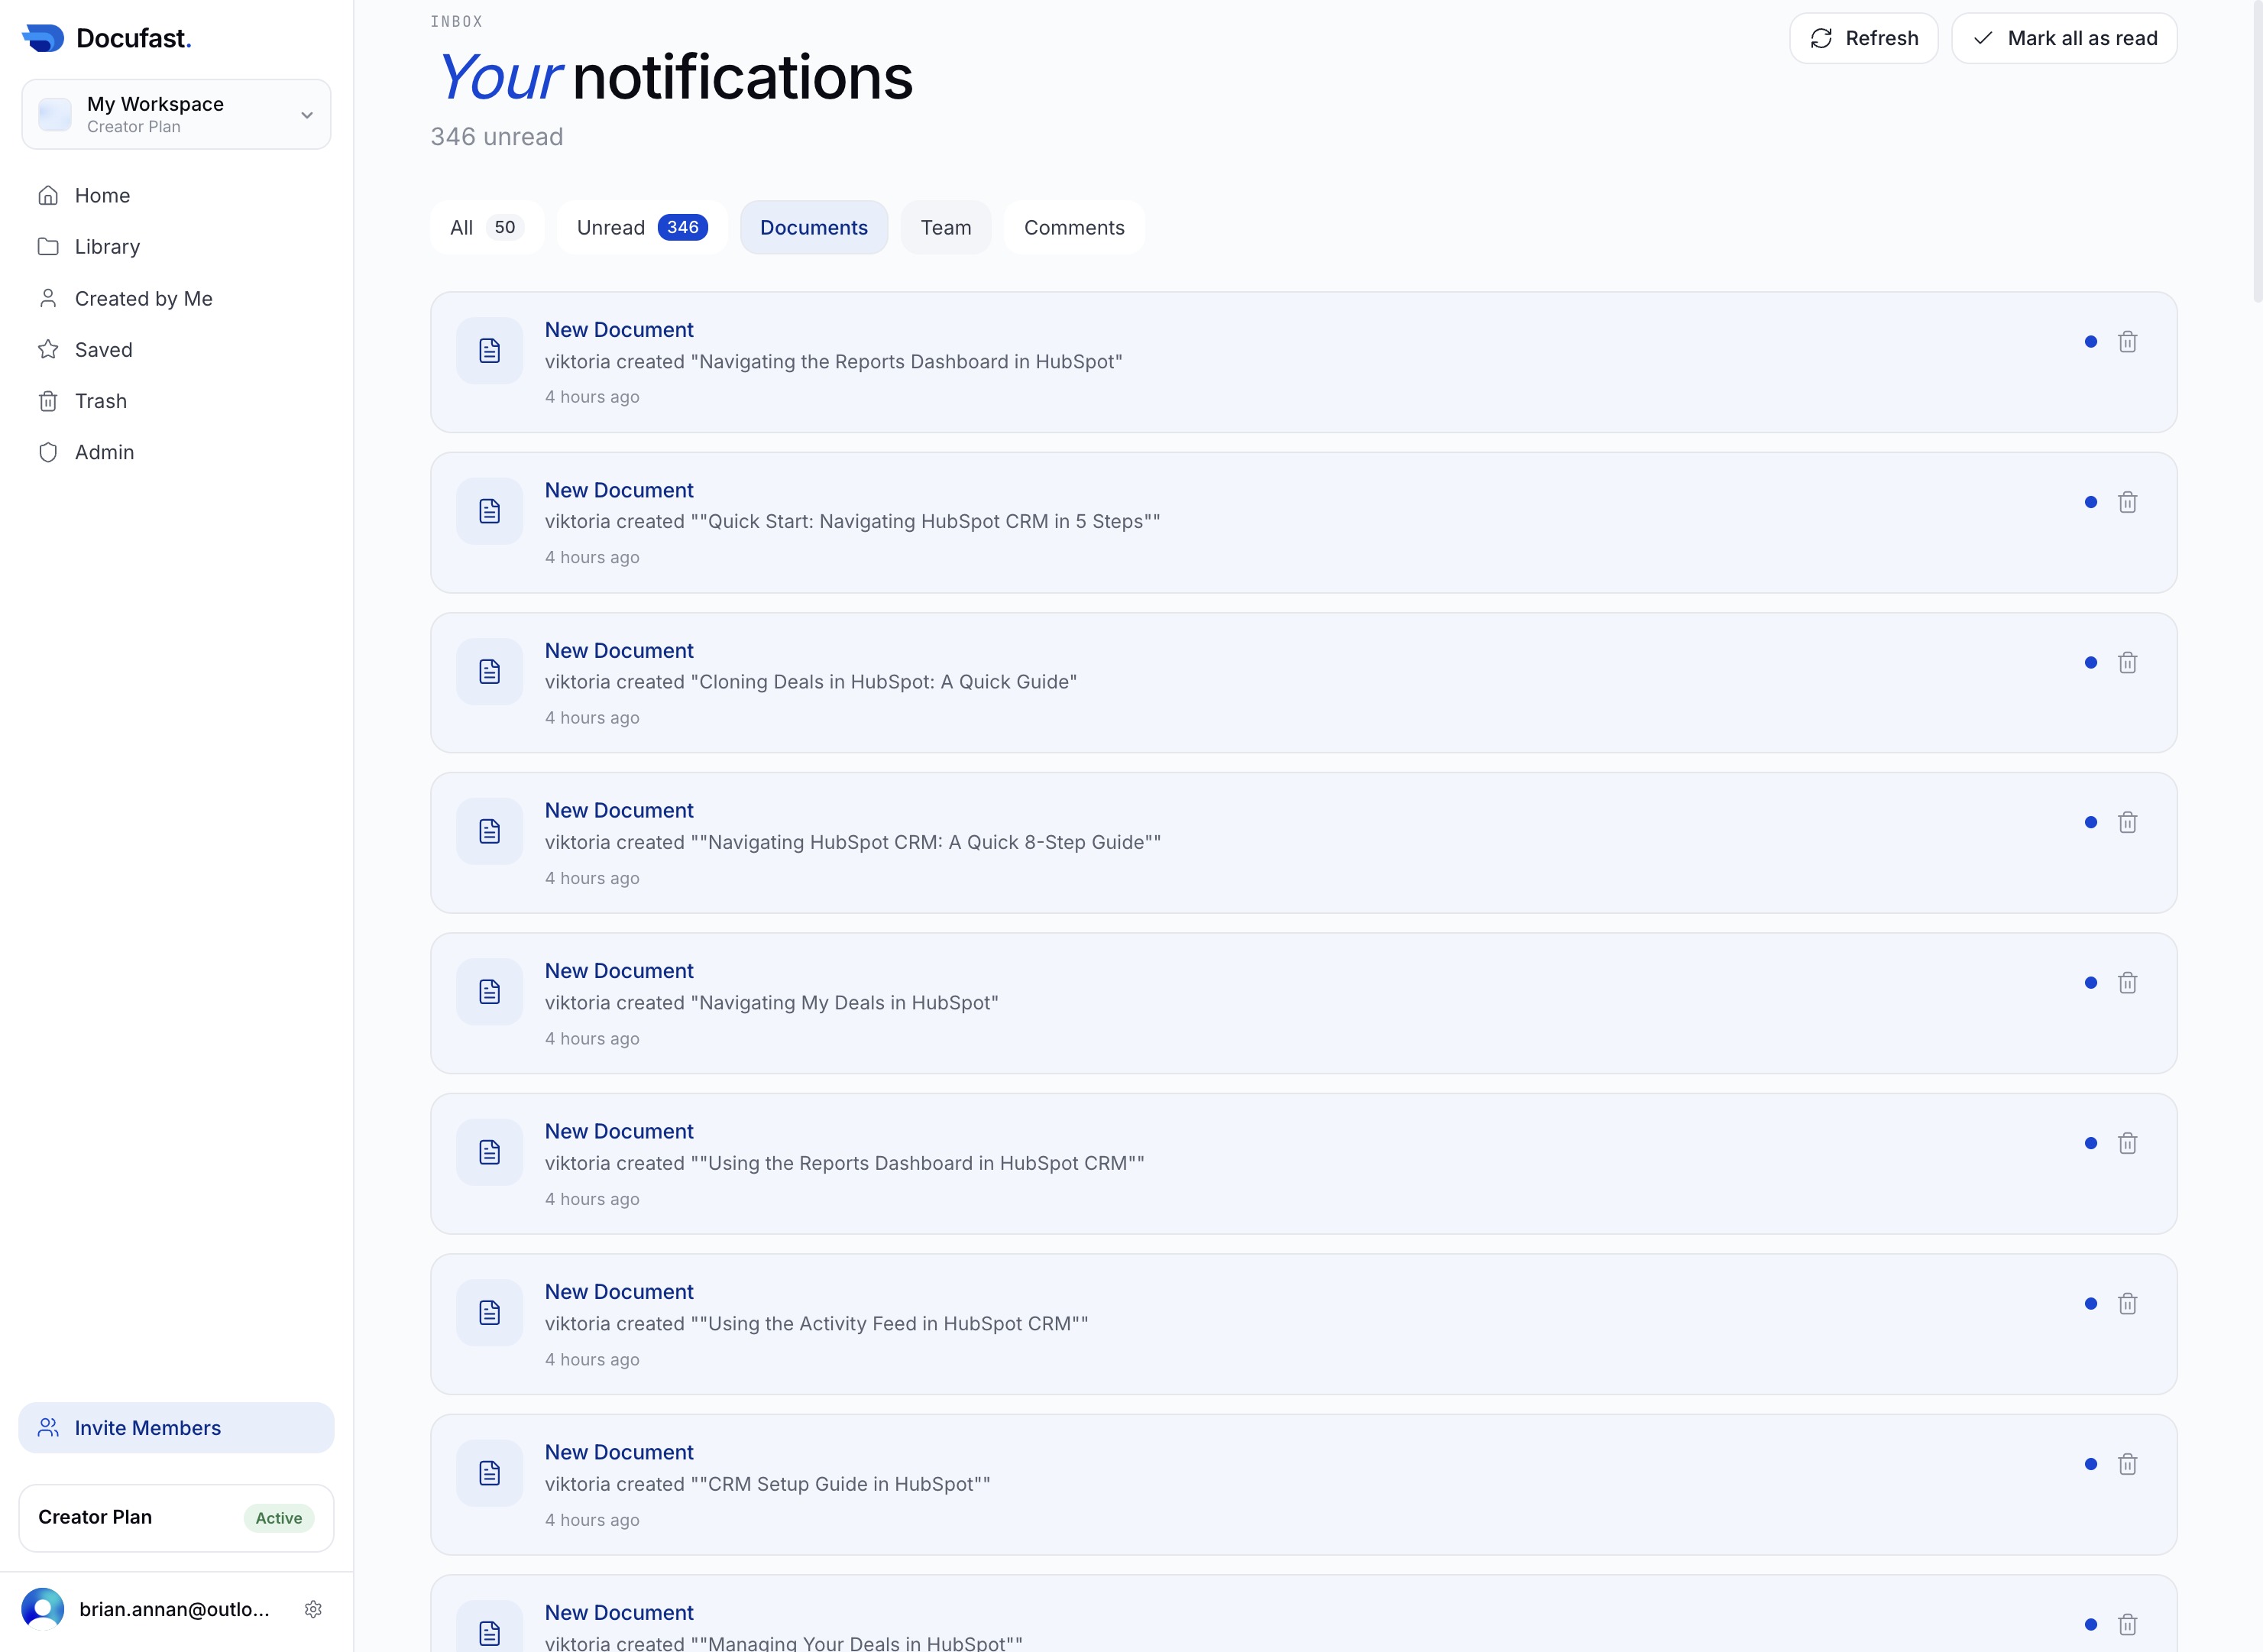
Access the Comments section to view and manage feedback related to your documents. This section allows you to interact with comments made by team members and track discussions.
This action will navigate you back to the Home section of your workspace, where you can view an overview of your documents and activities.

Clicking the Home button will navigate you to your main workspace, where you can access your recent documents and other library features.
This will display documents that you have authored, allowing you to quickly access your own materials within the Docufast platform.

This action saves your current settings or changes, ensuring that all modifications are preserved. You will see a confirmation that your updates have been successfully saved.

Clicking the Trash button will allow you to remove any documents or items you have saved. Make sure to confirm deletion, as this action cannot be undone.
Upon clicking the Admin section, you will access administrative settings and management options for your workspace. This area allows you to configure user permissions, roles, and other administrative functionalities.
This action will activate the Creator Plan, allowing you to access its features. You will be redirected to the settings or dashboard associated with the Creator Plan.
