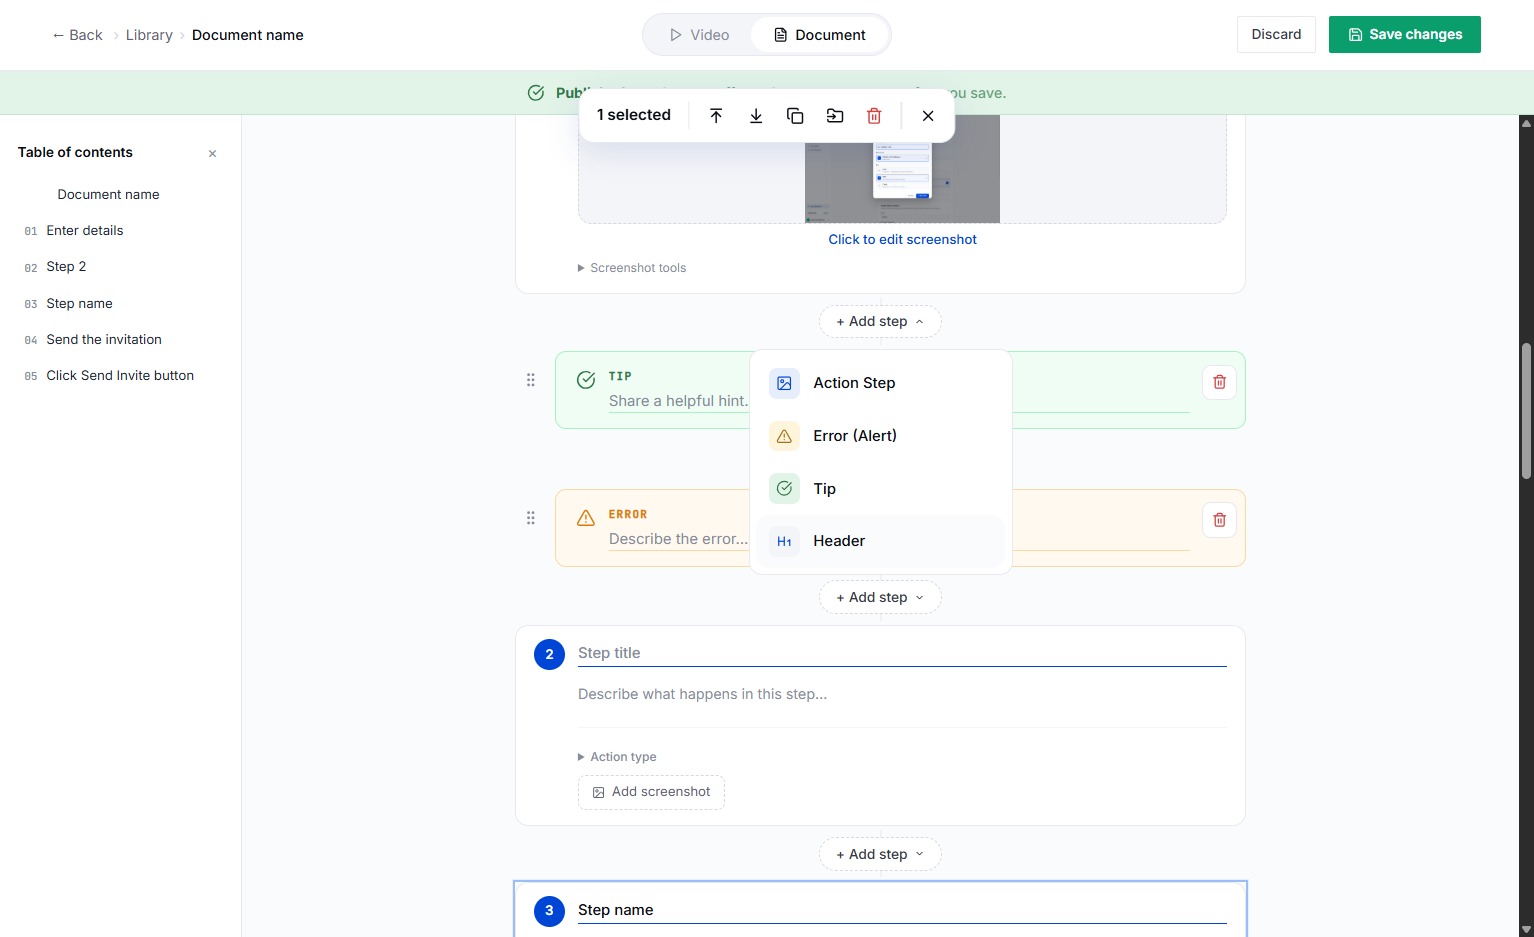
Click Library
Go to Library on the left-hand side of your dashboard
Loading screenshot…
100%
After creating a document, you can easily edit its steps, titles, screenshots, and video.
After creating a document, you can easily edit its steps, titles, screenshots, and video. The editing tools allow you to refine your guide, add missing details, or update visuals for clarity.
Go to Library on the left-hand side of your dashboard
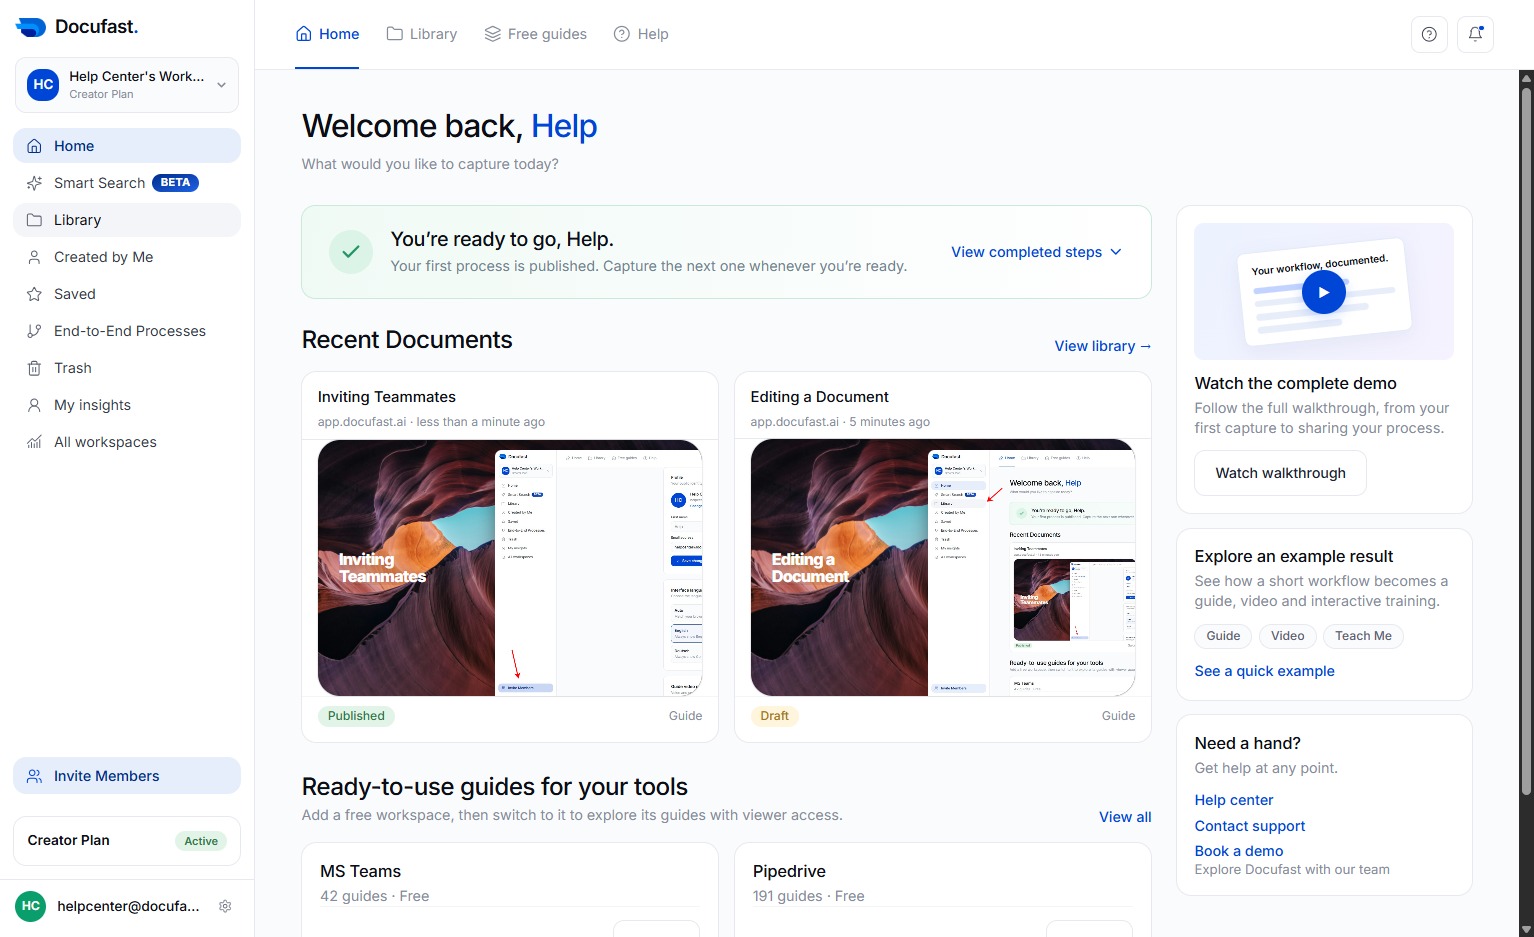
Select the recorded workflow you want to edit.
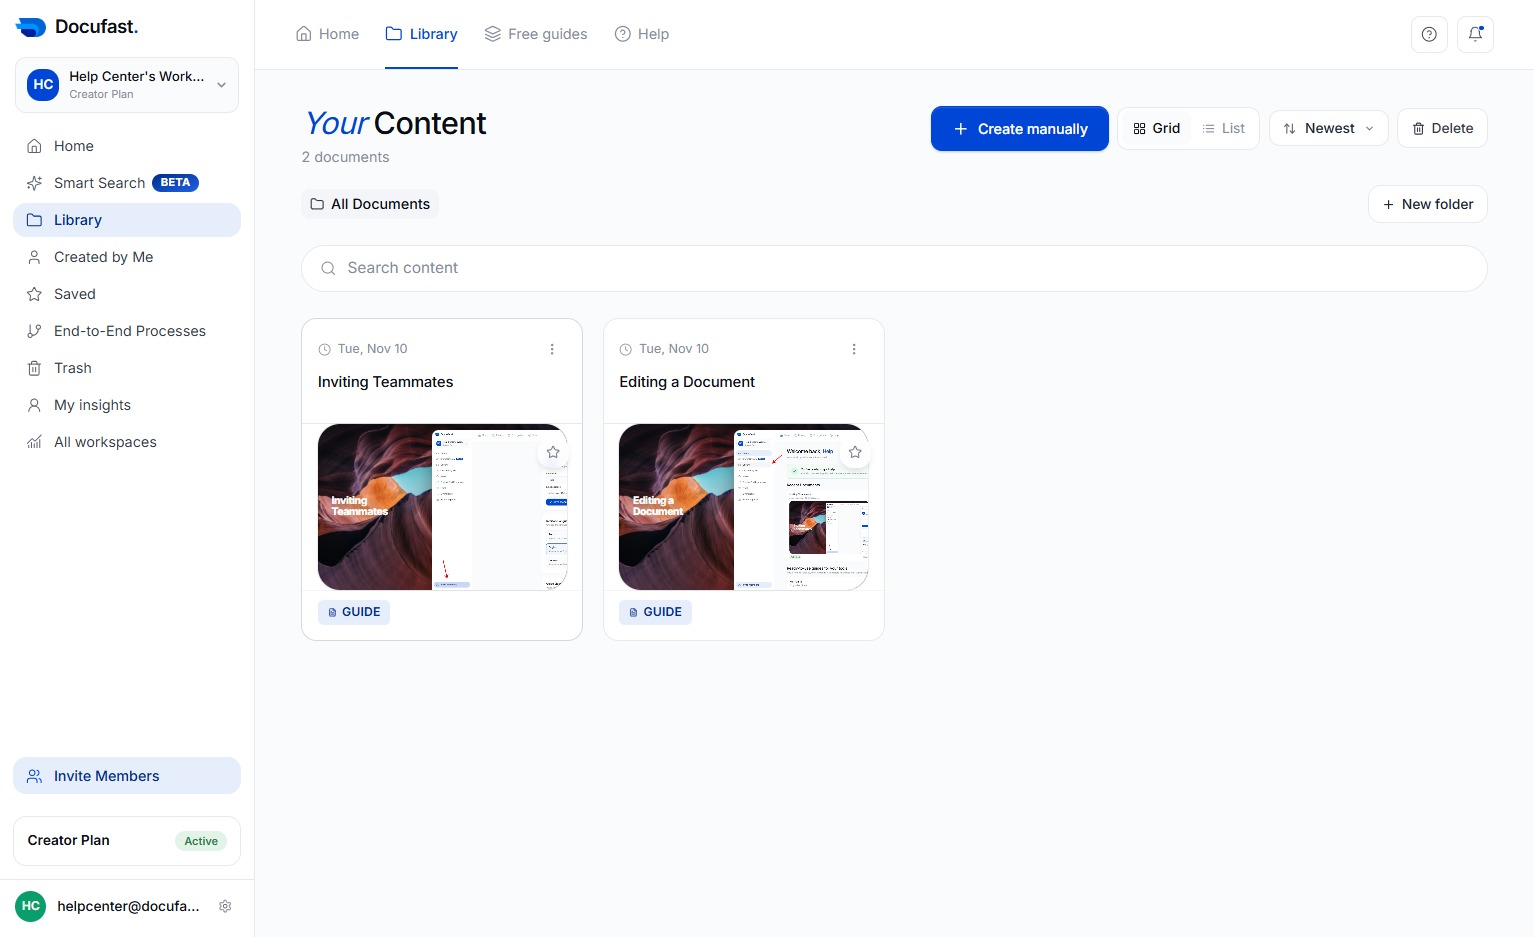
At the top of the document, select Edit to enter editing mode.
Type the title of your document in the document title field.
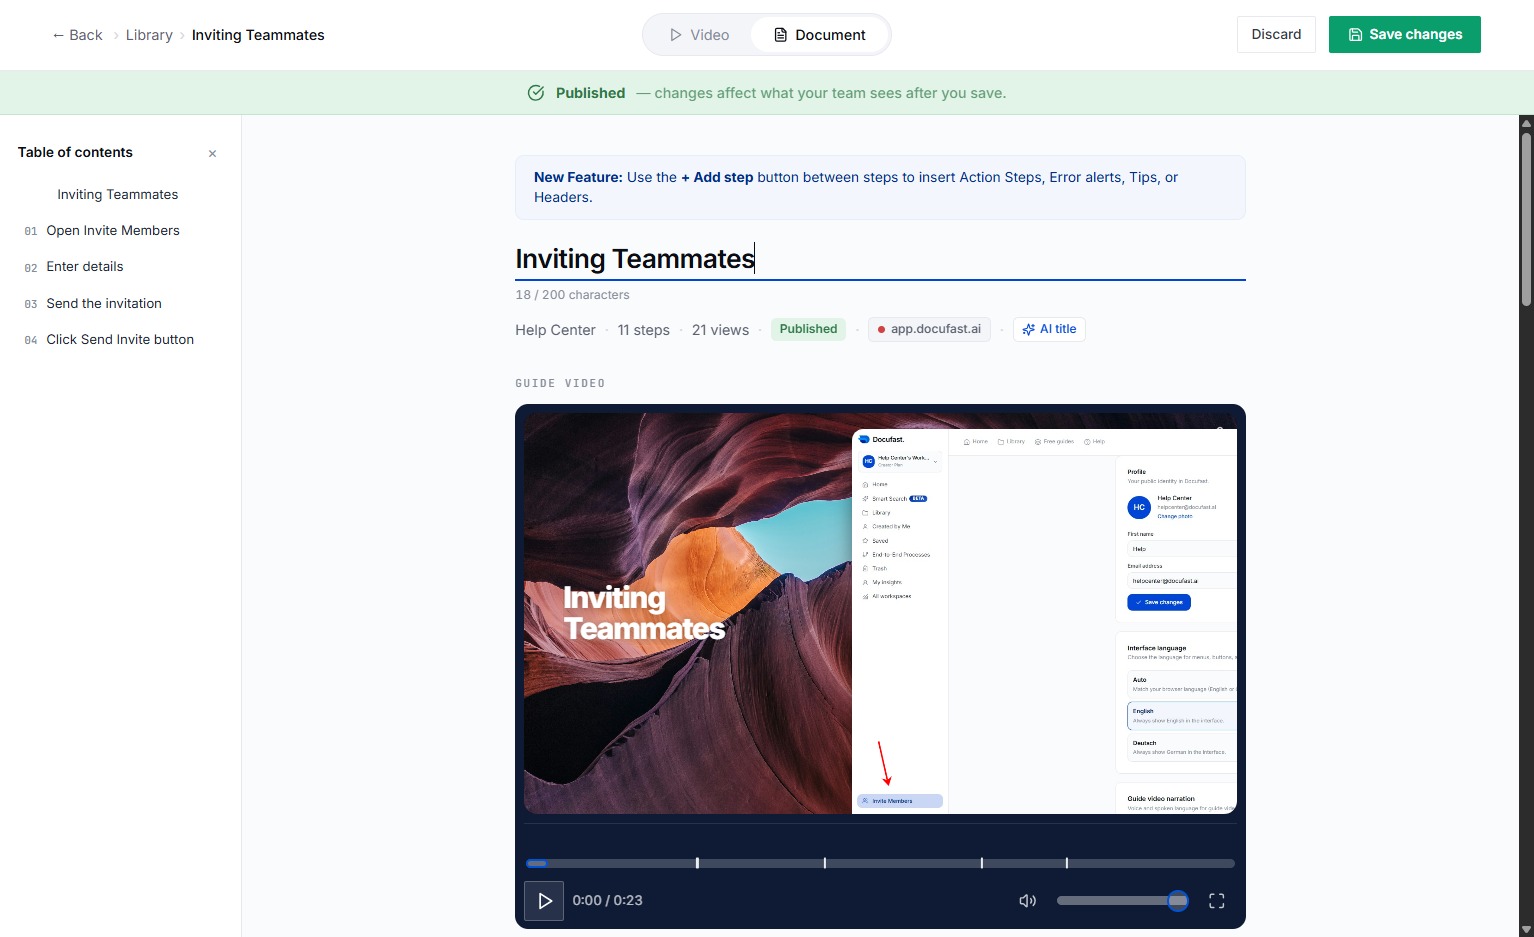
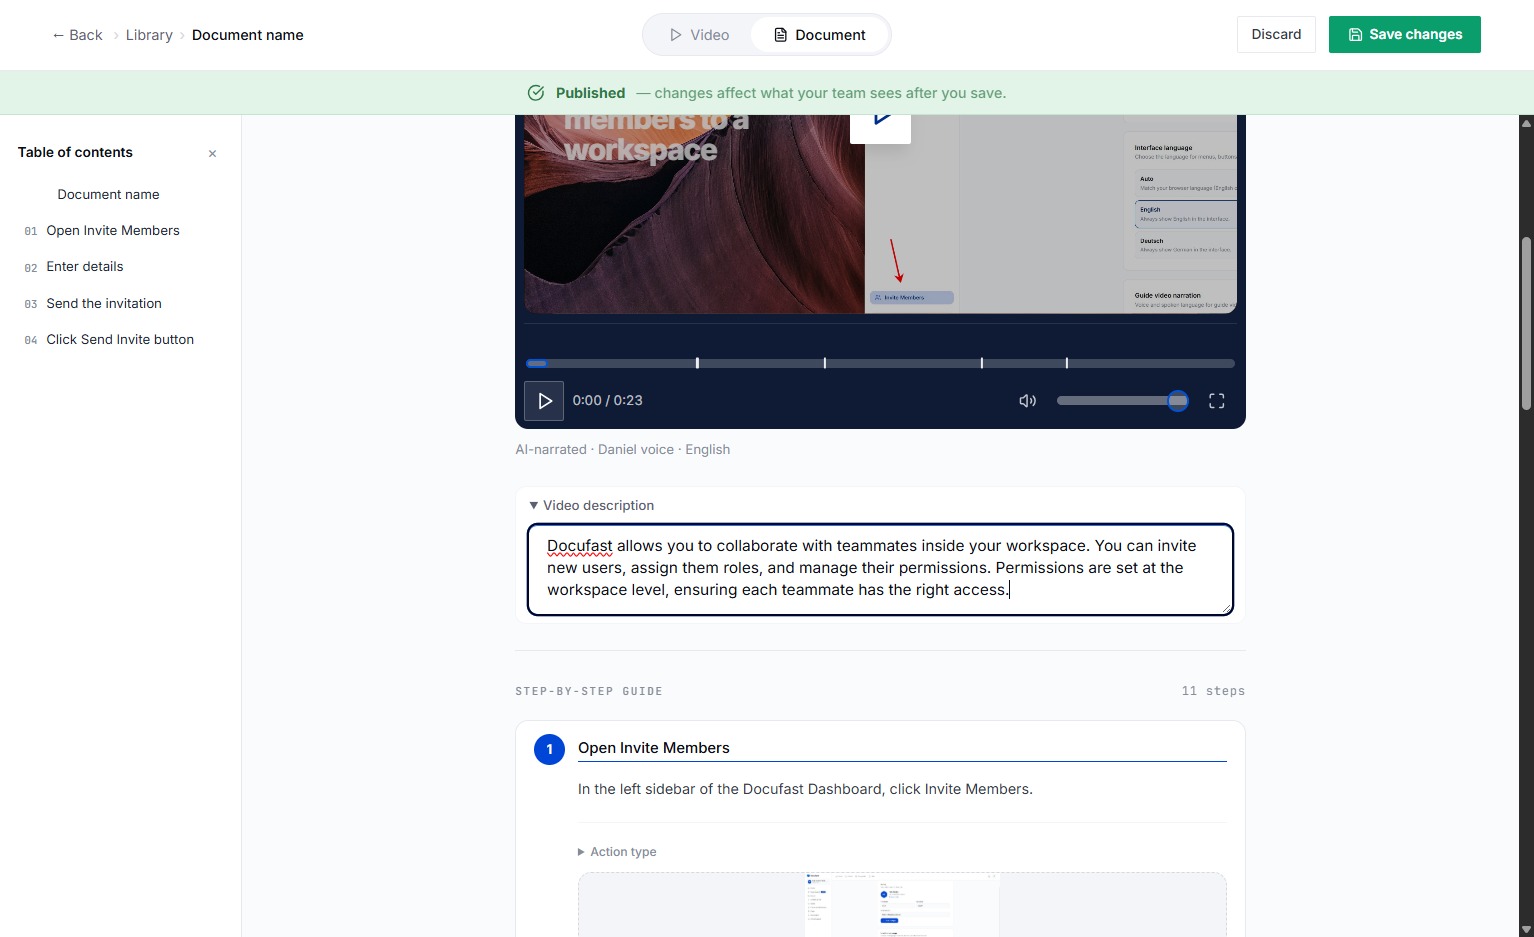
Click the video description field.
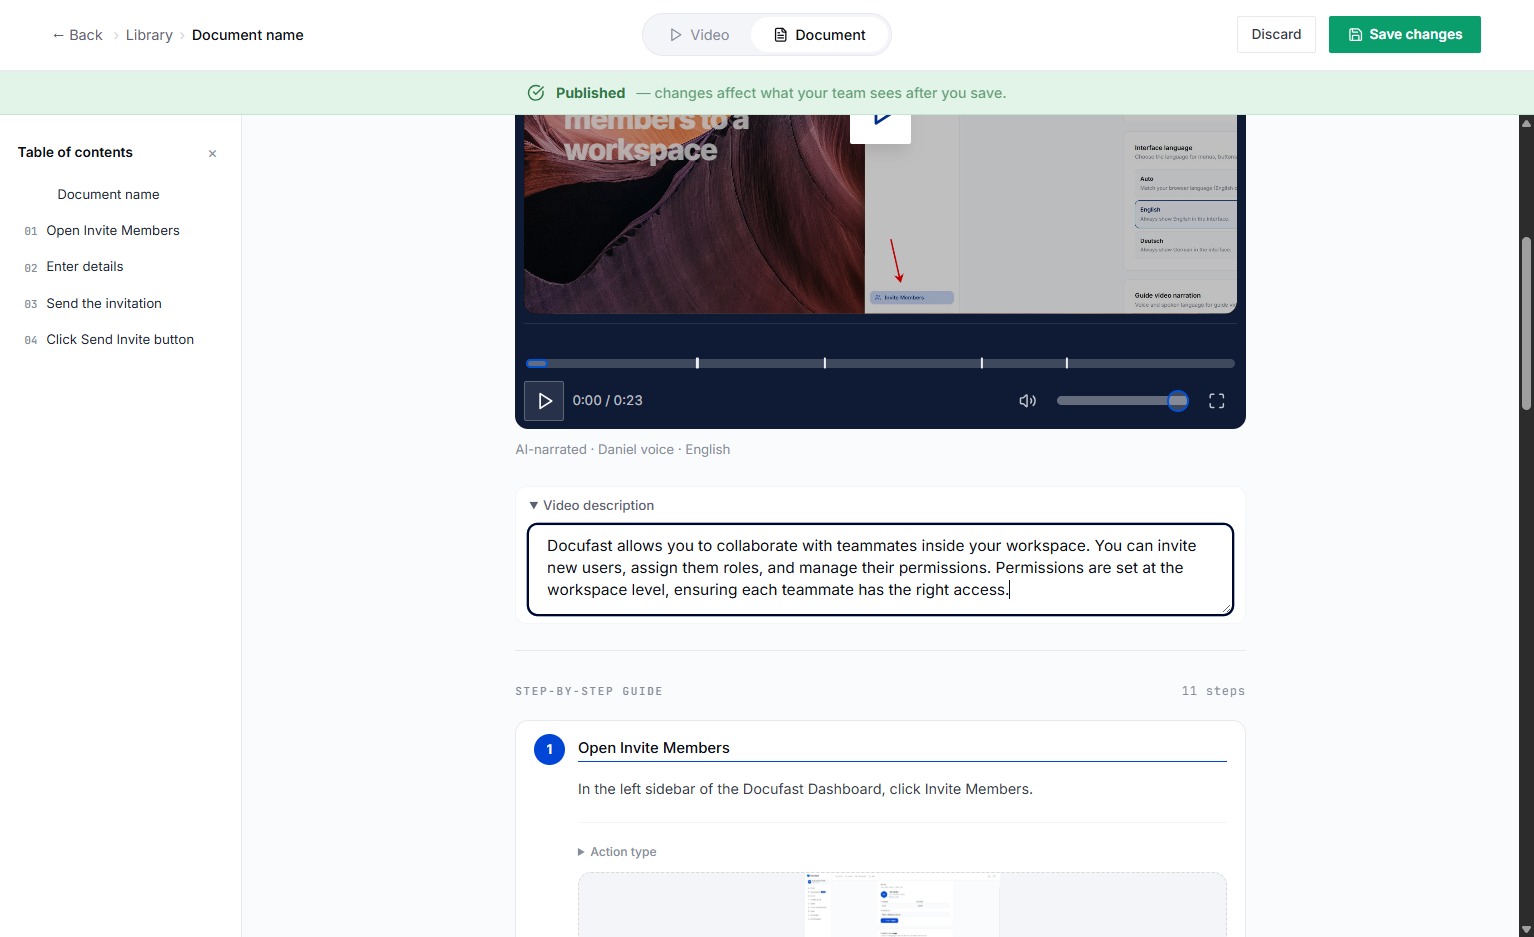
Type a brief description of the video/document in the text box to help users understand its content.
Click the Step Field
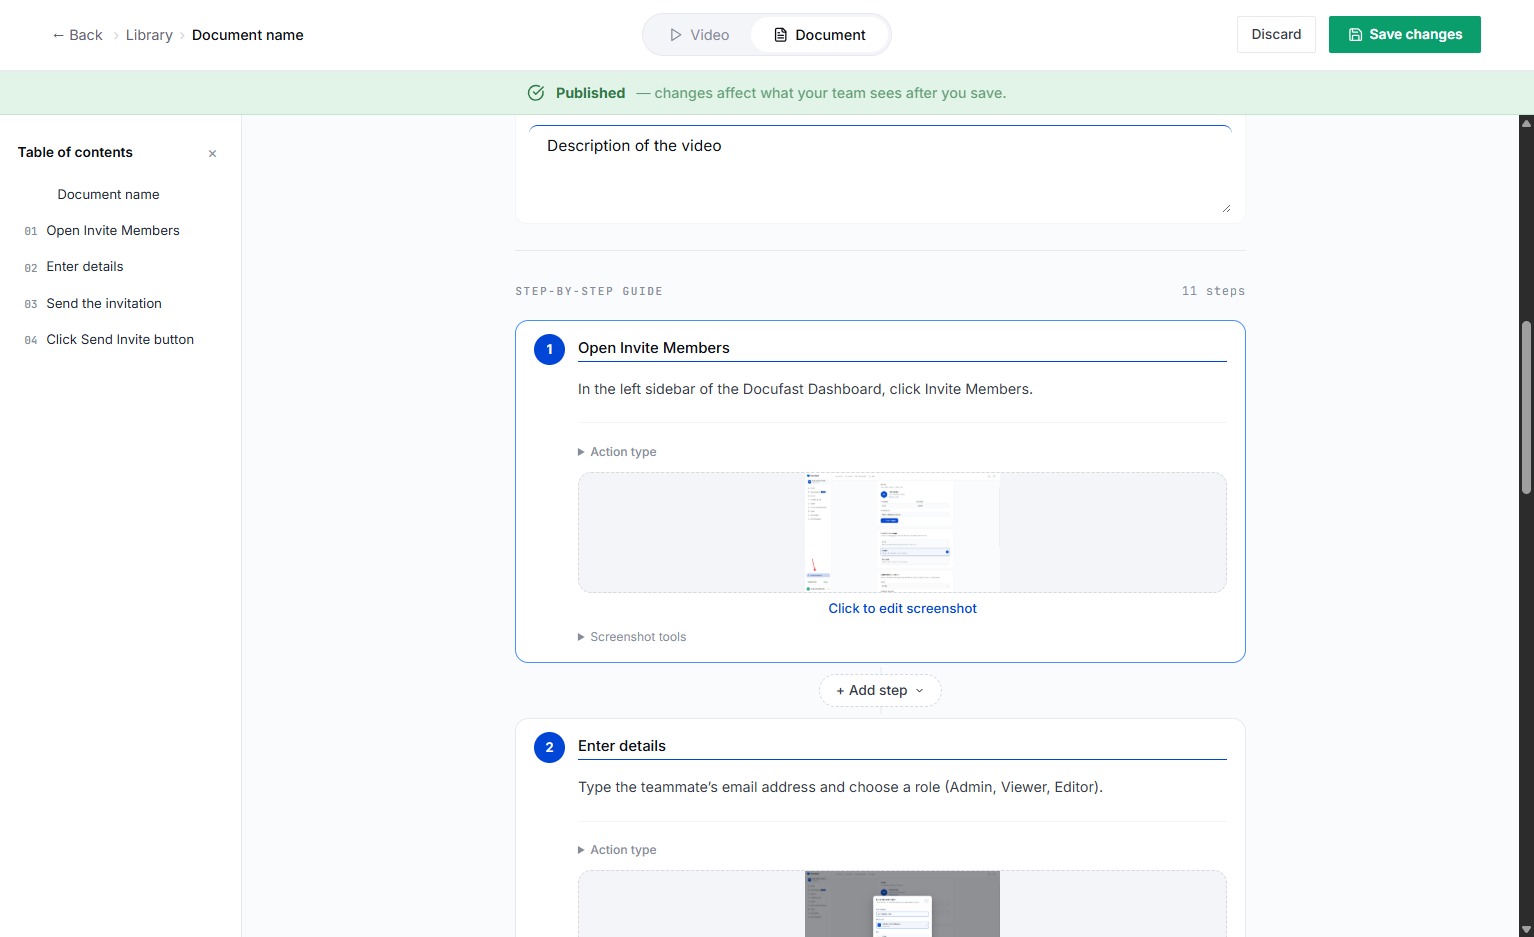
Type the title of this step in the step field provided.
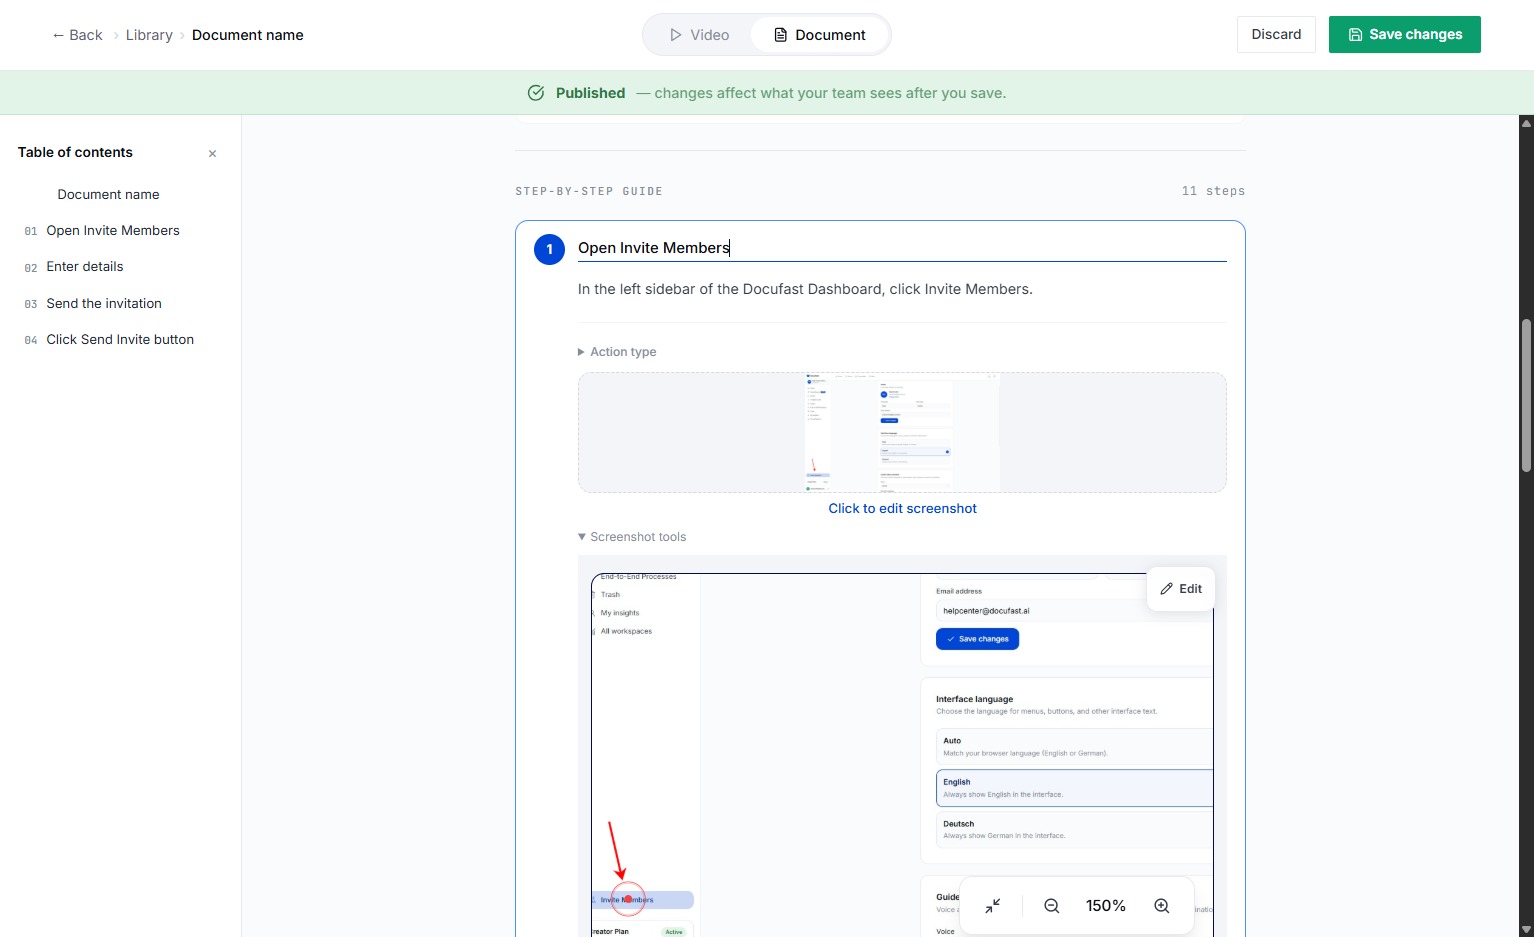
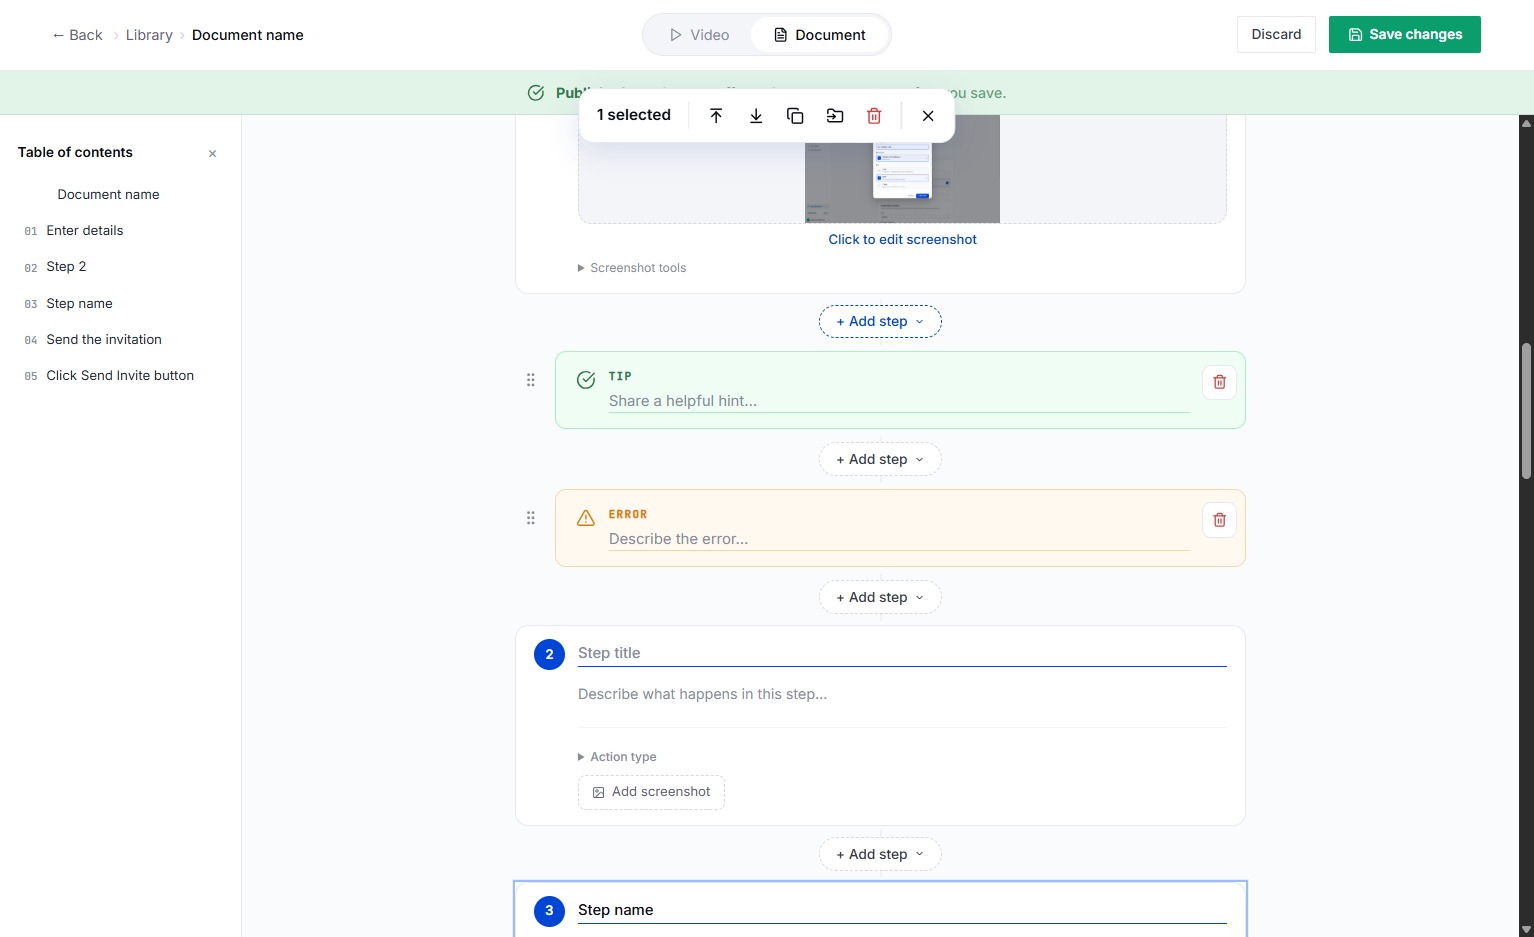
Select Screenshot tools to view more options for screenshots, such as updating or replacing the screenshot, deleting the image, cropping, adding annotations or notes, blurring sensitive information, and much more.
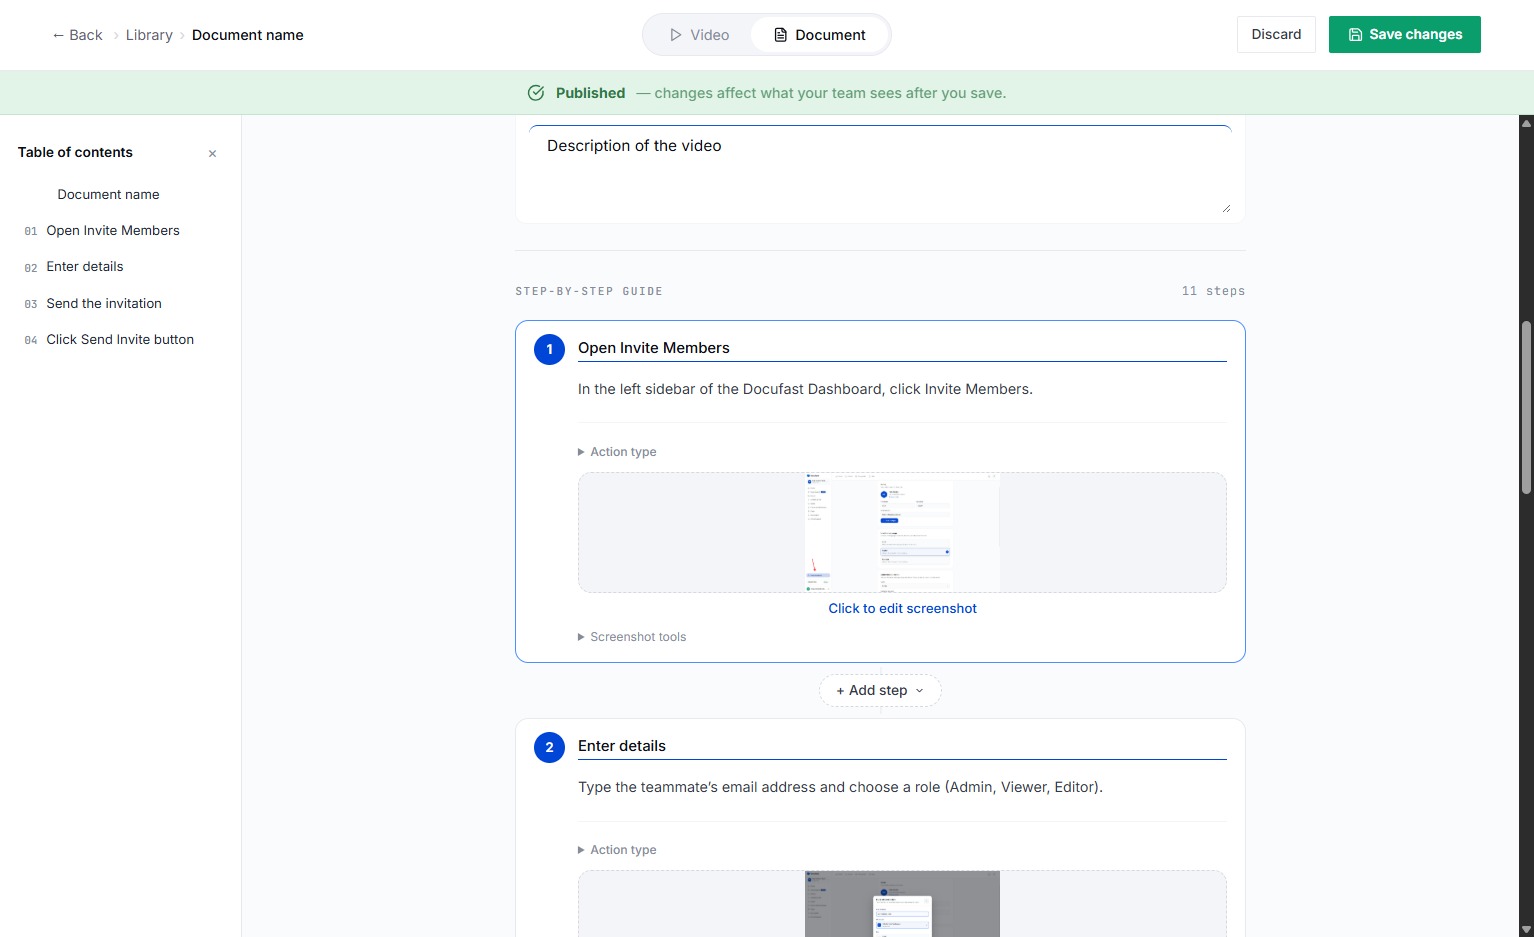
Type the description of this step in the Step description field.
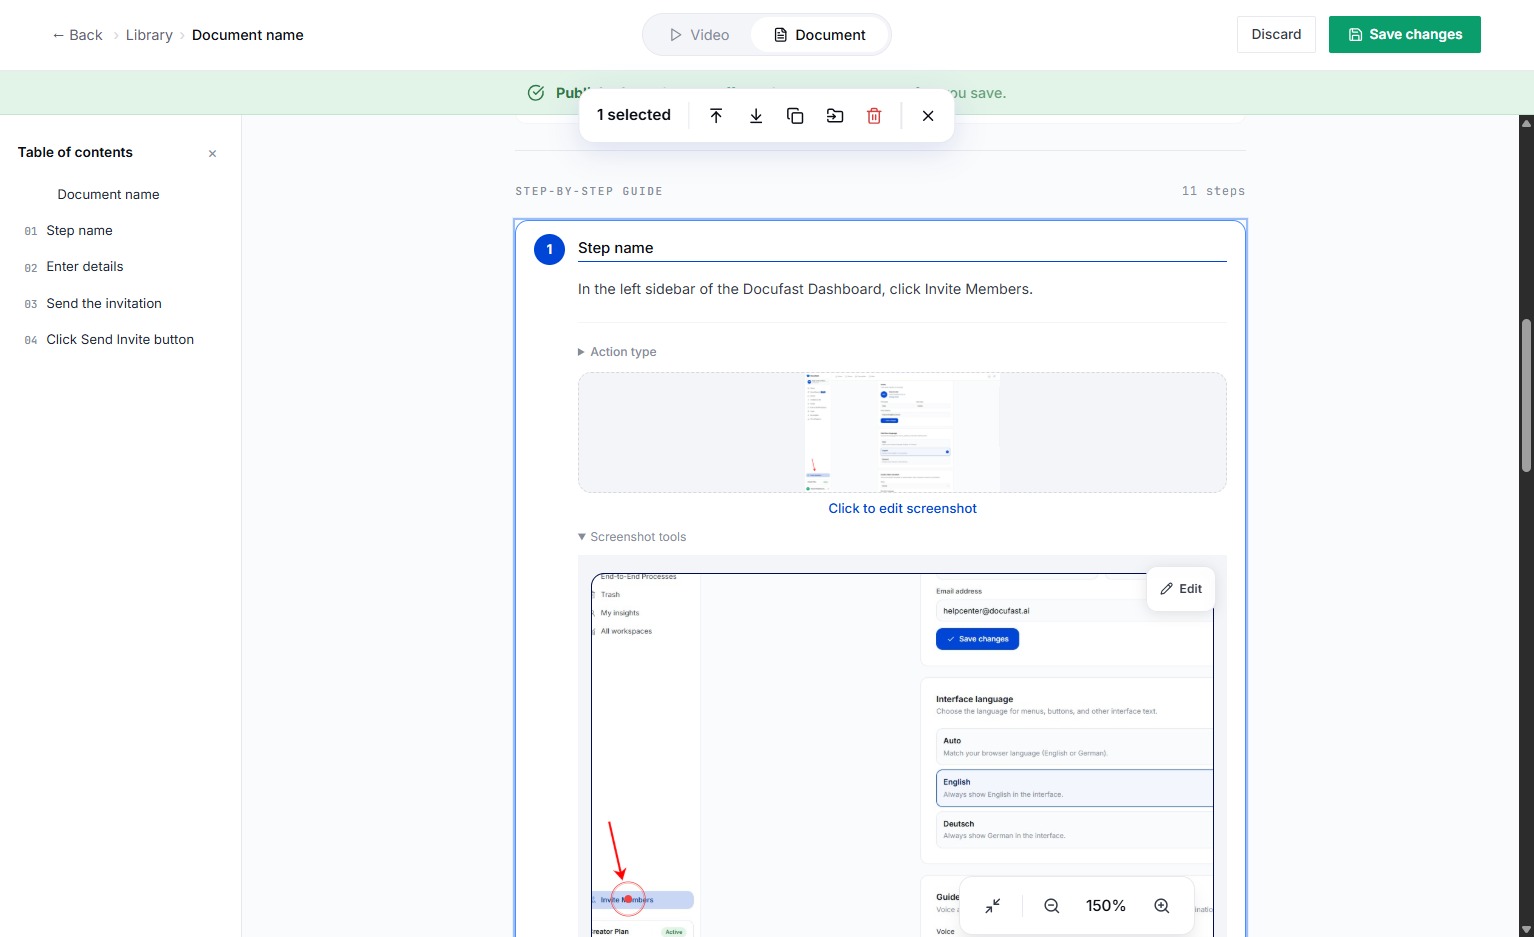
Enter a brief explanation of what happens in this recorded step.
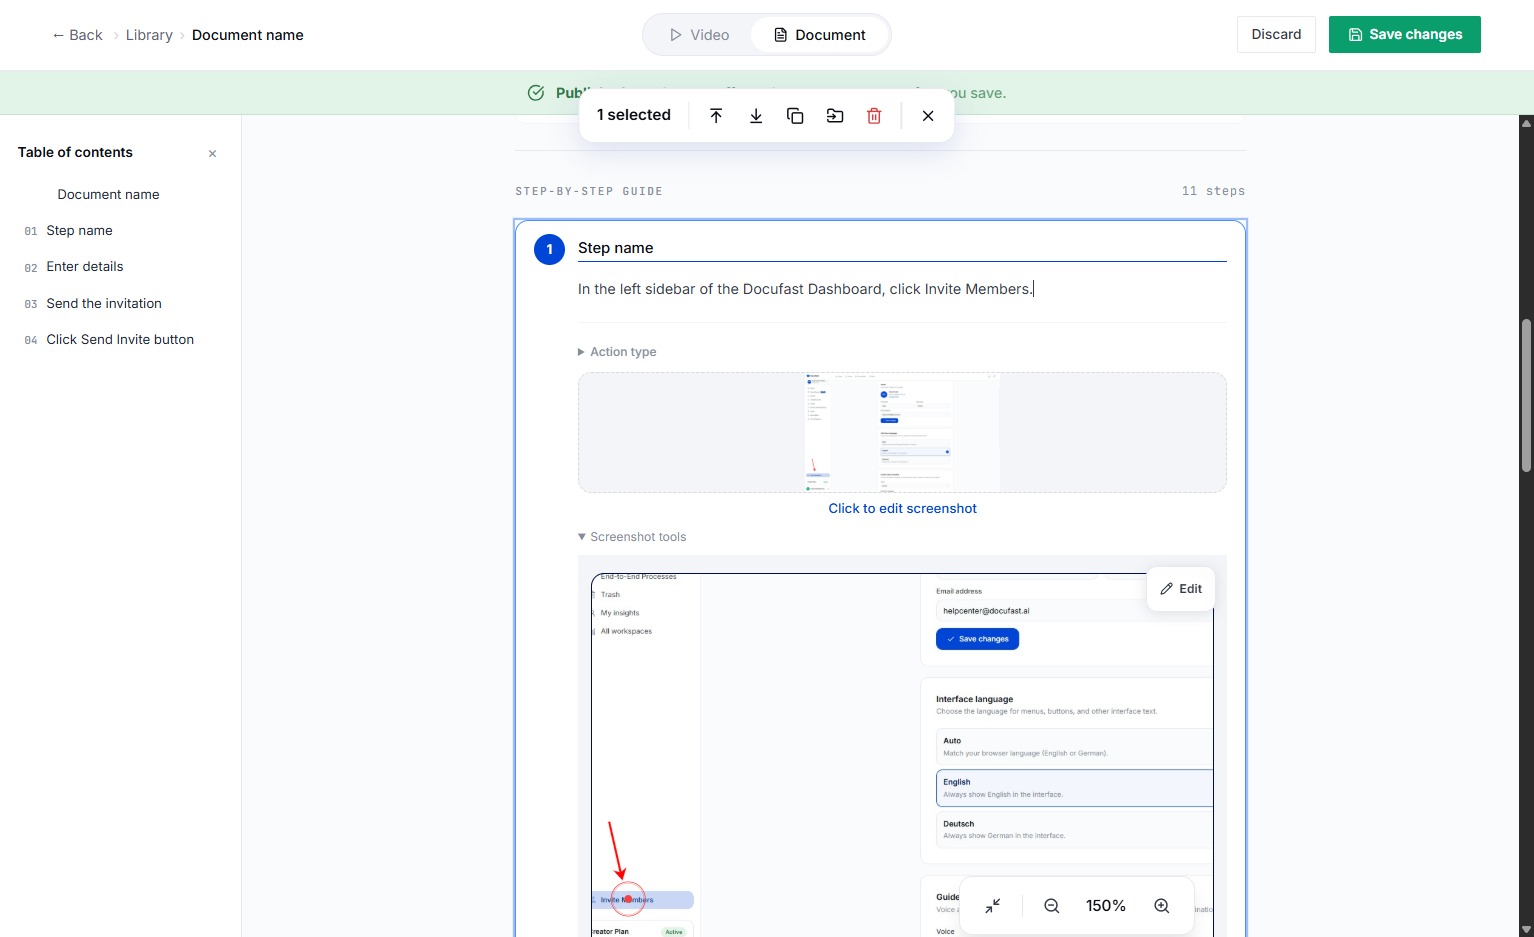
After changing the step description, We'll reorder the steps.
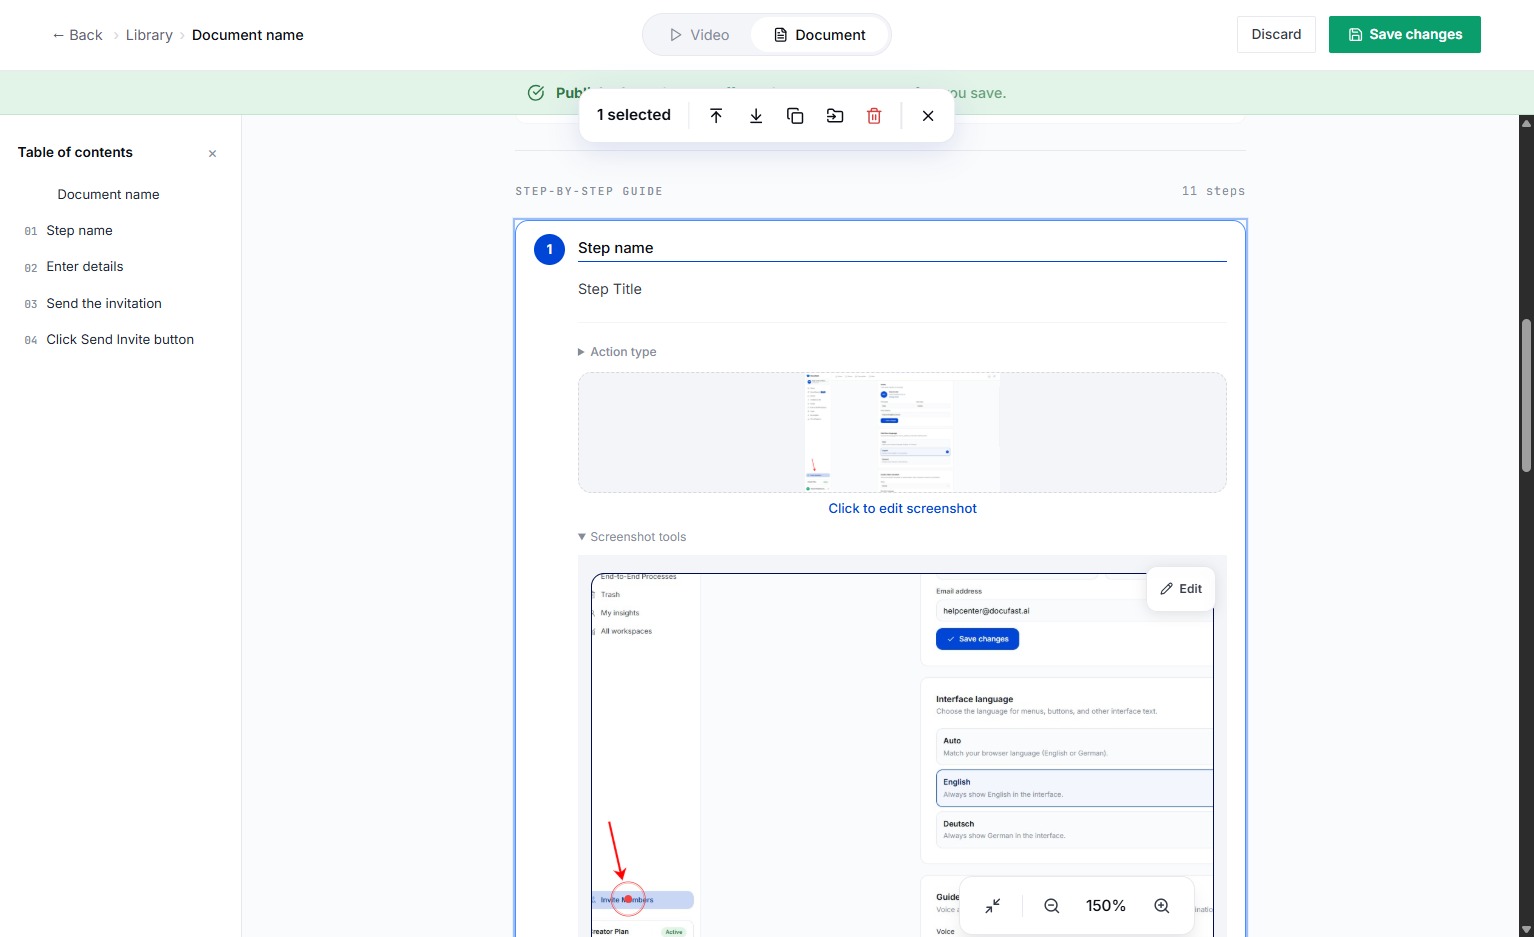
Grab the step number and drag it to your preferred position in the list.
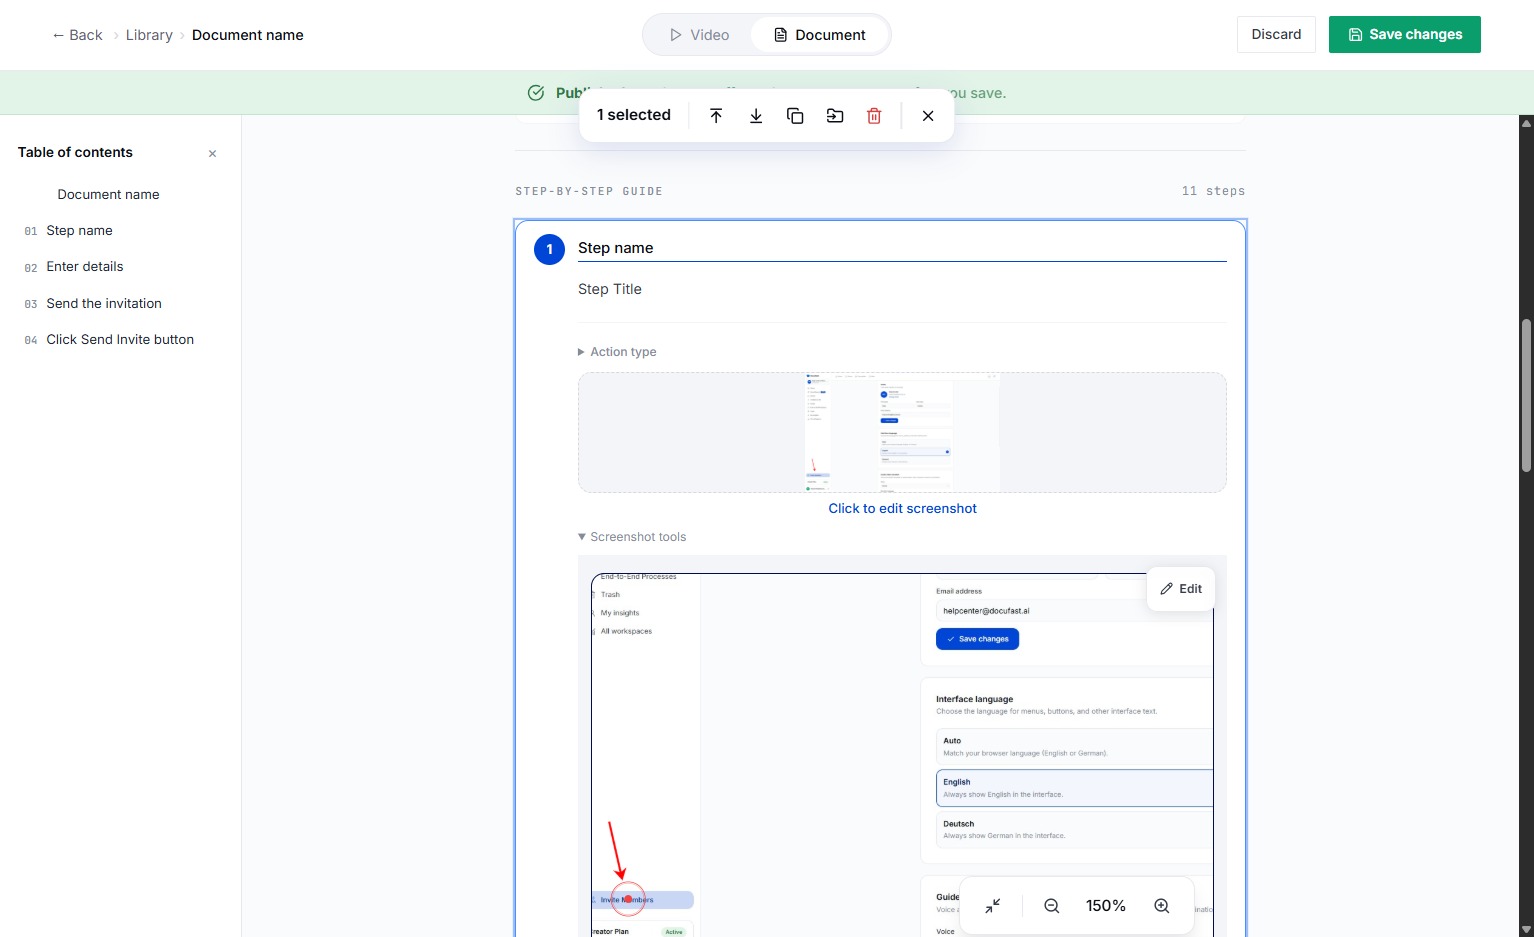
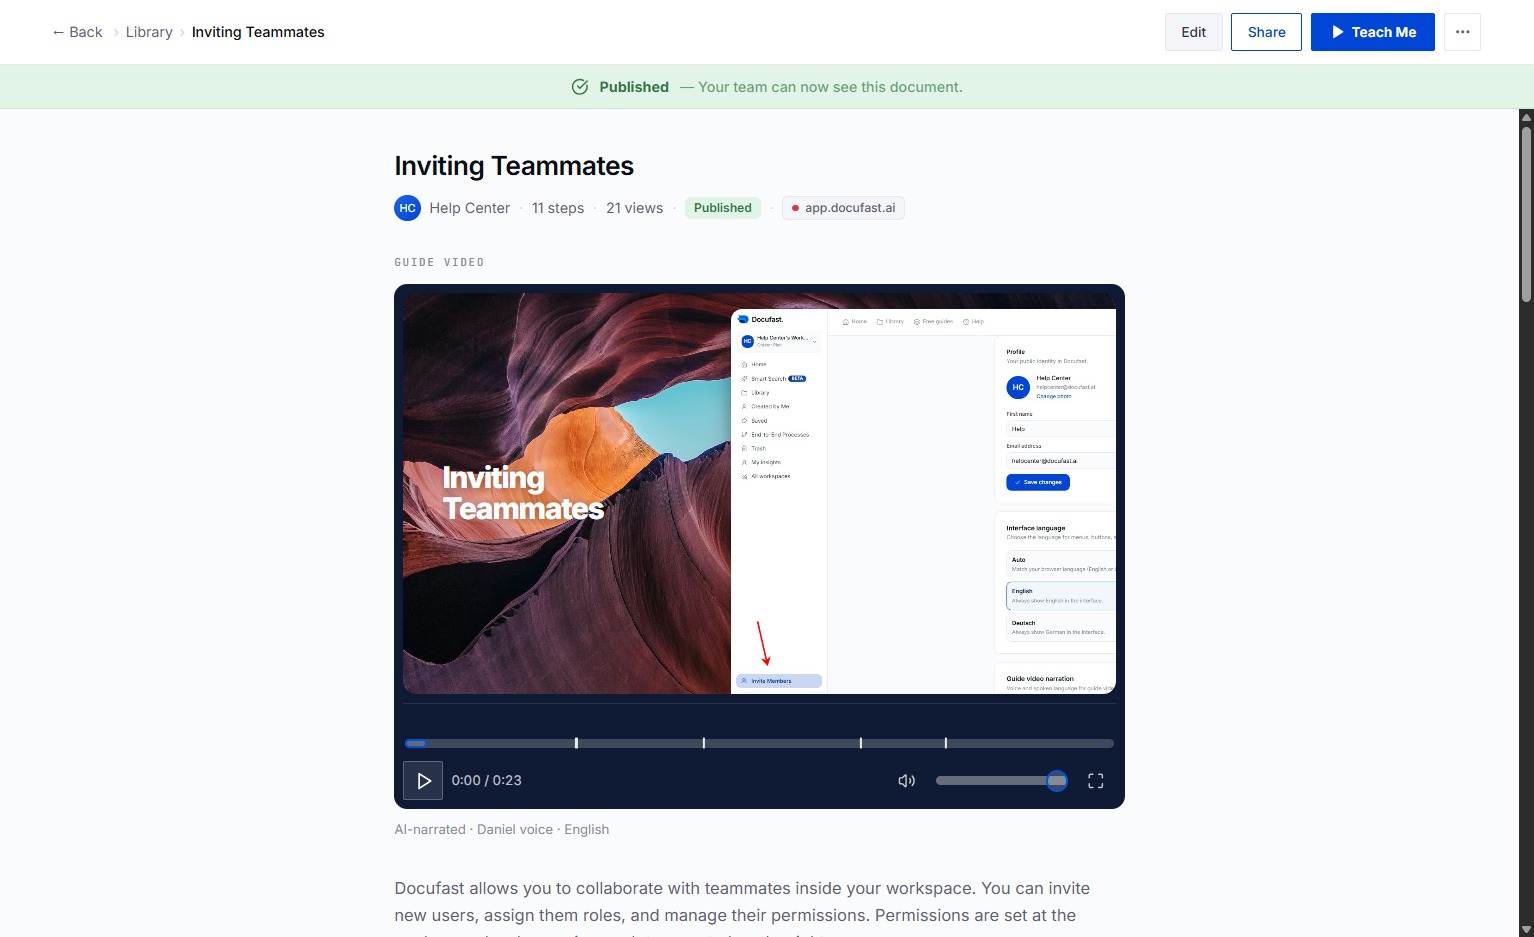
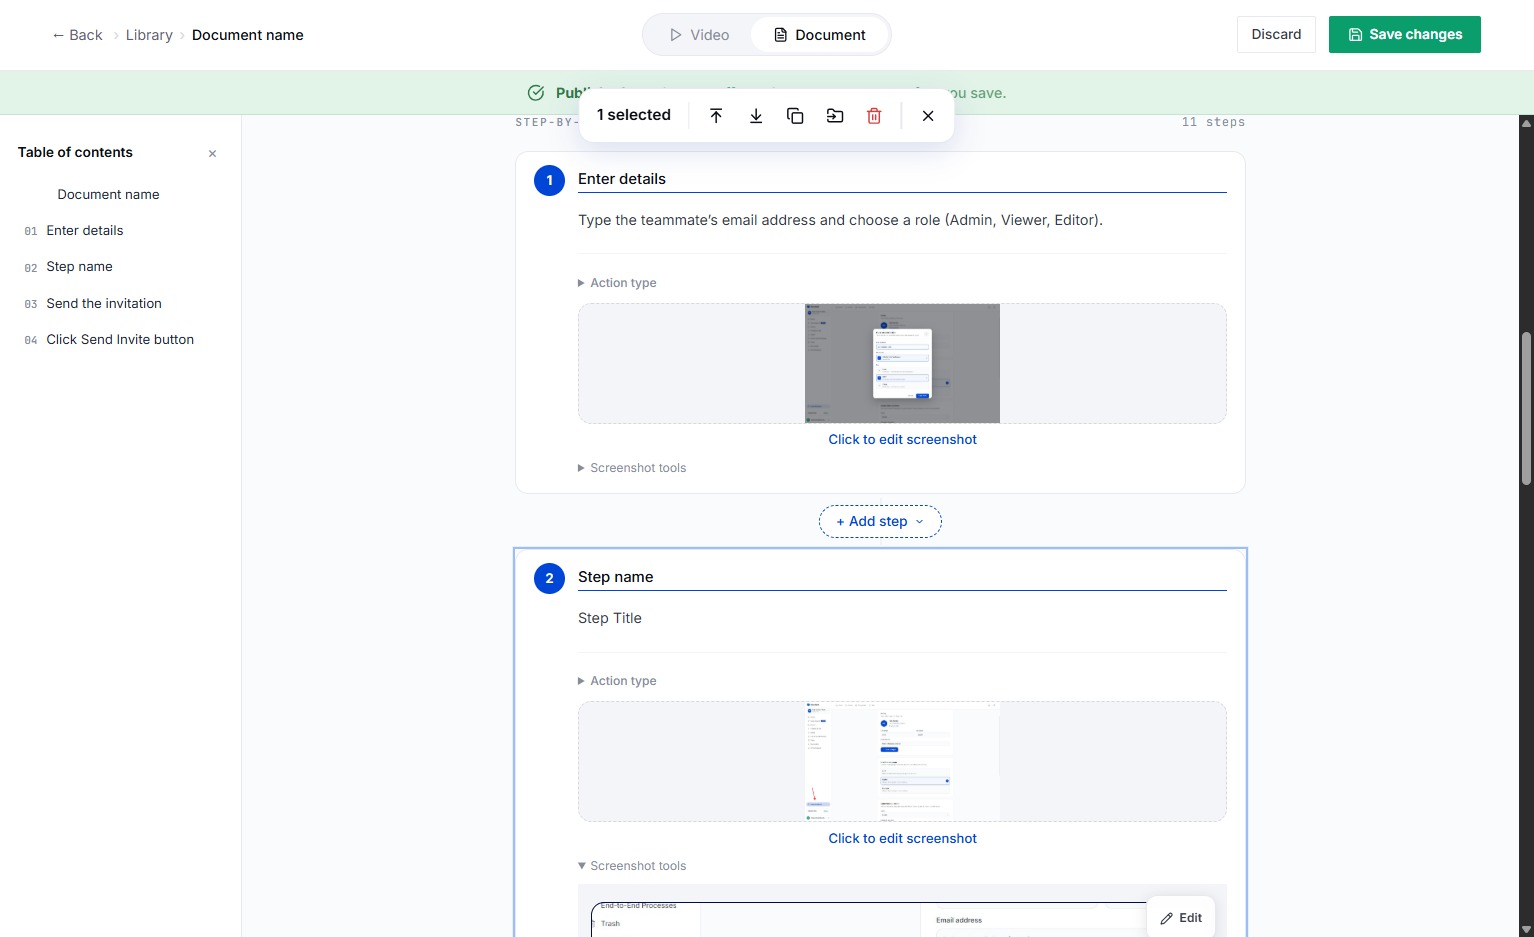
Select the Add step button to include another action in the workflow.
Choose the Action Step option to define the next step in your workflow.
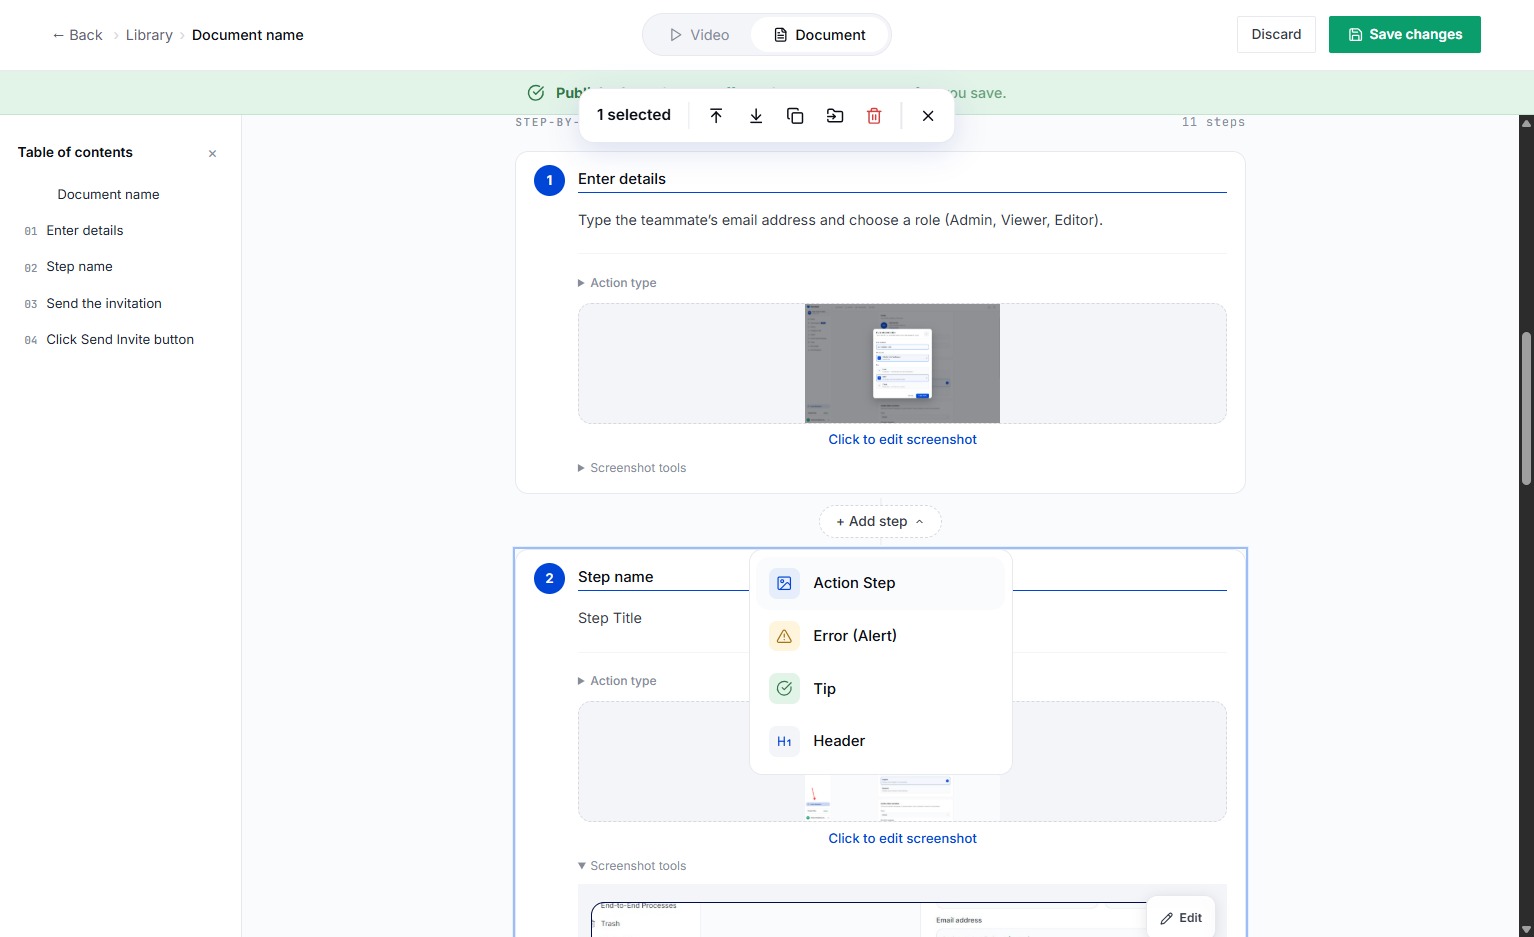
Again, select the Add step button to include another action in the workflow.
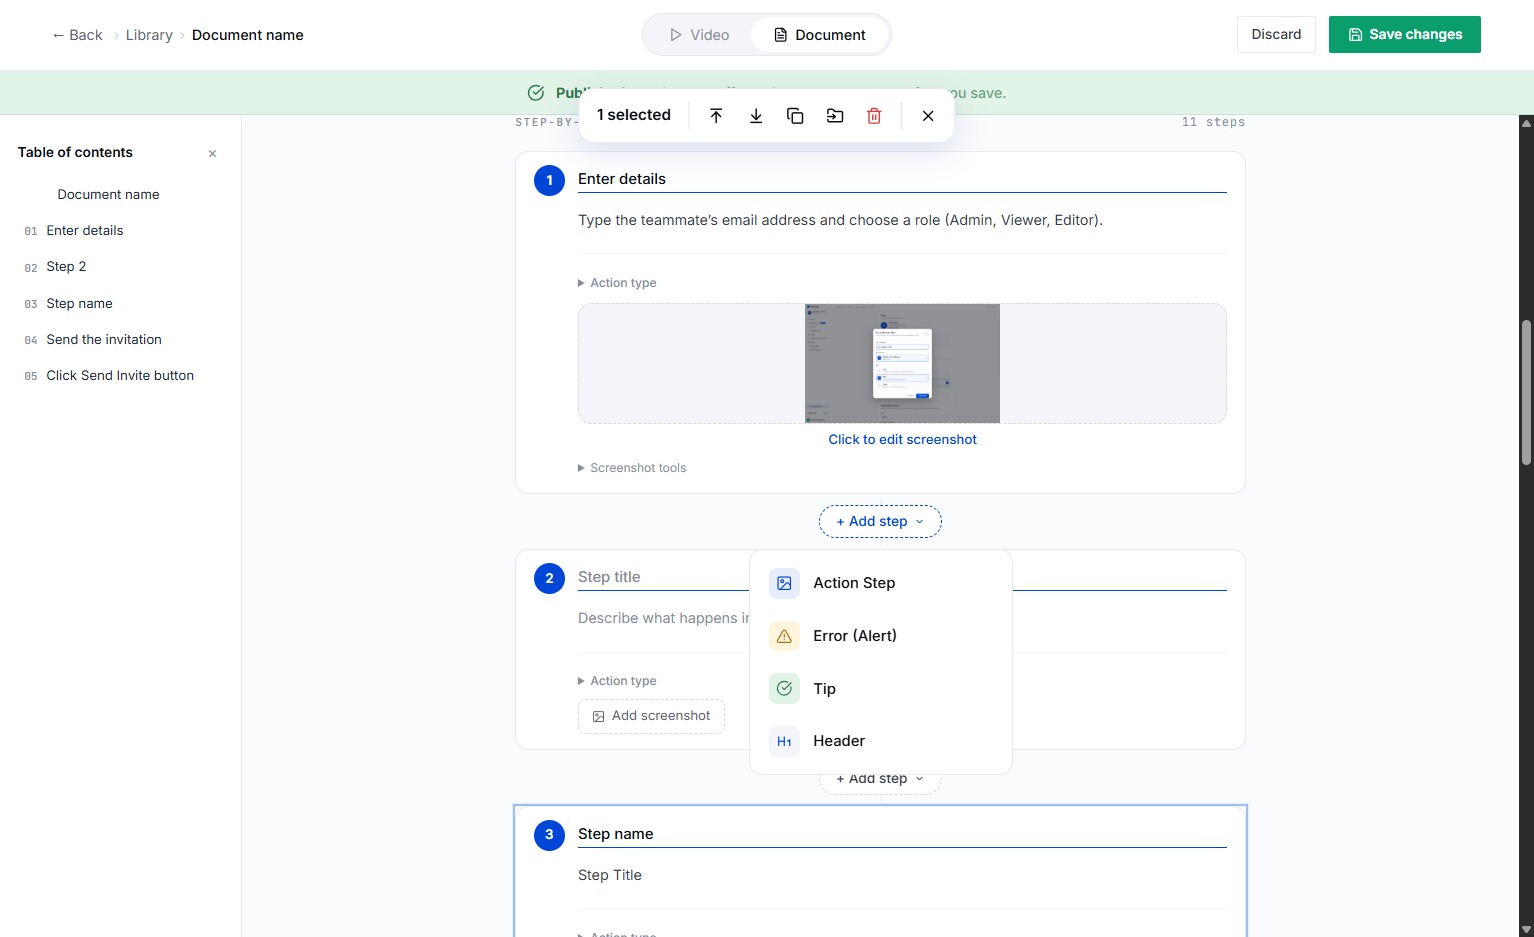
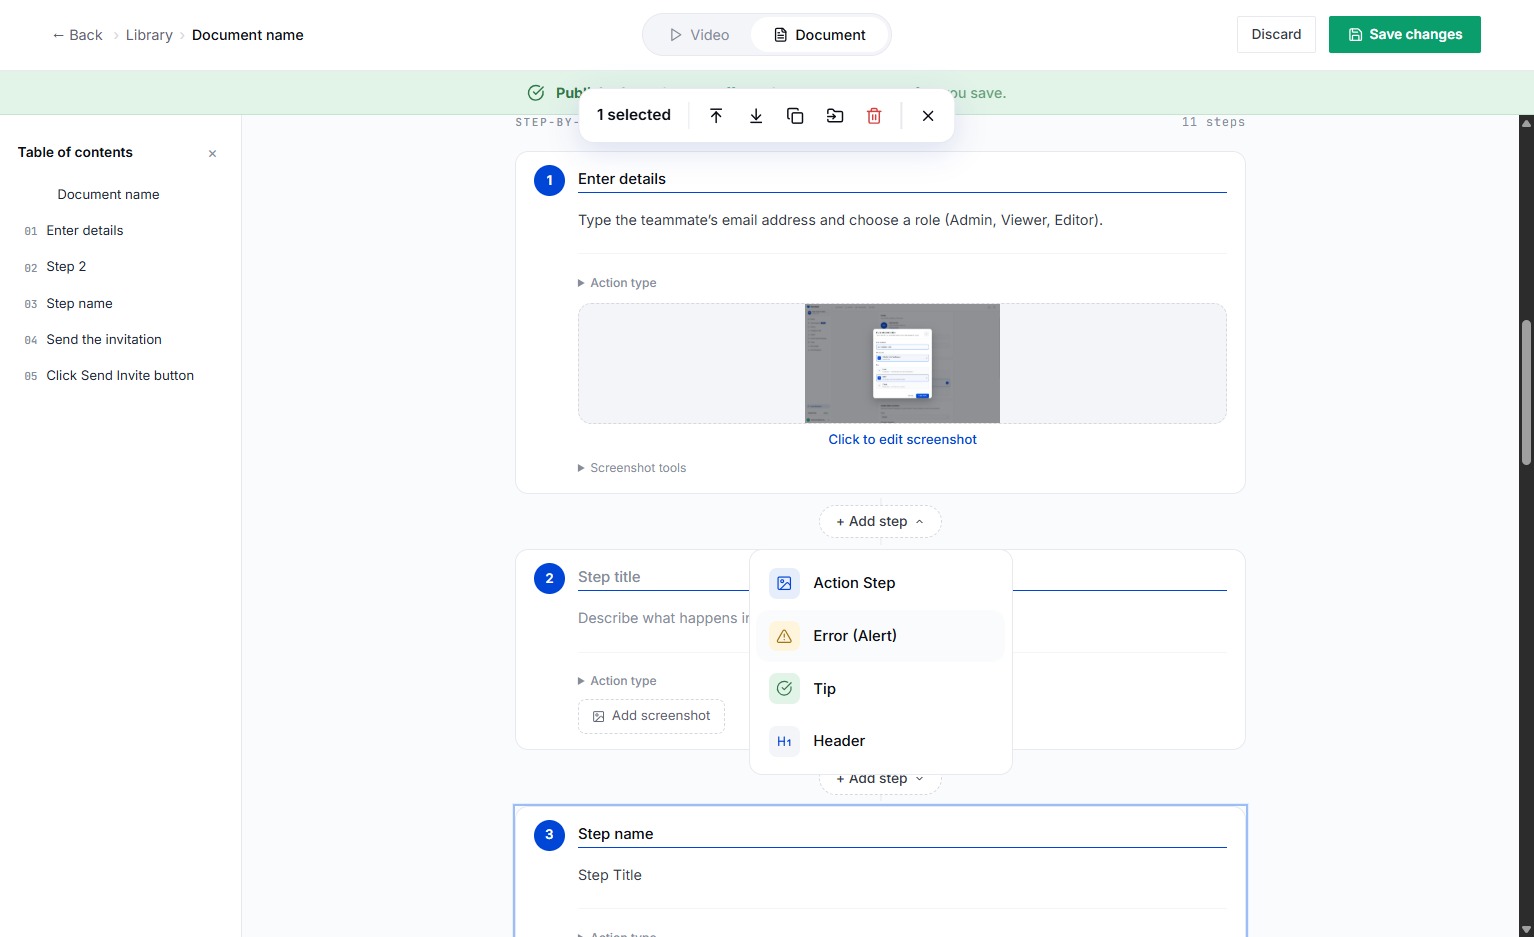
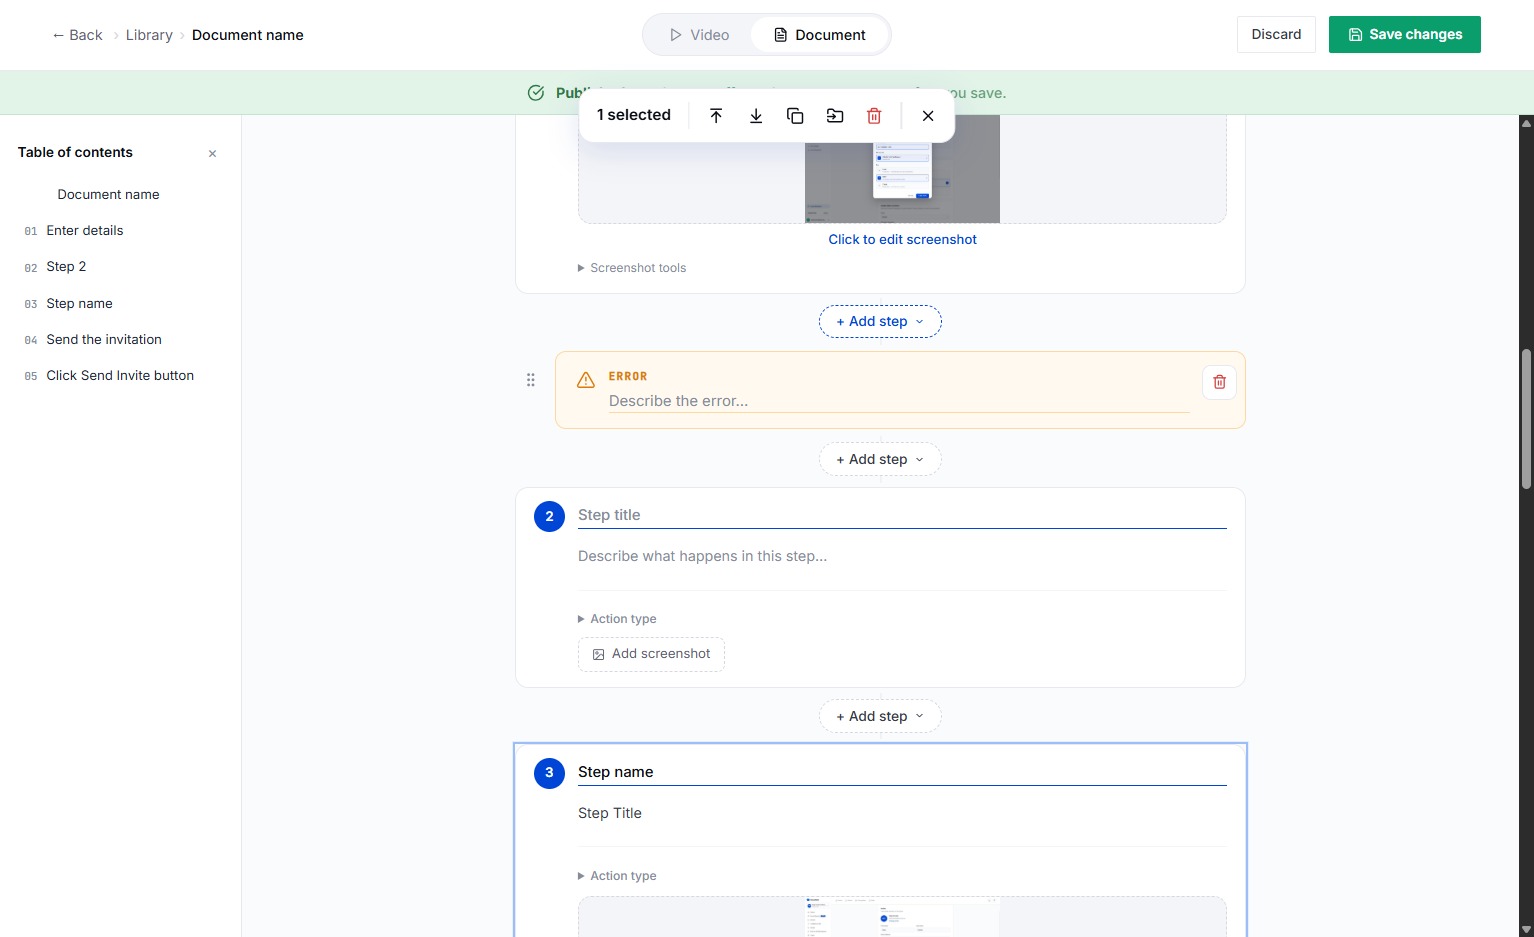
Choose Error (Alert) to define a step that triggers an alert when an error occurs in your workflow.
Repeat the process, select the Add step button to include another action in the workflow.
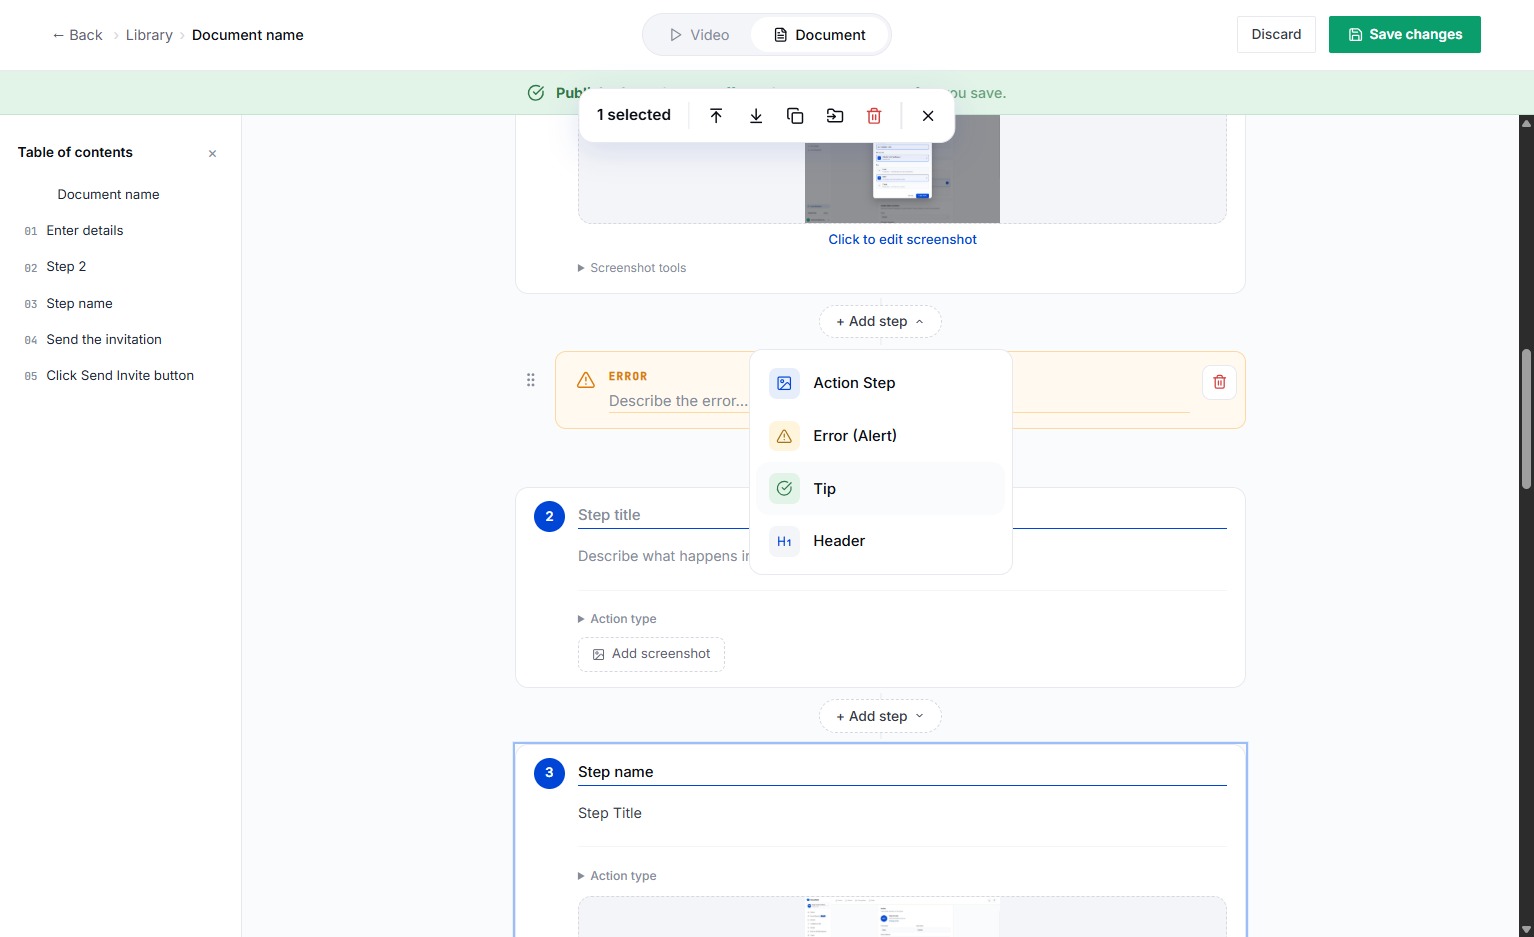
Select the Tip button to open the inline help panel for this step in the workflow.
And last, select the Add step button to include another action in the workflow.
Click inside the Header field to start editing its content.