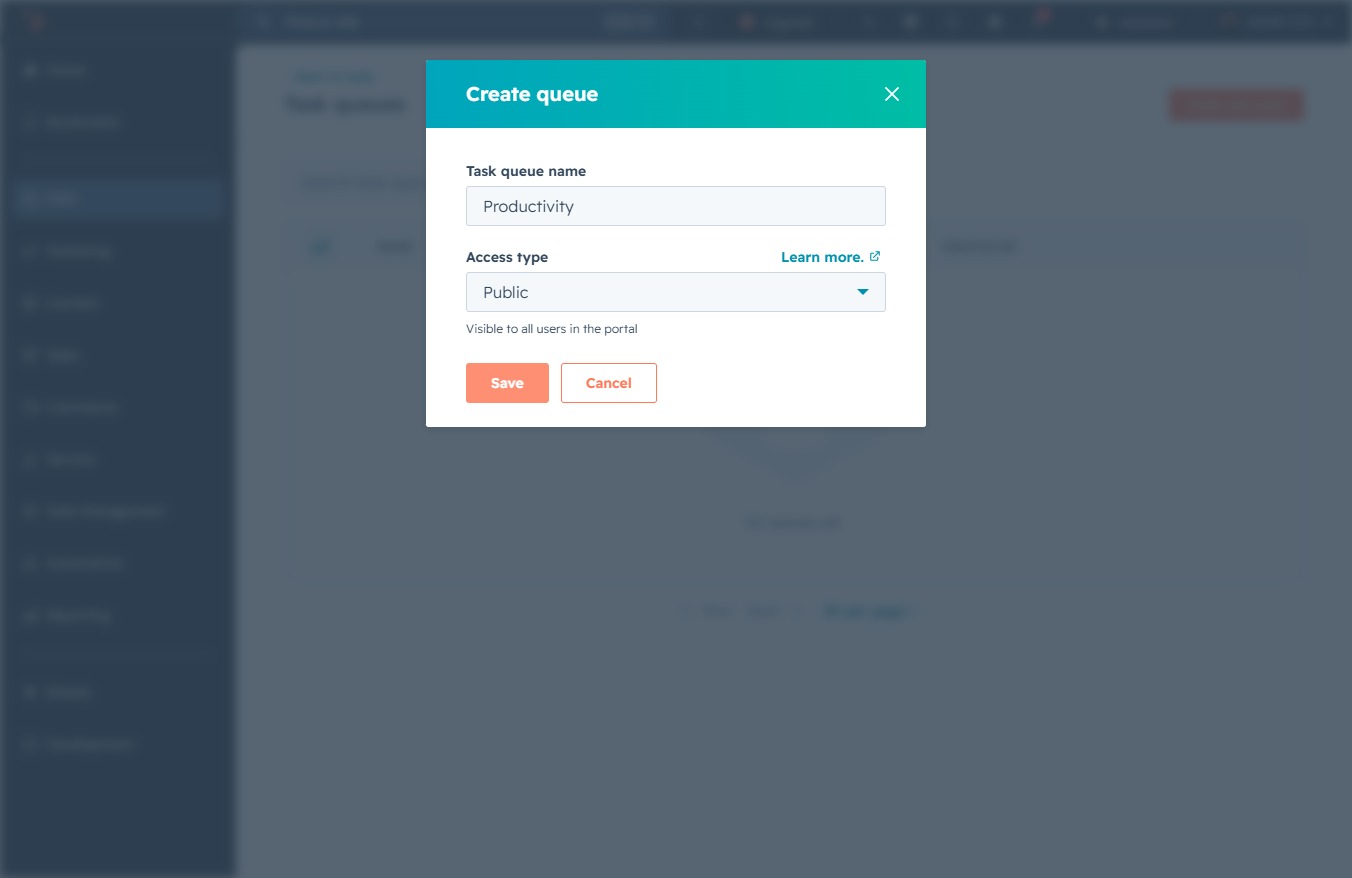
Click the CRM link
Clicking the CRM link will navigate you to the Customer Relationship Management section, where you can manage customer interactions and data.
Loading screenshot…
100%
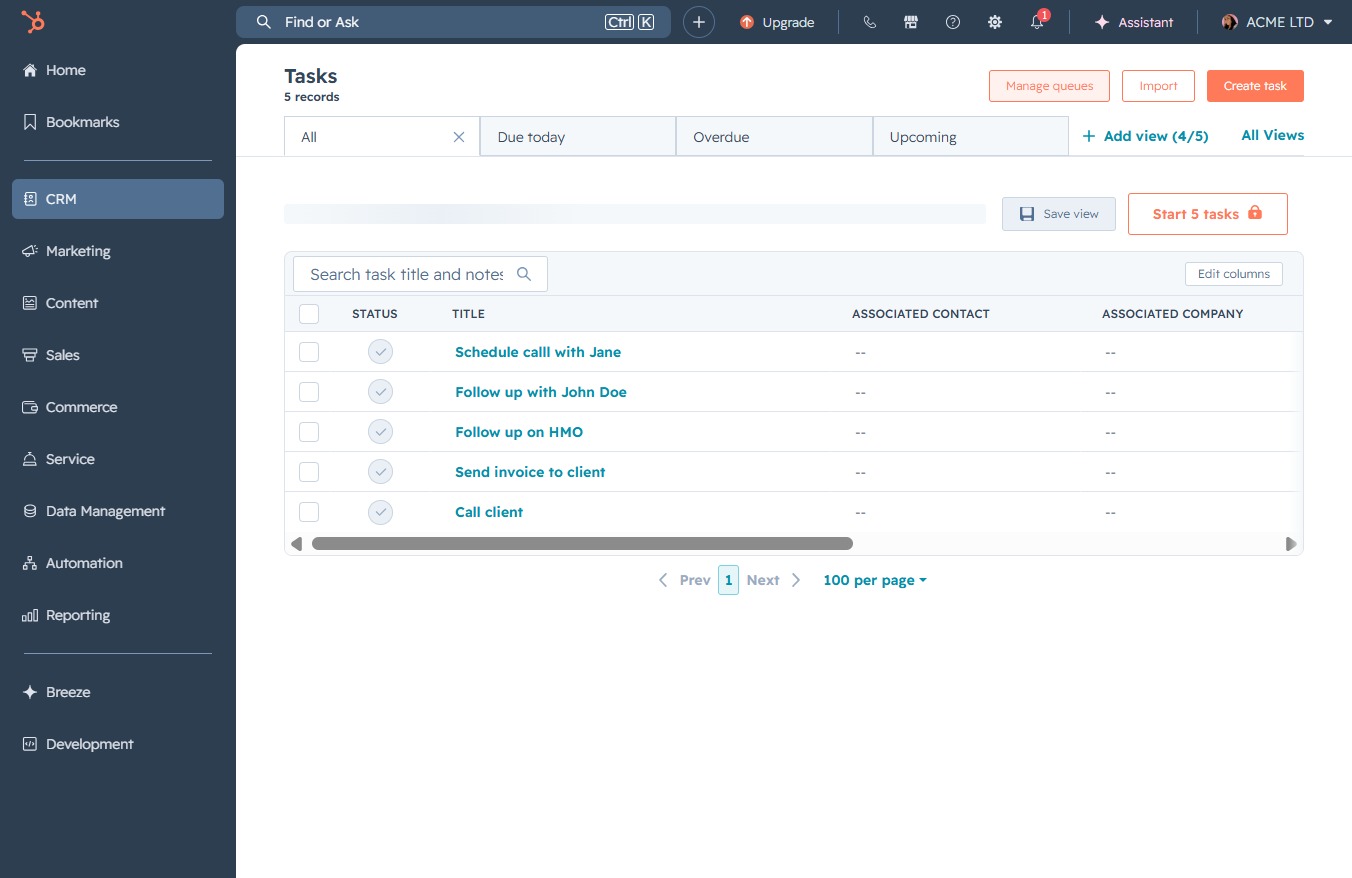
Create a new task queue named 'Productivity' in the CRM, selecting 'Public' access to allow collaboration, and view your organized tasks efficiently in the management interface.
 viktoria
Create a new task queue named 'Productivity' in the CRM, selecting 'Public' access to allow collaboration, and view your organized tasks efficiently in the management interface.
Clicking the CRM link will navigate you to the Customer Relationship Management section, where you can manage customer interactions and data.
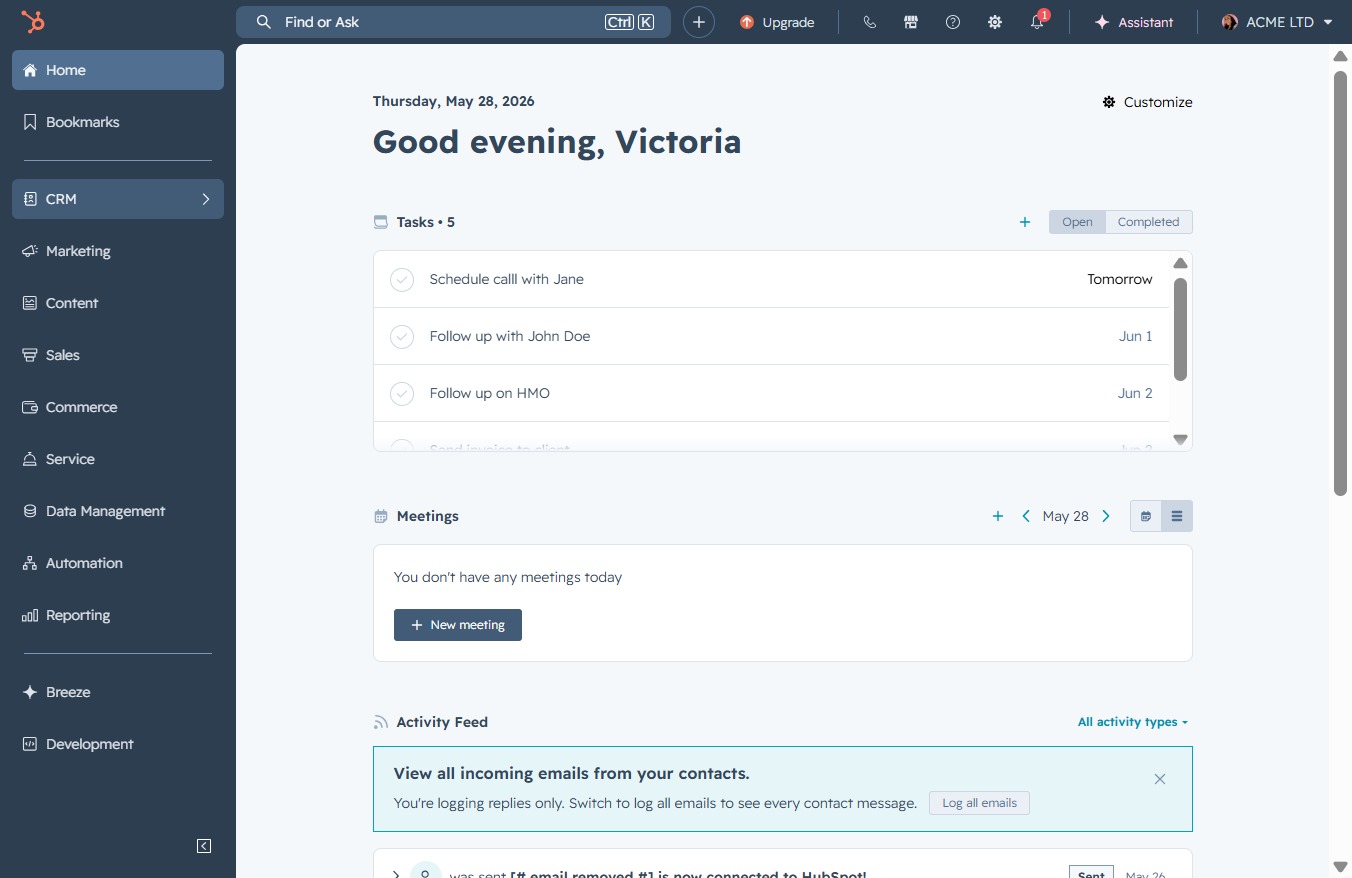
After clicking, you'll access the Tasks section where you can view, manage, and create tasks related to your projects and interactions.
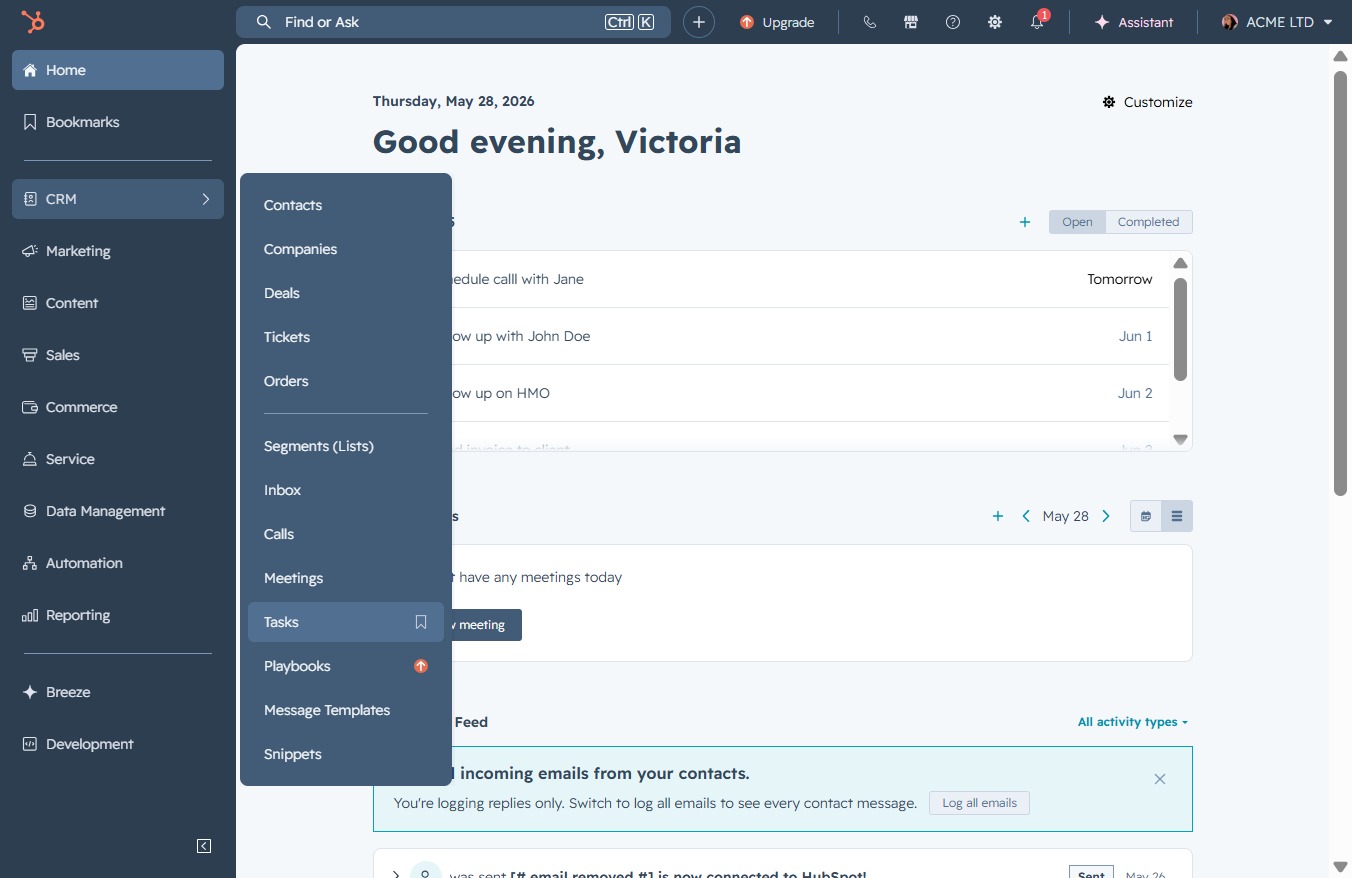
This action will direct you to the management interface for task queues, allowing you to view, edit, and organize the various queues associated with your tasks.
This action will initiate the process of creating a new task queue, allowing you to define its parameters and settings.
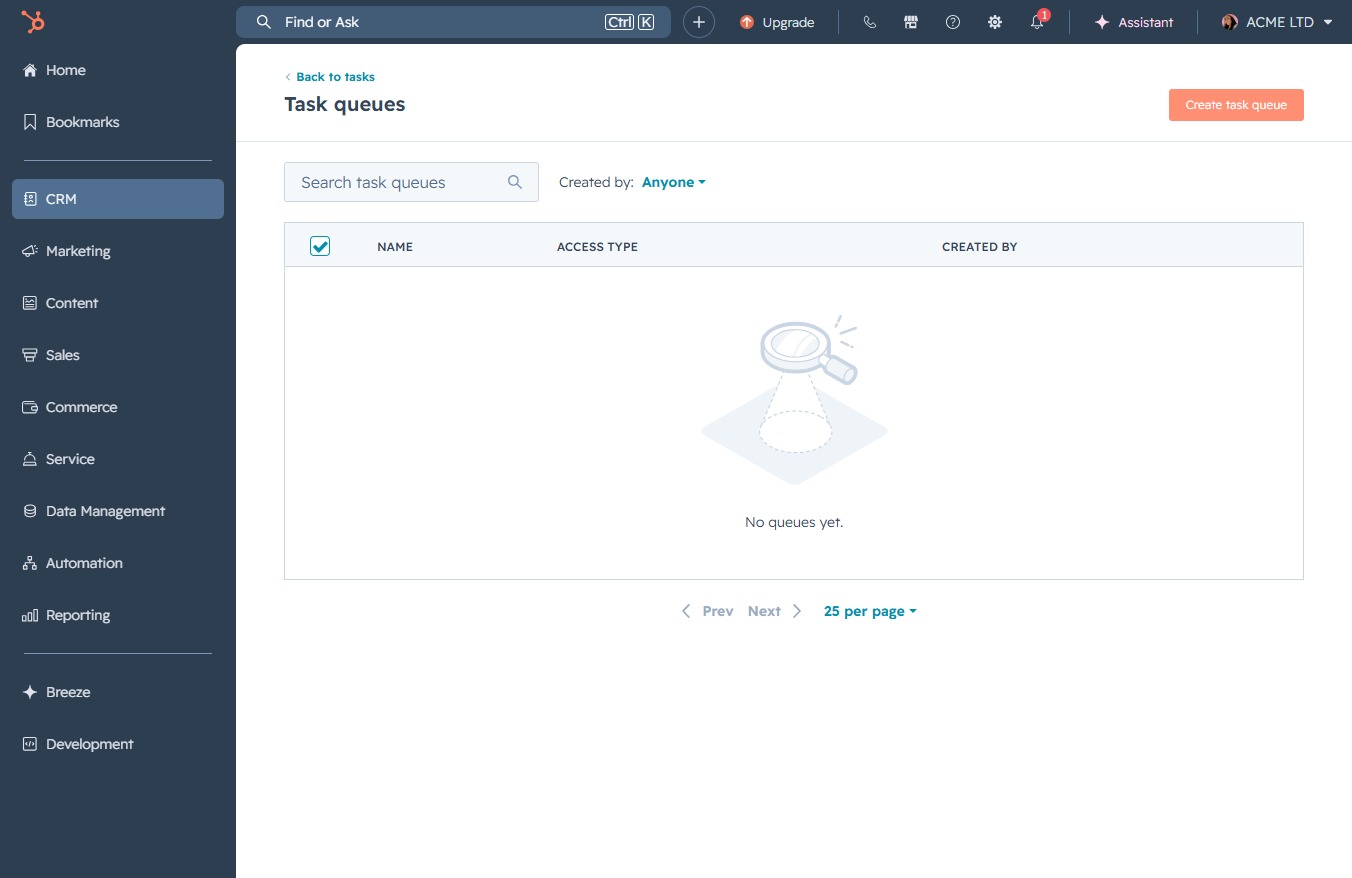
Clicking this will prompt you to enter a name for the new task queue and select the access type.

Enter 'Productivity' in the Task queue name field to define the name for your new task queue. This will help you organize and manage tasks efficiently under this specific category.
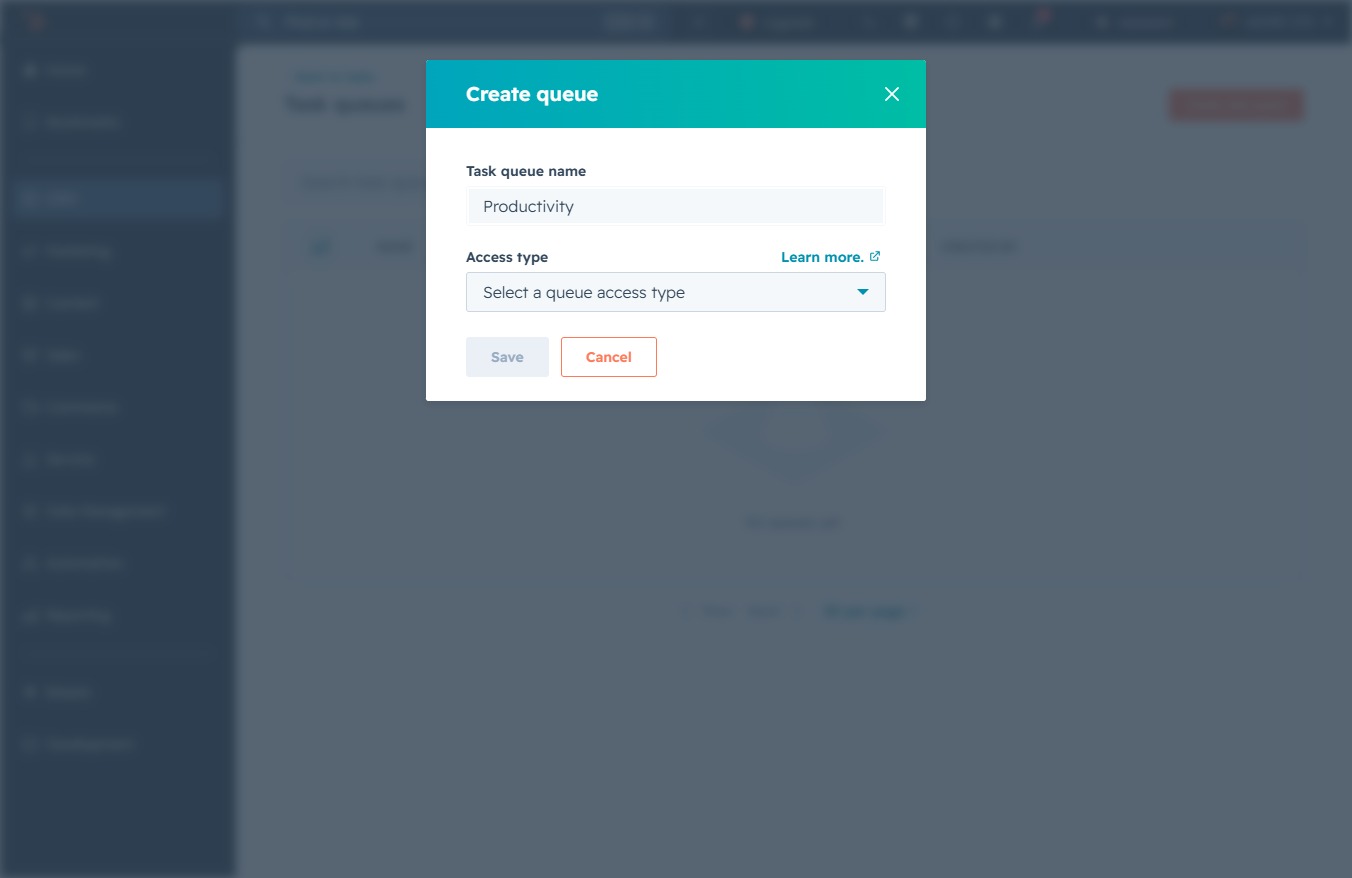
Choose the appropriate access type for the queue you are creating. This selection will determine how users can interact with this queue.
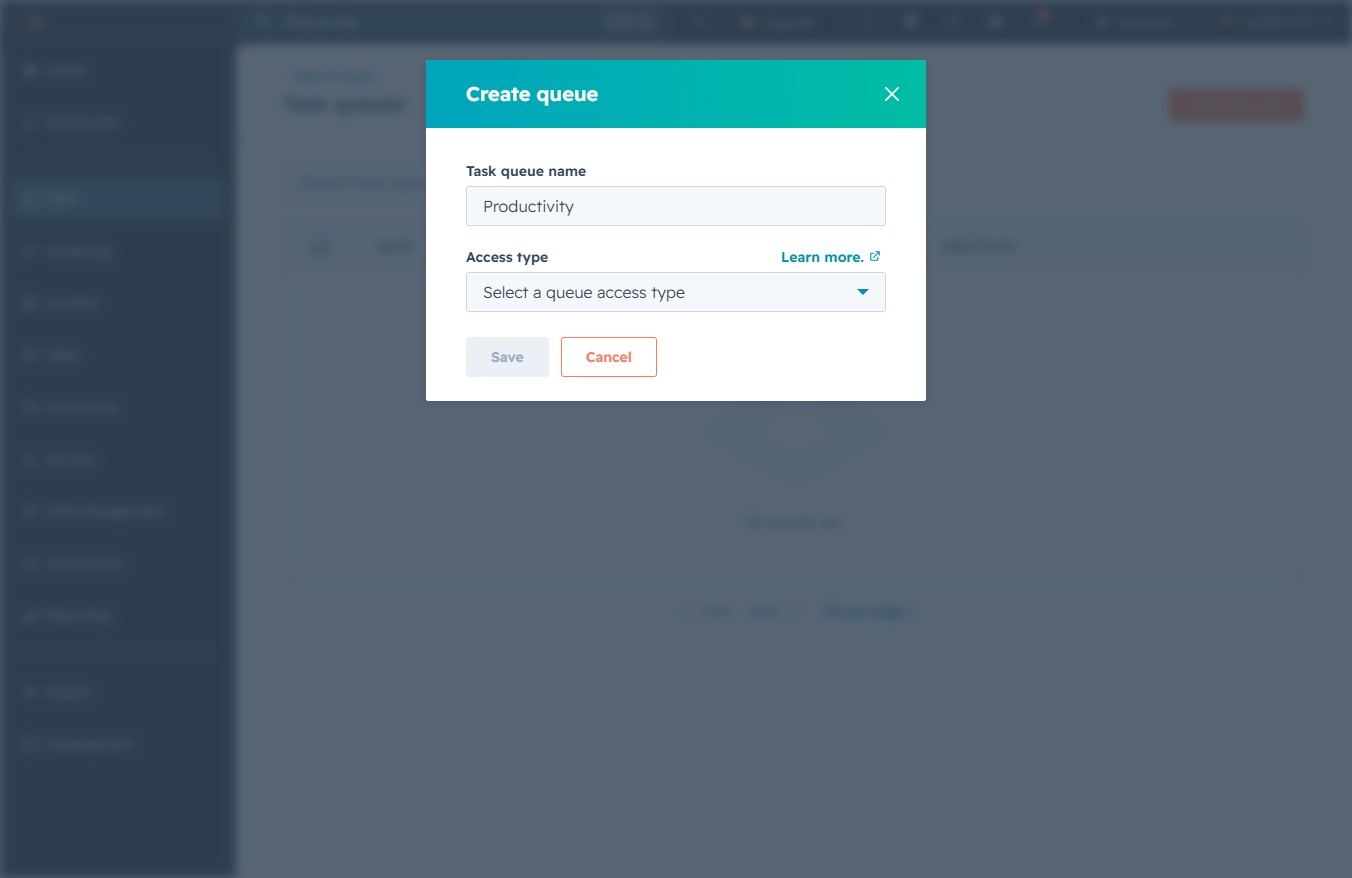
Selecting 'Public' allows all users in the queue to access the task queue. This makes the queue visible to everyone, facilitating collaboration.
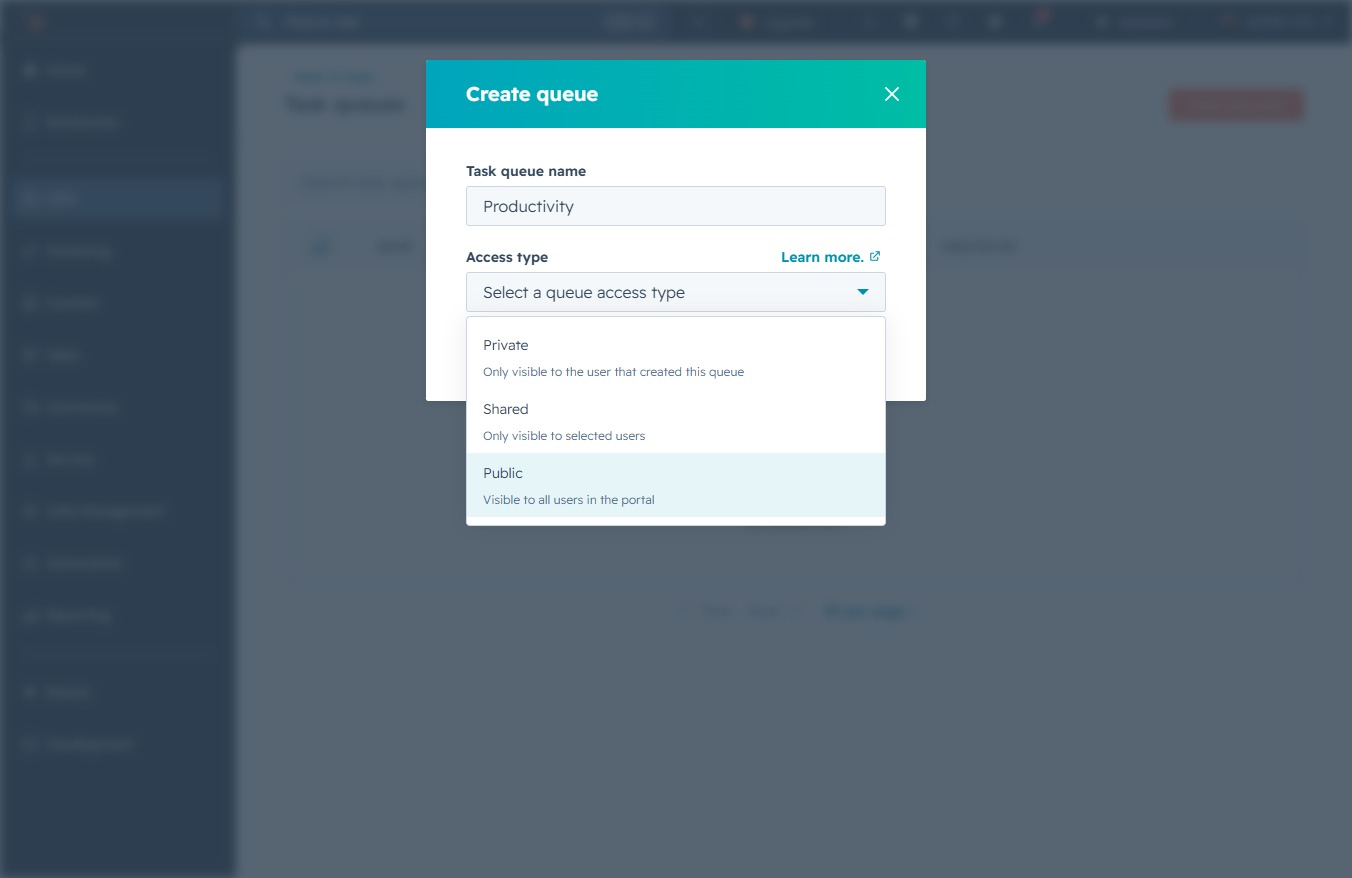
This action confirms the creation of the new task queue named 'Productivity' and stores the selected access type as 'Public'. You will now see the updated queue in your task management interface.