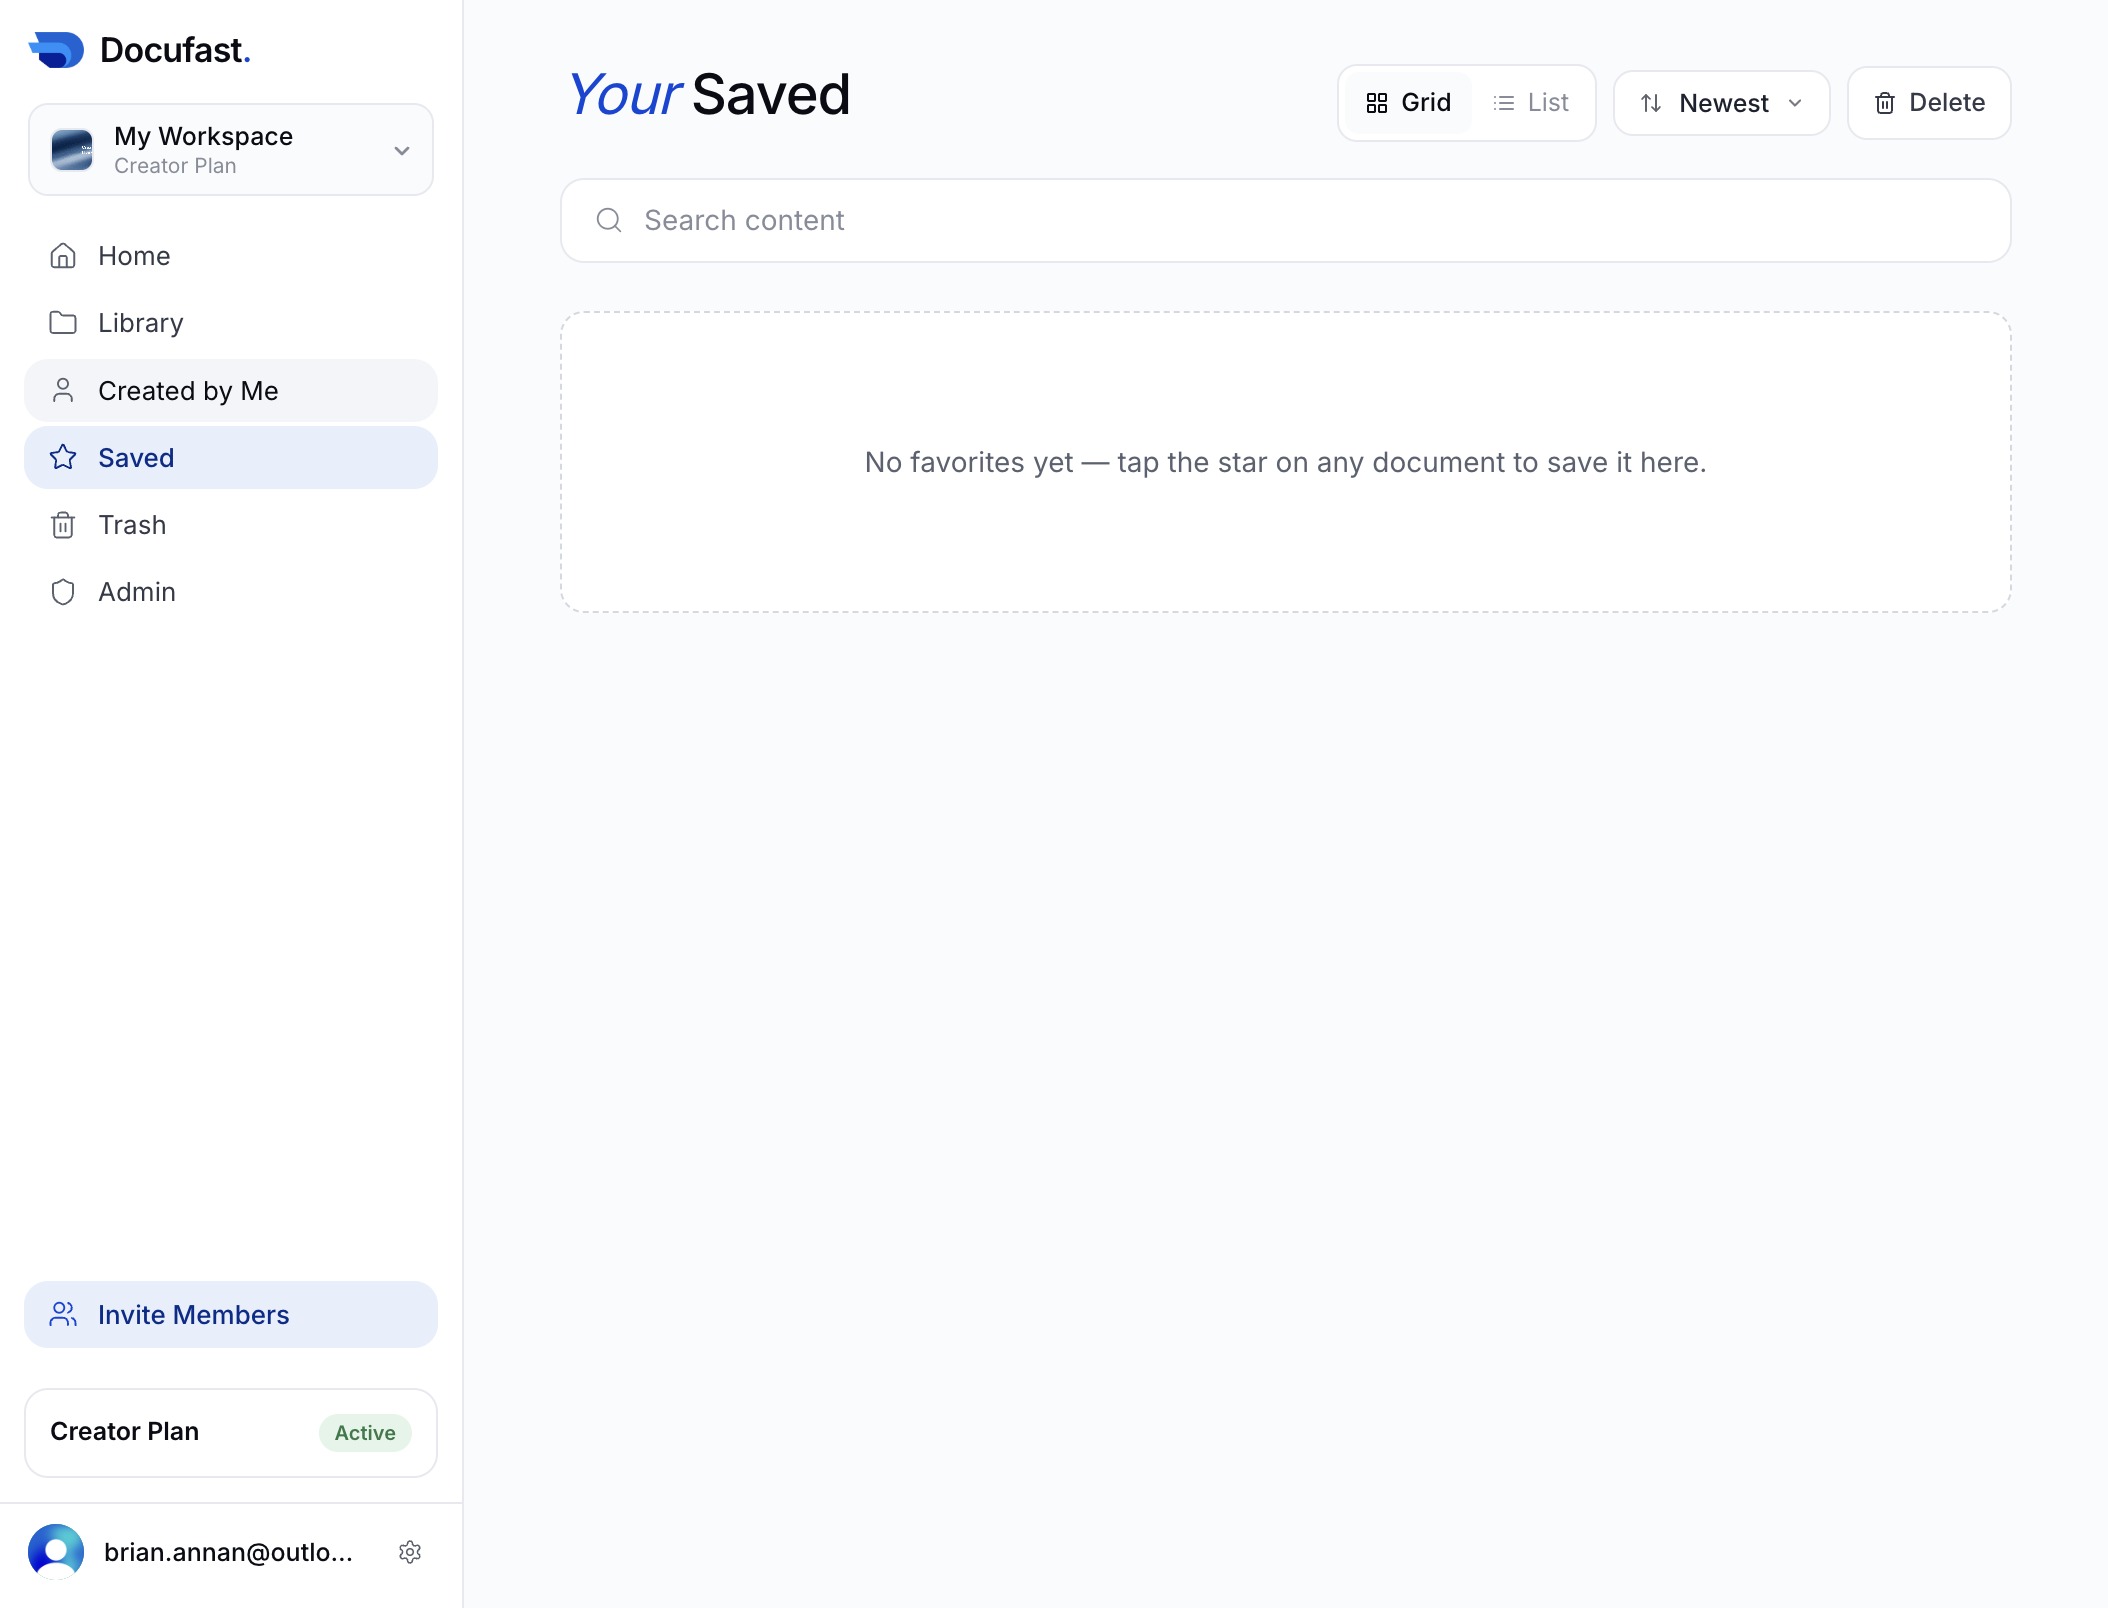
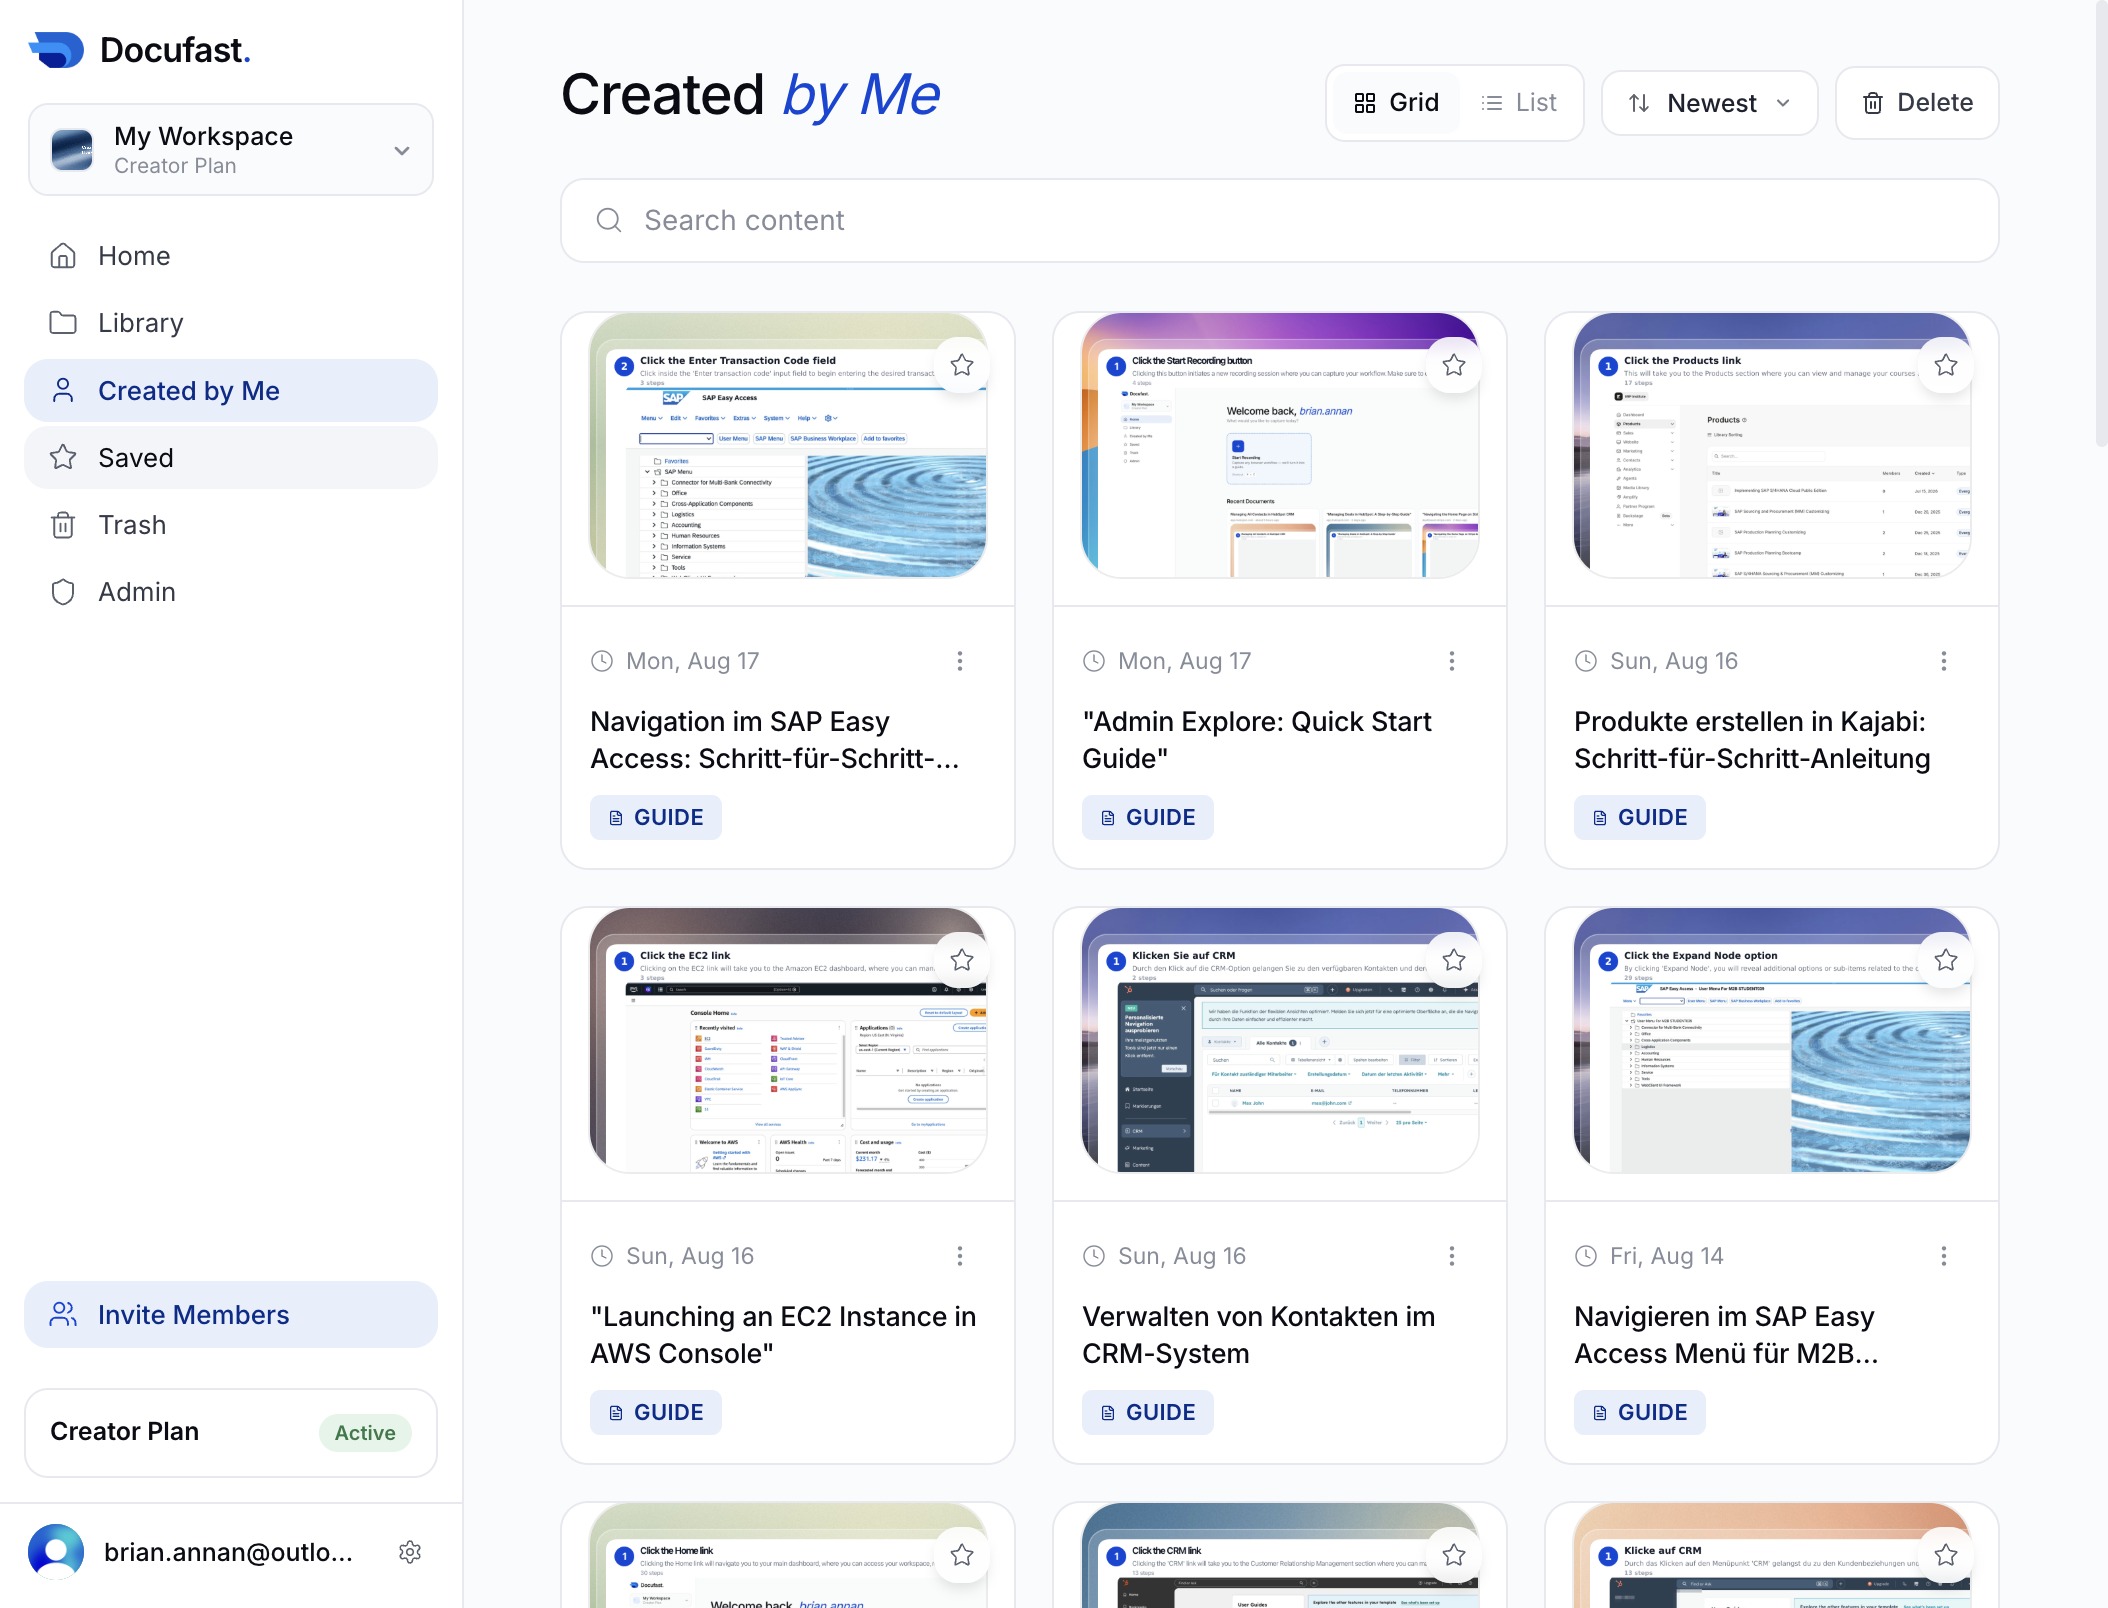
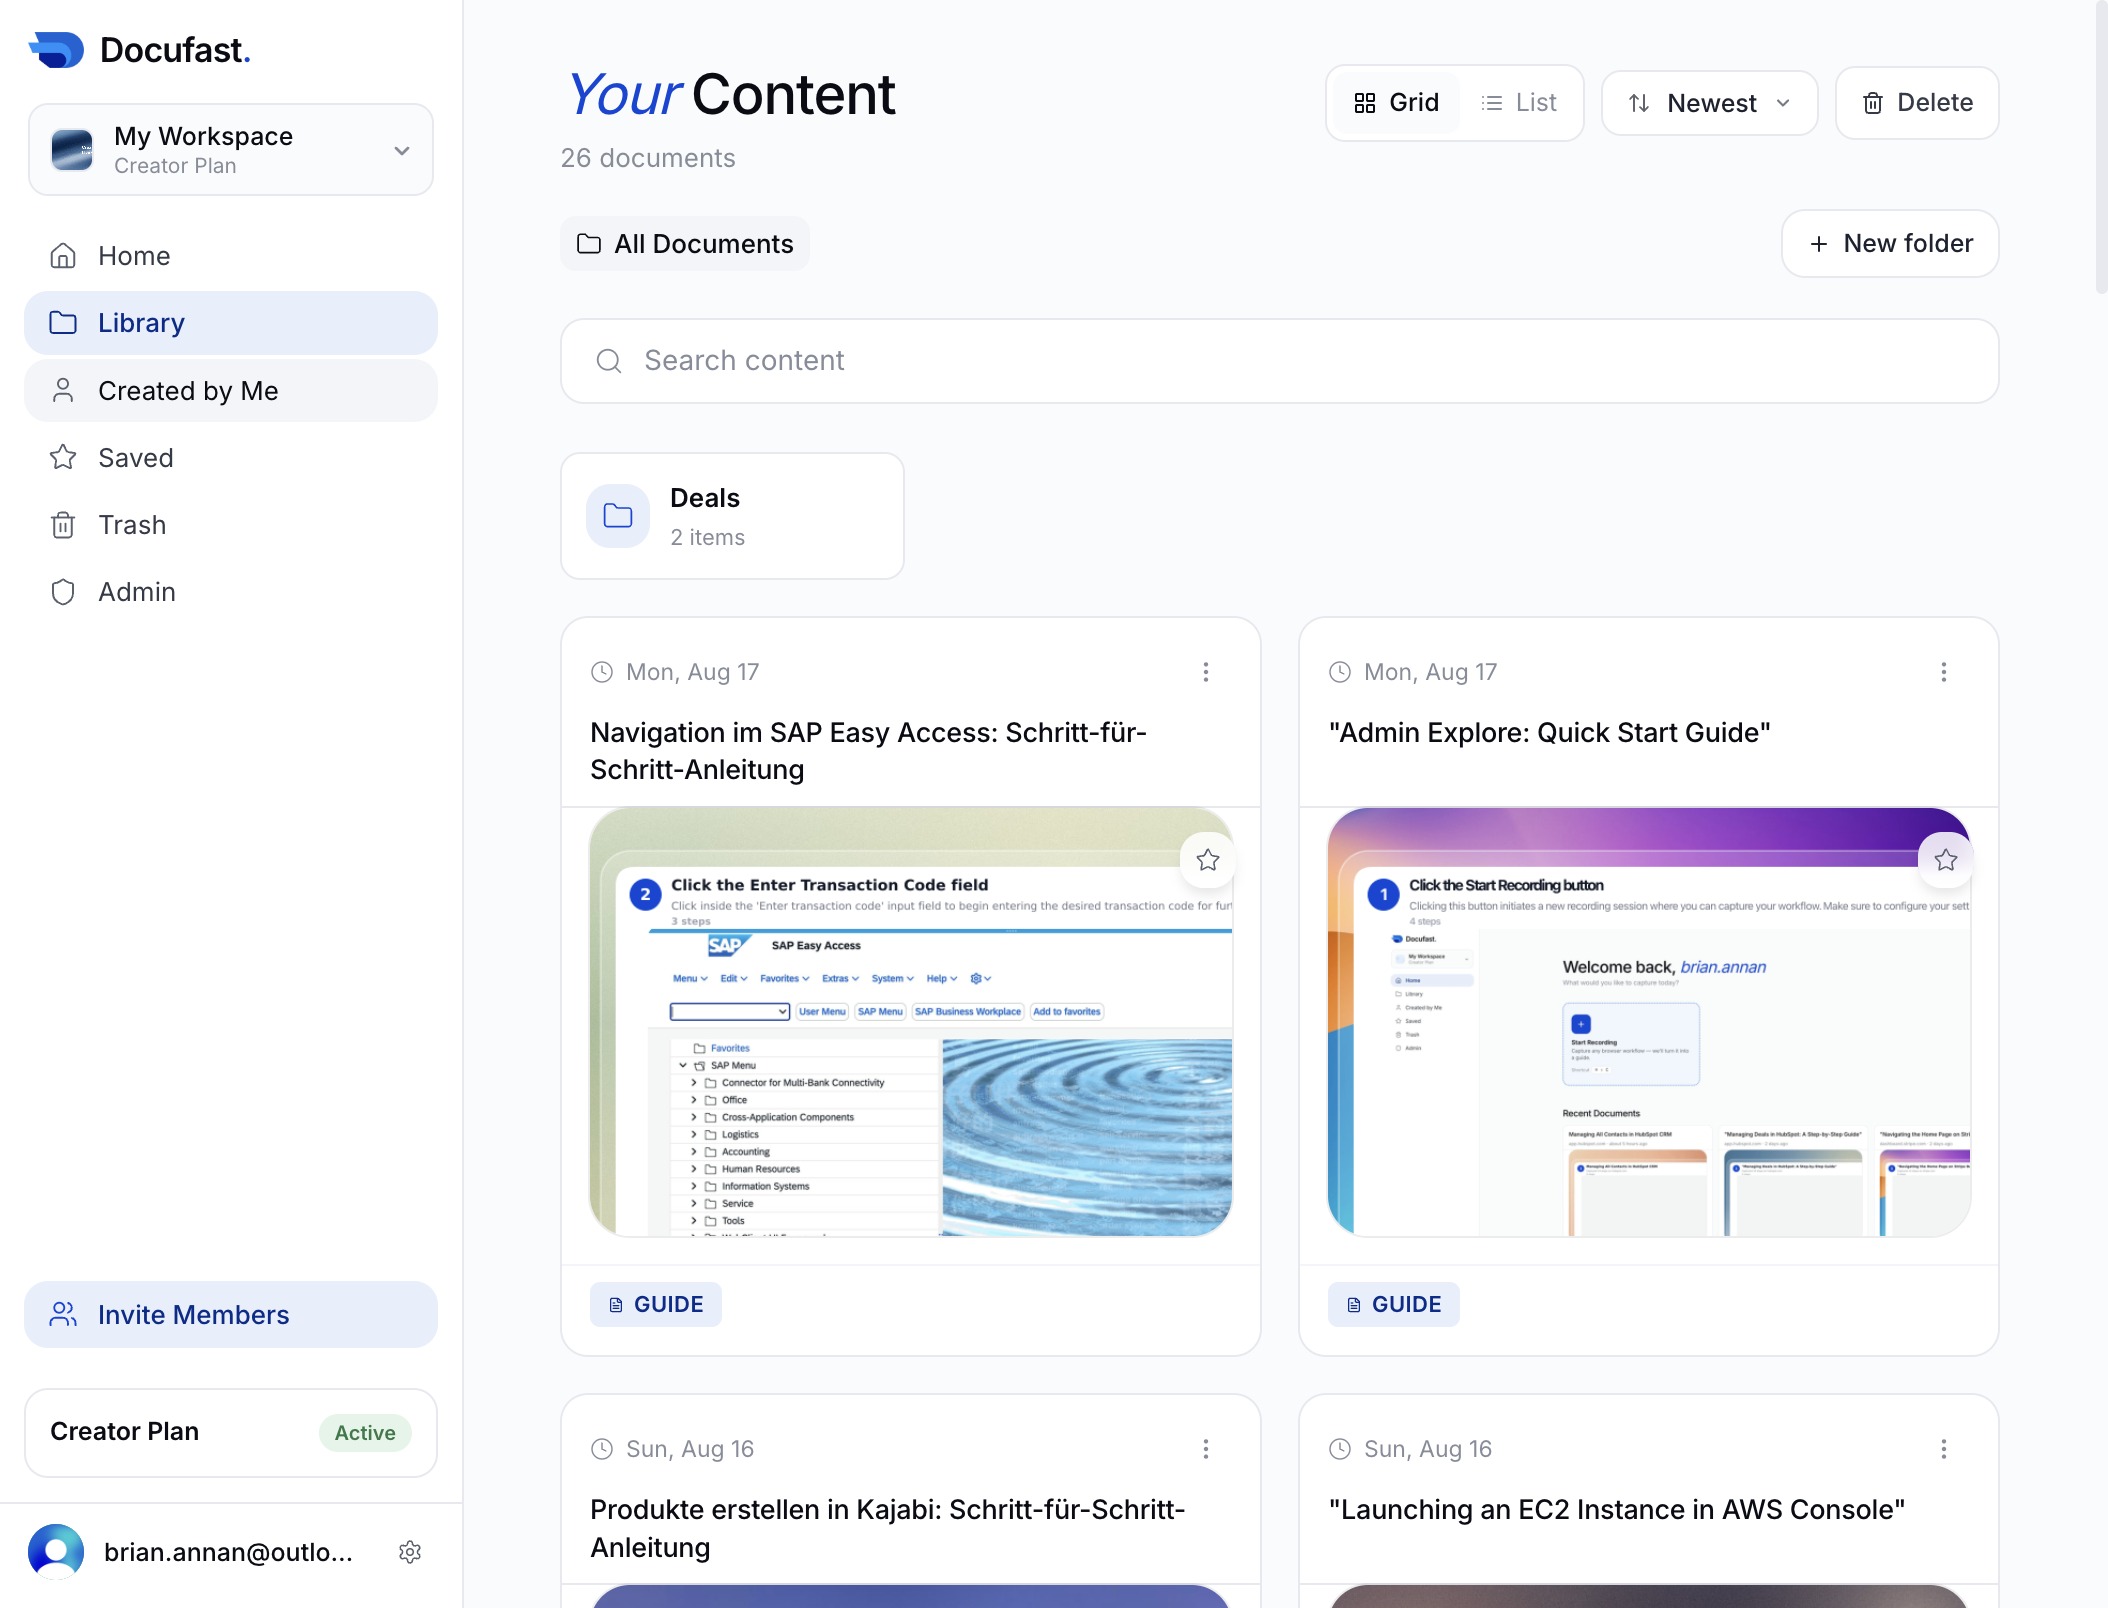
Click the Created by Me link
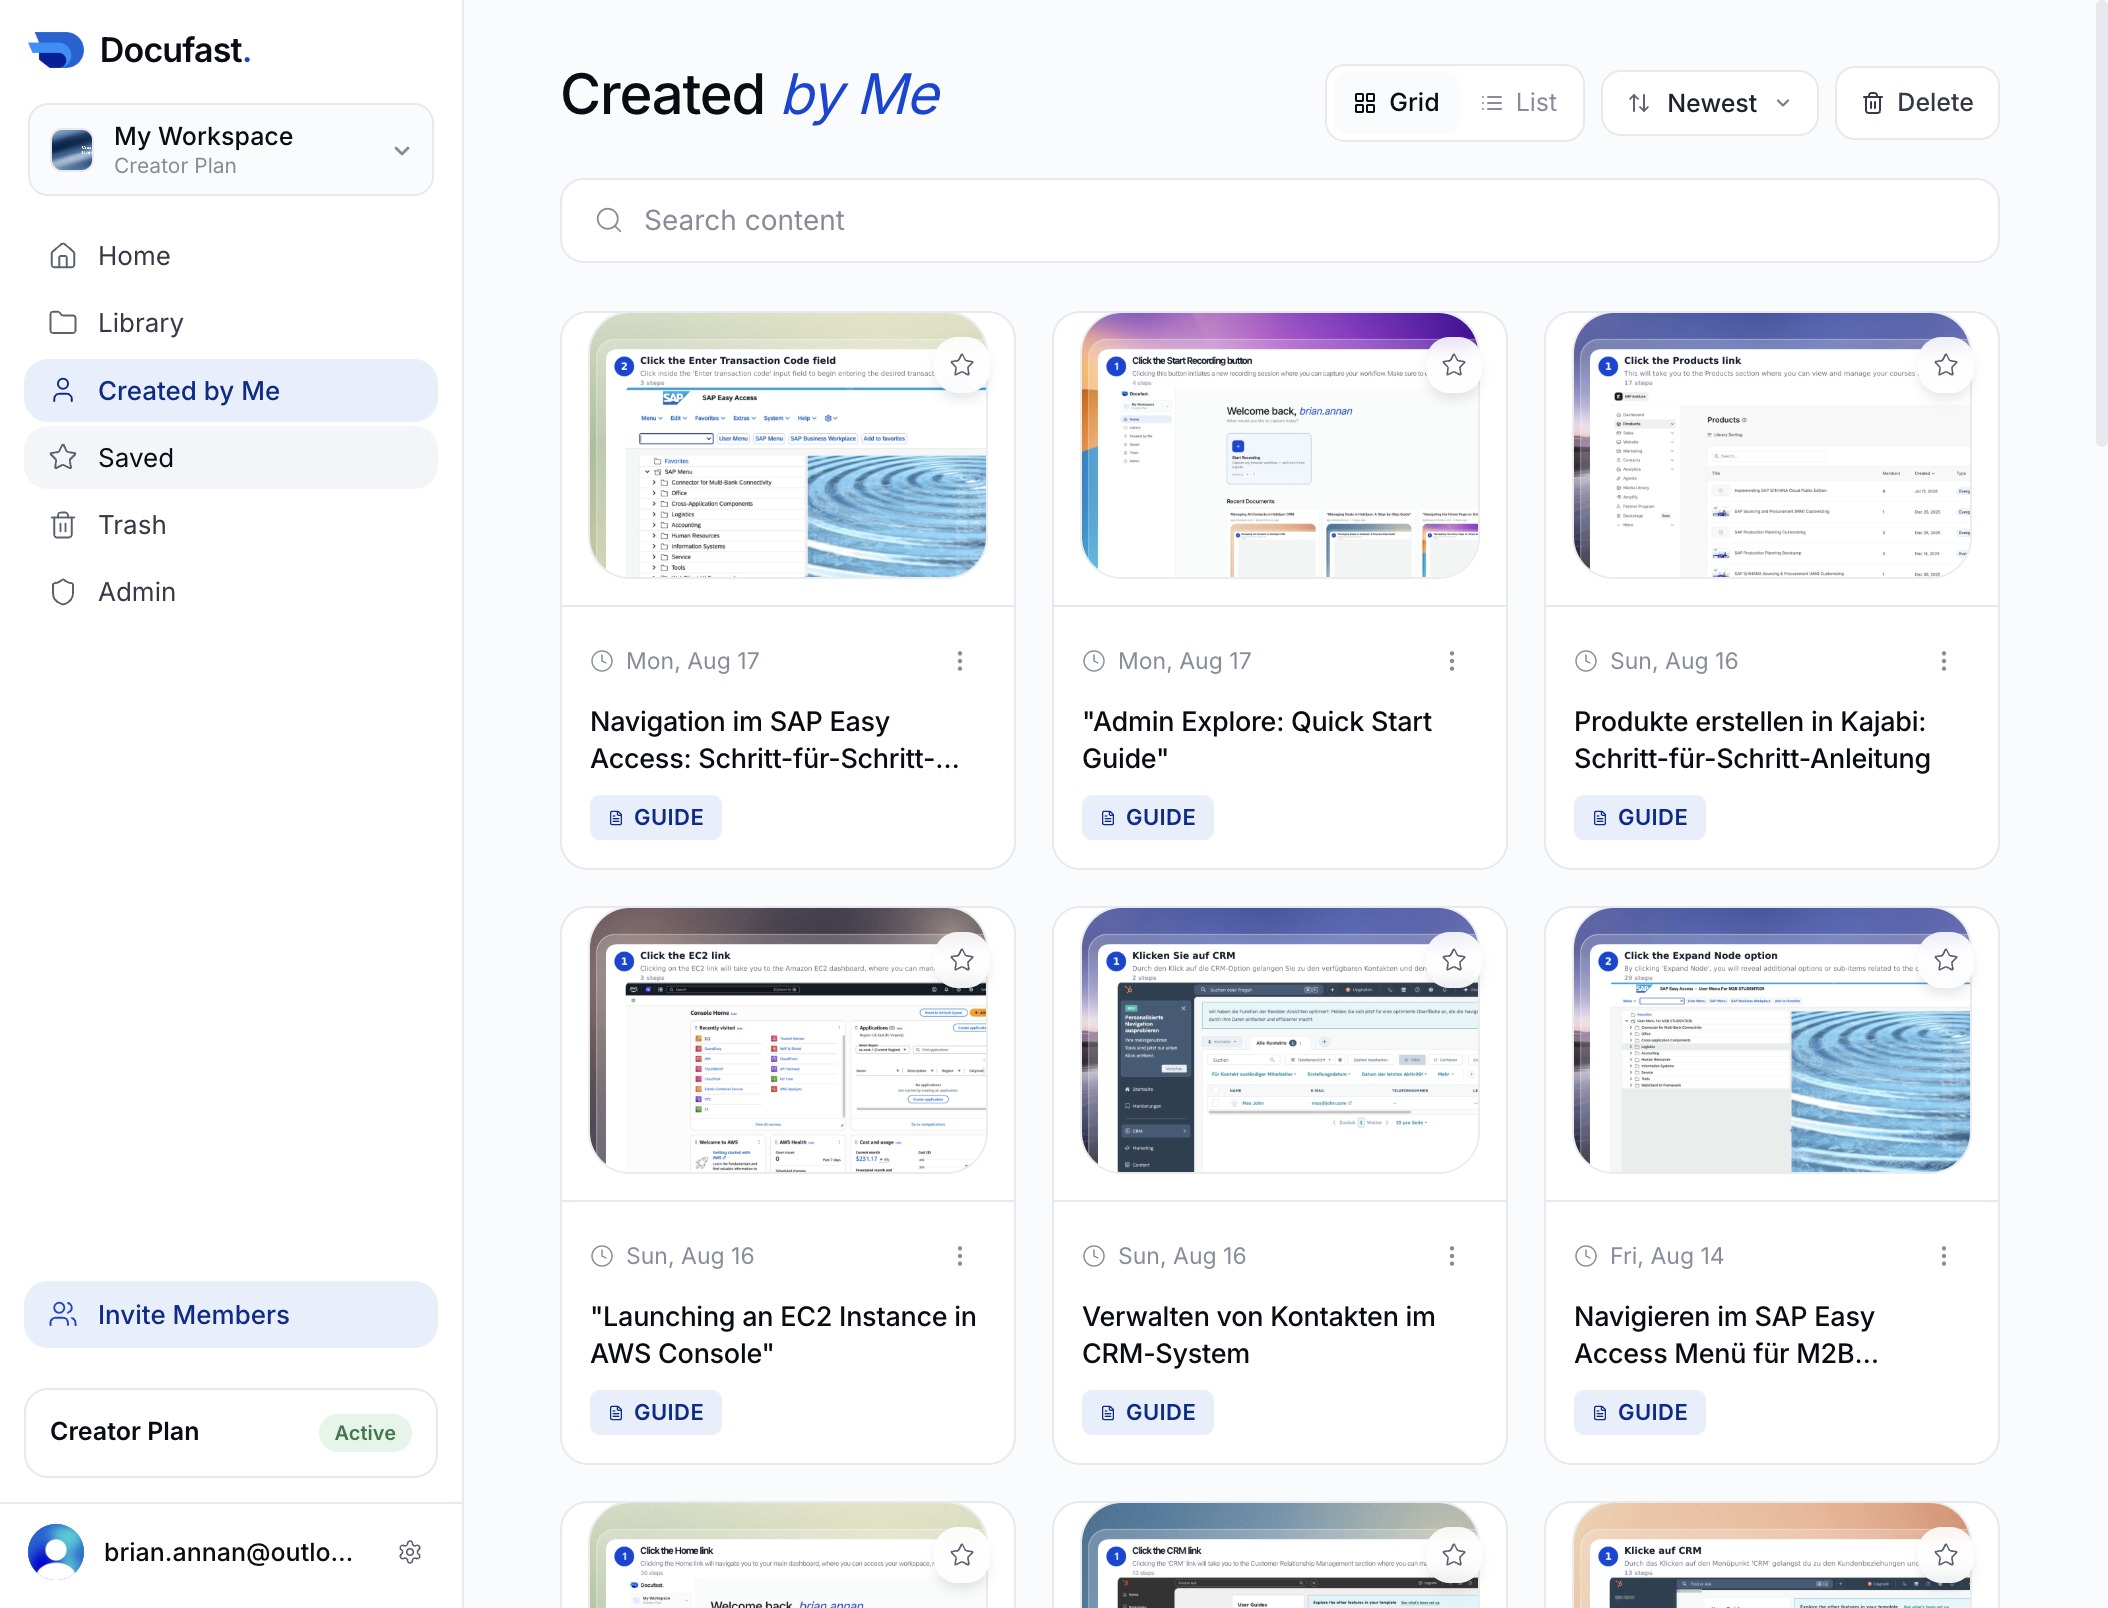
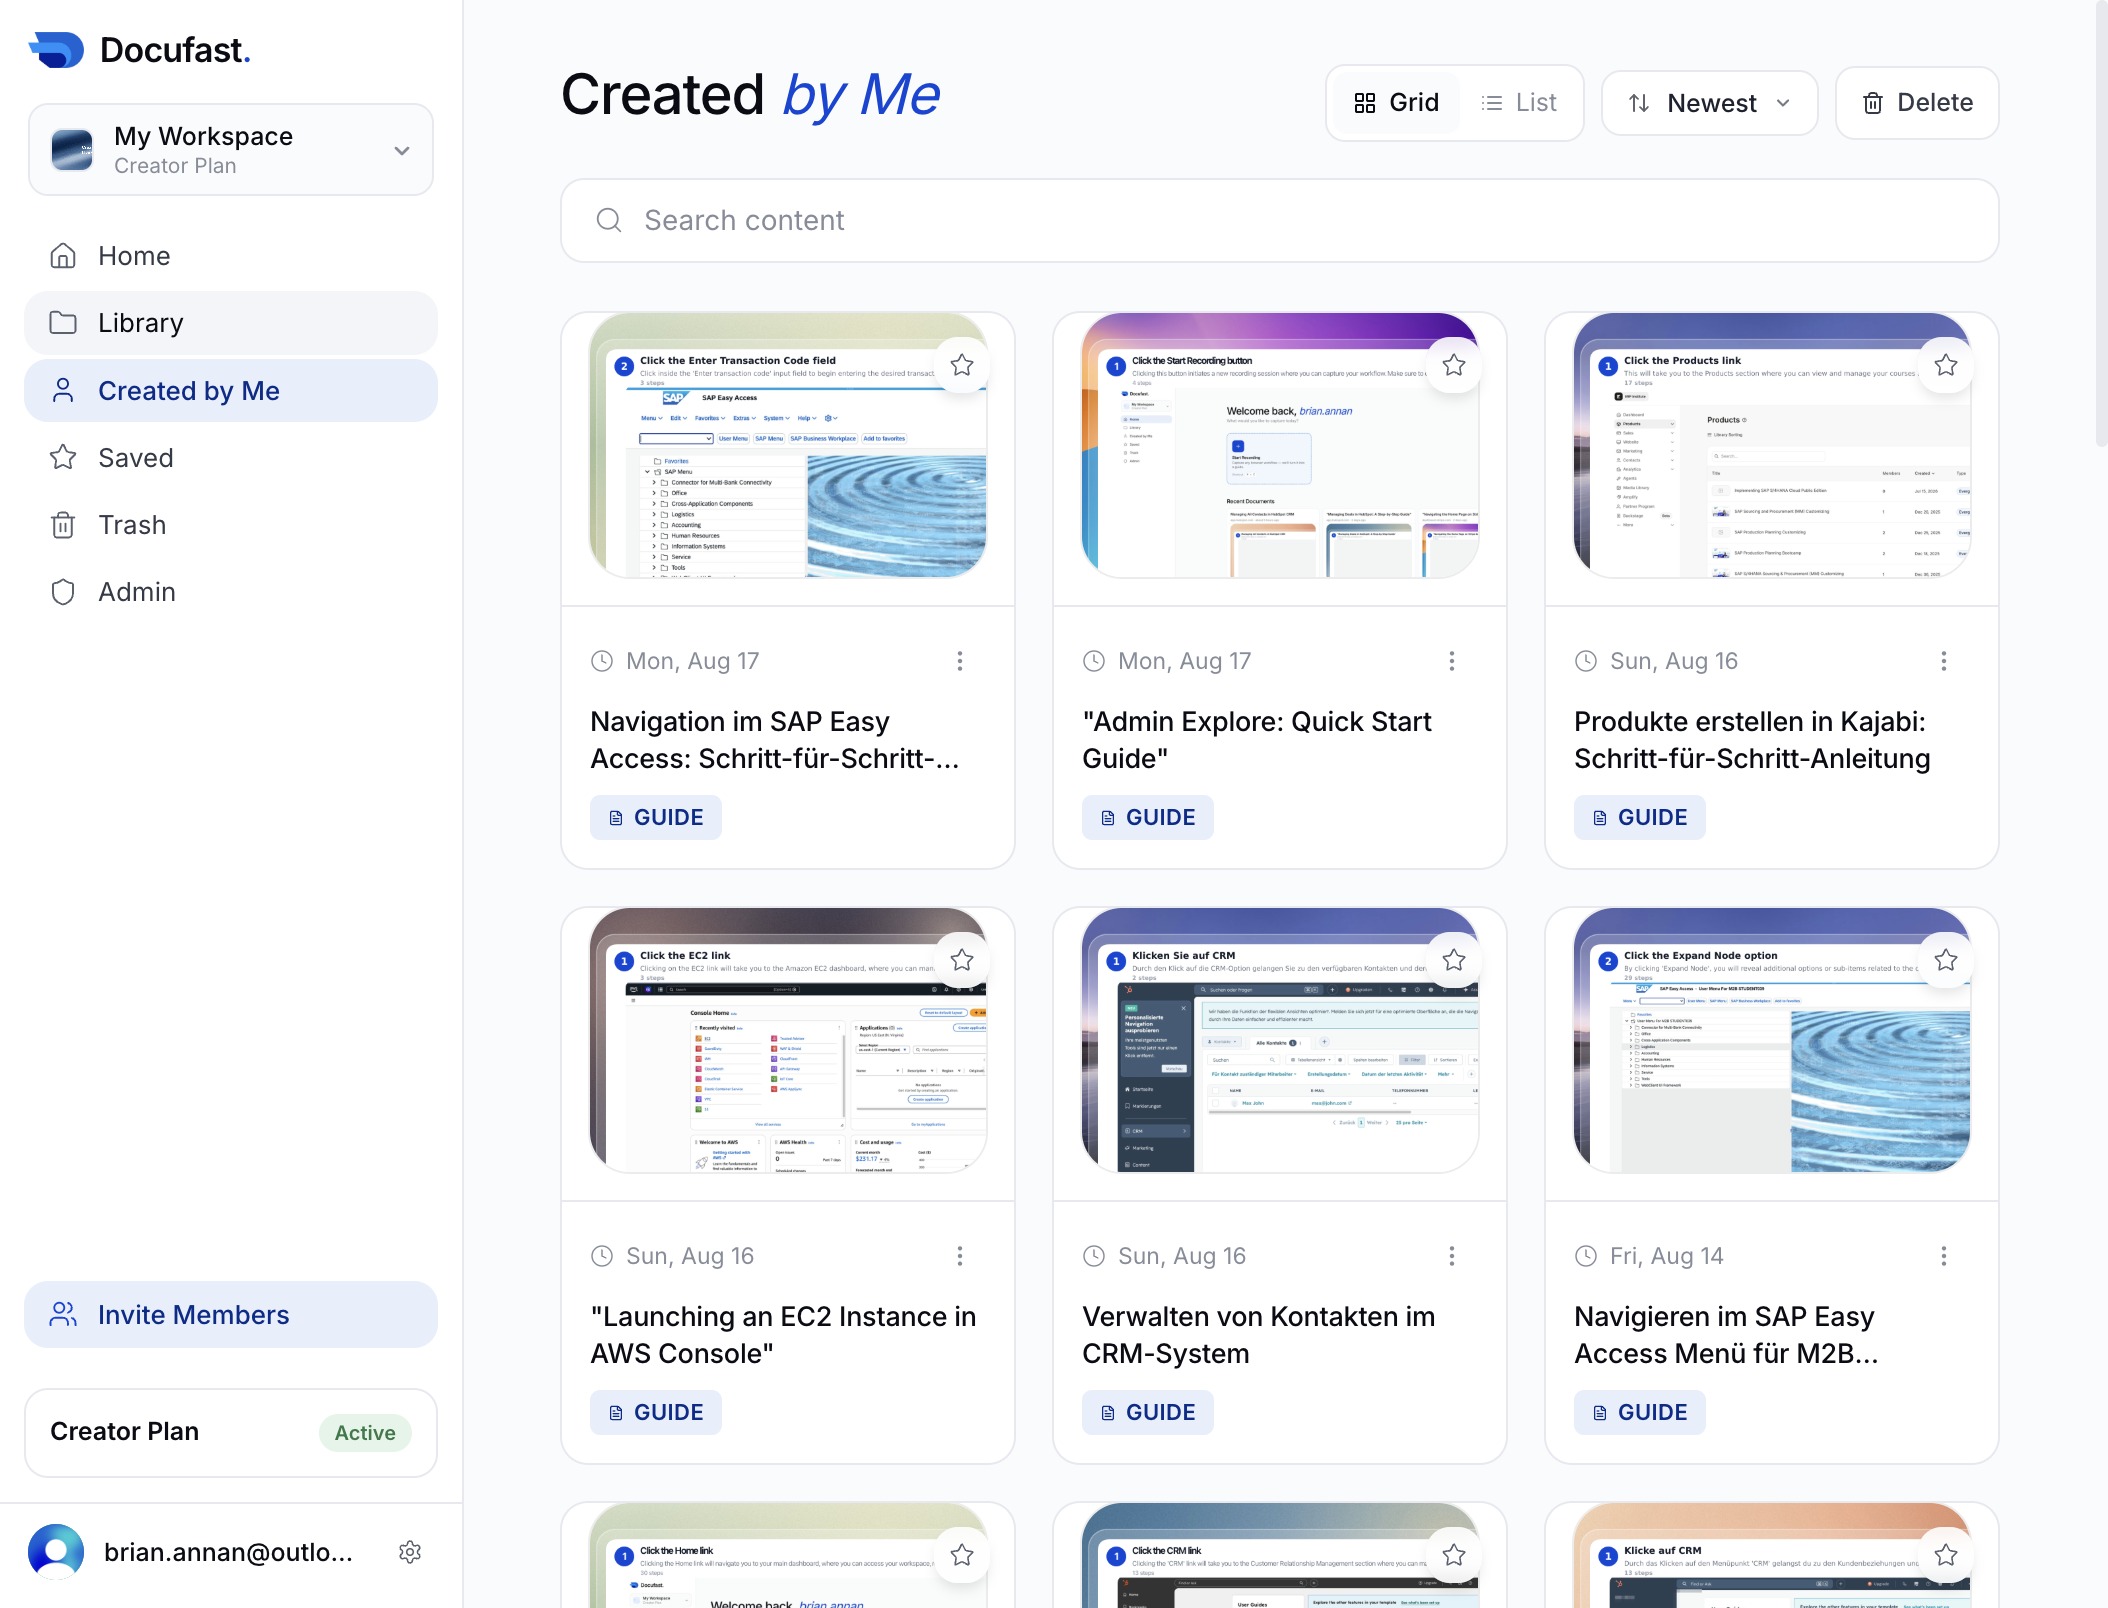
Clicking the 'Created by Me' link will display all documents that you have created, allowing you to quickly access and manage your content.
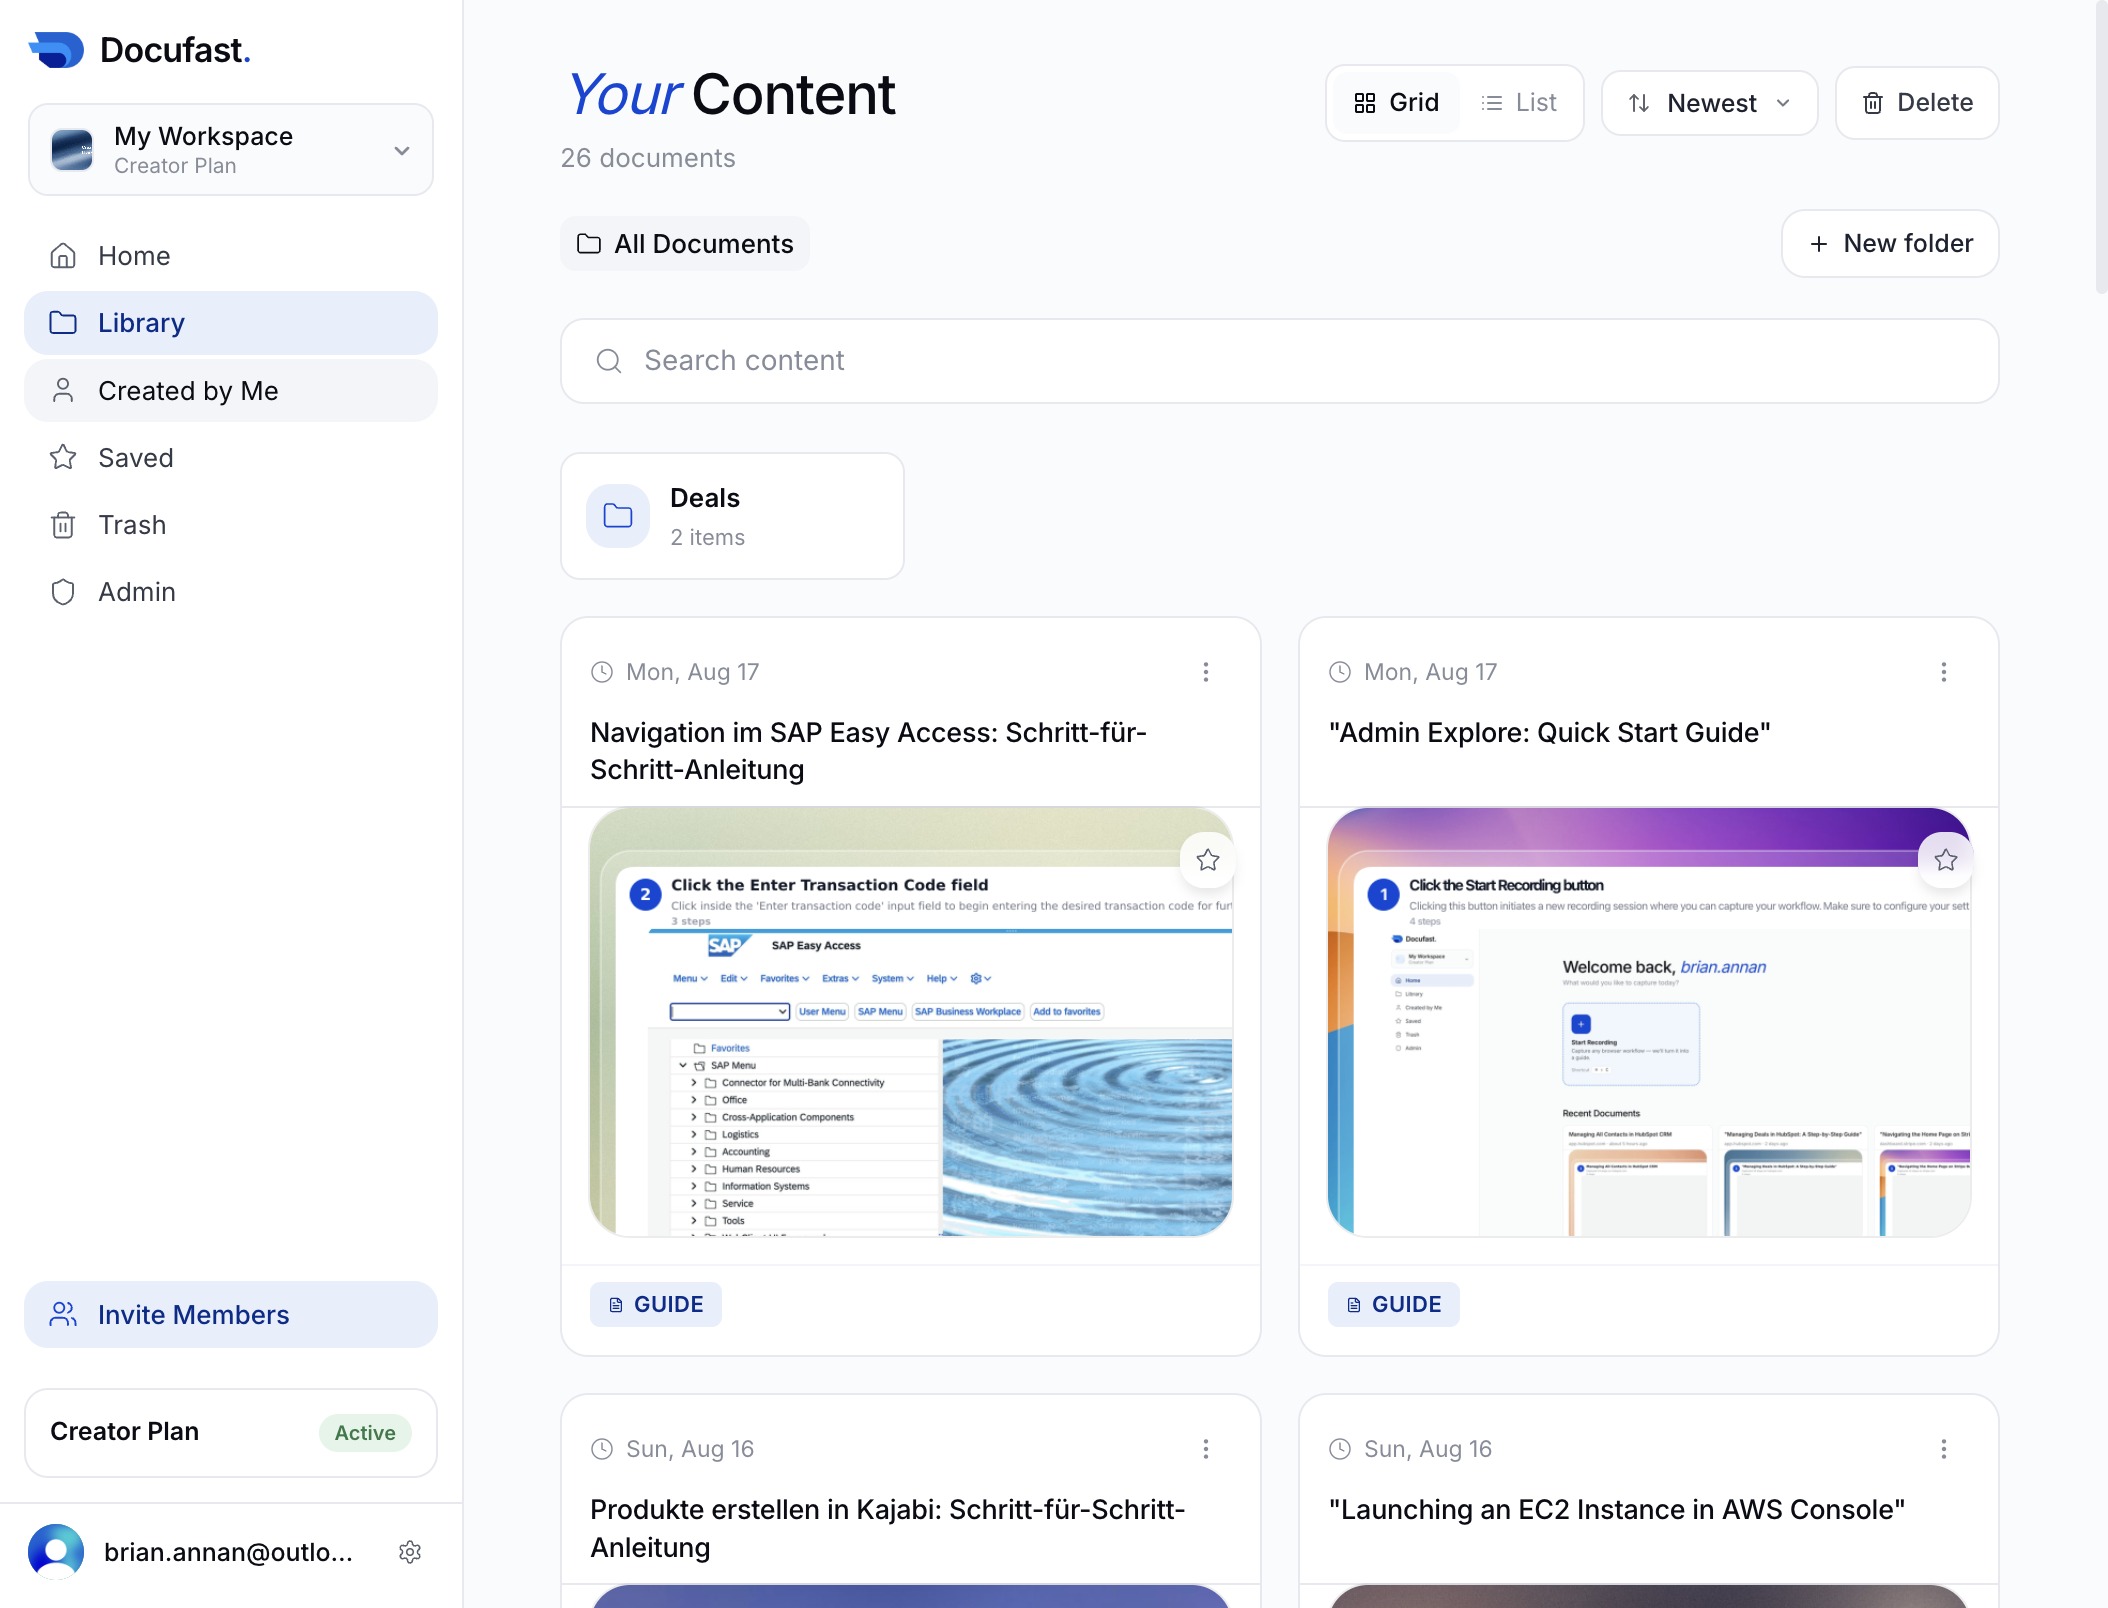
Loading screenshot…
100%
In this how-to guide, you'll learn how to create and navigate your personal dashboard in DocuFast.
 brian.annan
In this how-to guide, you'll learn how to create and navigate your personal dashboard in DocuFast. By clicking the 'Created by Me' link, you can easily access, manage, and review all the documents and guides you've authored within your workspace.
Clicking the 'Created by Me' link will display all documents that you have created, allowing you to quickly access and manage your content.
This action opens the 'Created by Me' section, where you can view and manage the documents and content you have created.
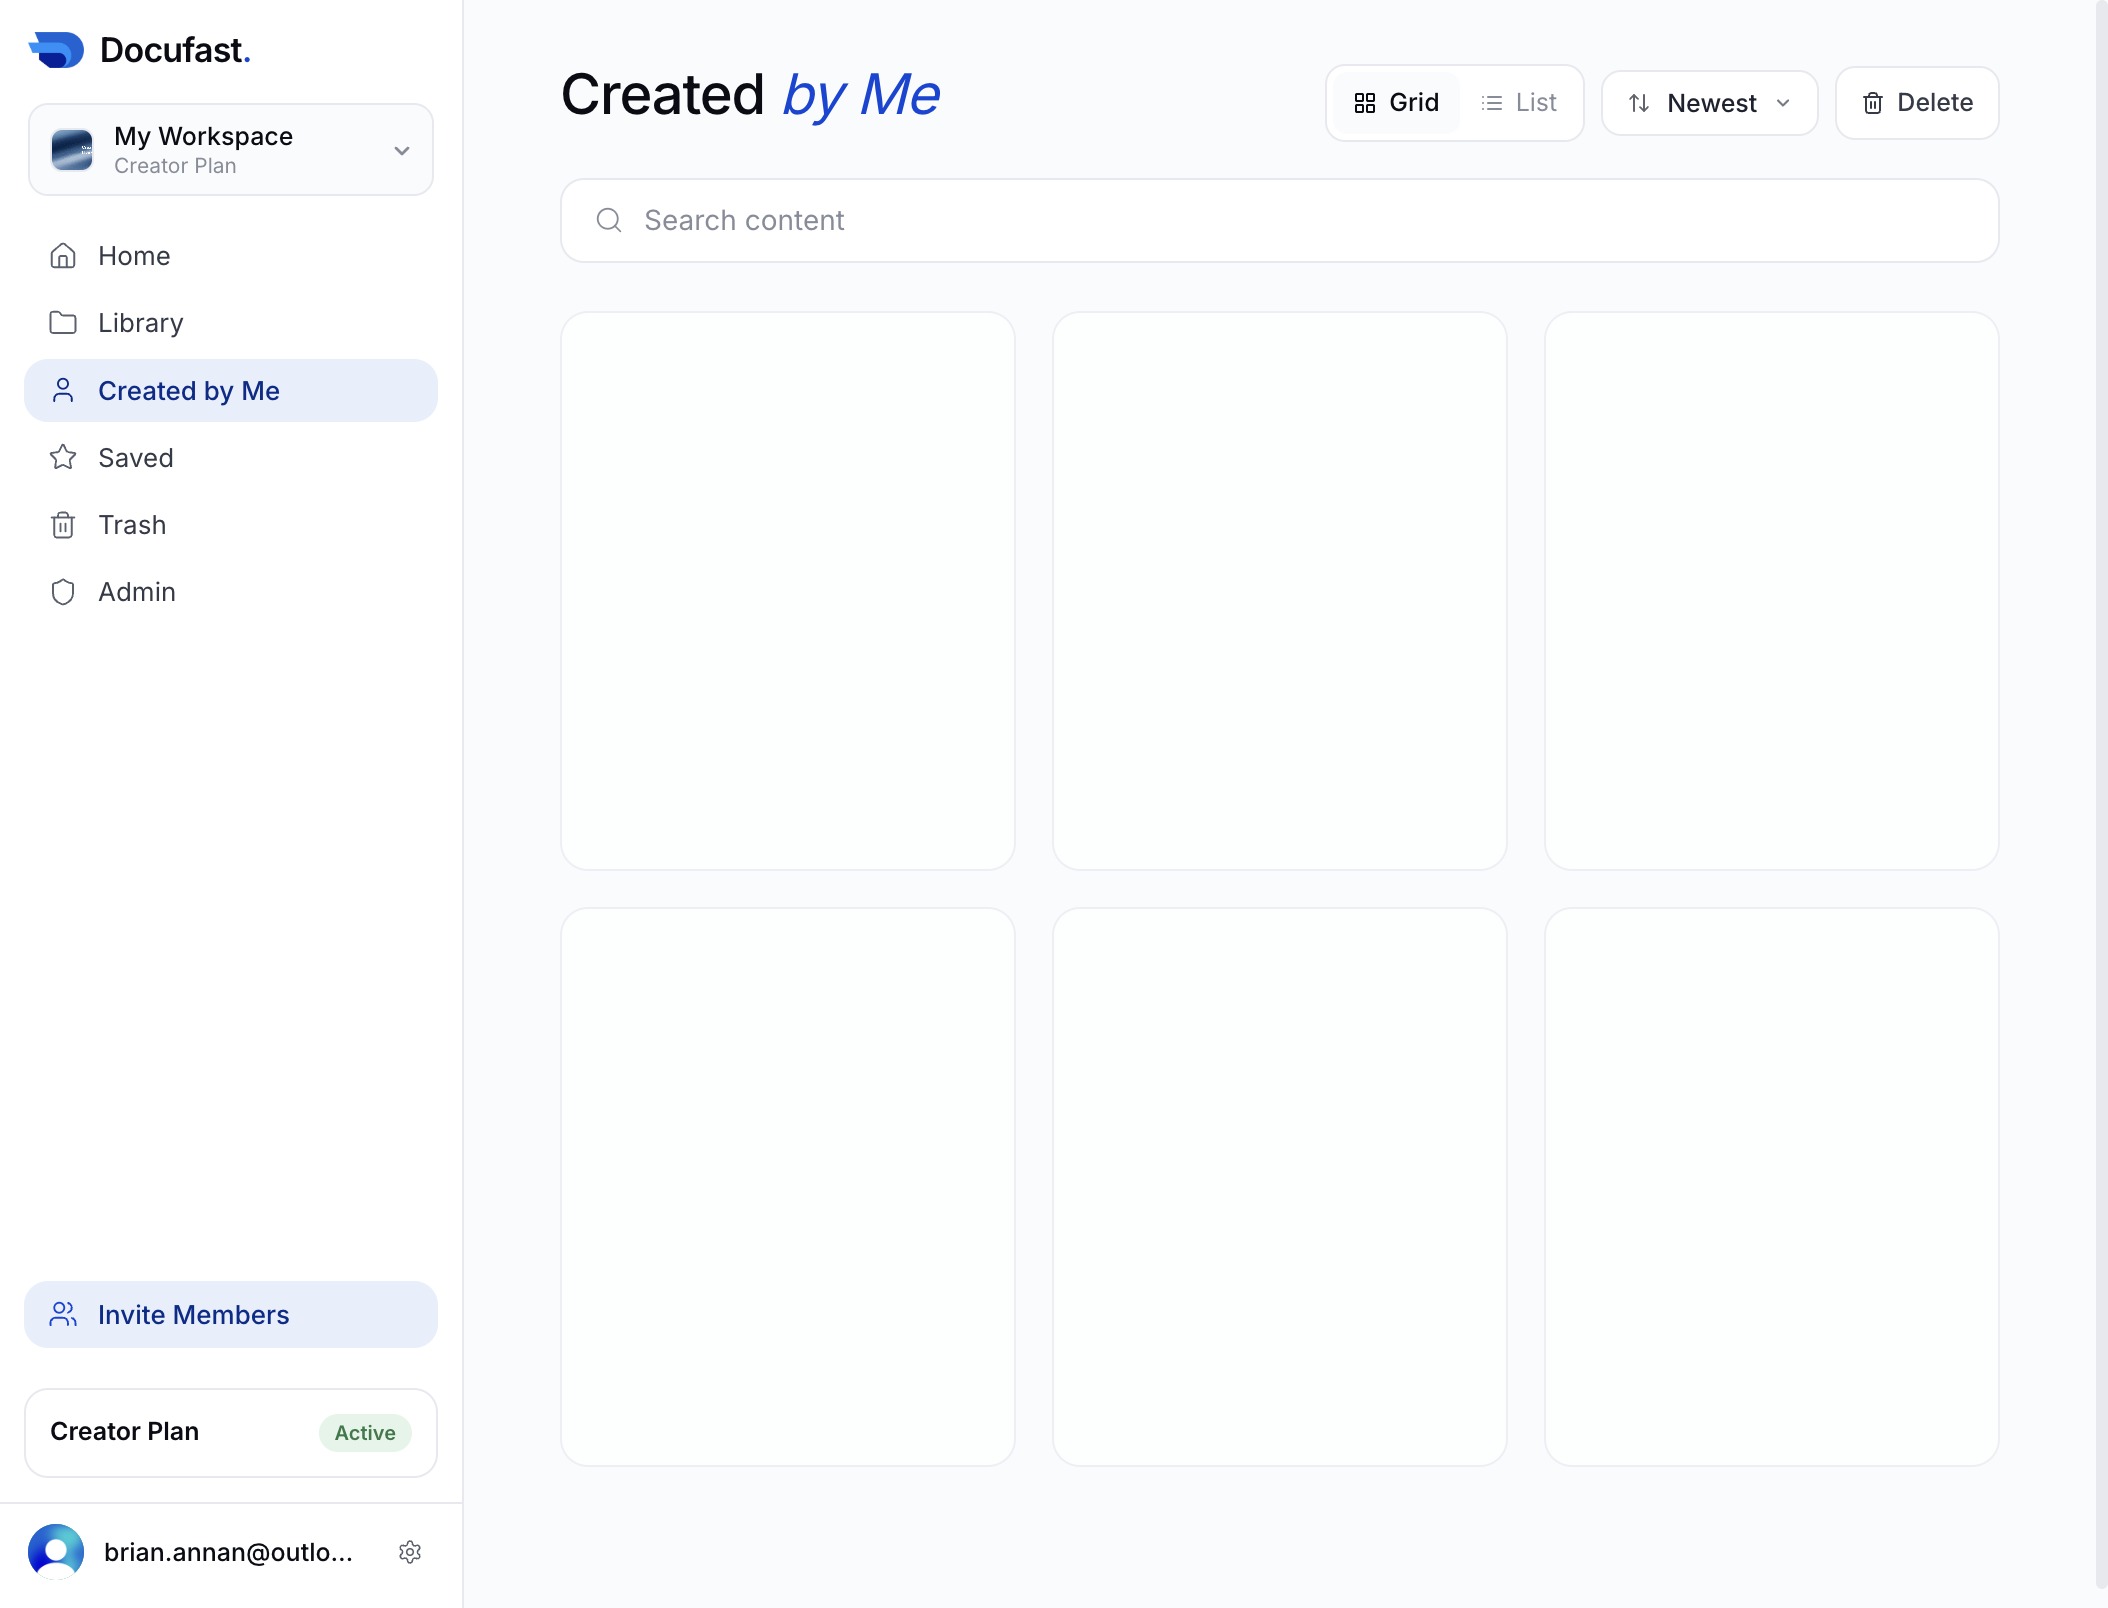
This action will display all the documents and guides you have created in your workspace, allowing you to easily access and manage your content.
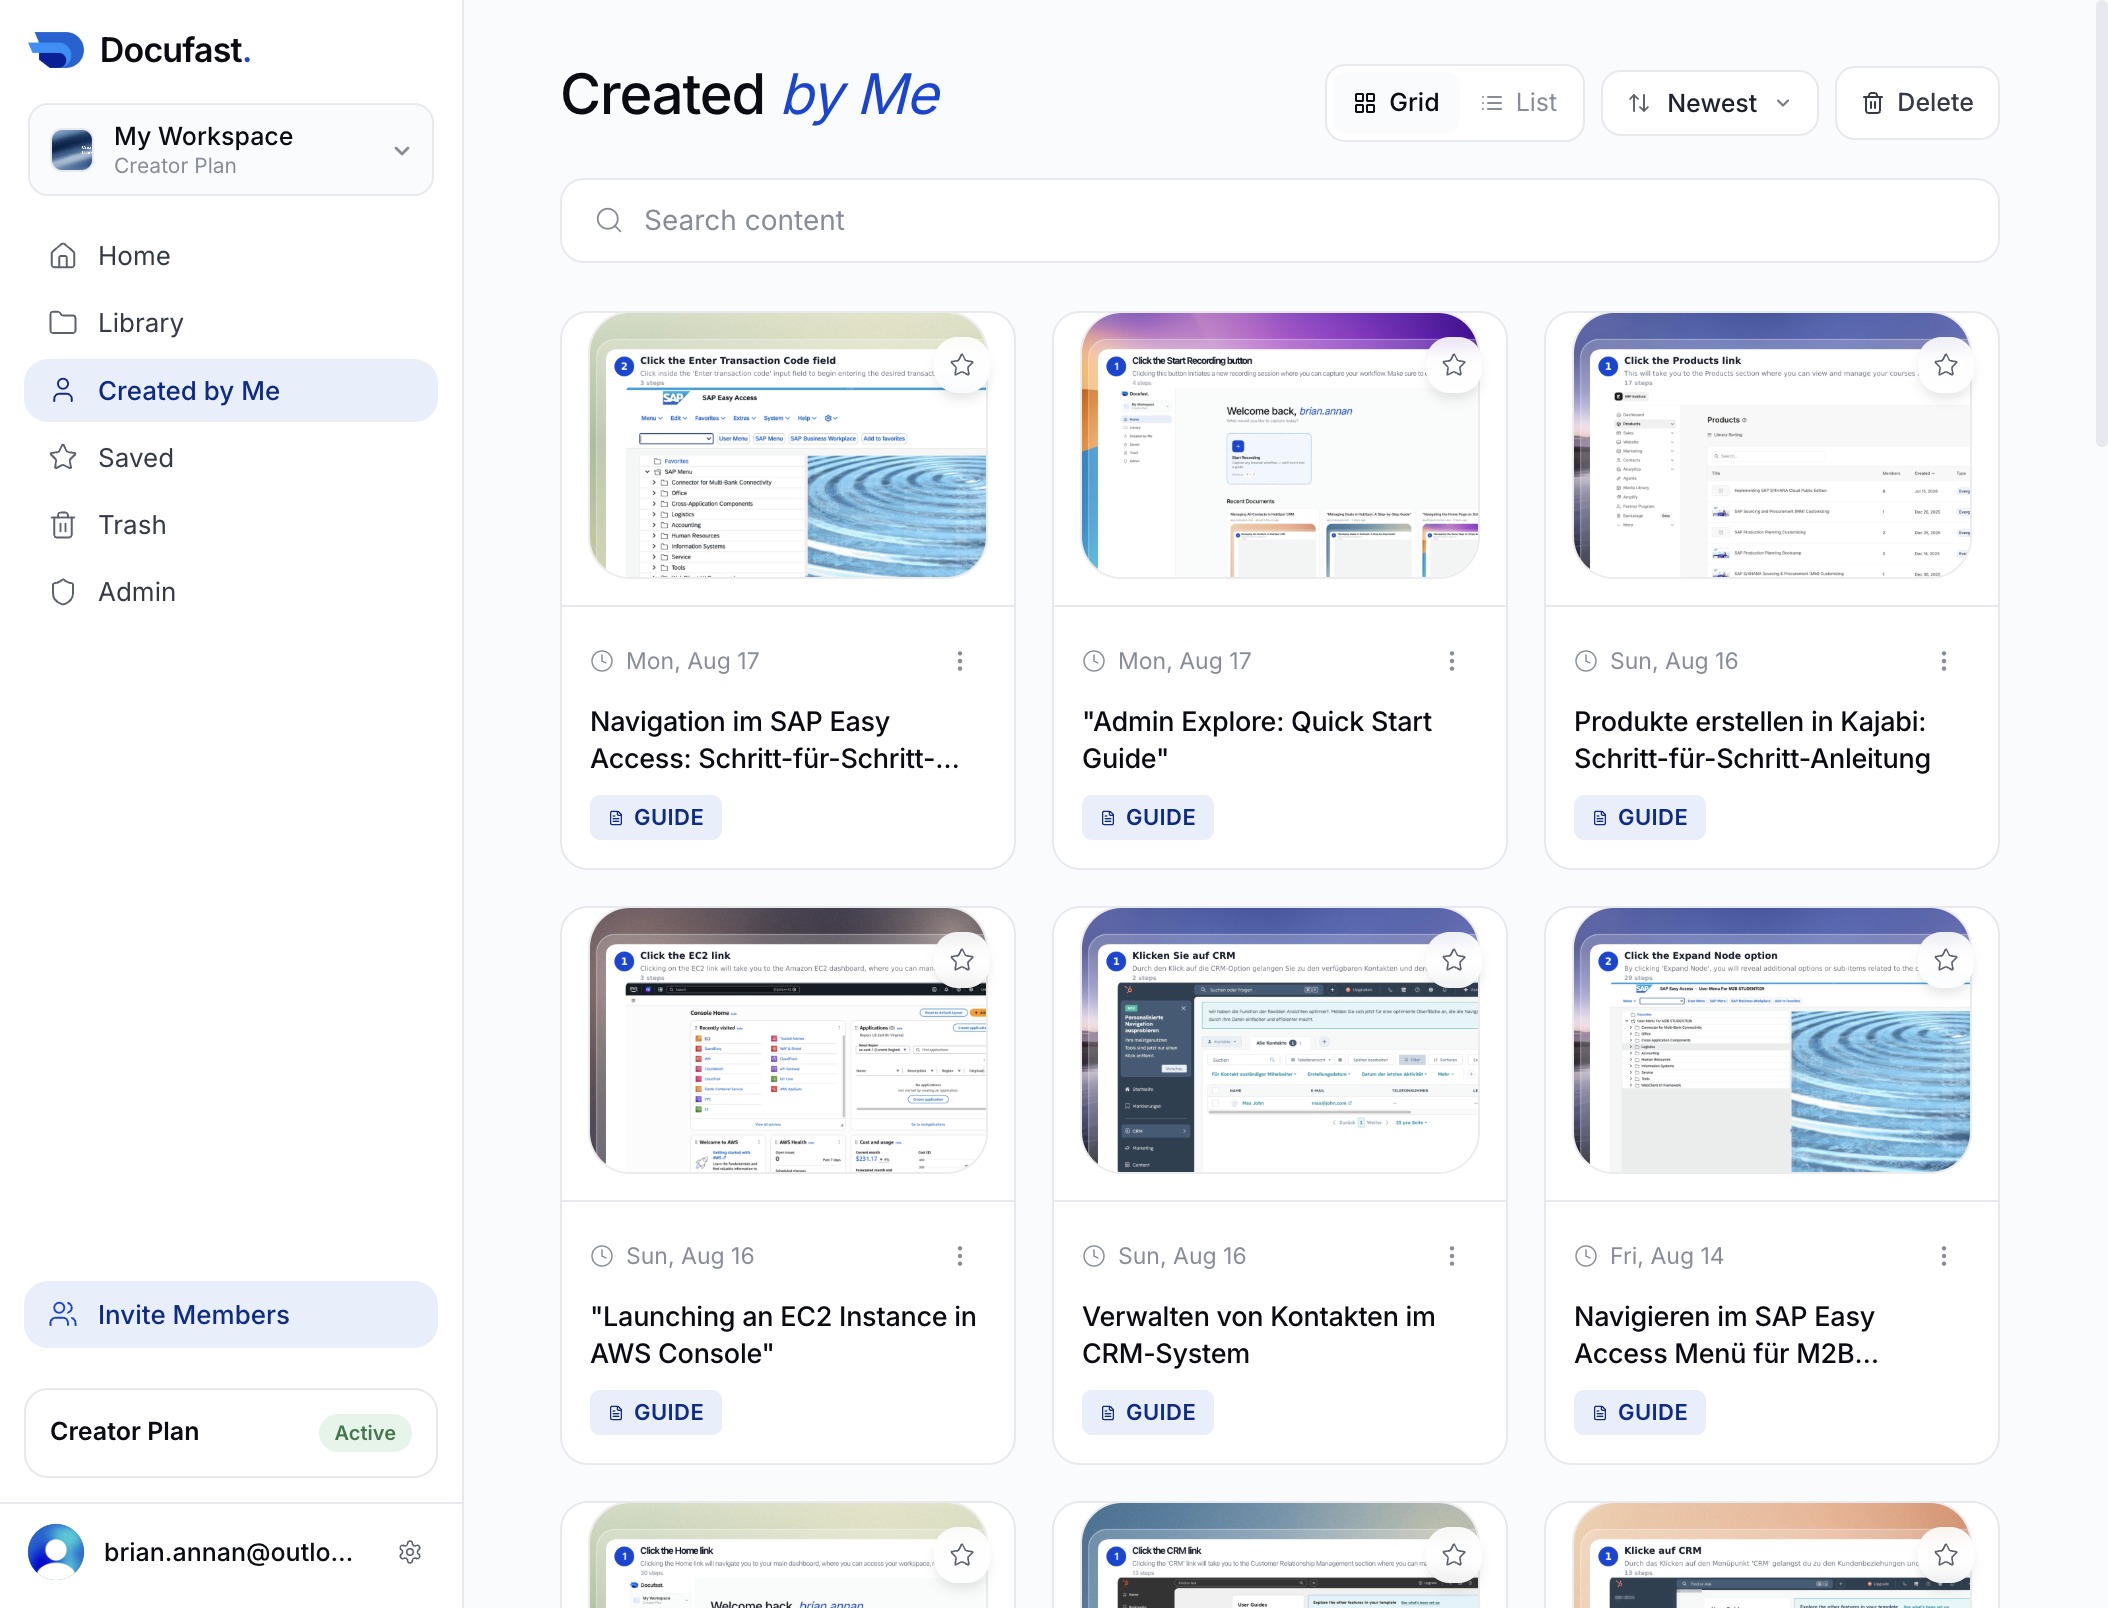
This section displays all the documents and guides you've created, allowing you to quickly access and manage your own content.
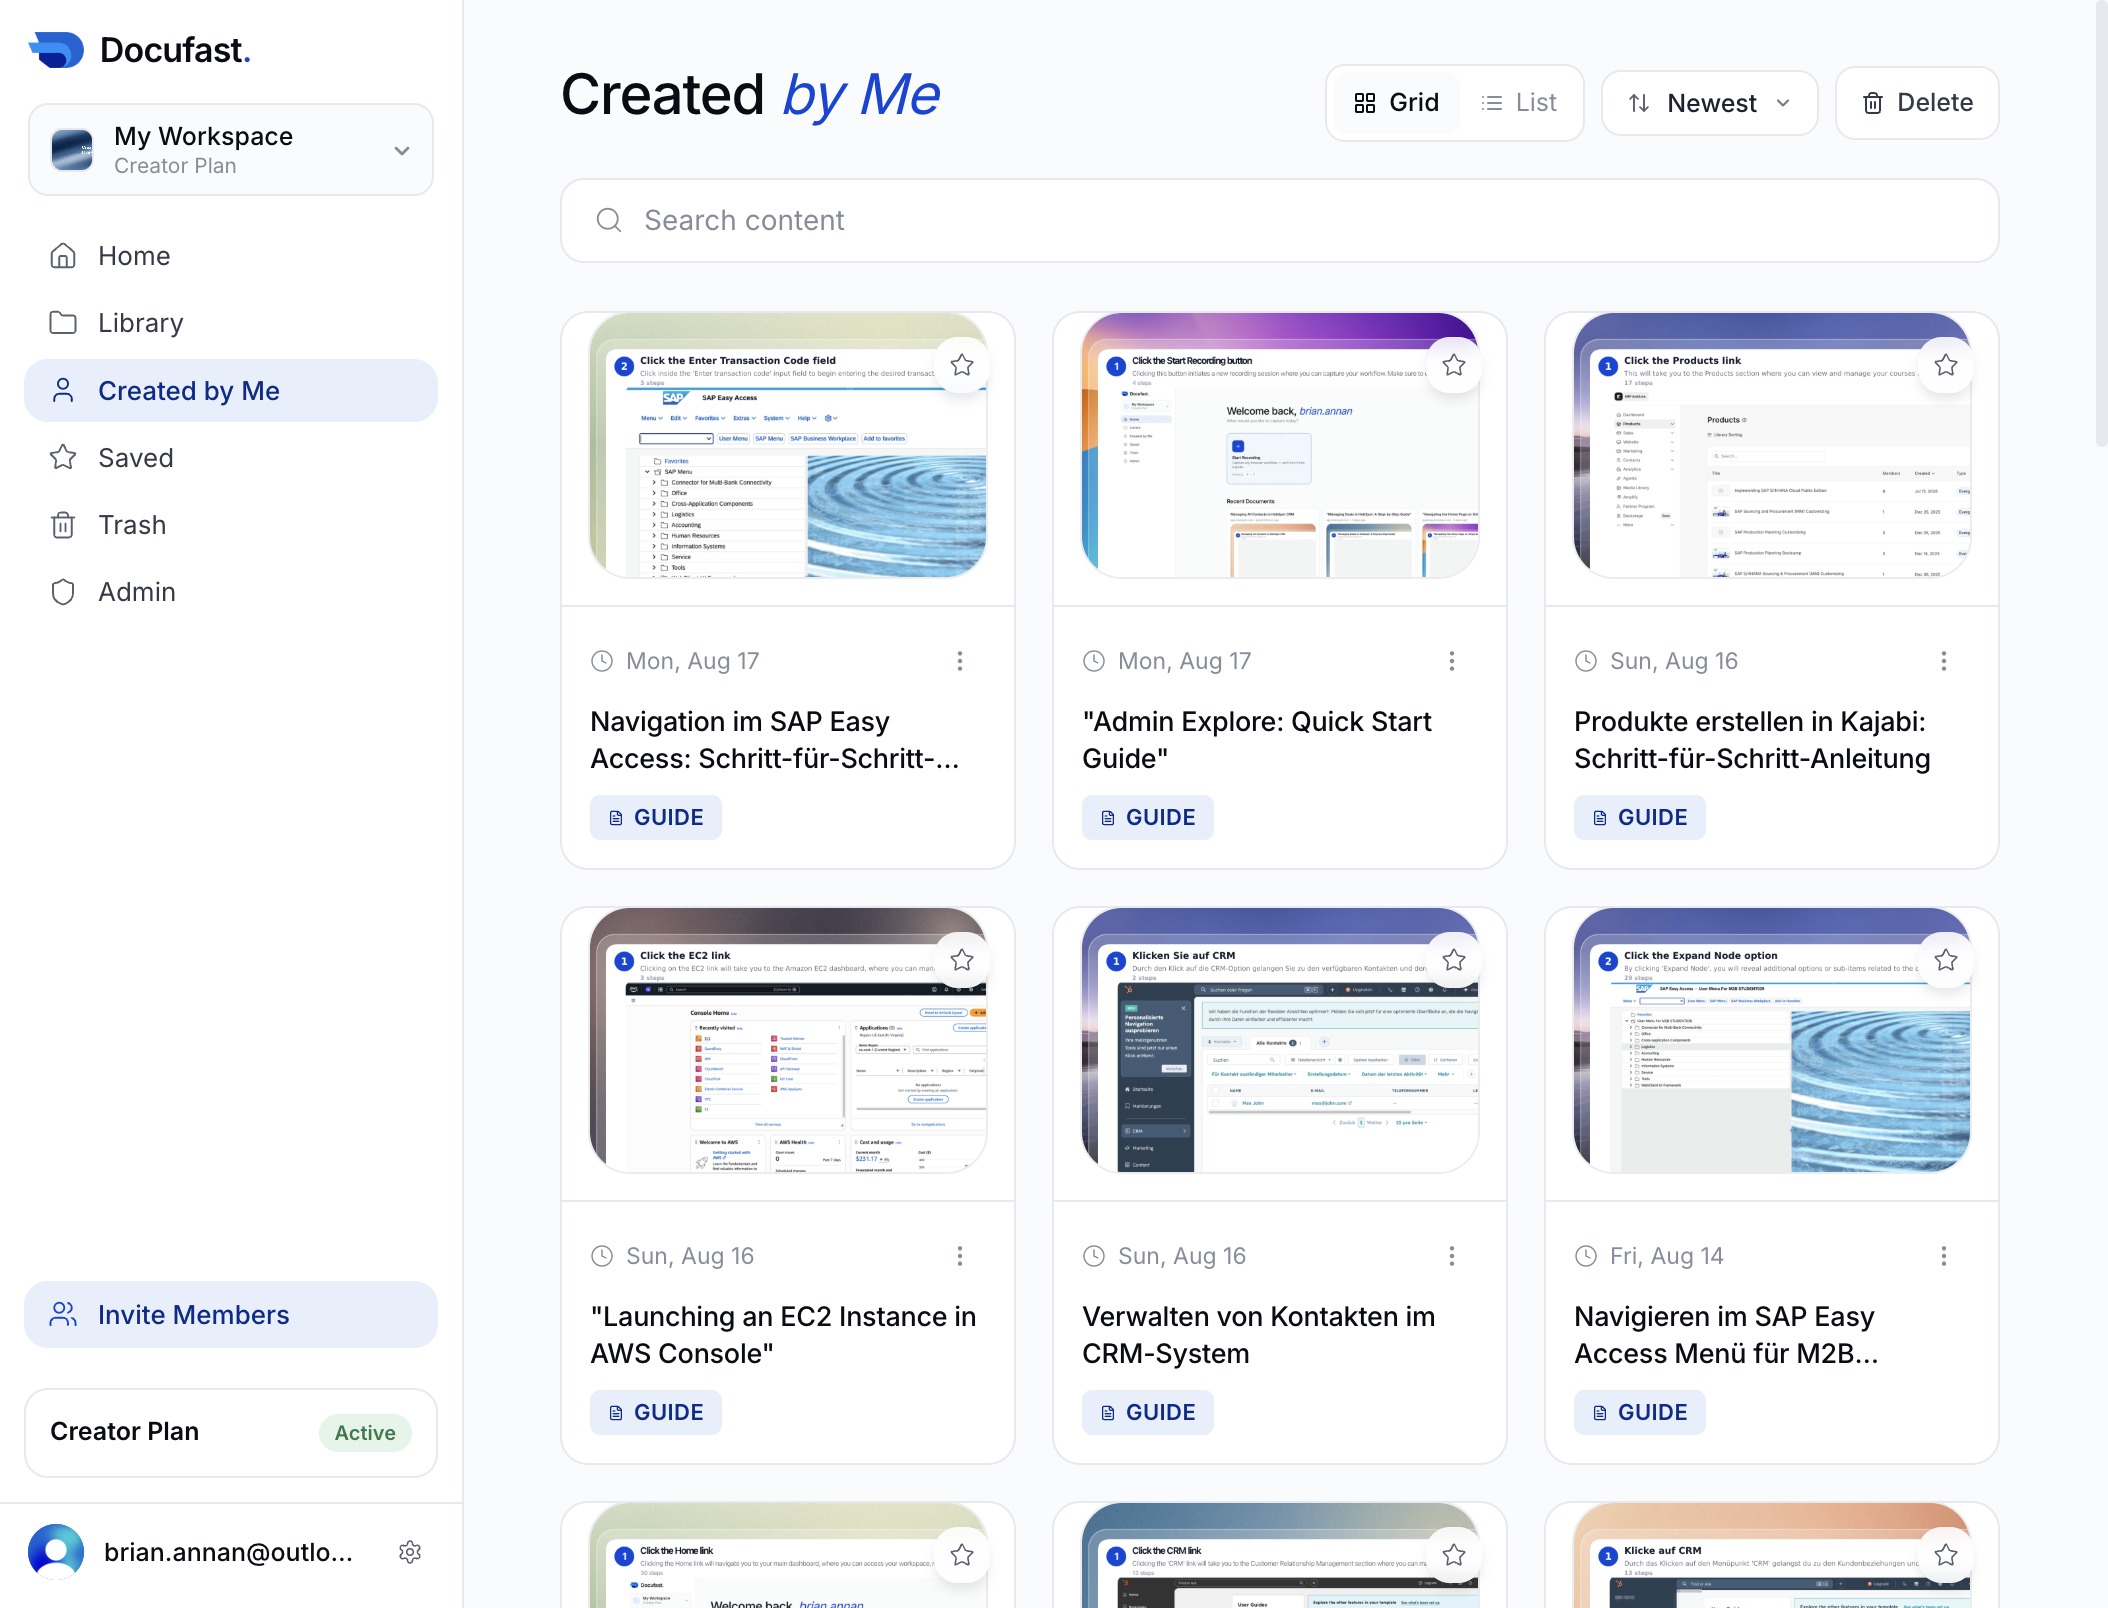
This will direct you to the section displaying all documents and guides that you have created. From here, you can manage and view your personal content.
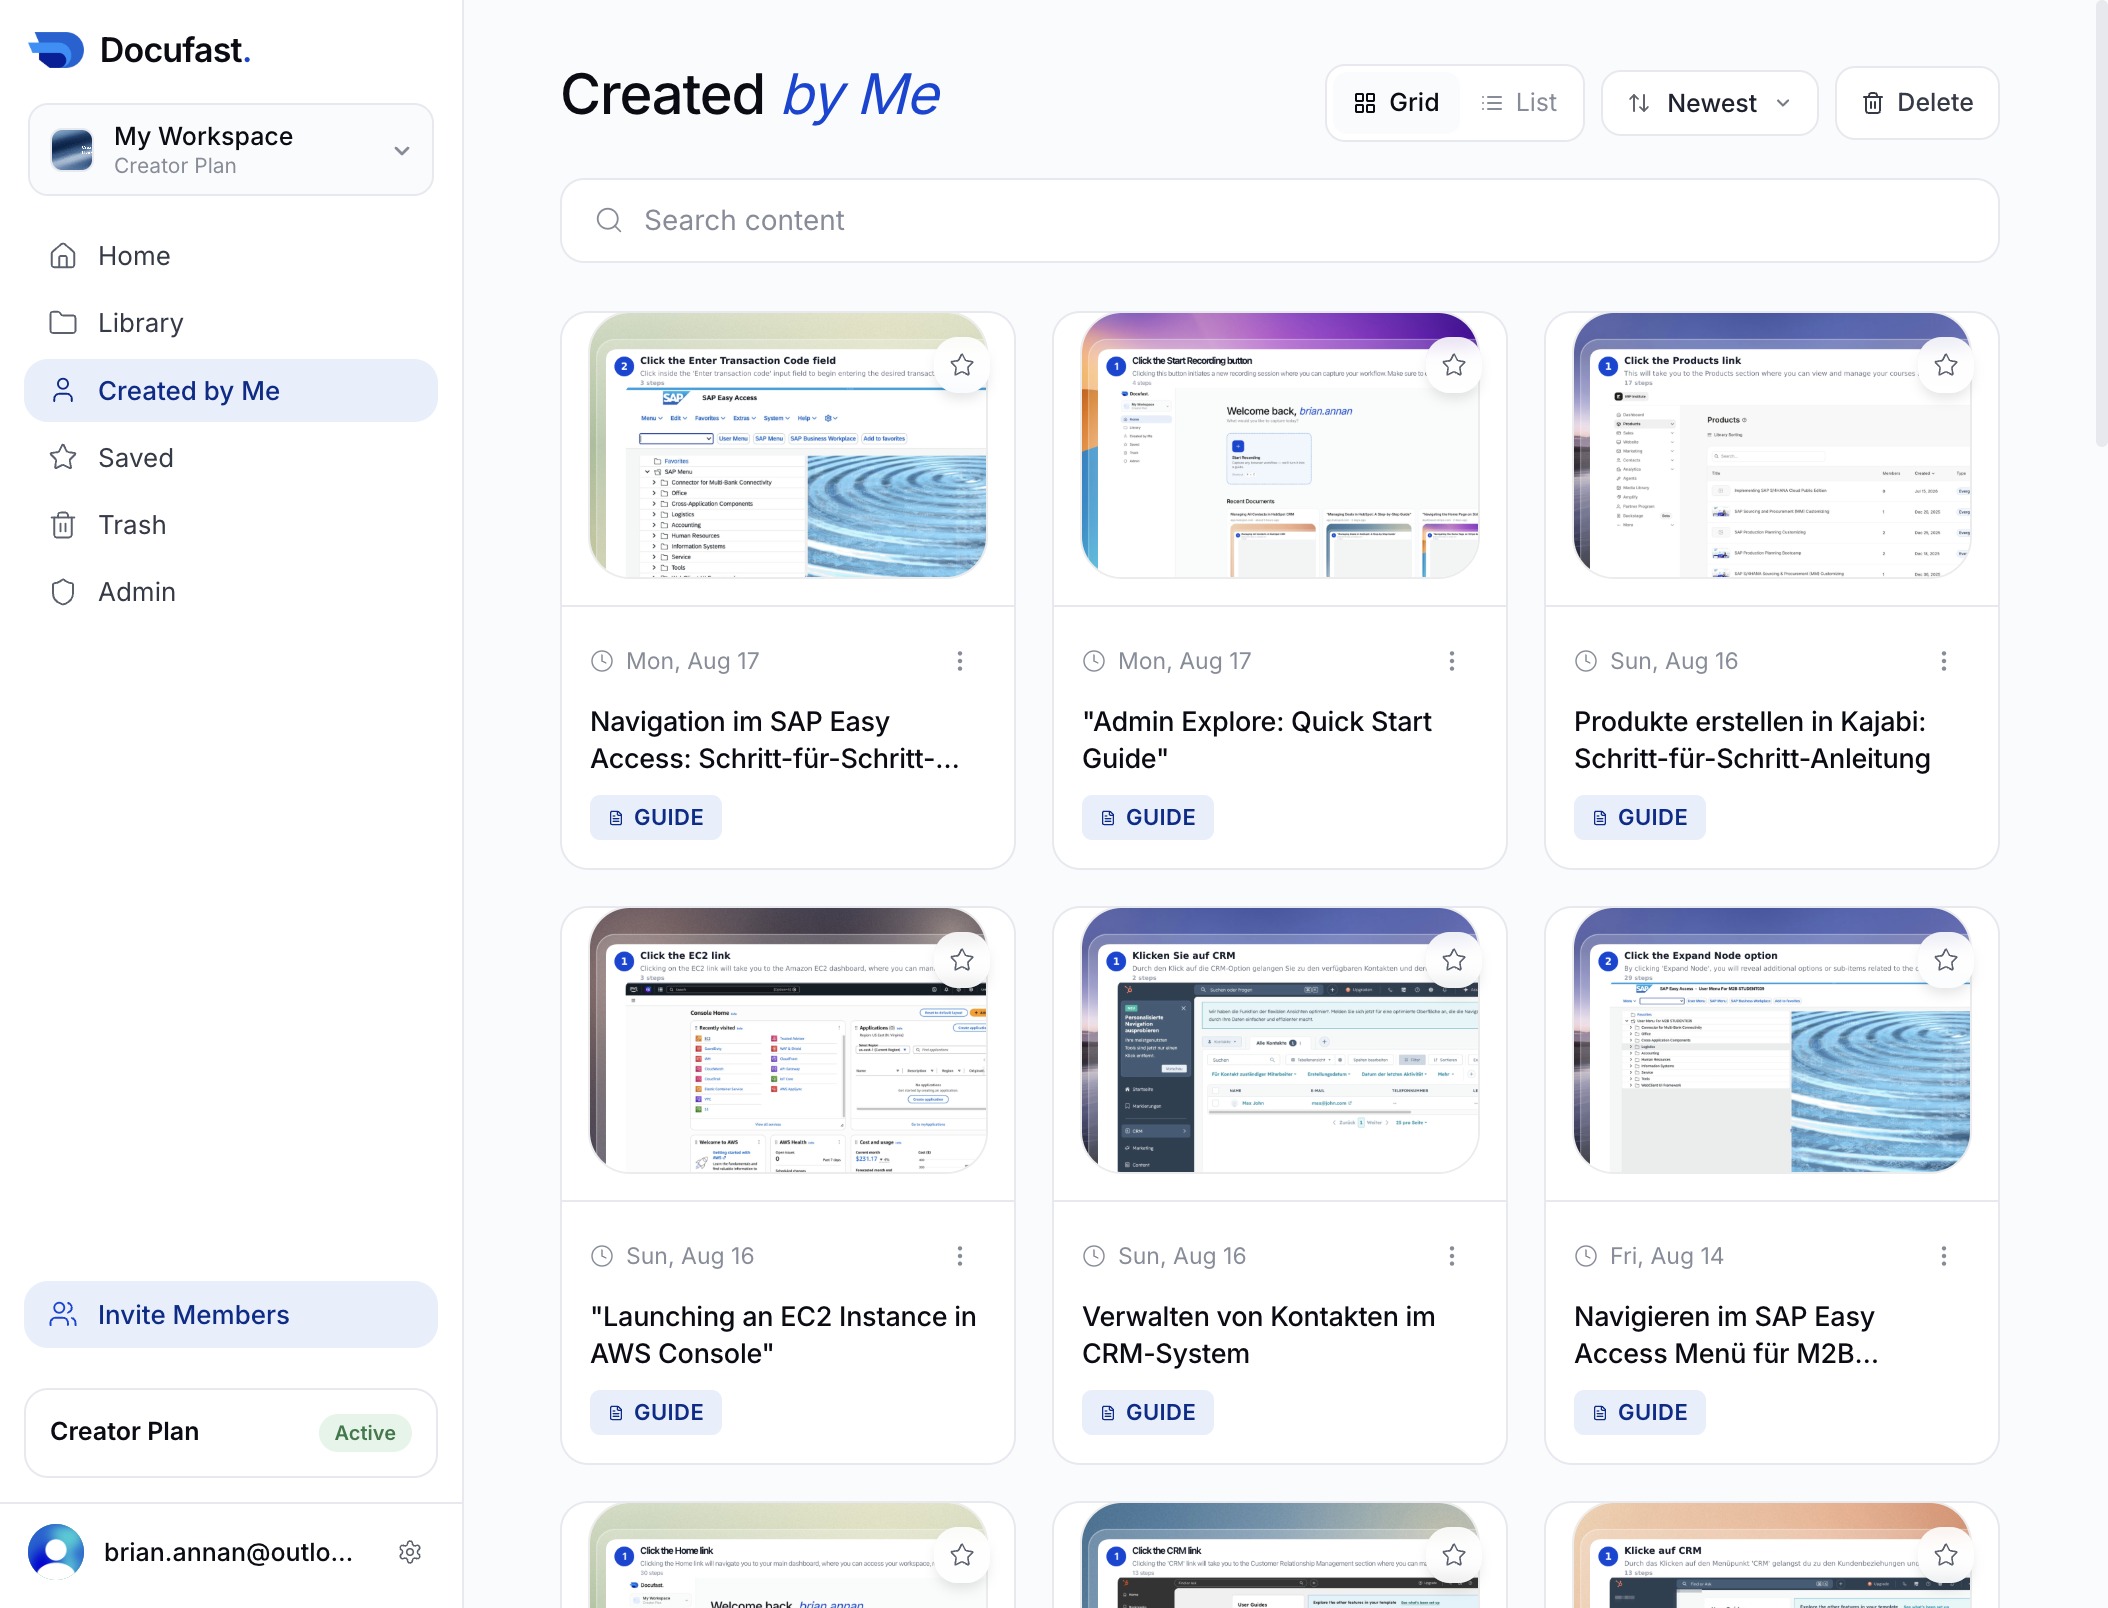
This action will display all the documents and guides that you have created within your workspace. You can easily find and manage your own content in this section.
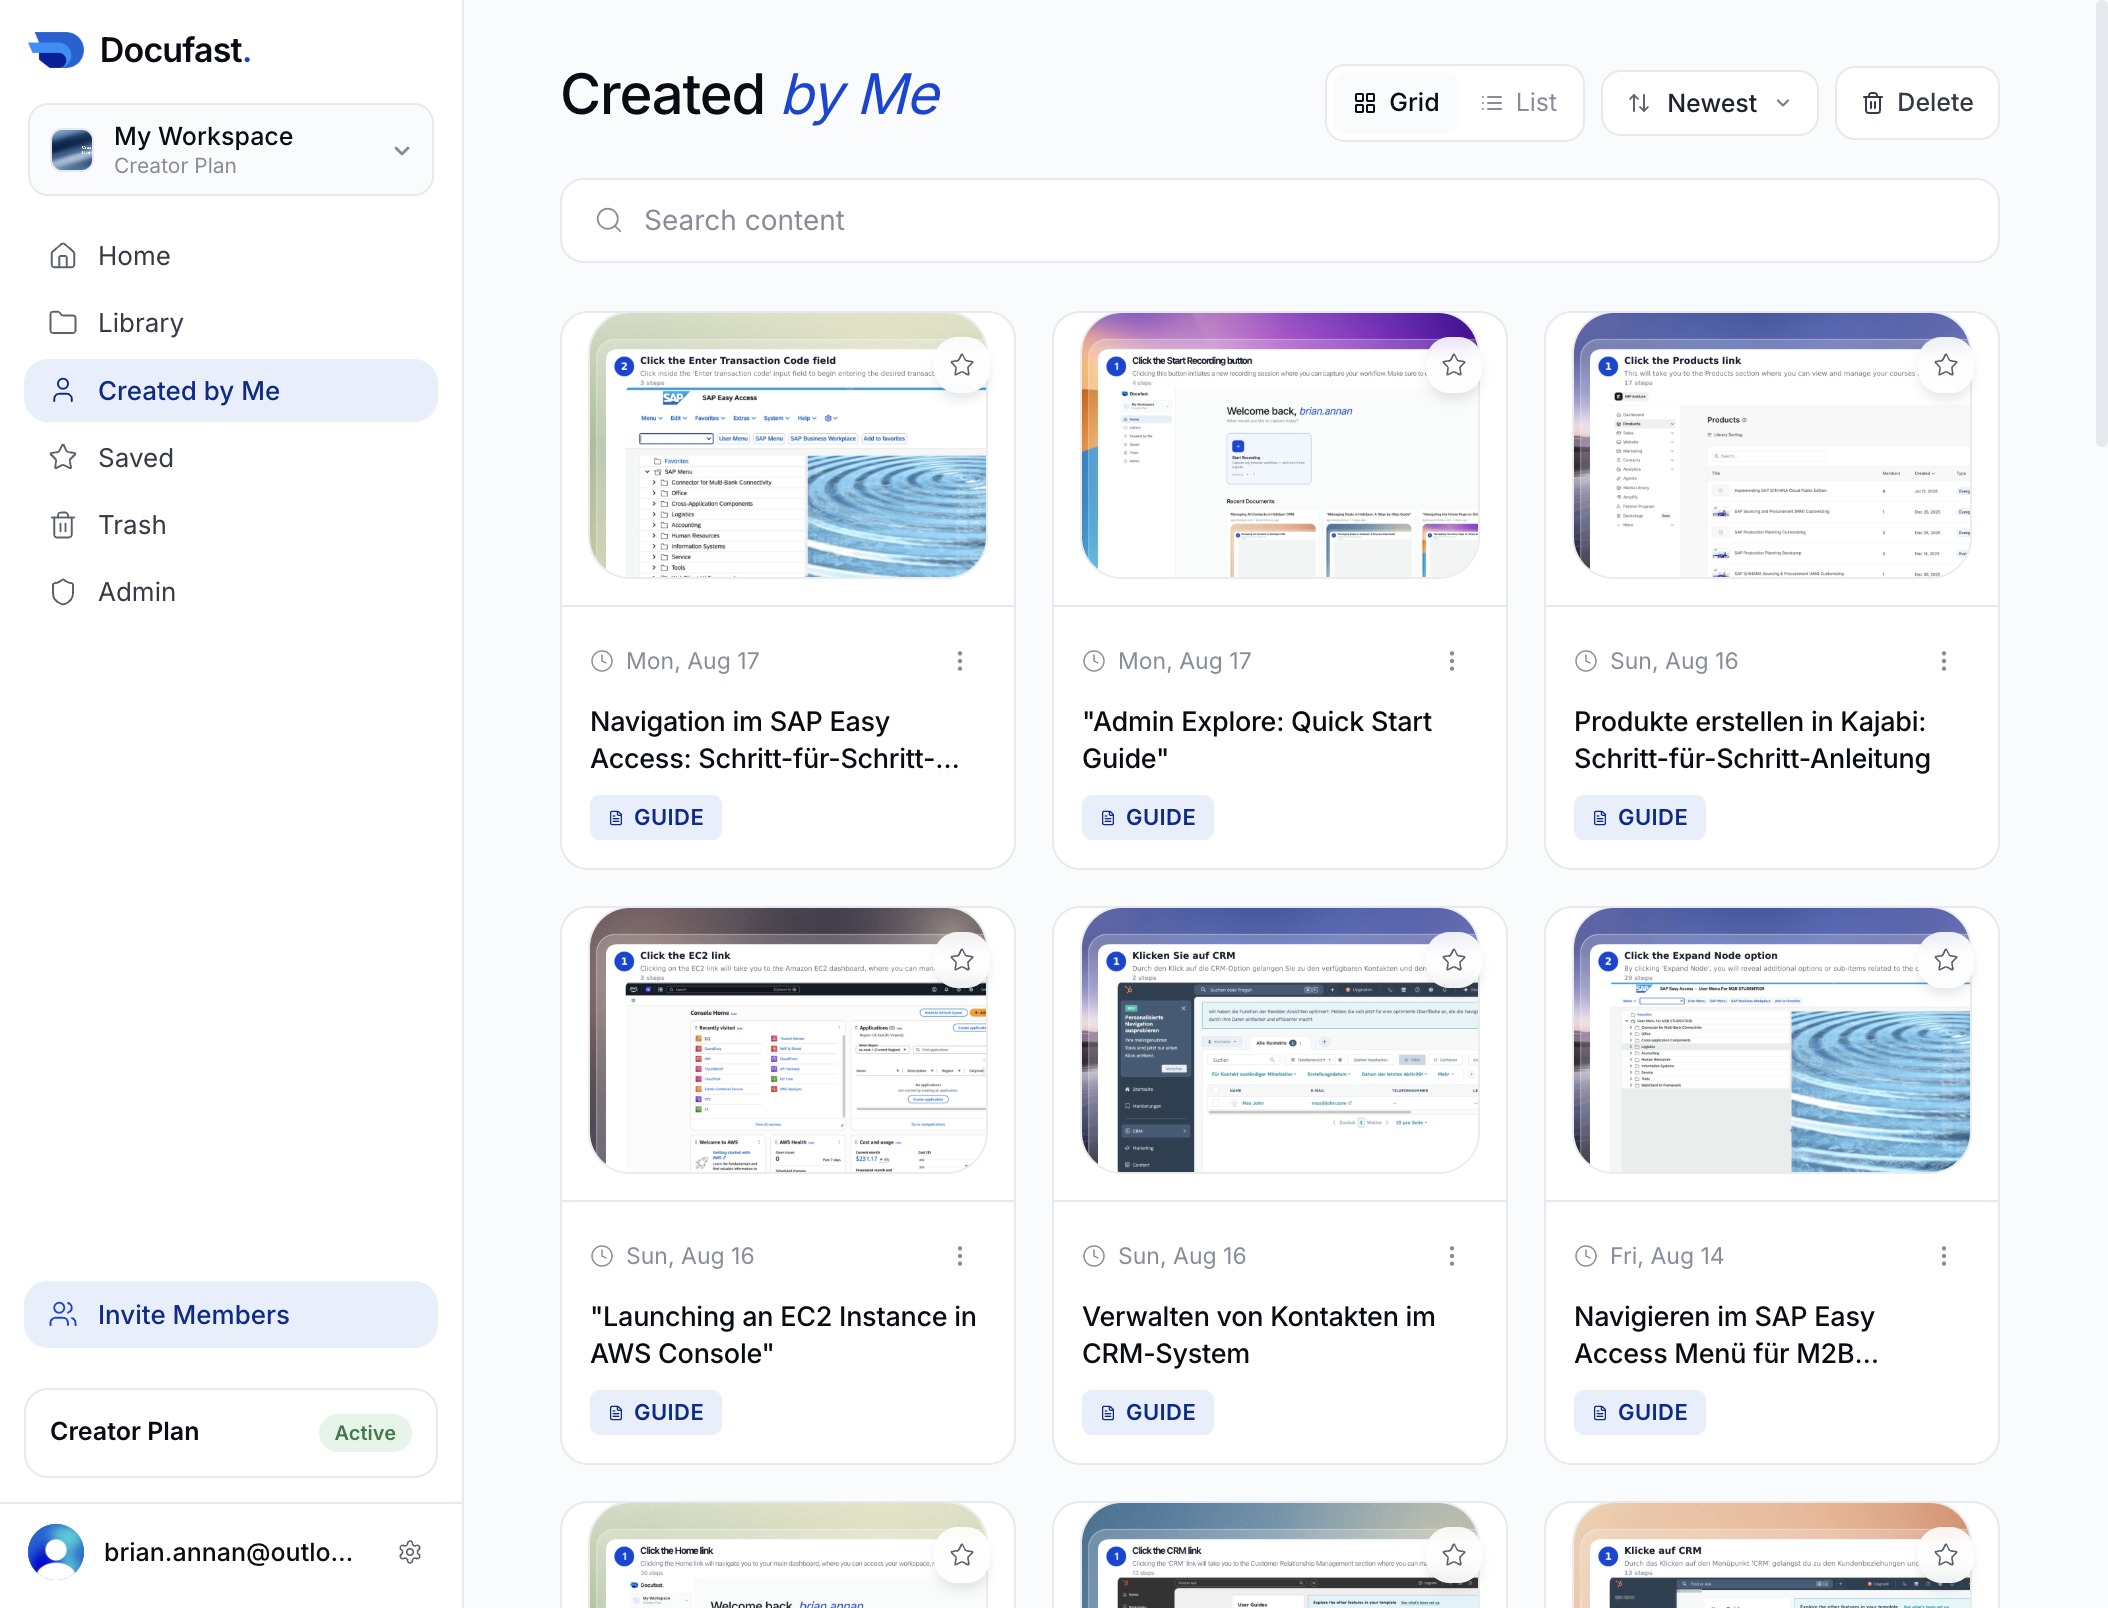
This will take you to the section displaying all content that you have created within the platform, allowing you to manage or review your documents.
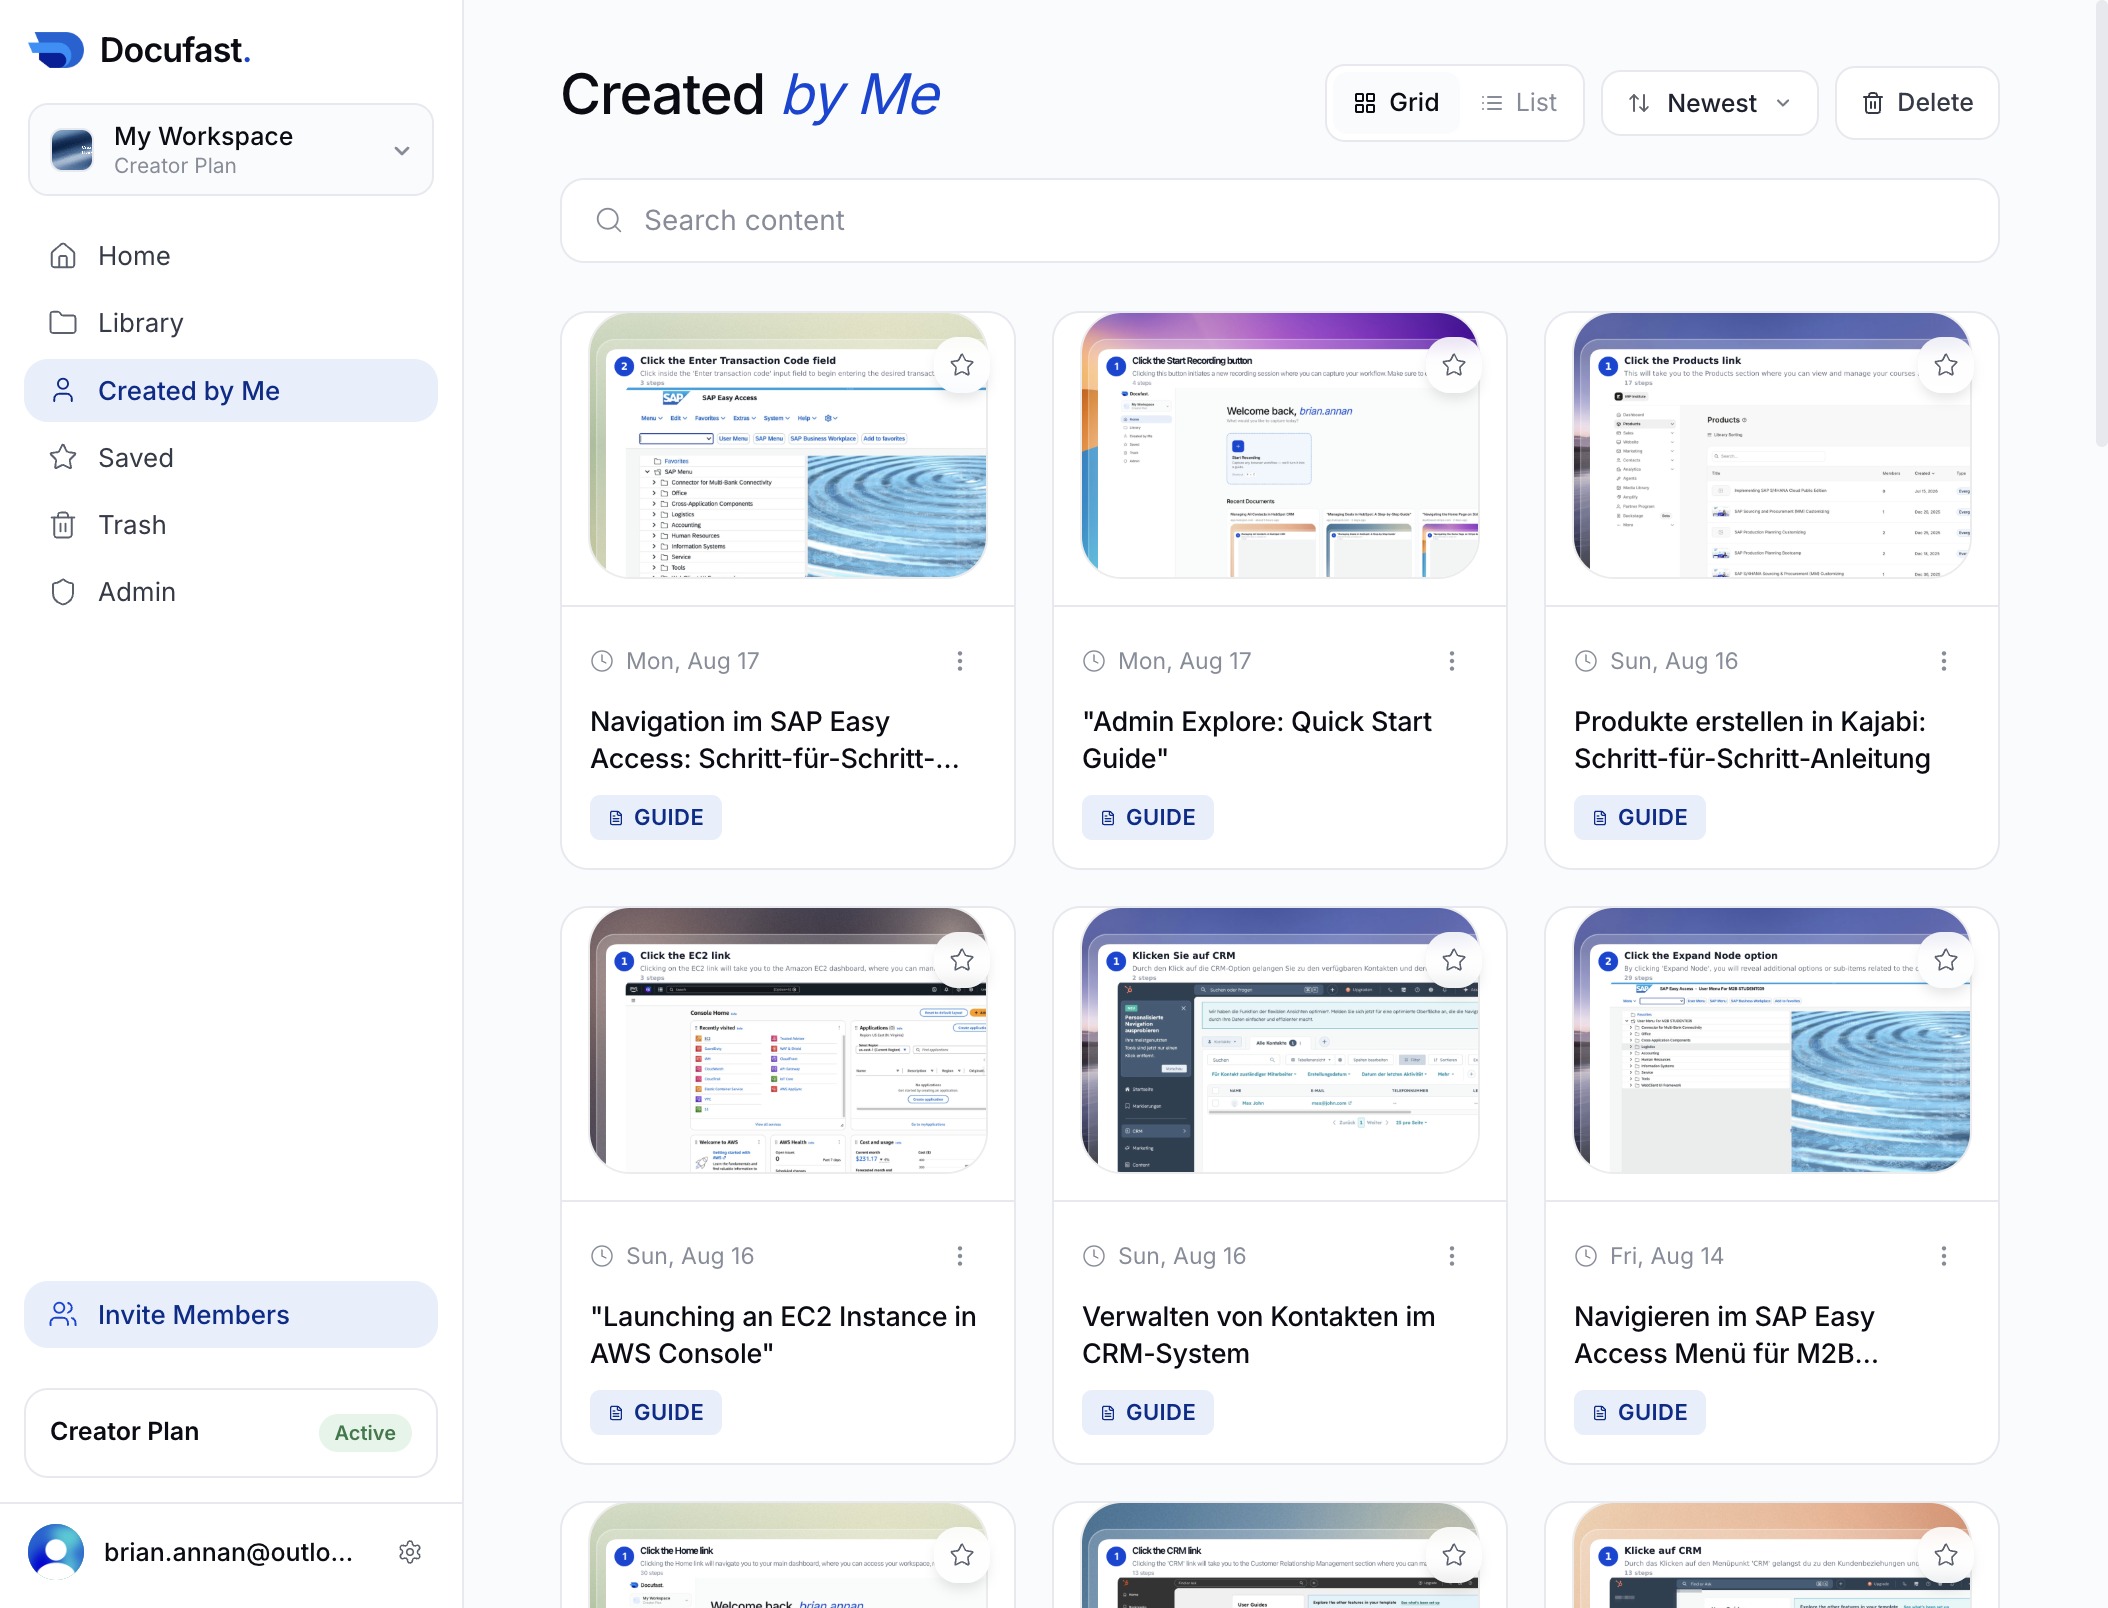
This action will navigate you to the section where all documents and guides that you have created are displayed, allowing you to manage and review your content.
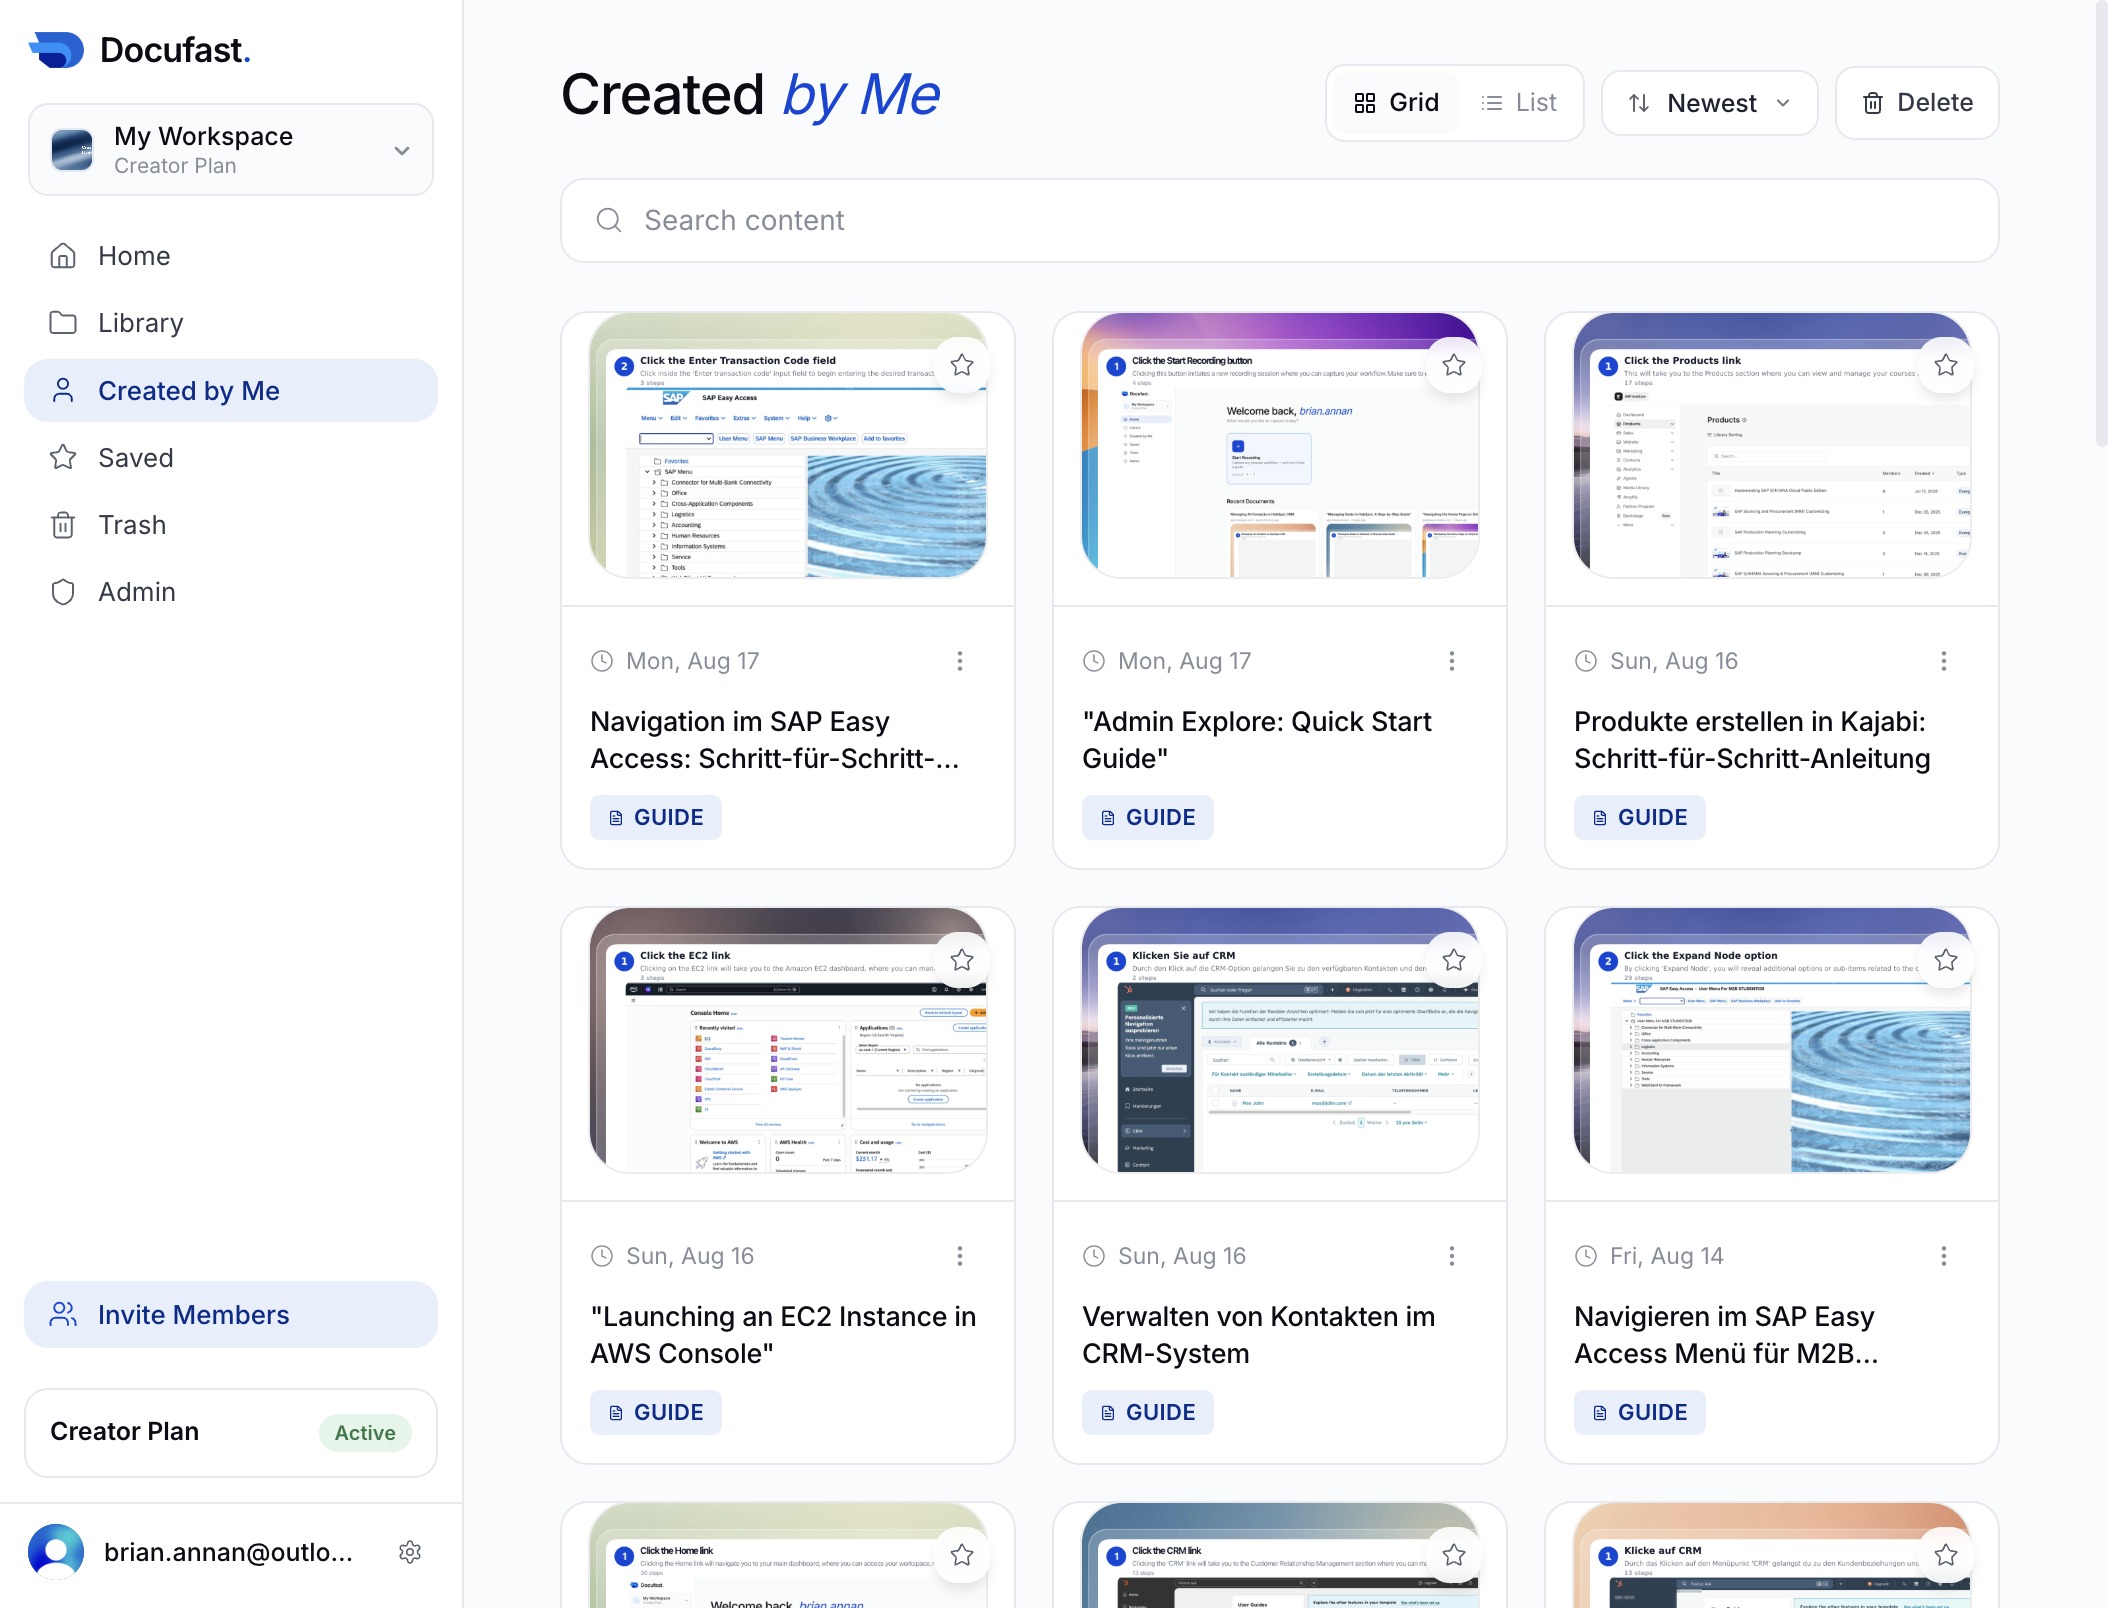
This action takes you to the section displaying all the items you've created, allowing you to manage and review your content easily.
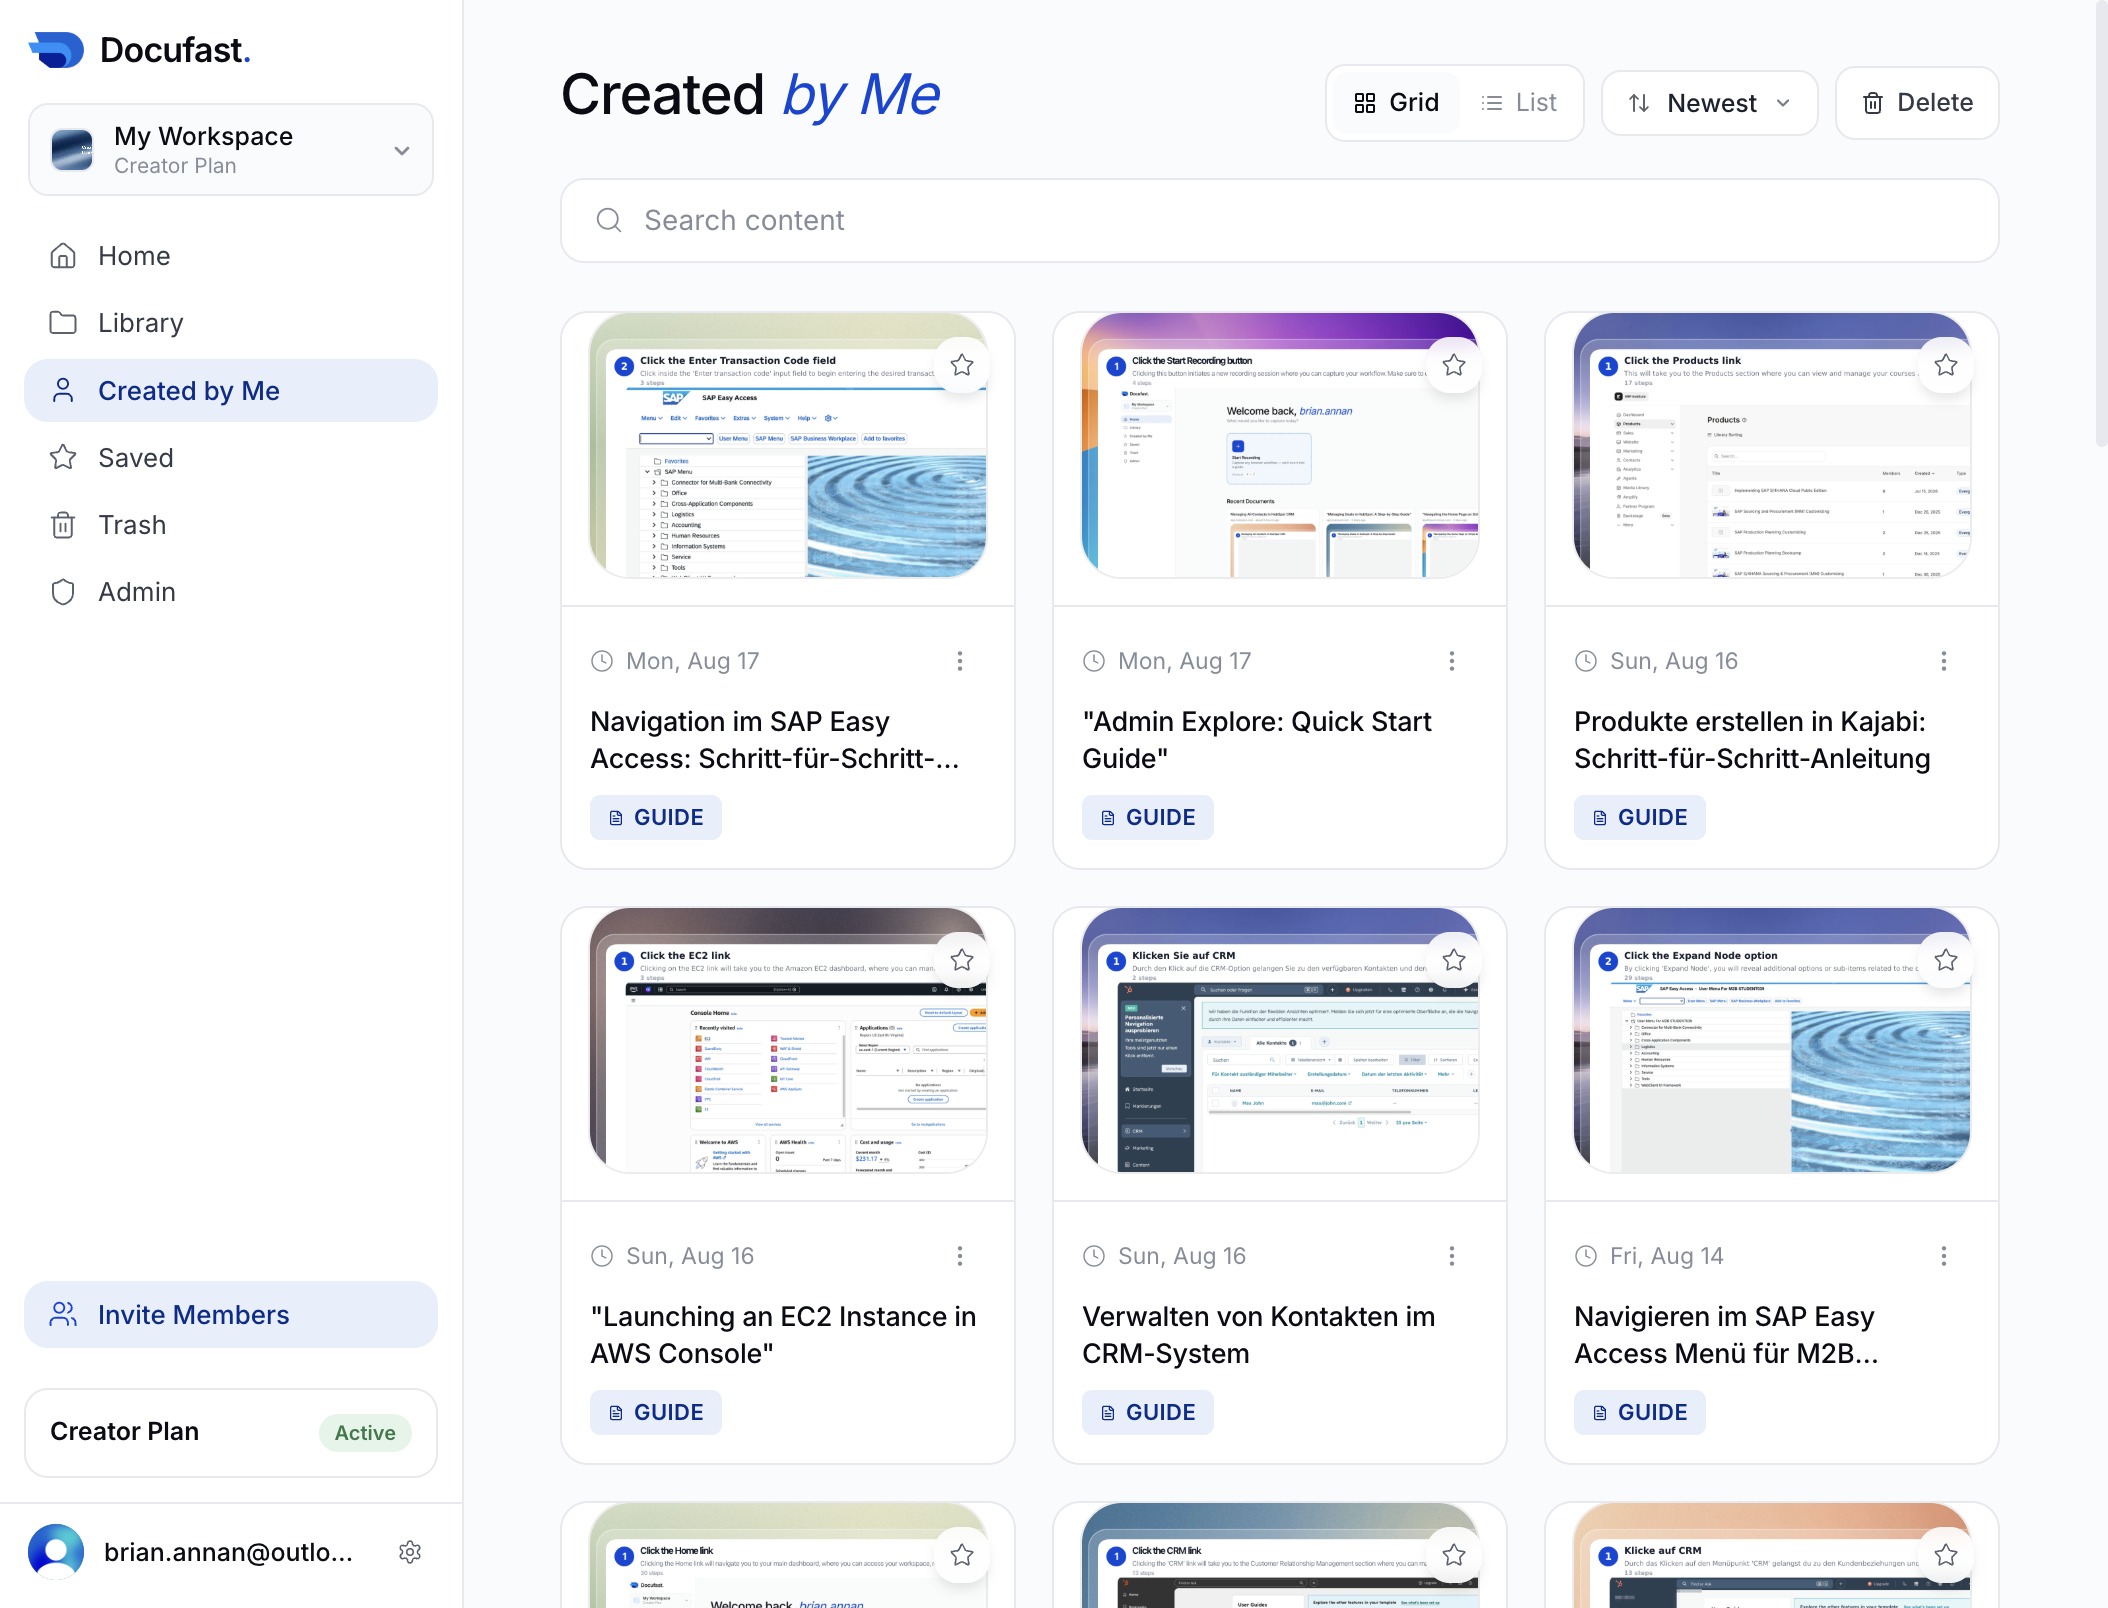
This action opens the 'Created by Me' section, displaying all documents and guides that you have authored. You can manage and review your content from this area.
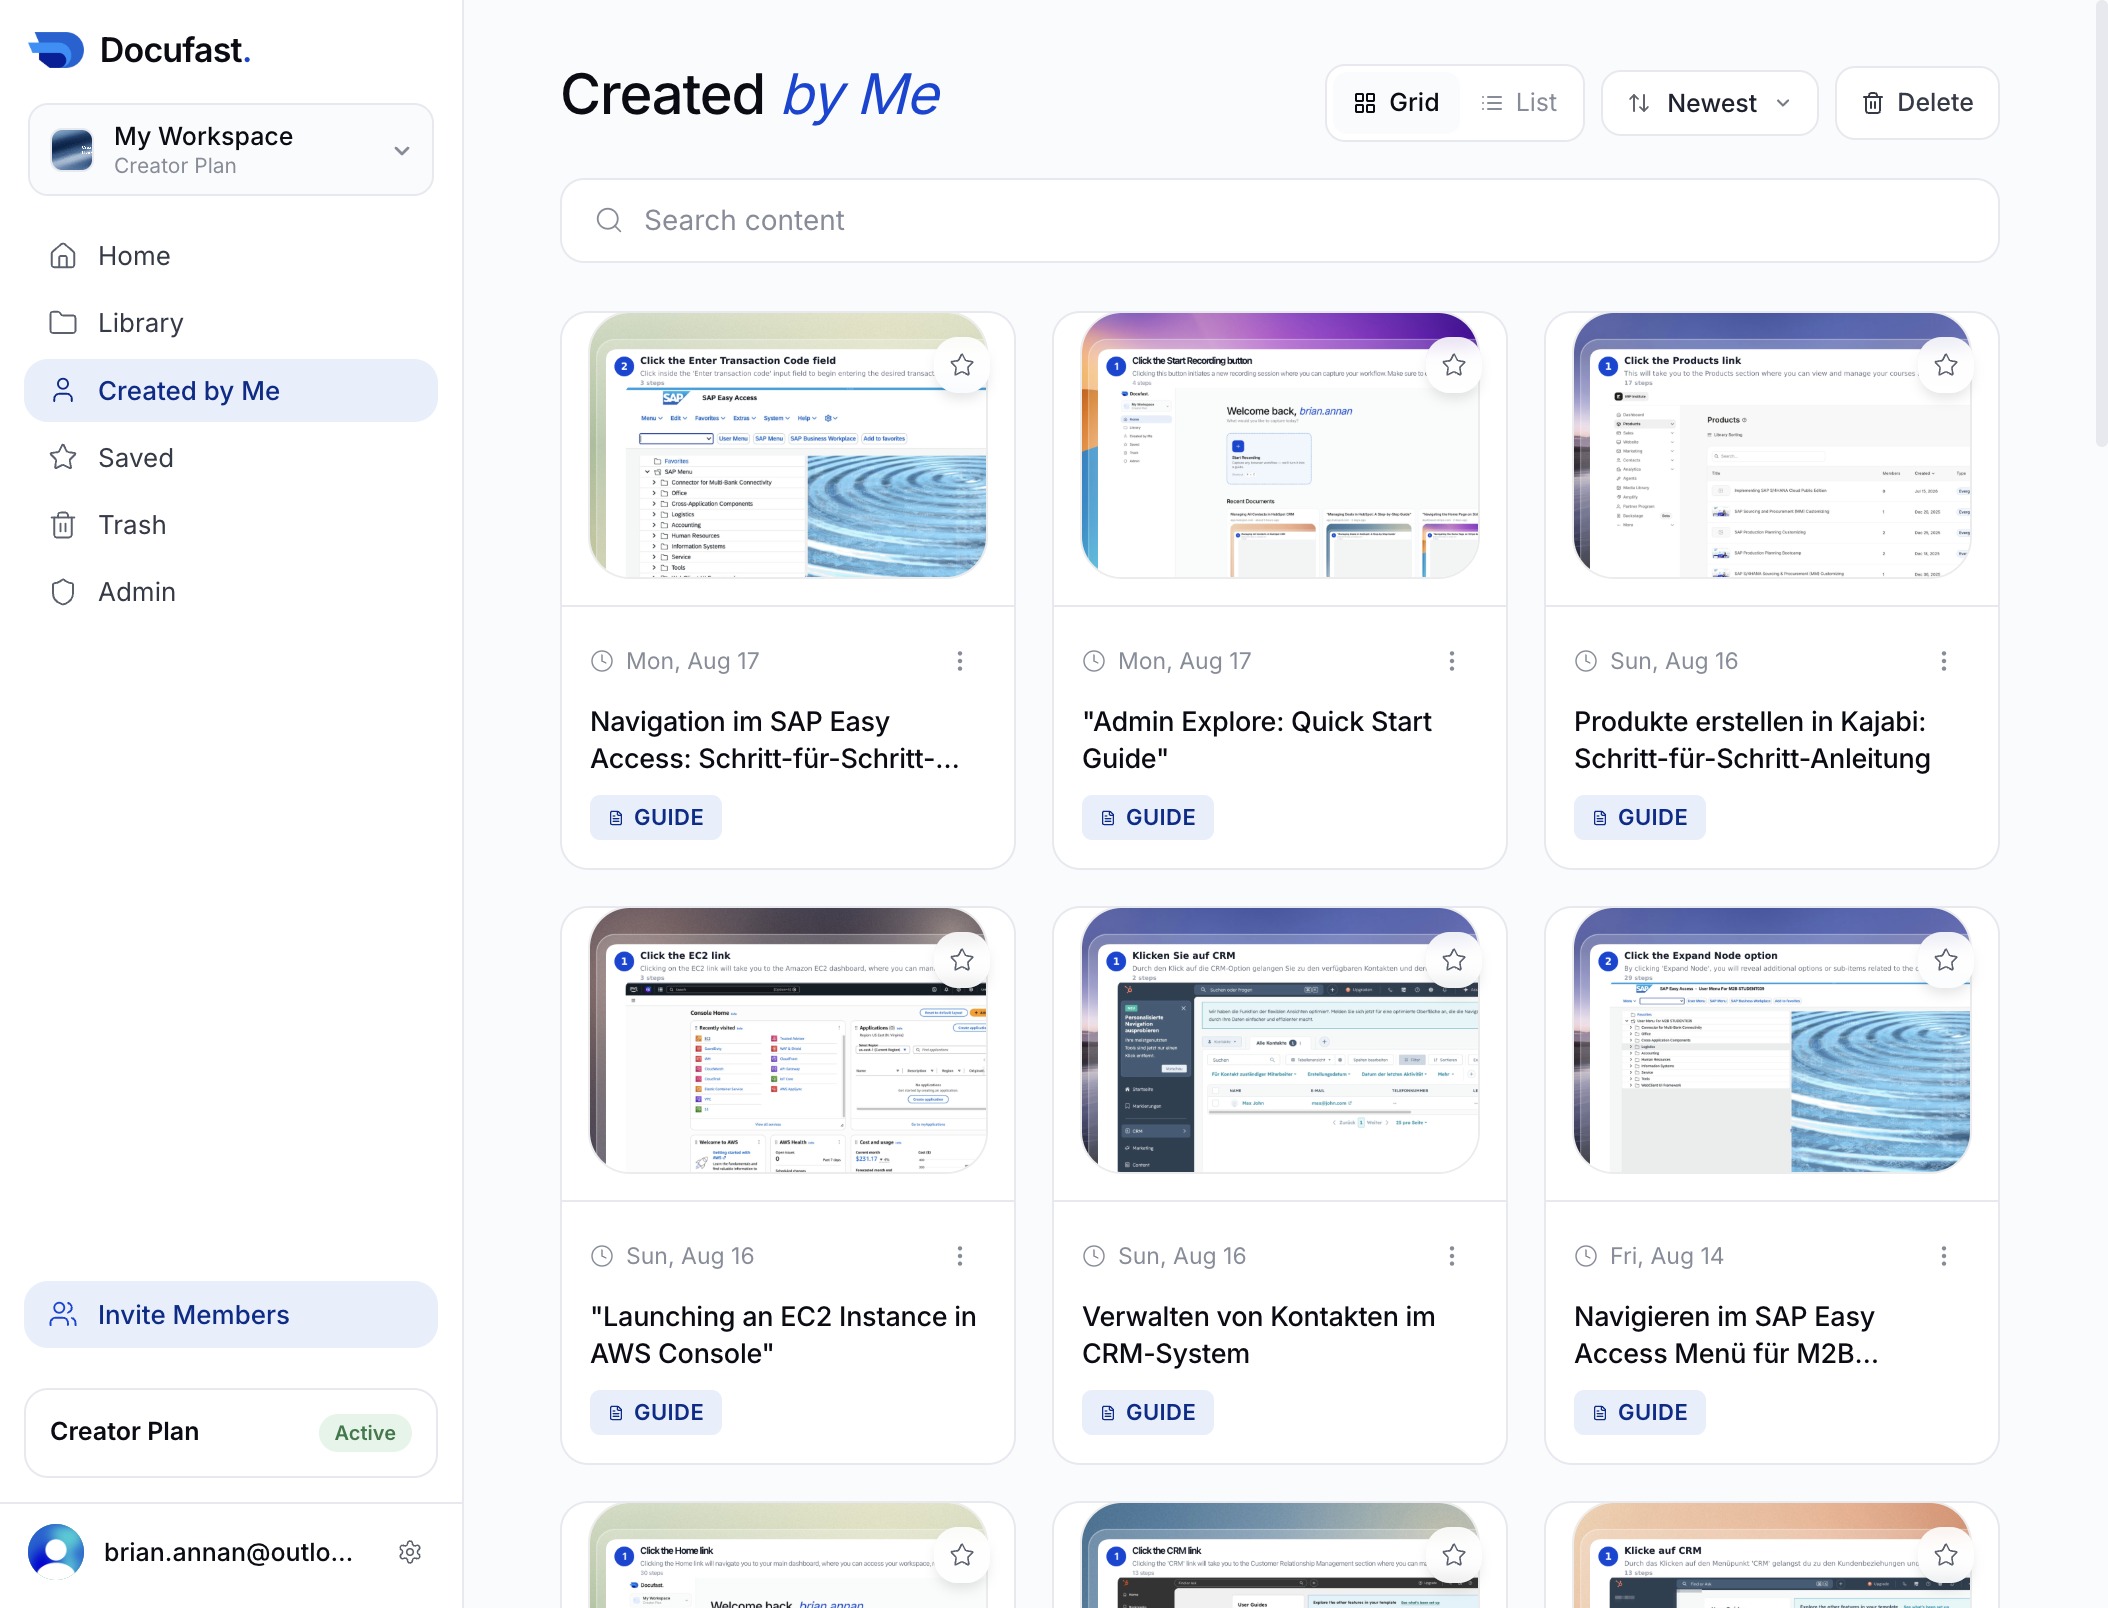
Clicking the 'Created by Me' link will display all the documents and guides that you have authored, allowing you to quickly access and manage your contributions.
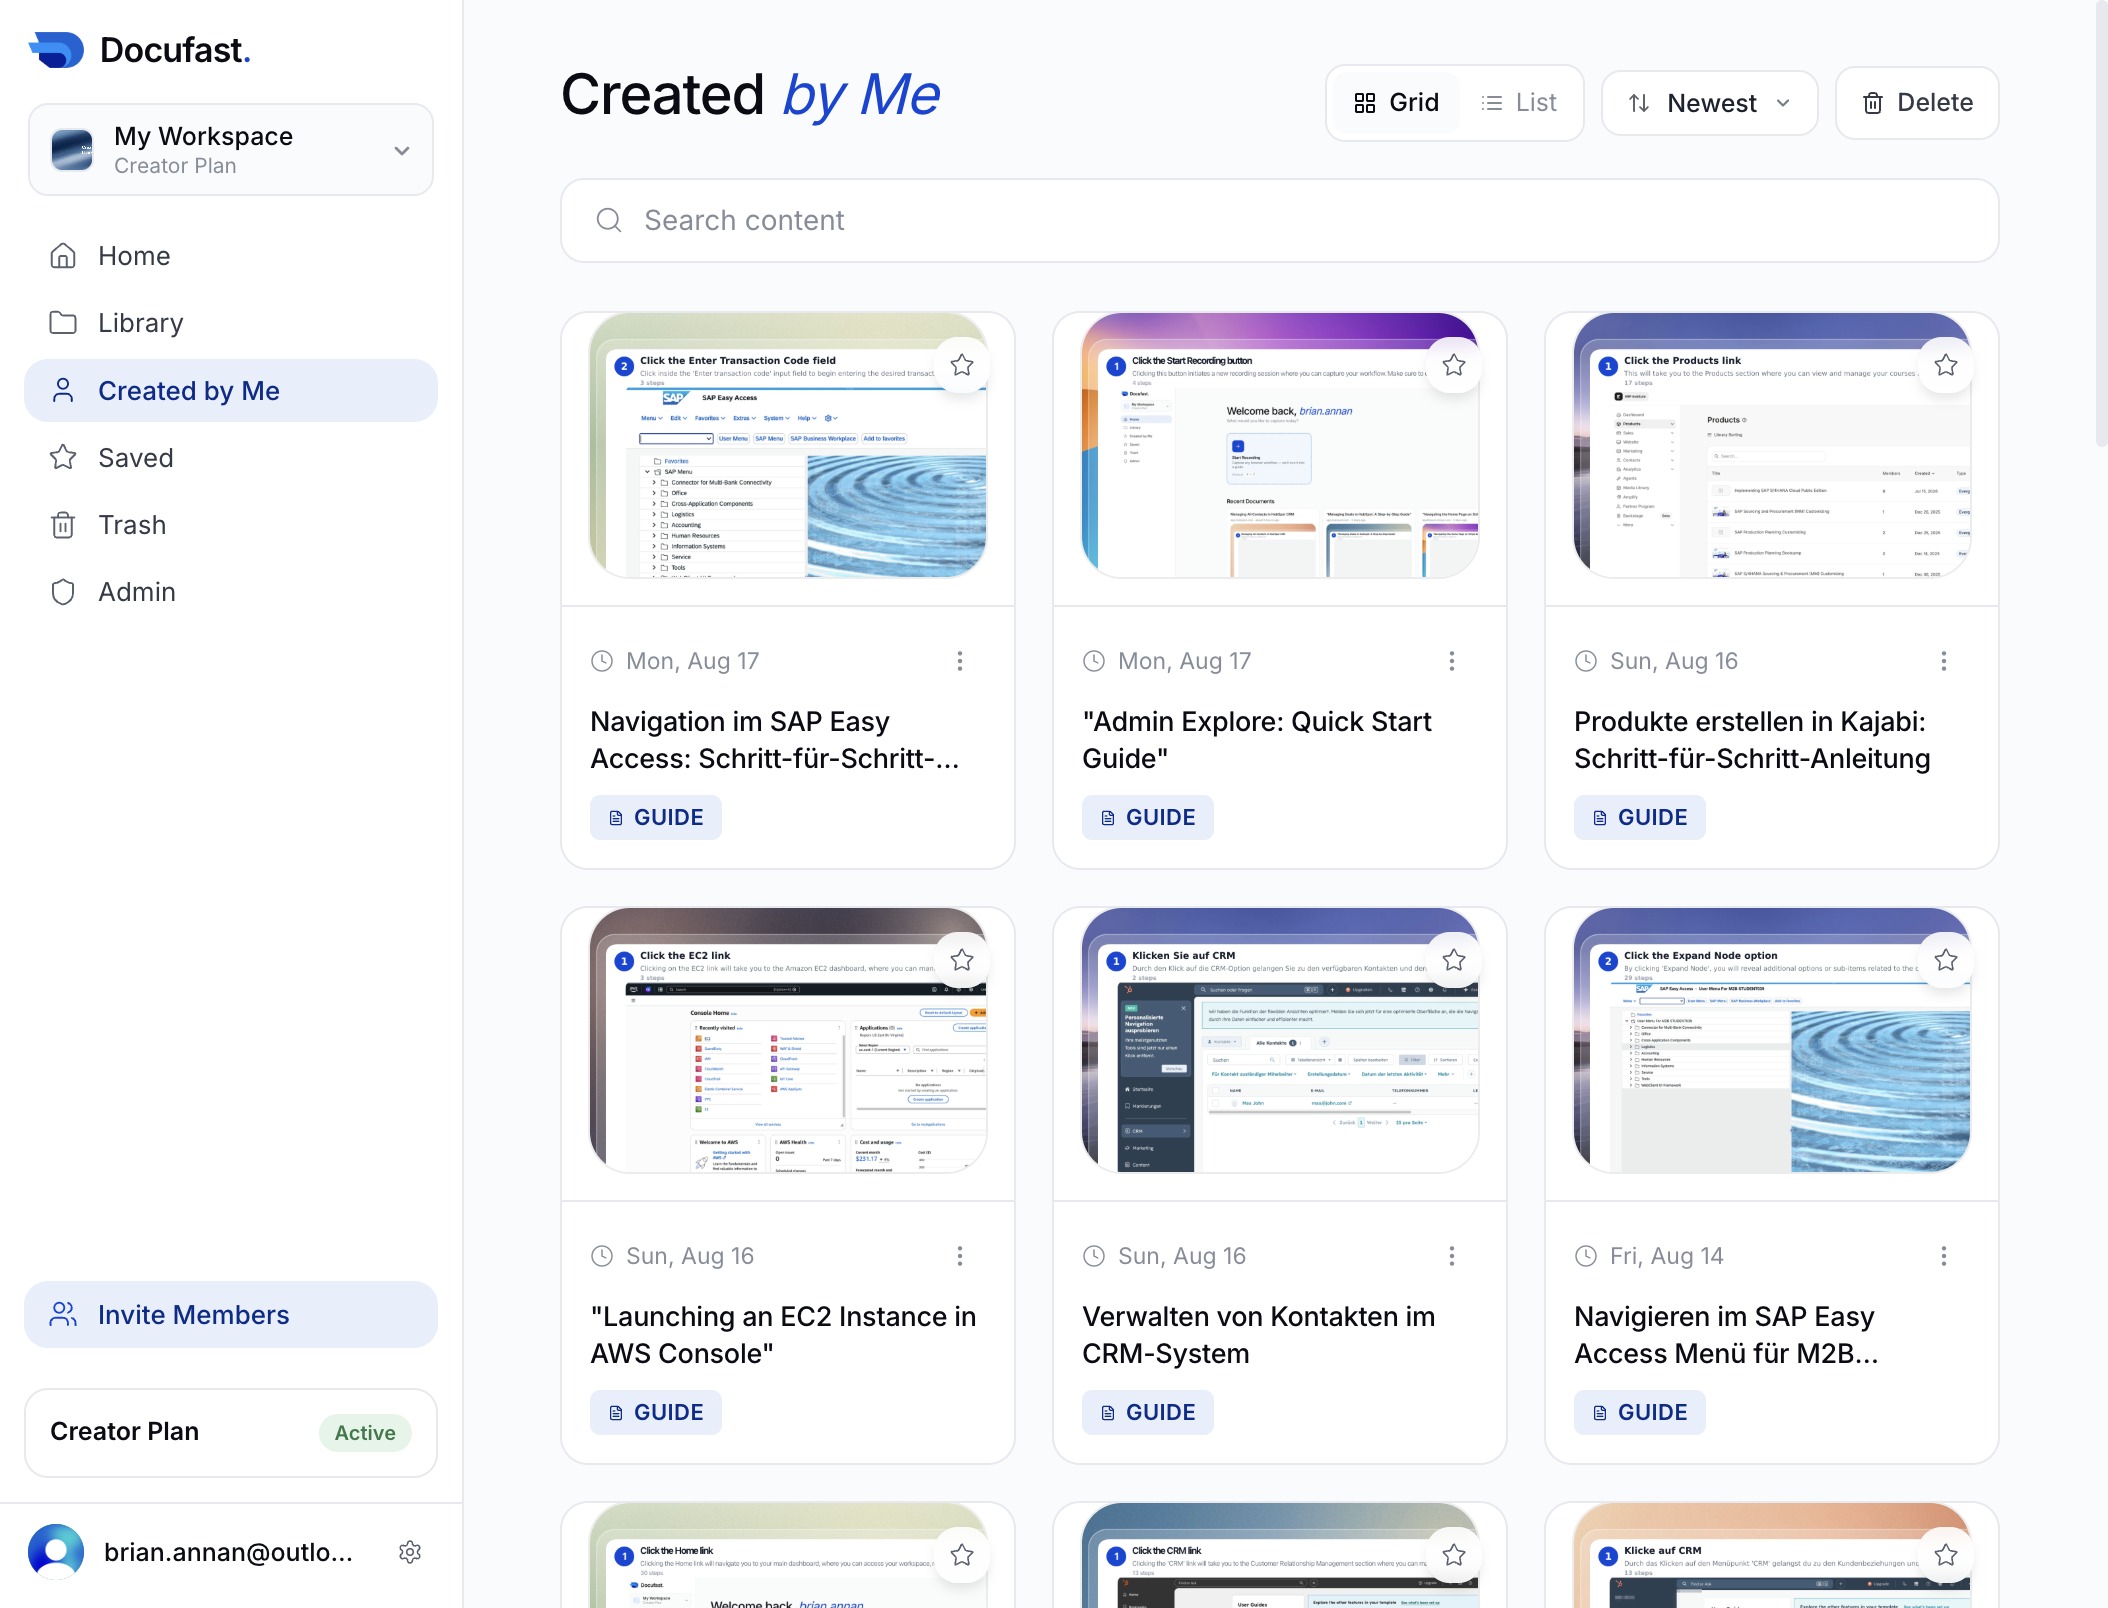
Clicking this link will display all the documents and guides you have created, allowing you to manage and access your content easily.
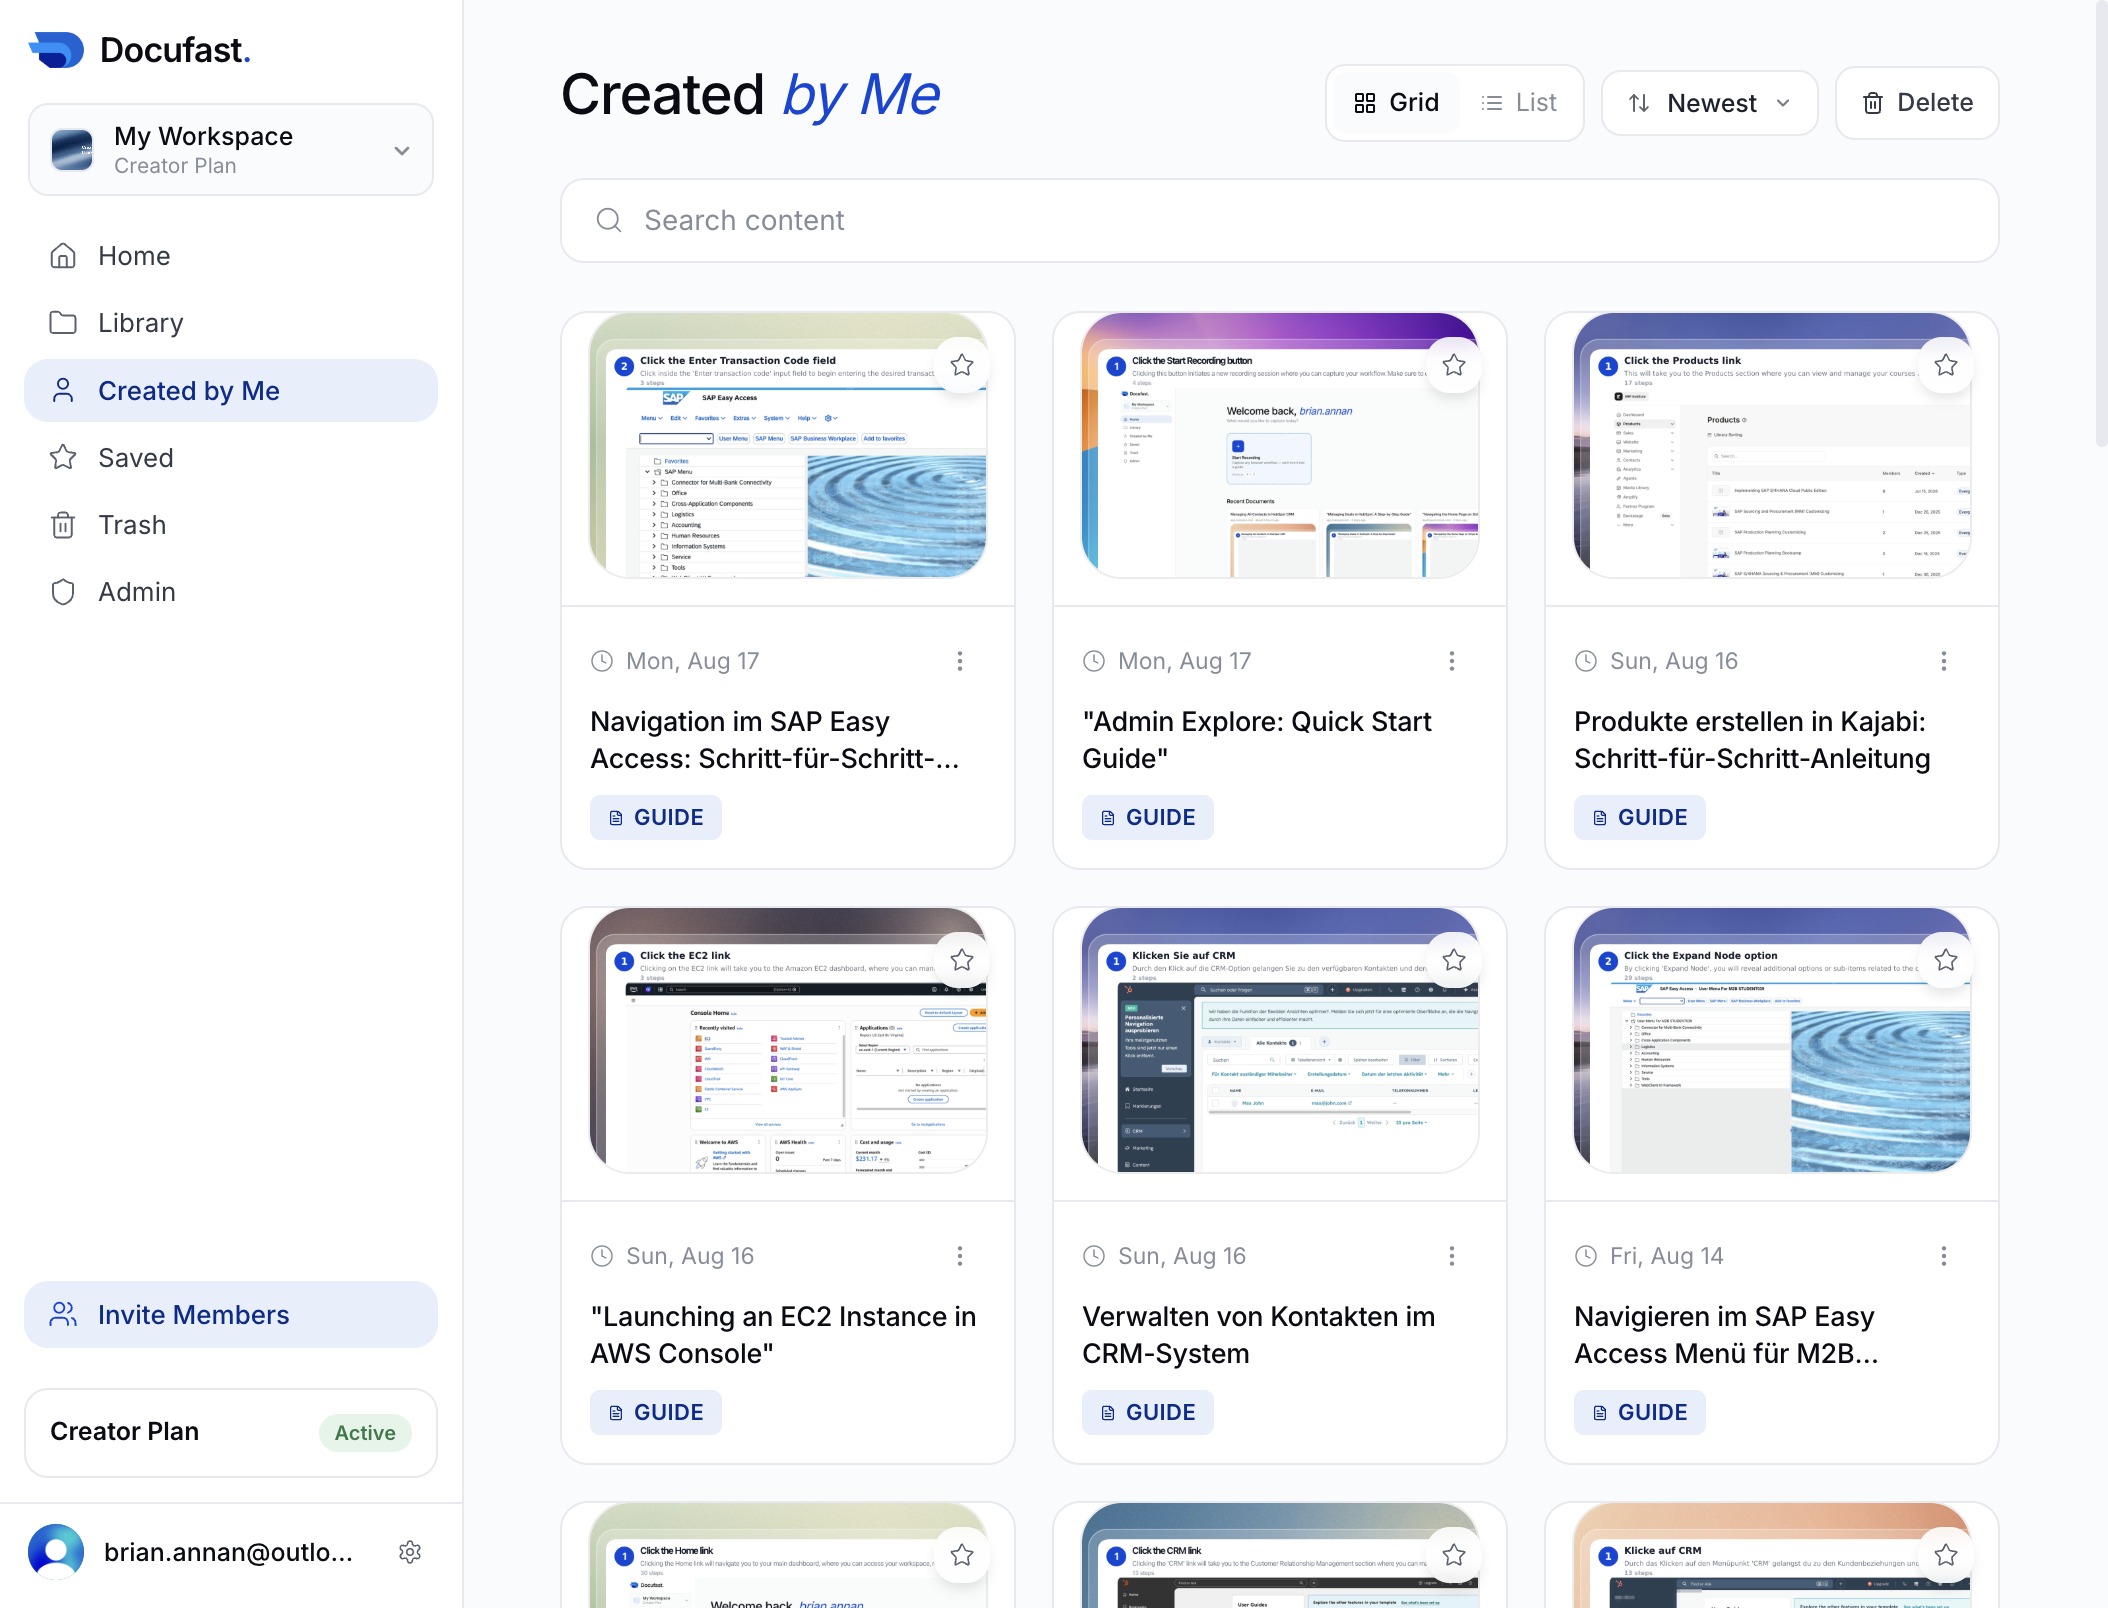
This action will navigate you to the section displaying all documents and guides that you have created, allowing you to manage and access your content easily.
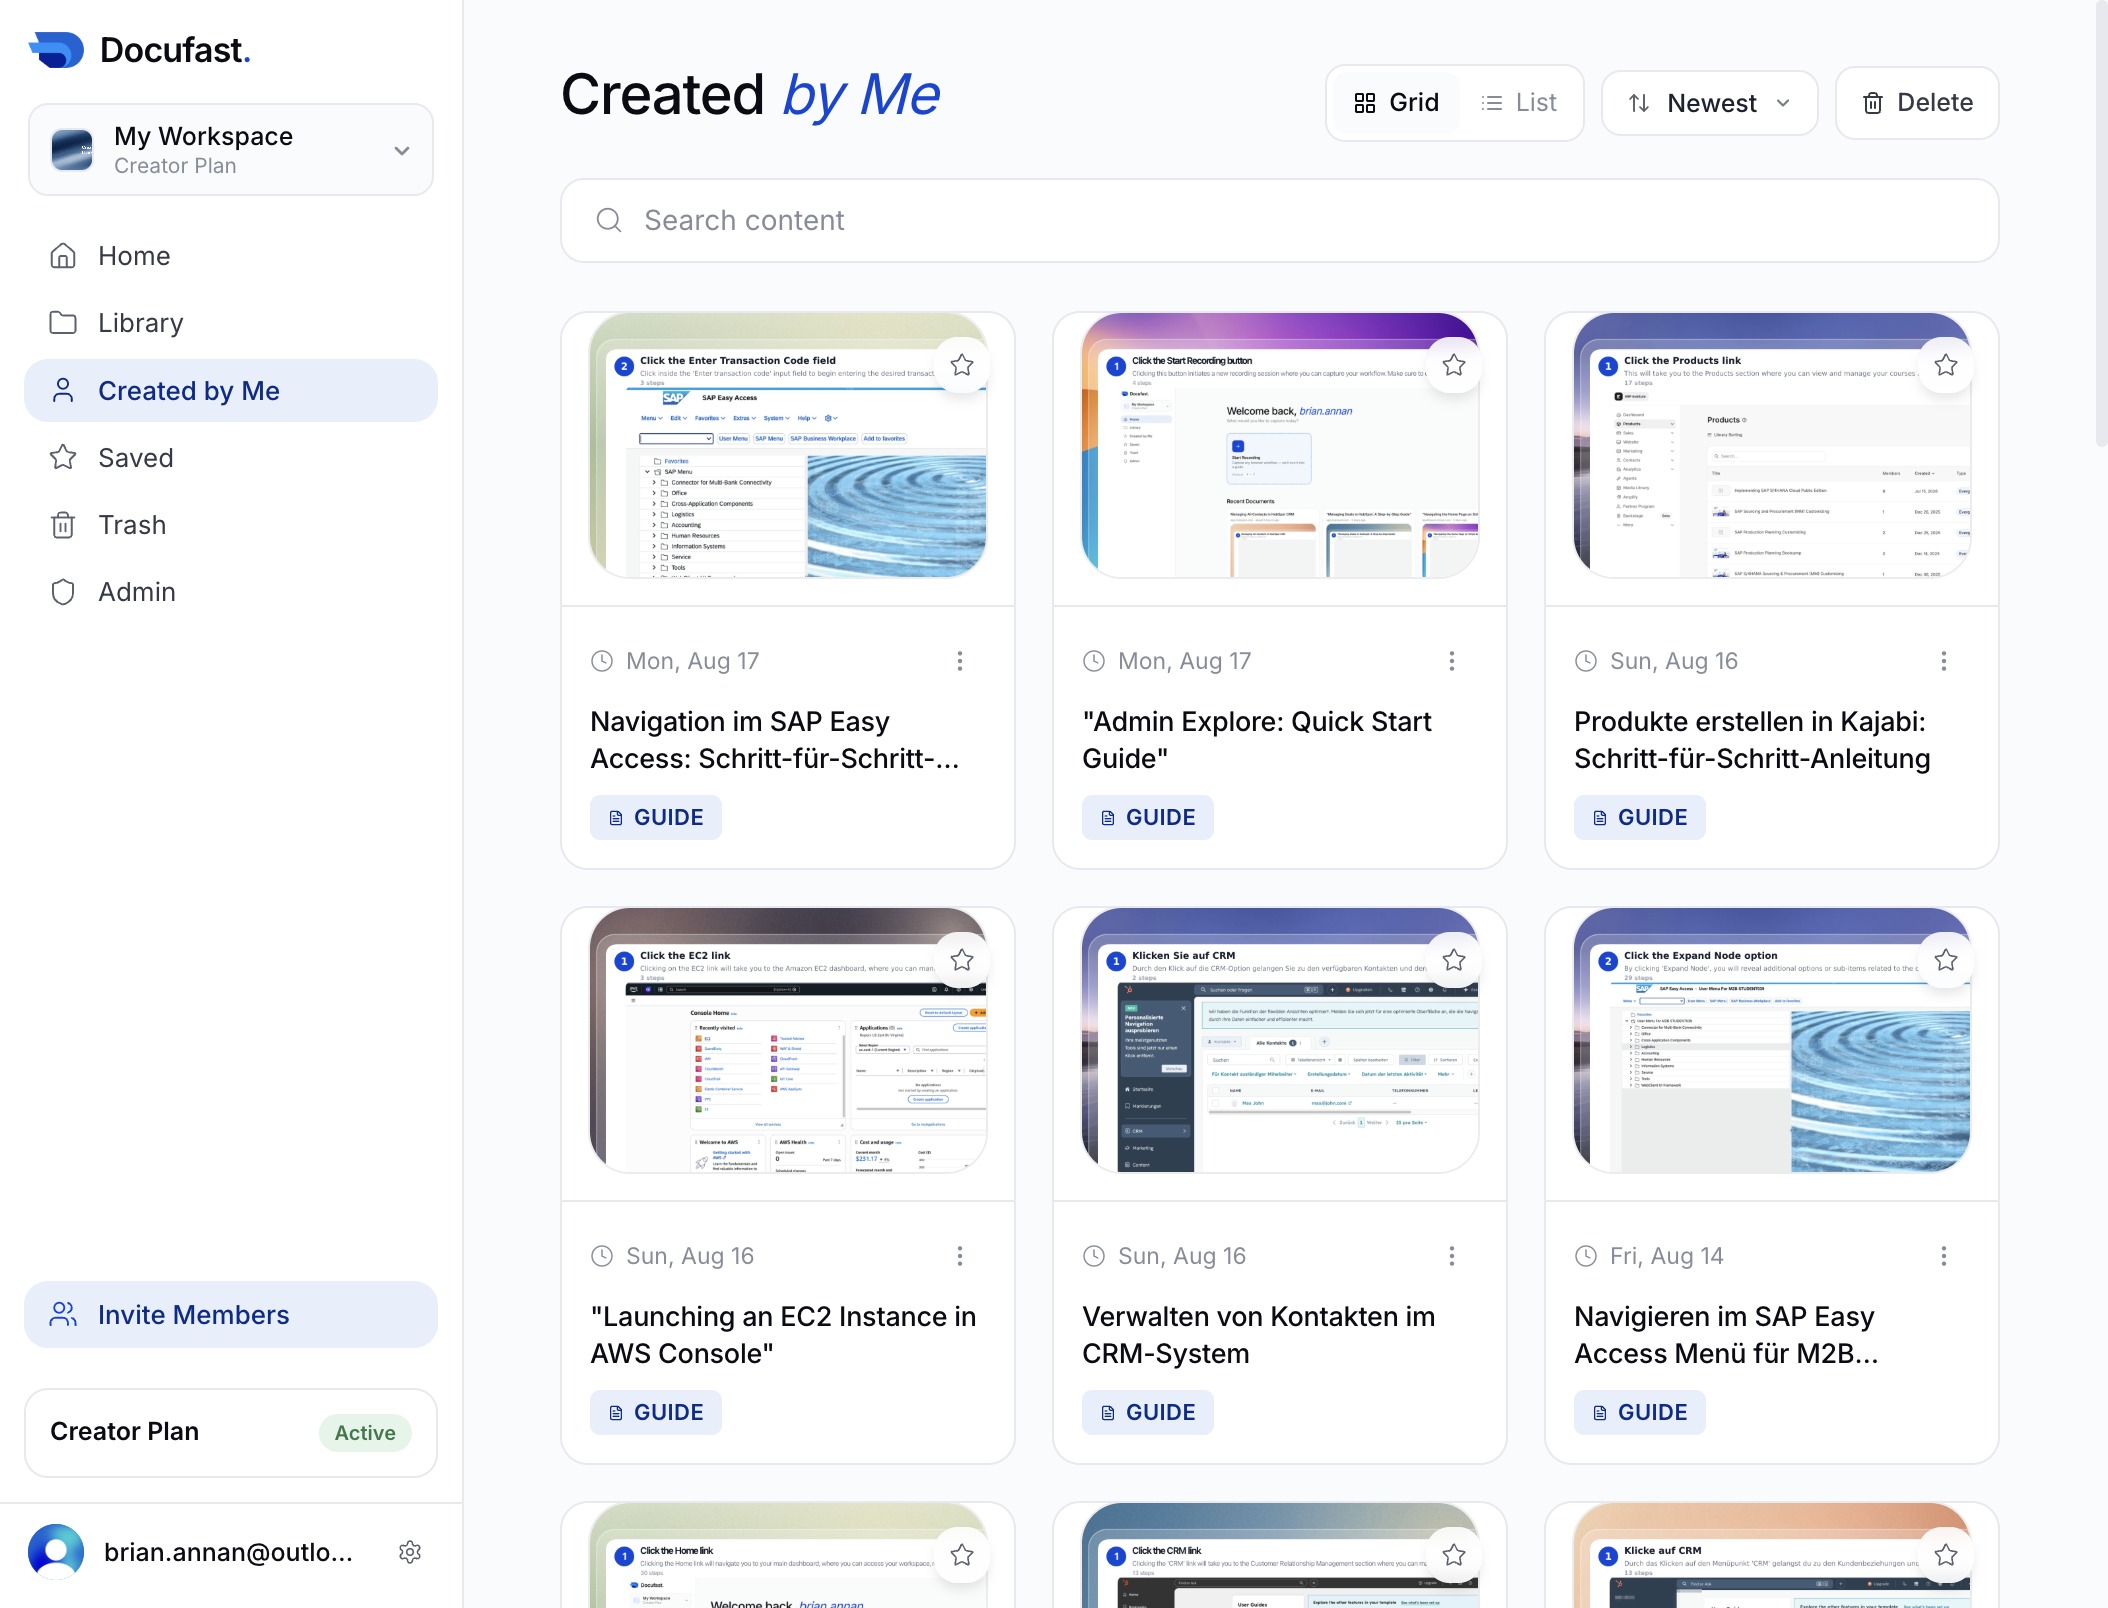
This action directs you to the section containing all documents and guides created by you, allowing for easy access and management of your personal files.
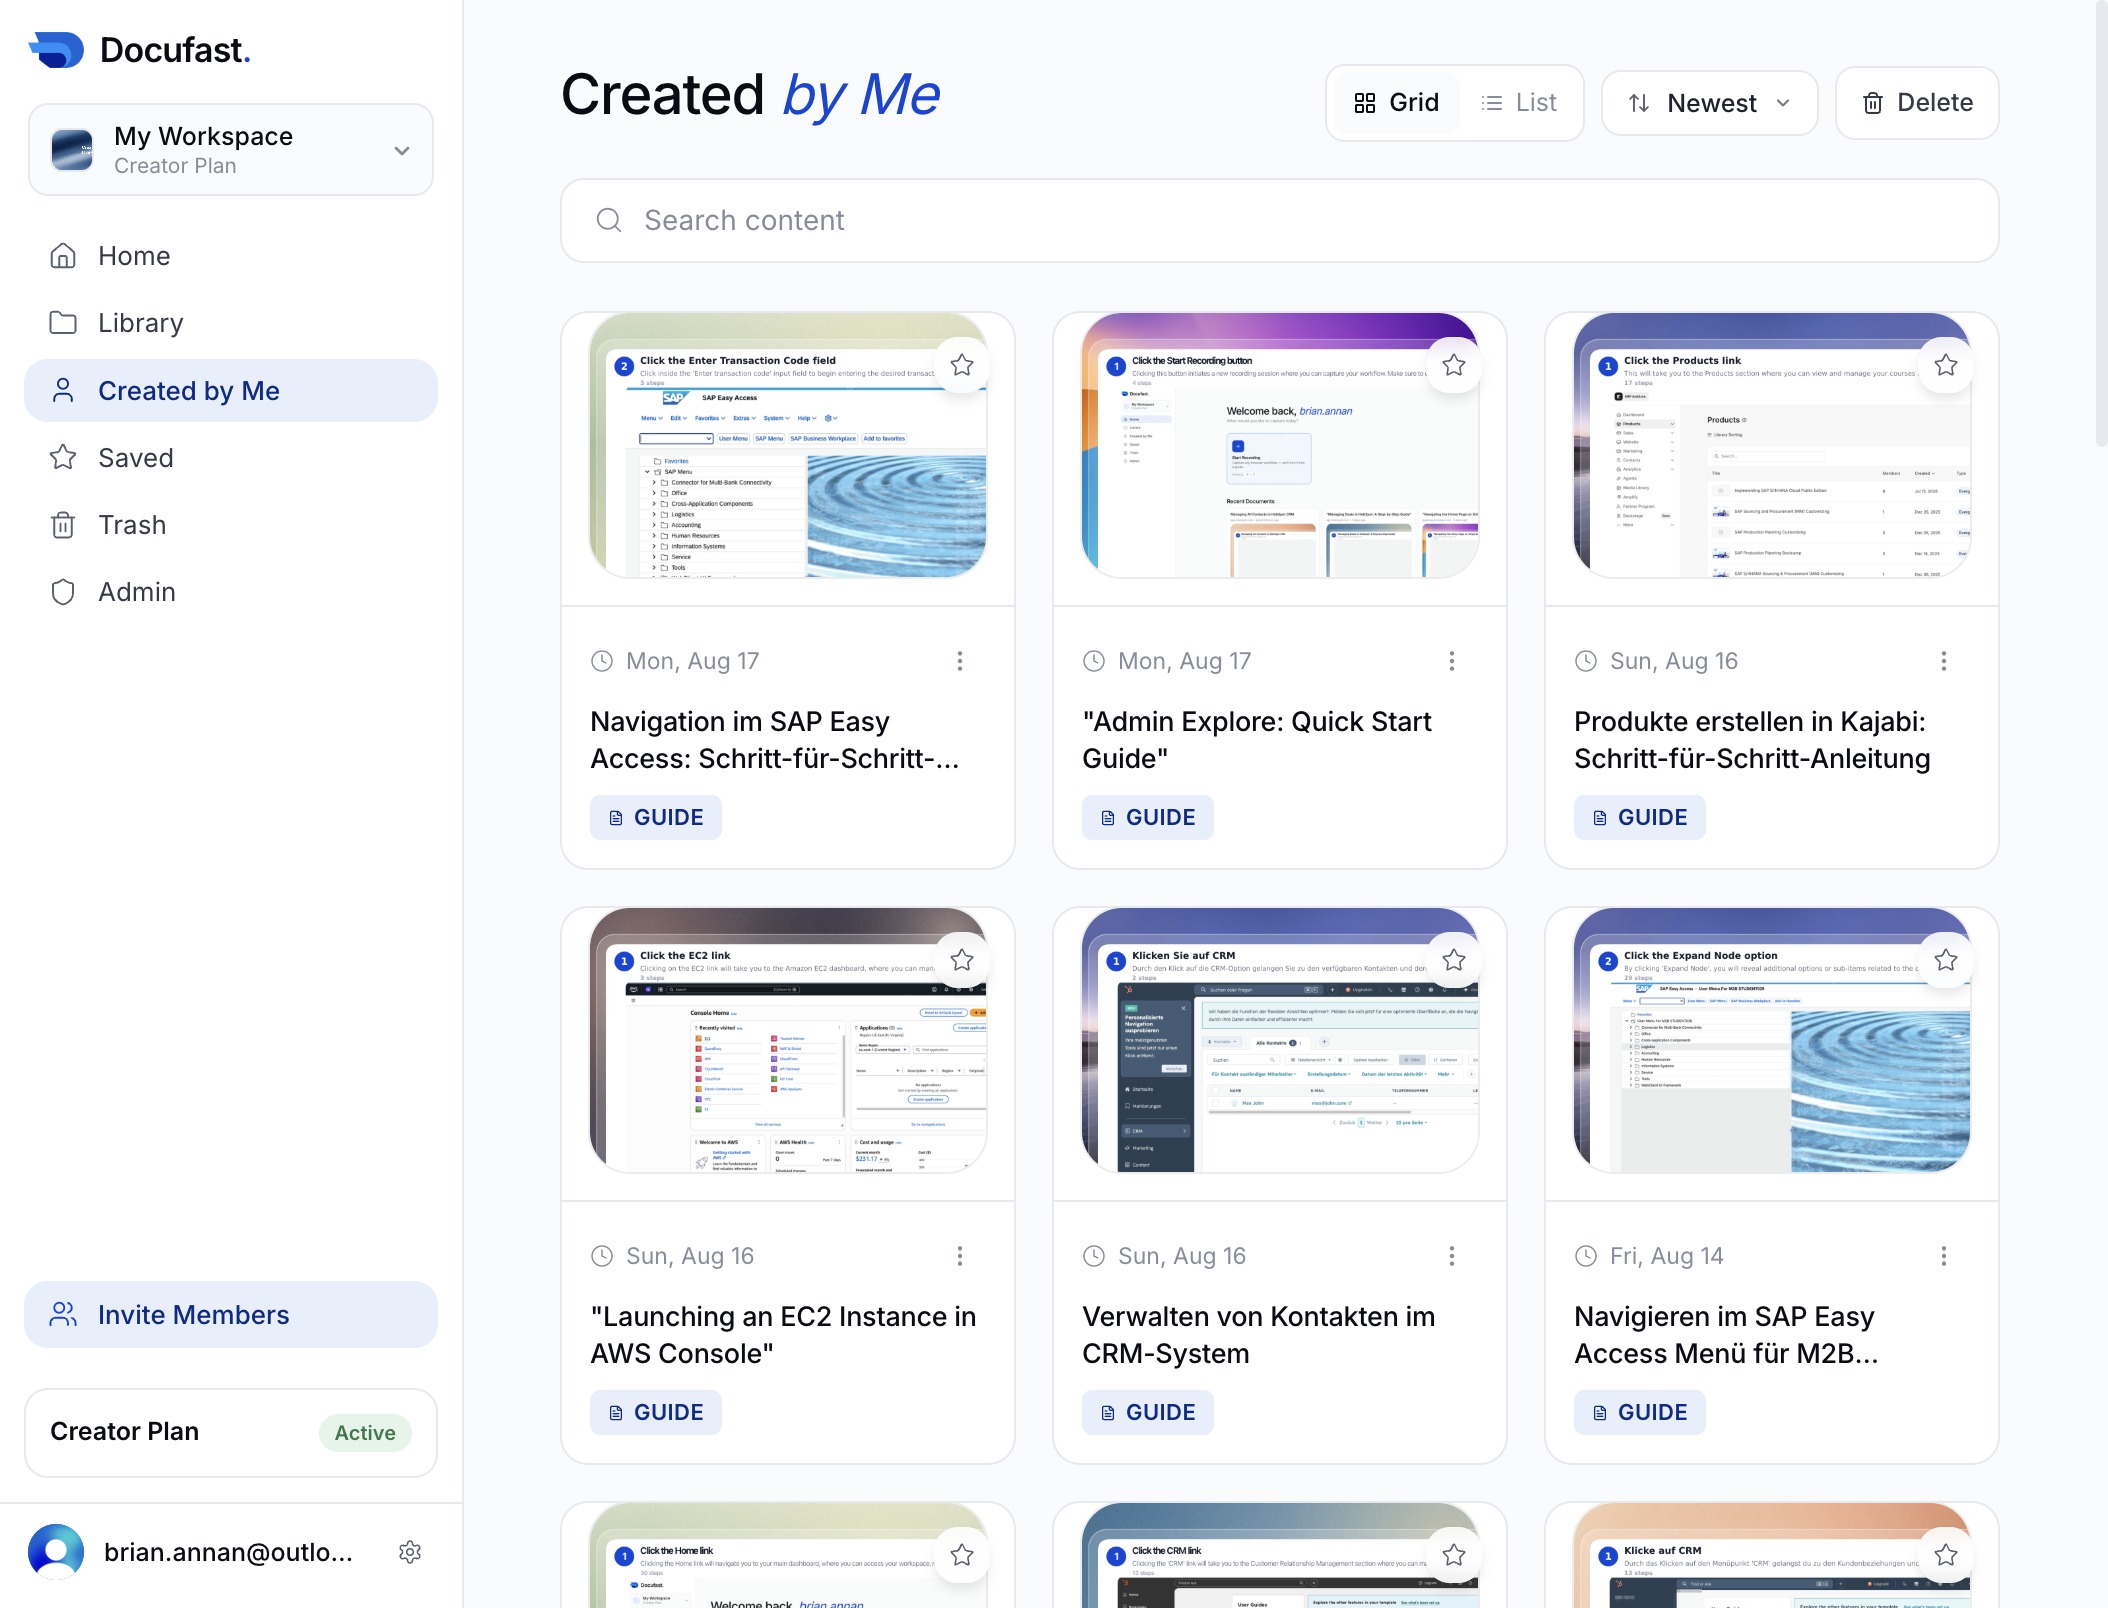
This action reveals a list of documents and guides that you have created, allowing you to easily access and manage your own content.
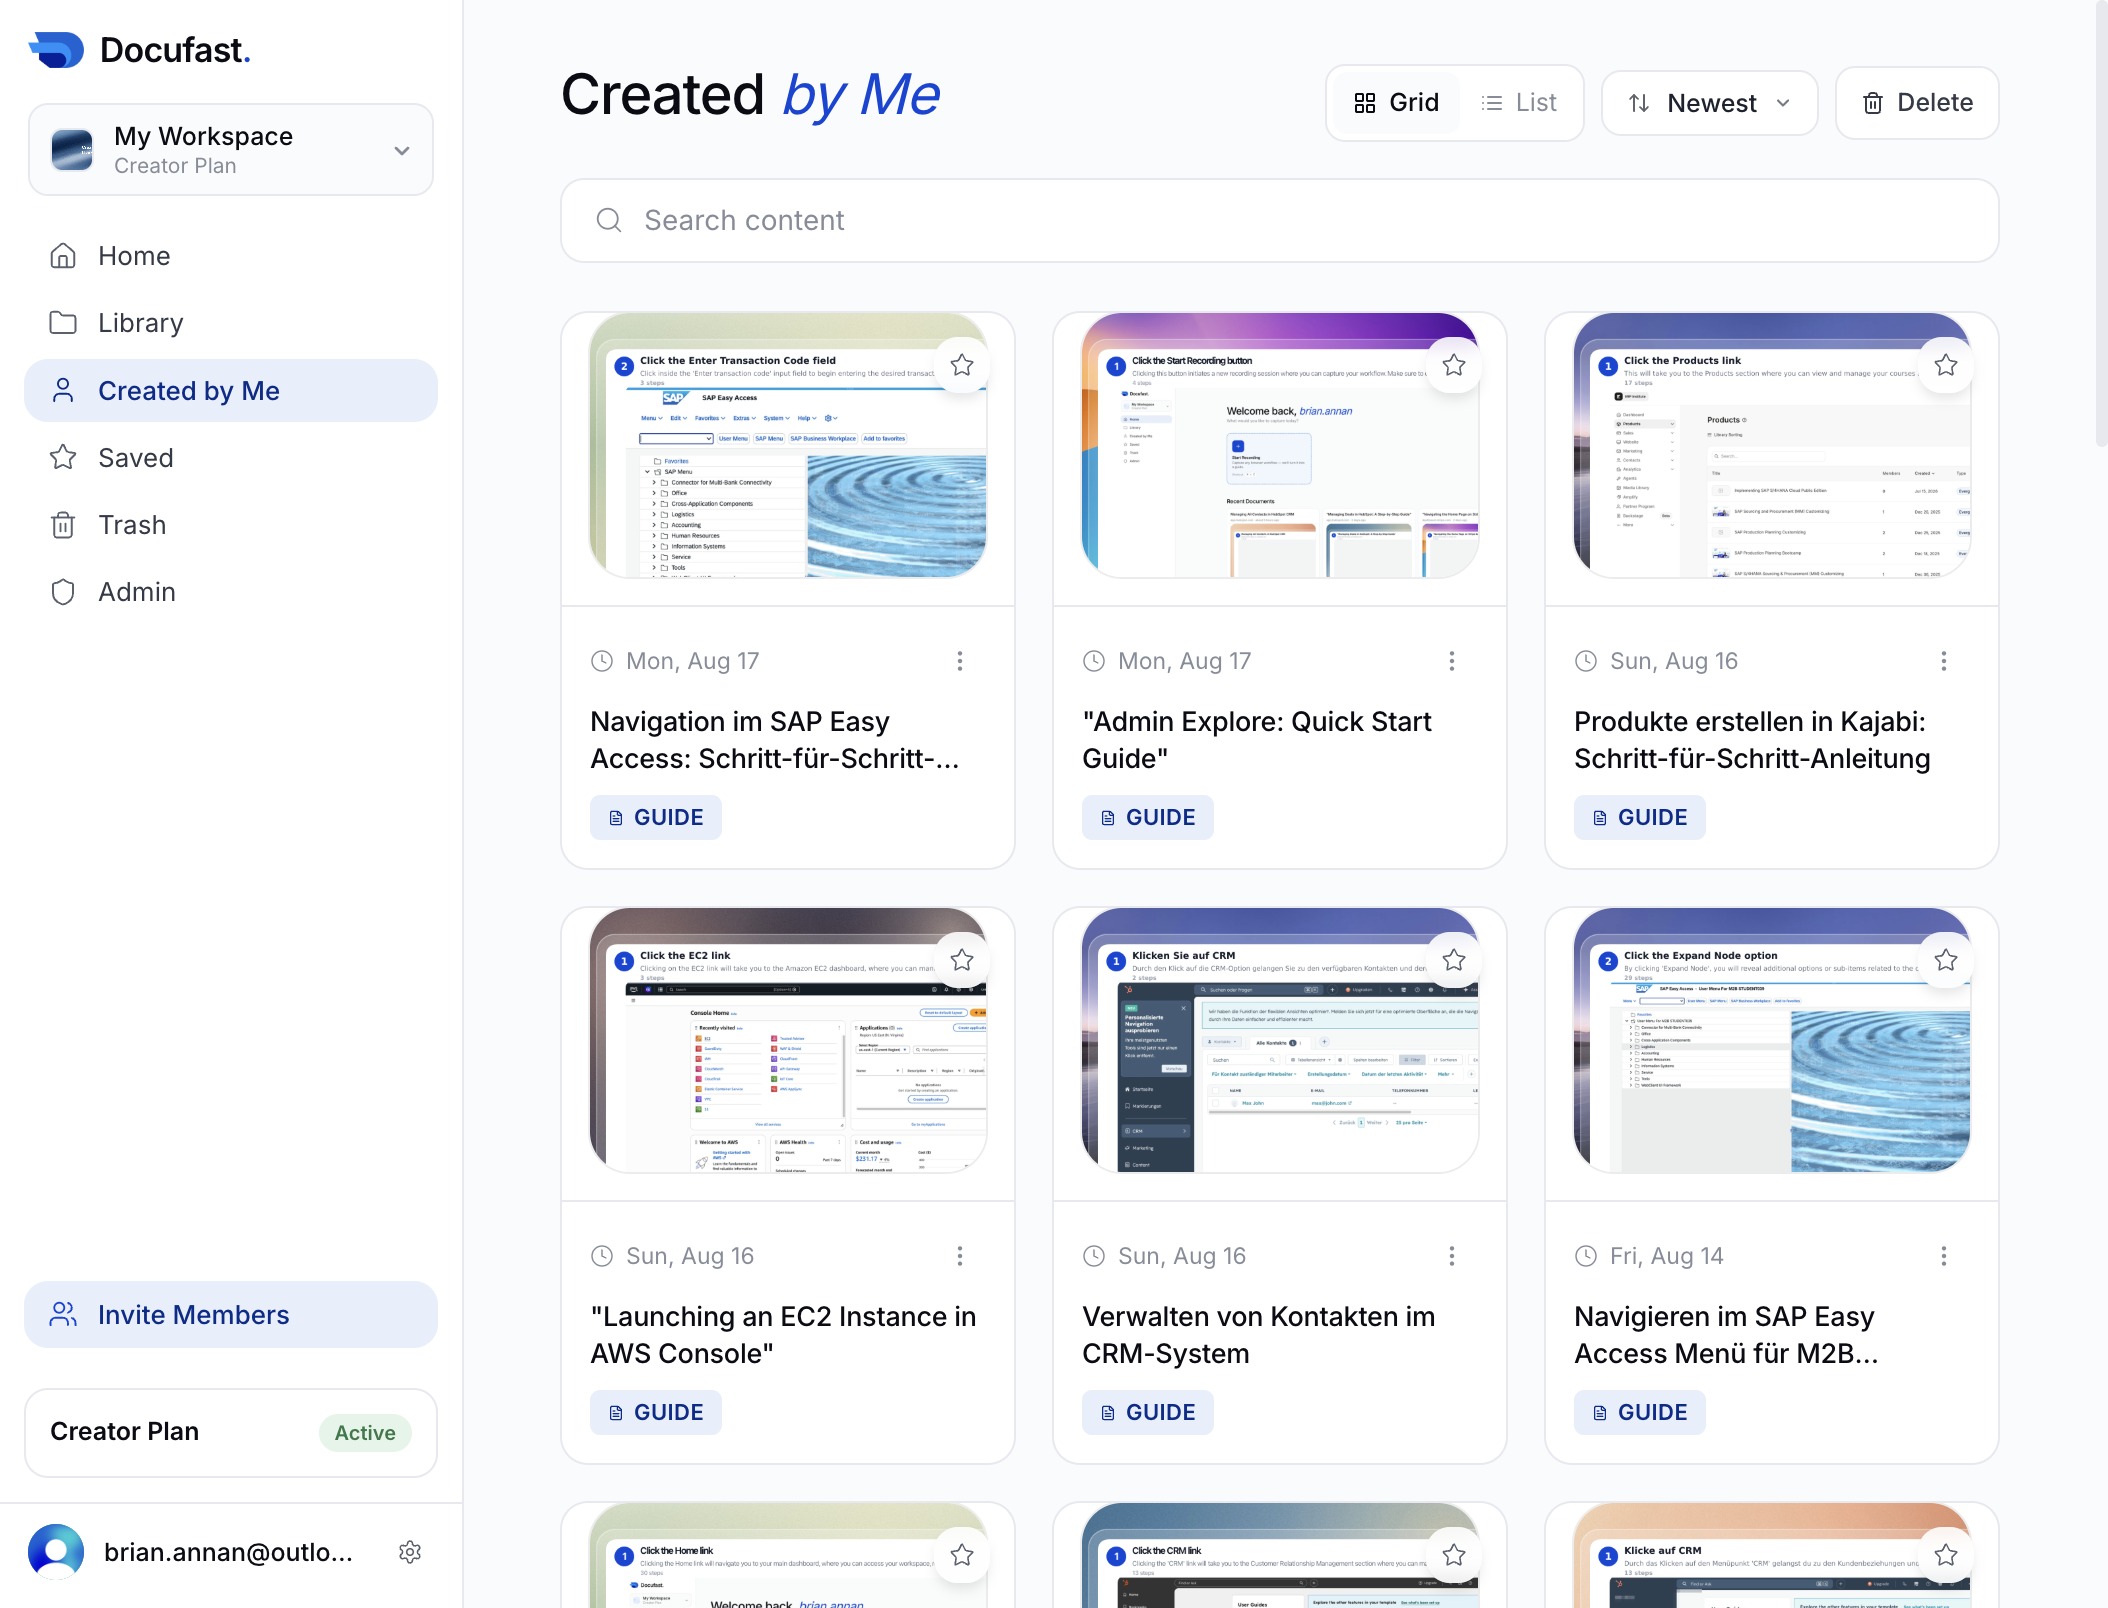
Clicking the 'Created by Me' link will display all the documents and guides that you have authored, allowing you to easily access and manage your content.
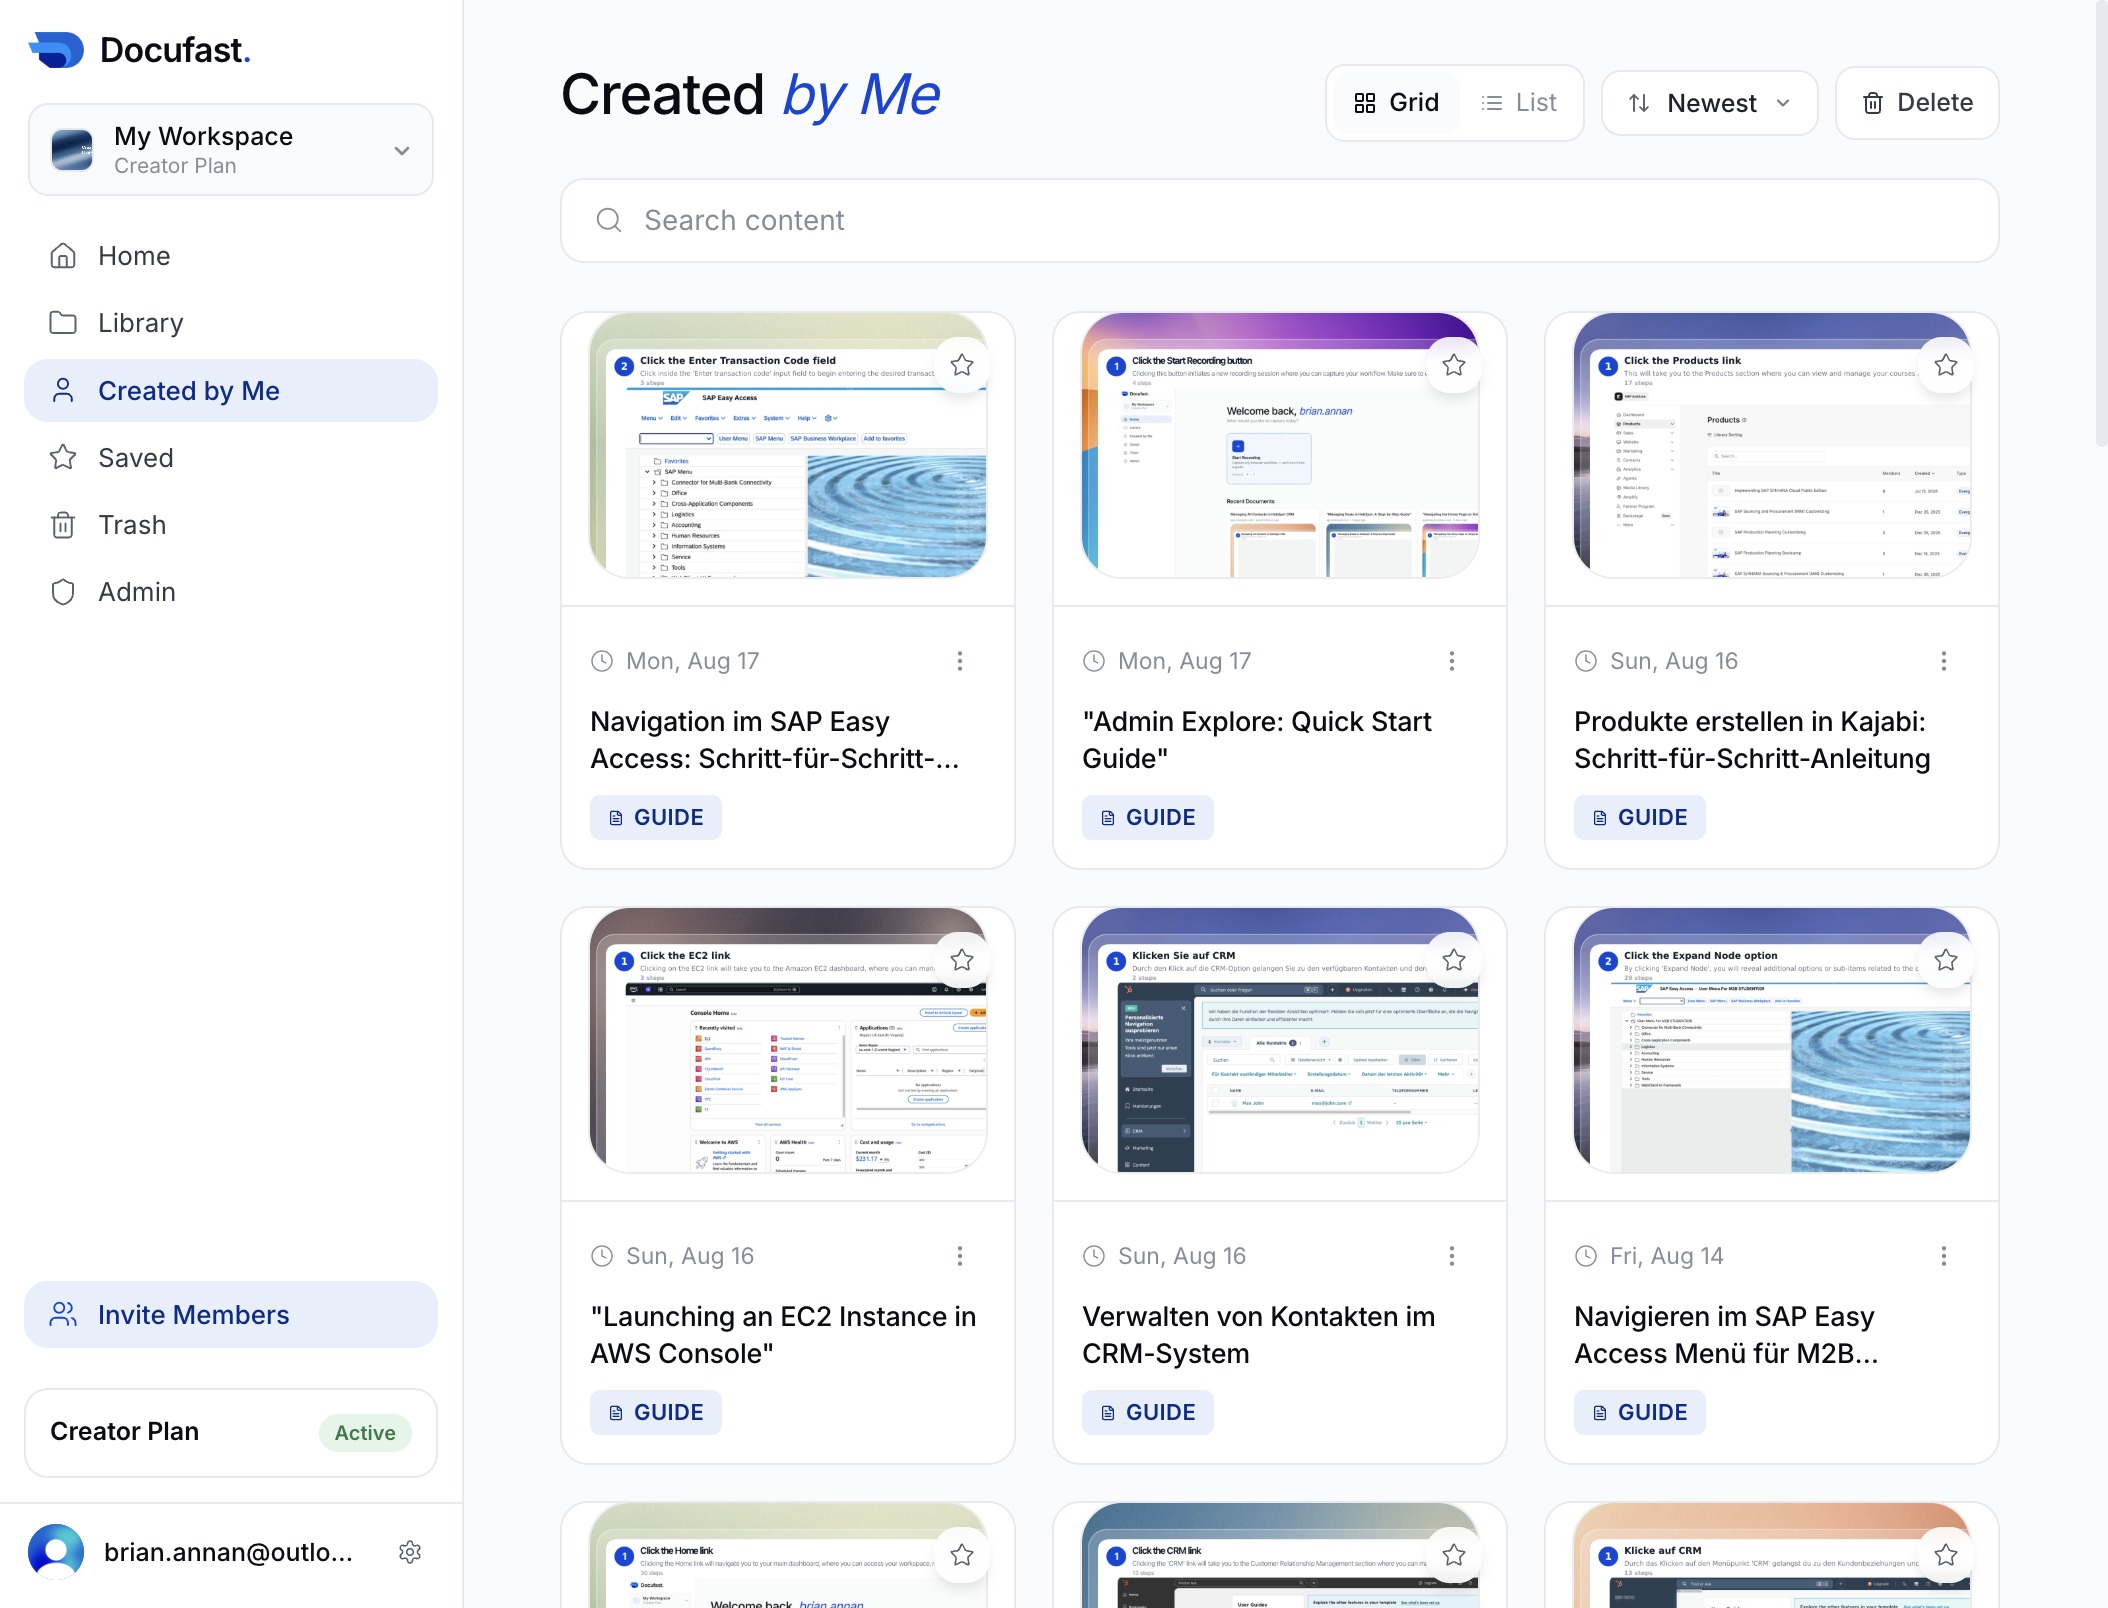
This action will take you to the section displaying all documents and guides you have created, allowing you to manage and edit them as needed.
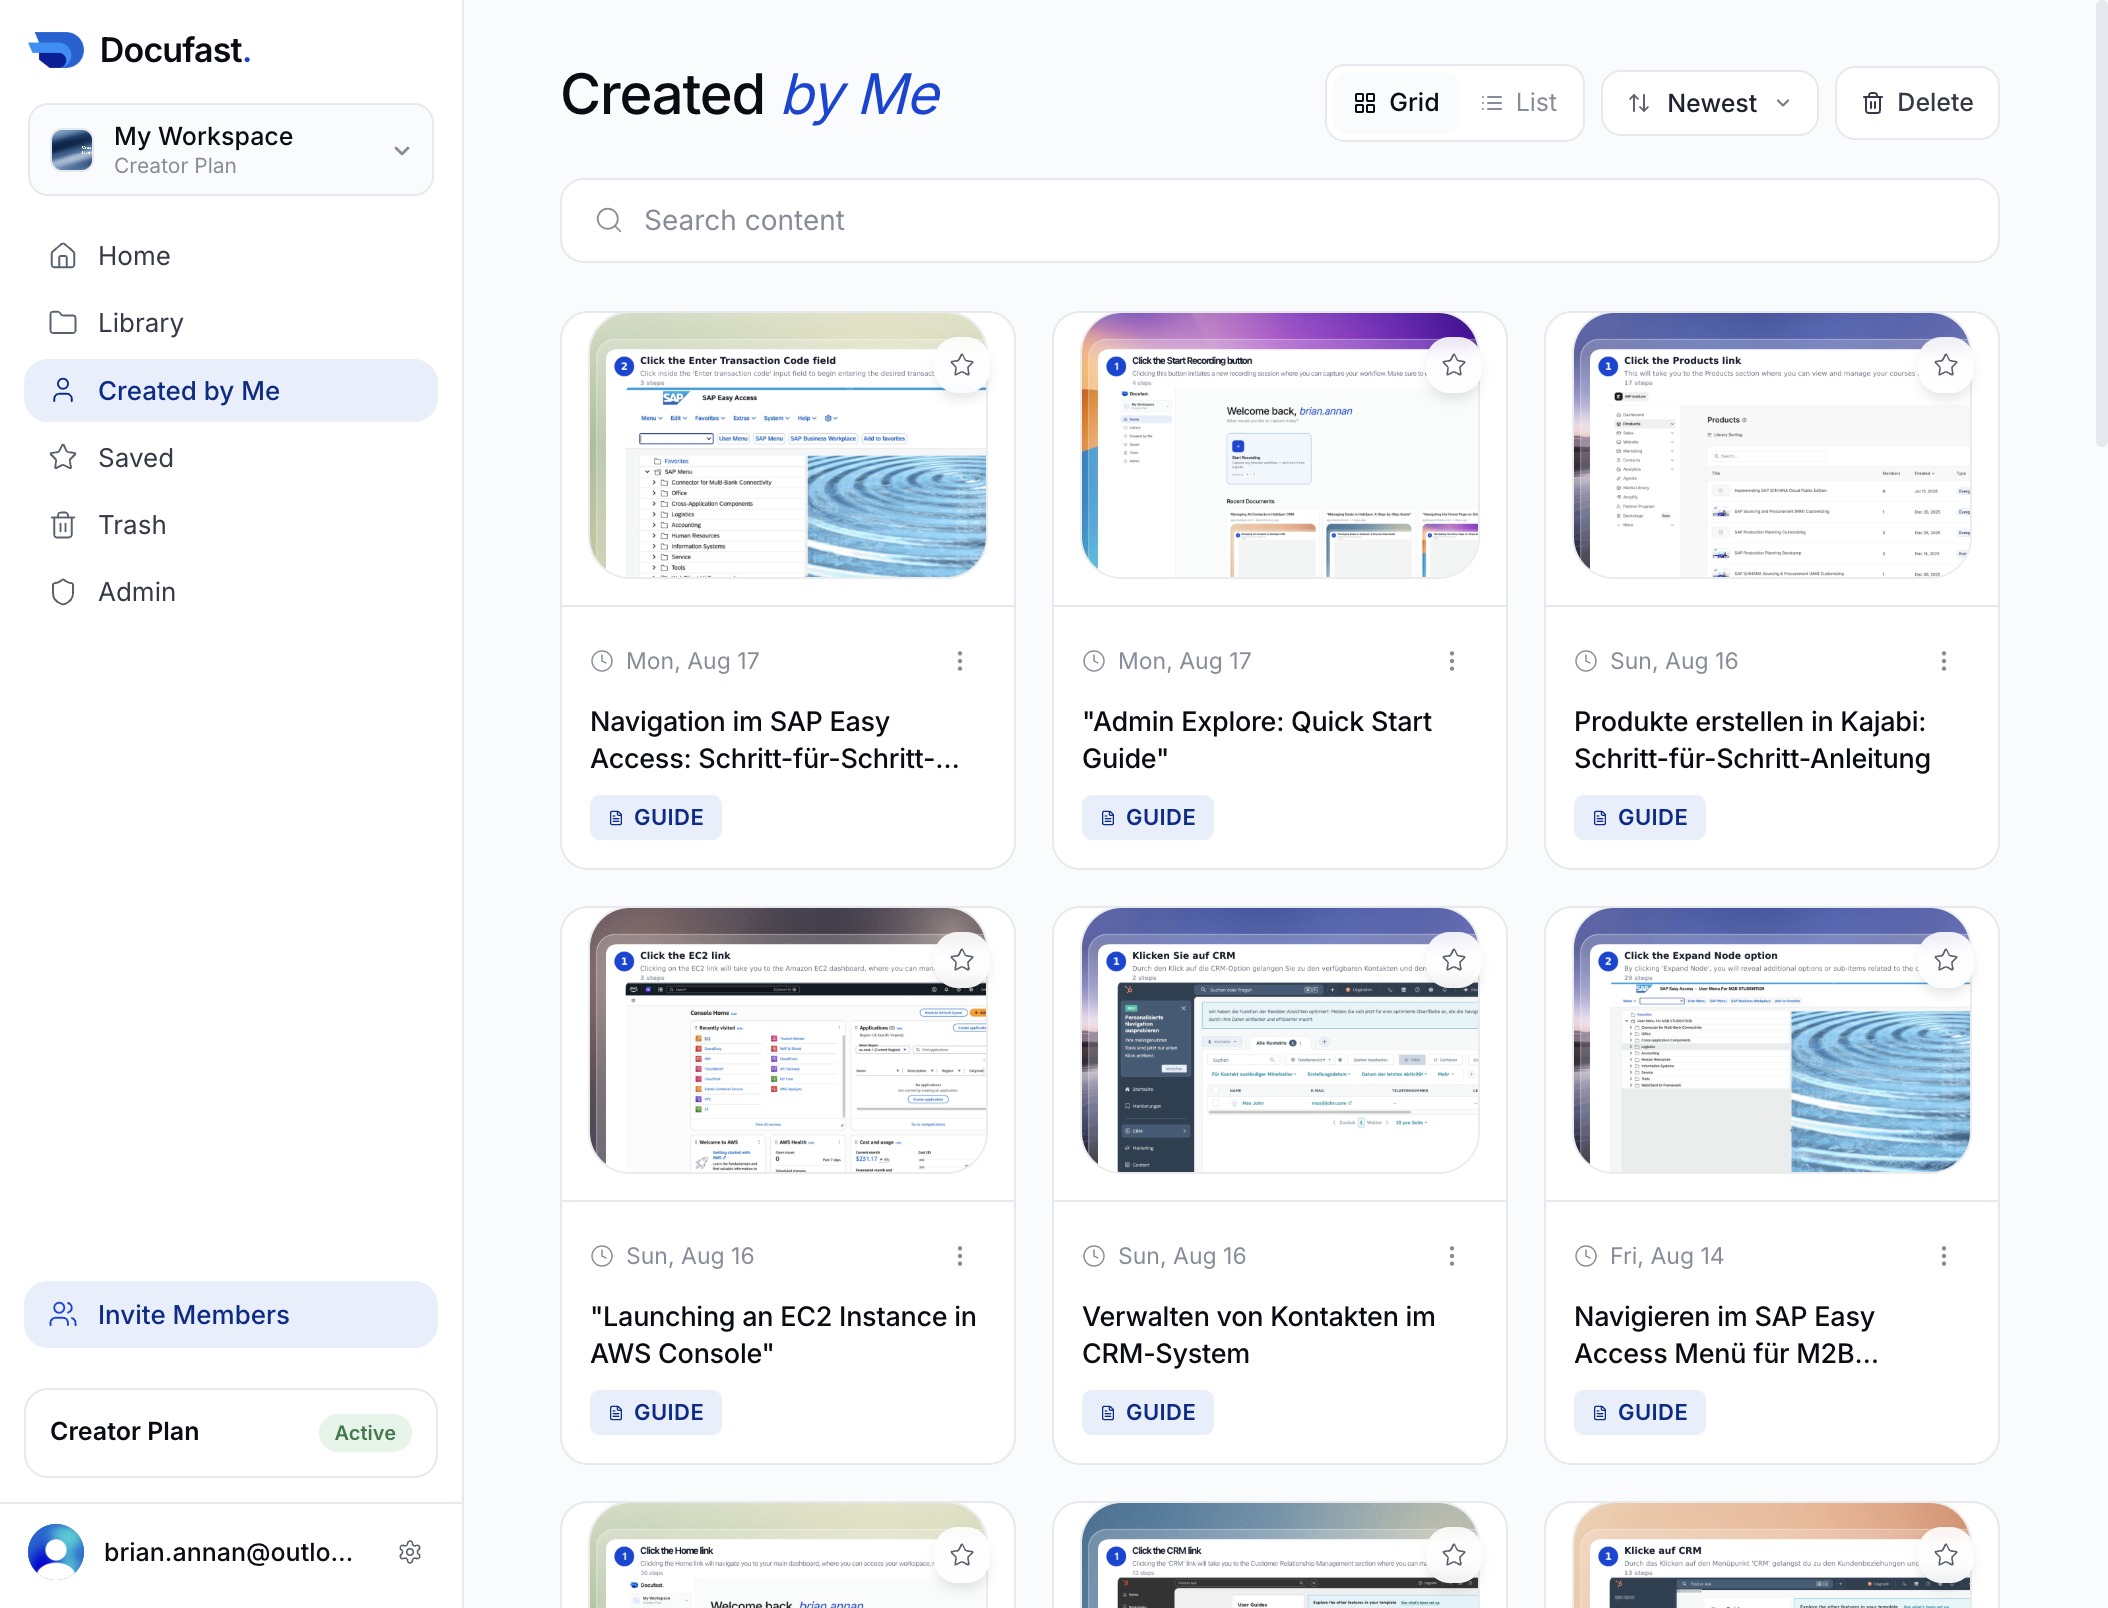
This will display all the documents and guides you have personally created, allowing you to manage and review your content.
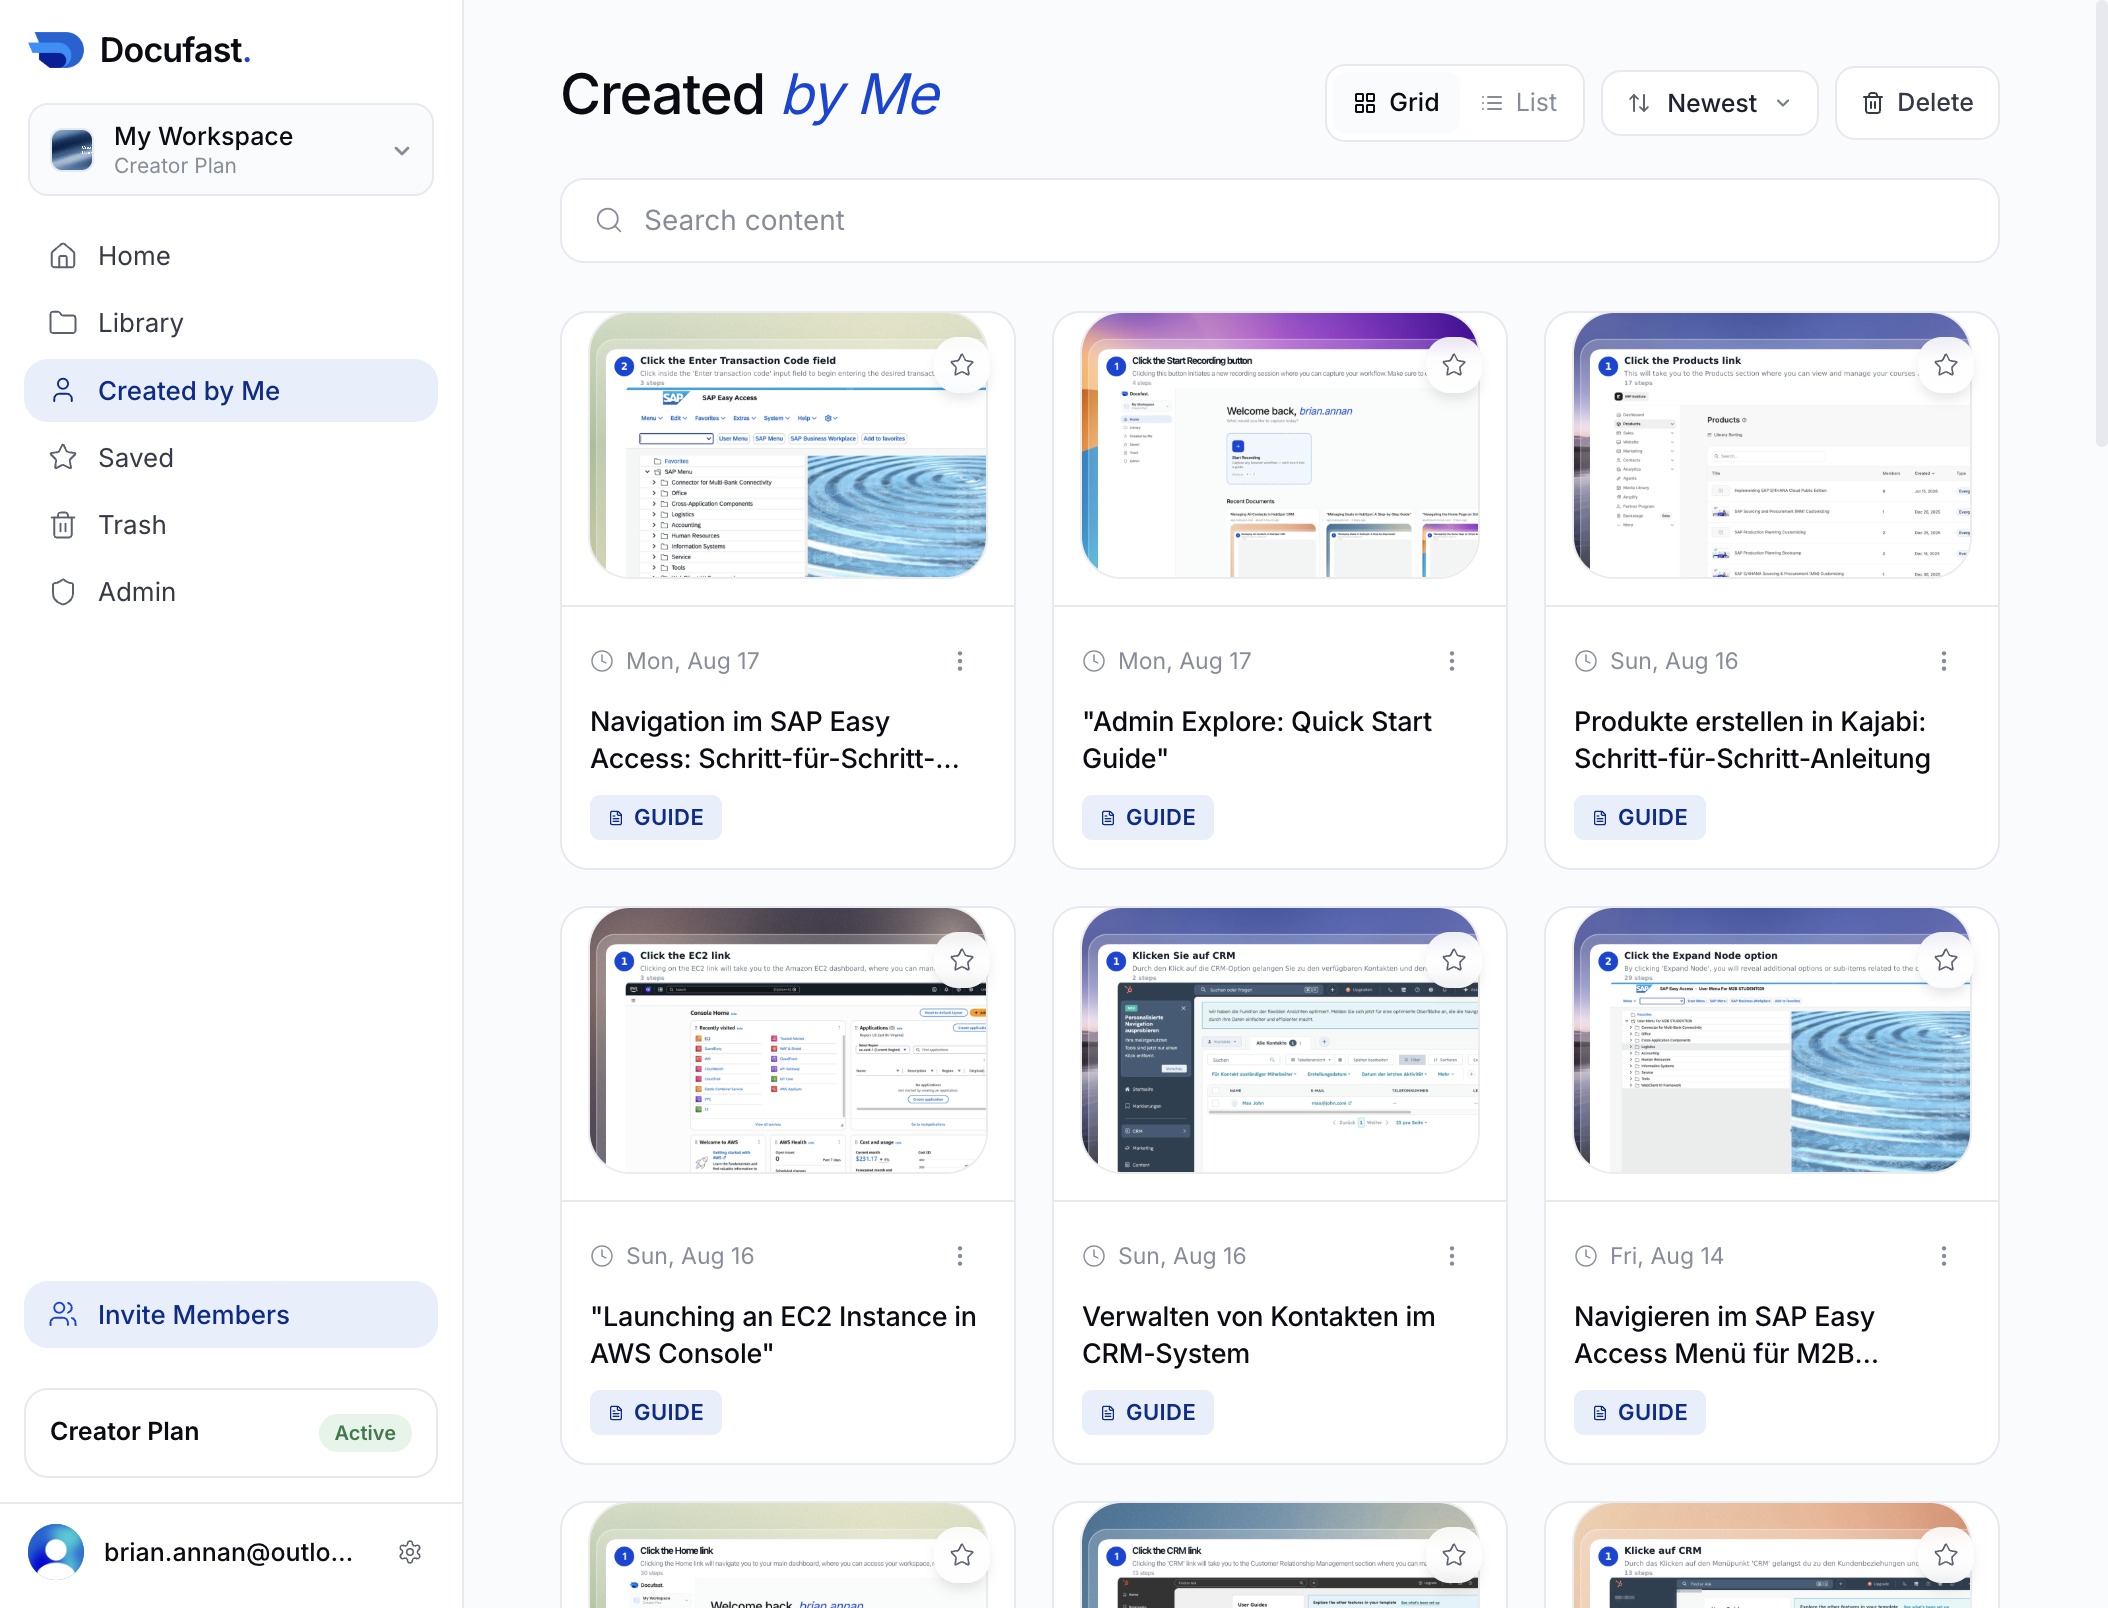
Selecting the 'Created by Me' link will display all the documents and guides that you have authored, allowing you to easily access and manage your created content.
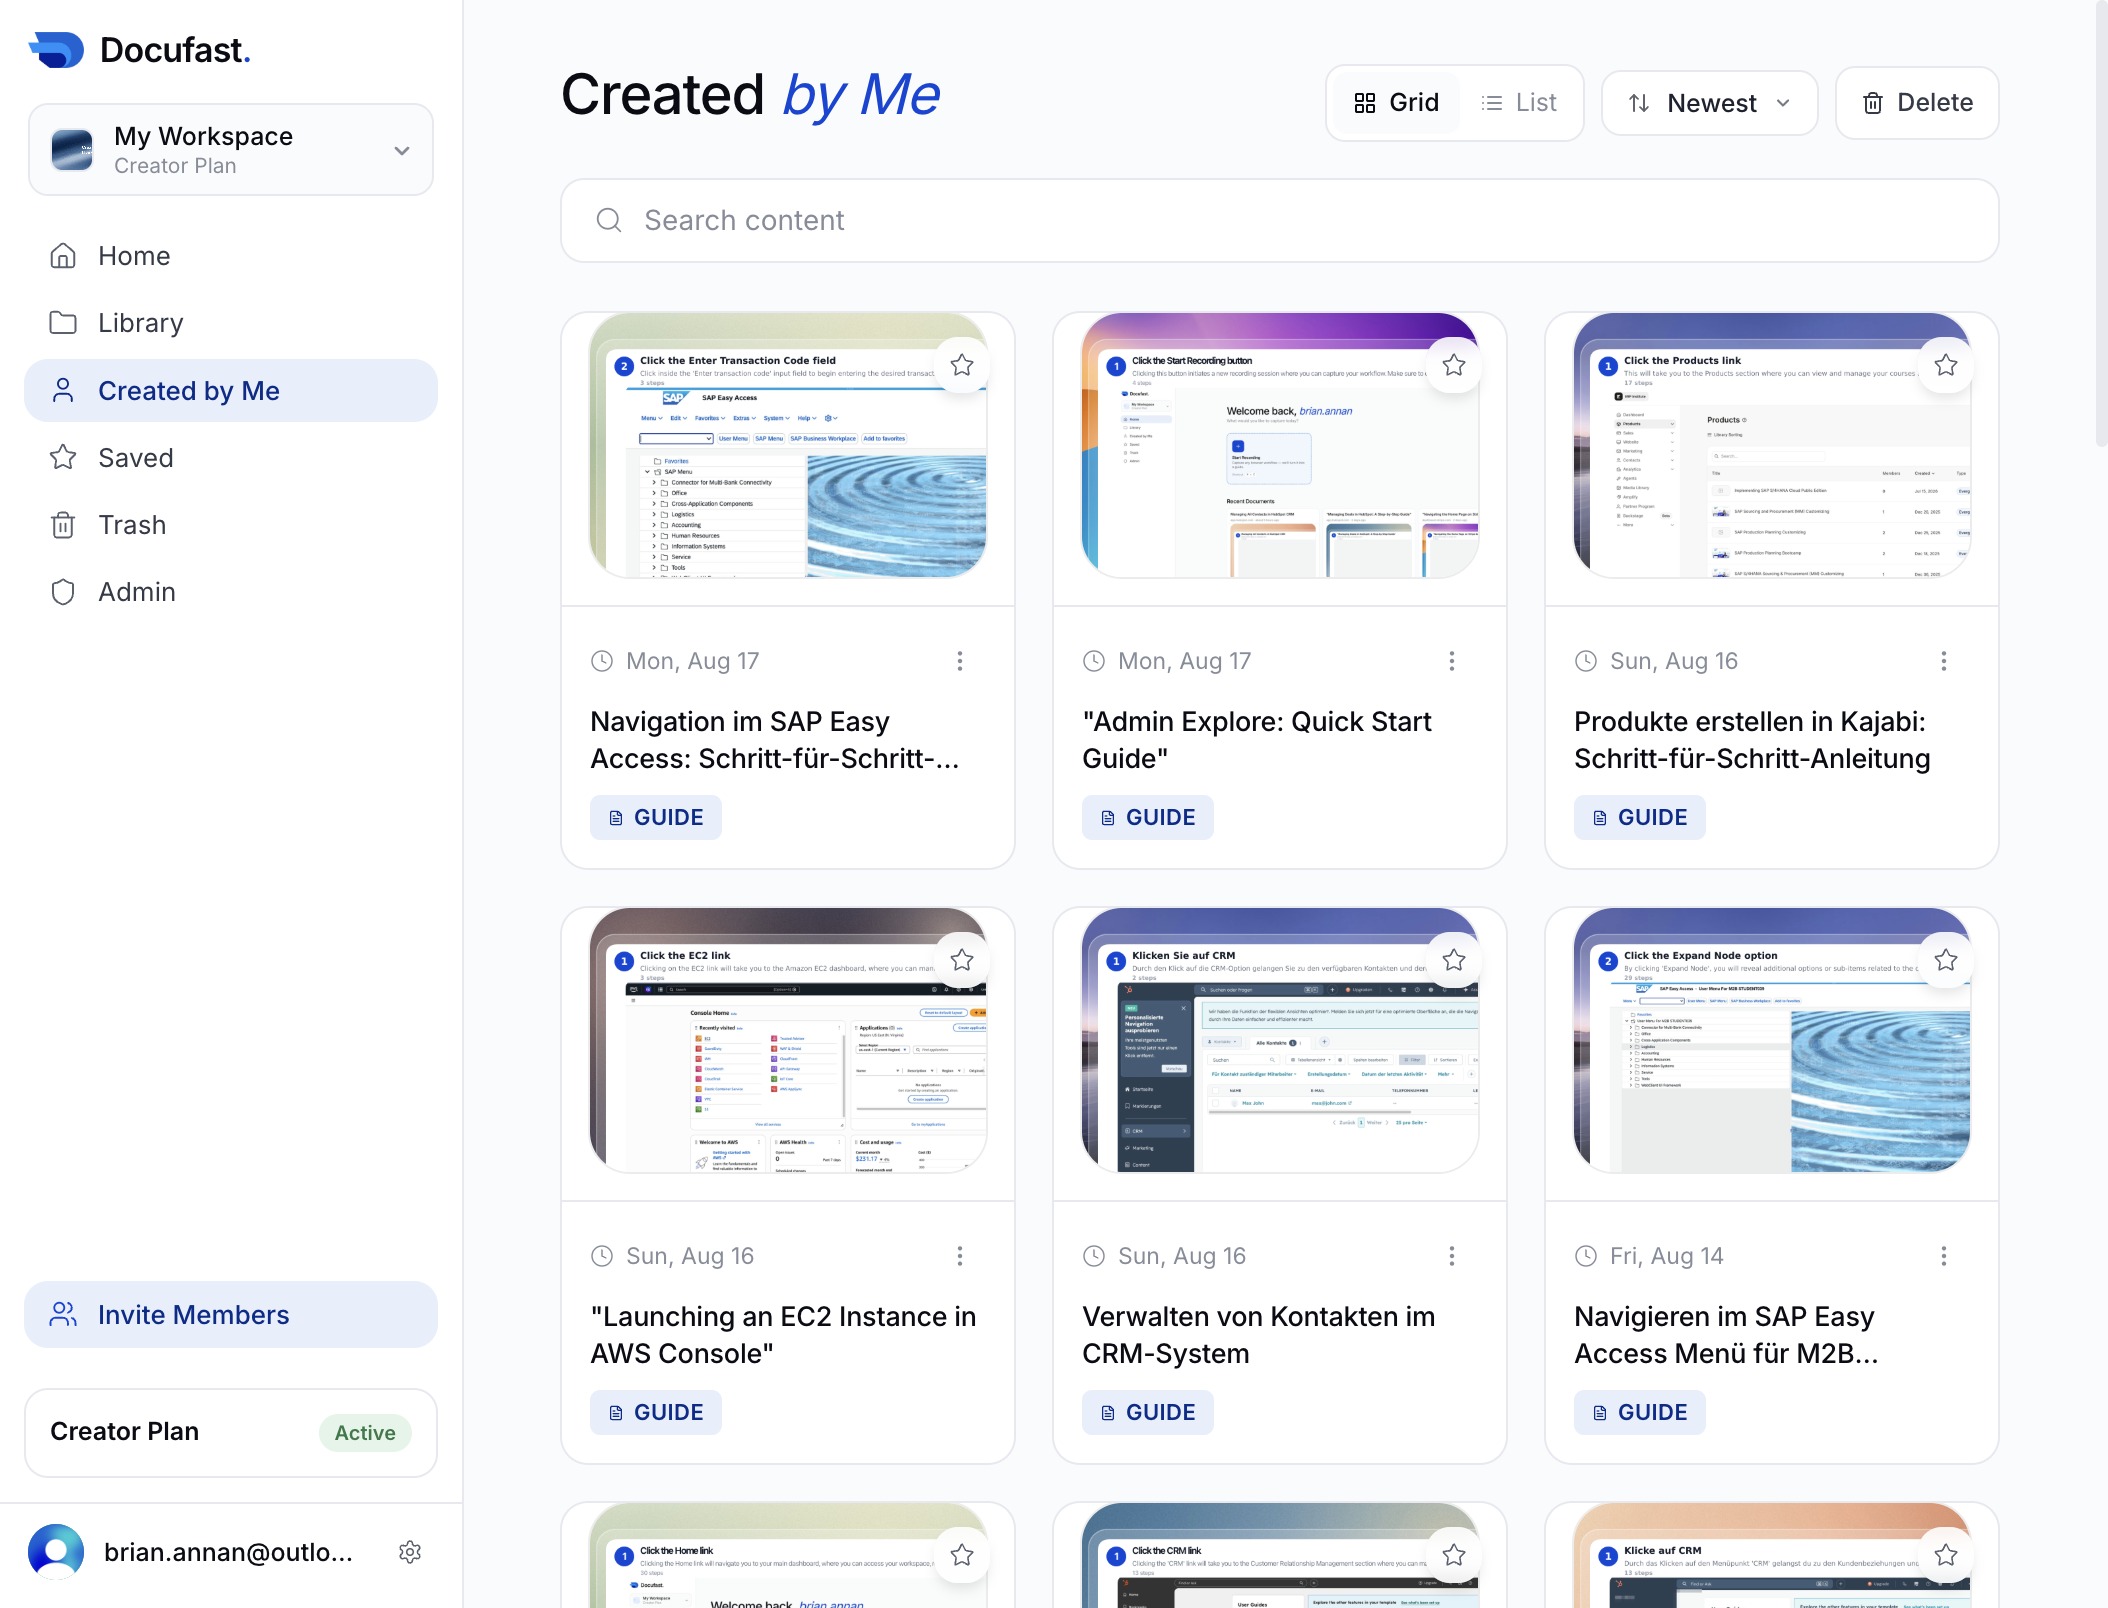
Clicking 'Saved' will display all your saved documents and resources, allowing you to easily access and manage your saved content.
This action opens your Saved items, allowing you to access documents and content you've saved for easy retrieval.
This action takes you to your Saved items, where you can view all documents you've saved for quick access.
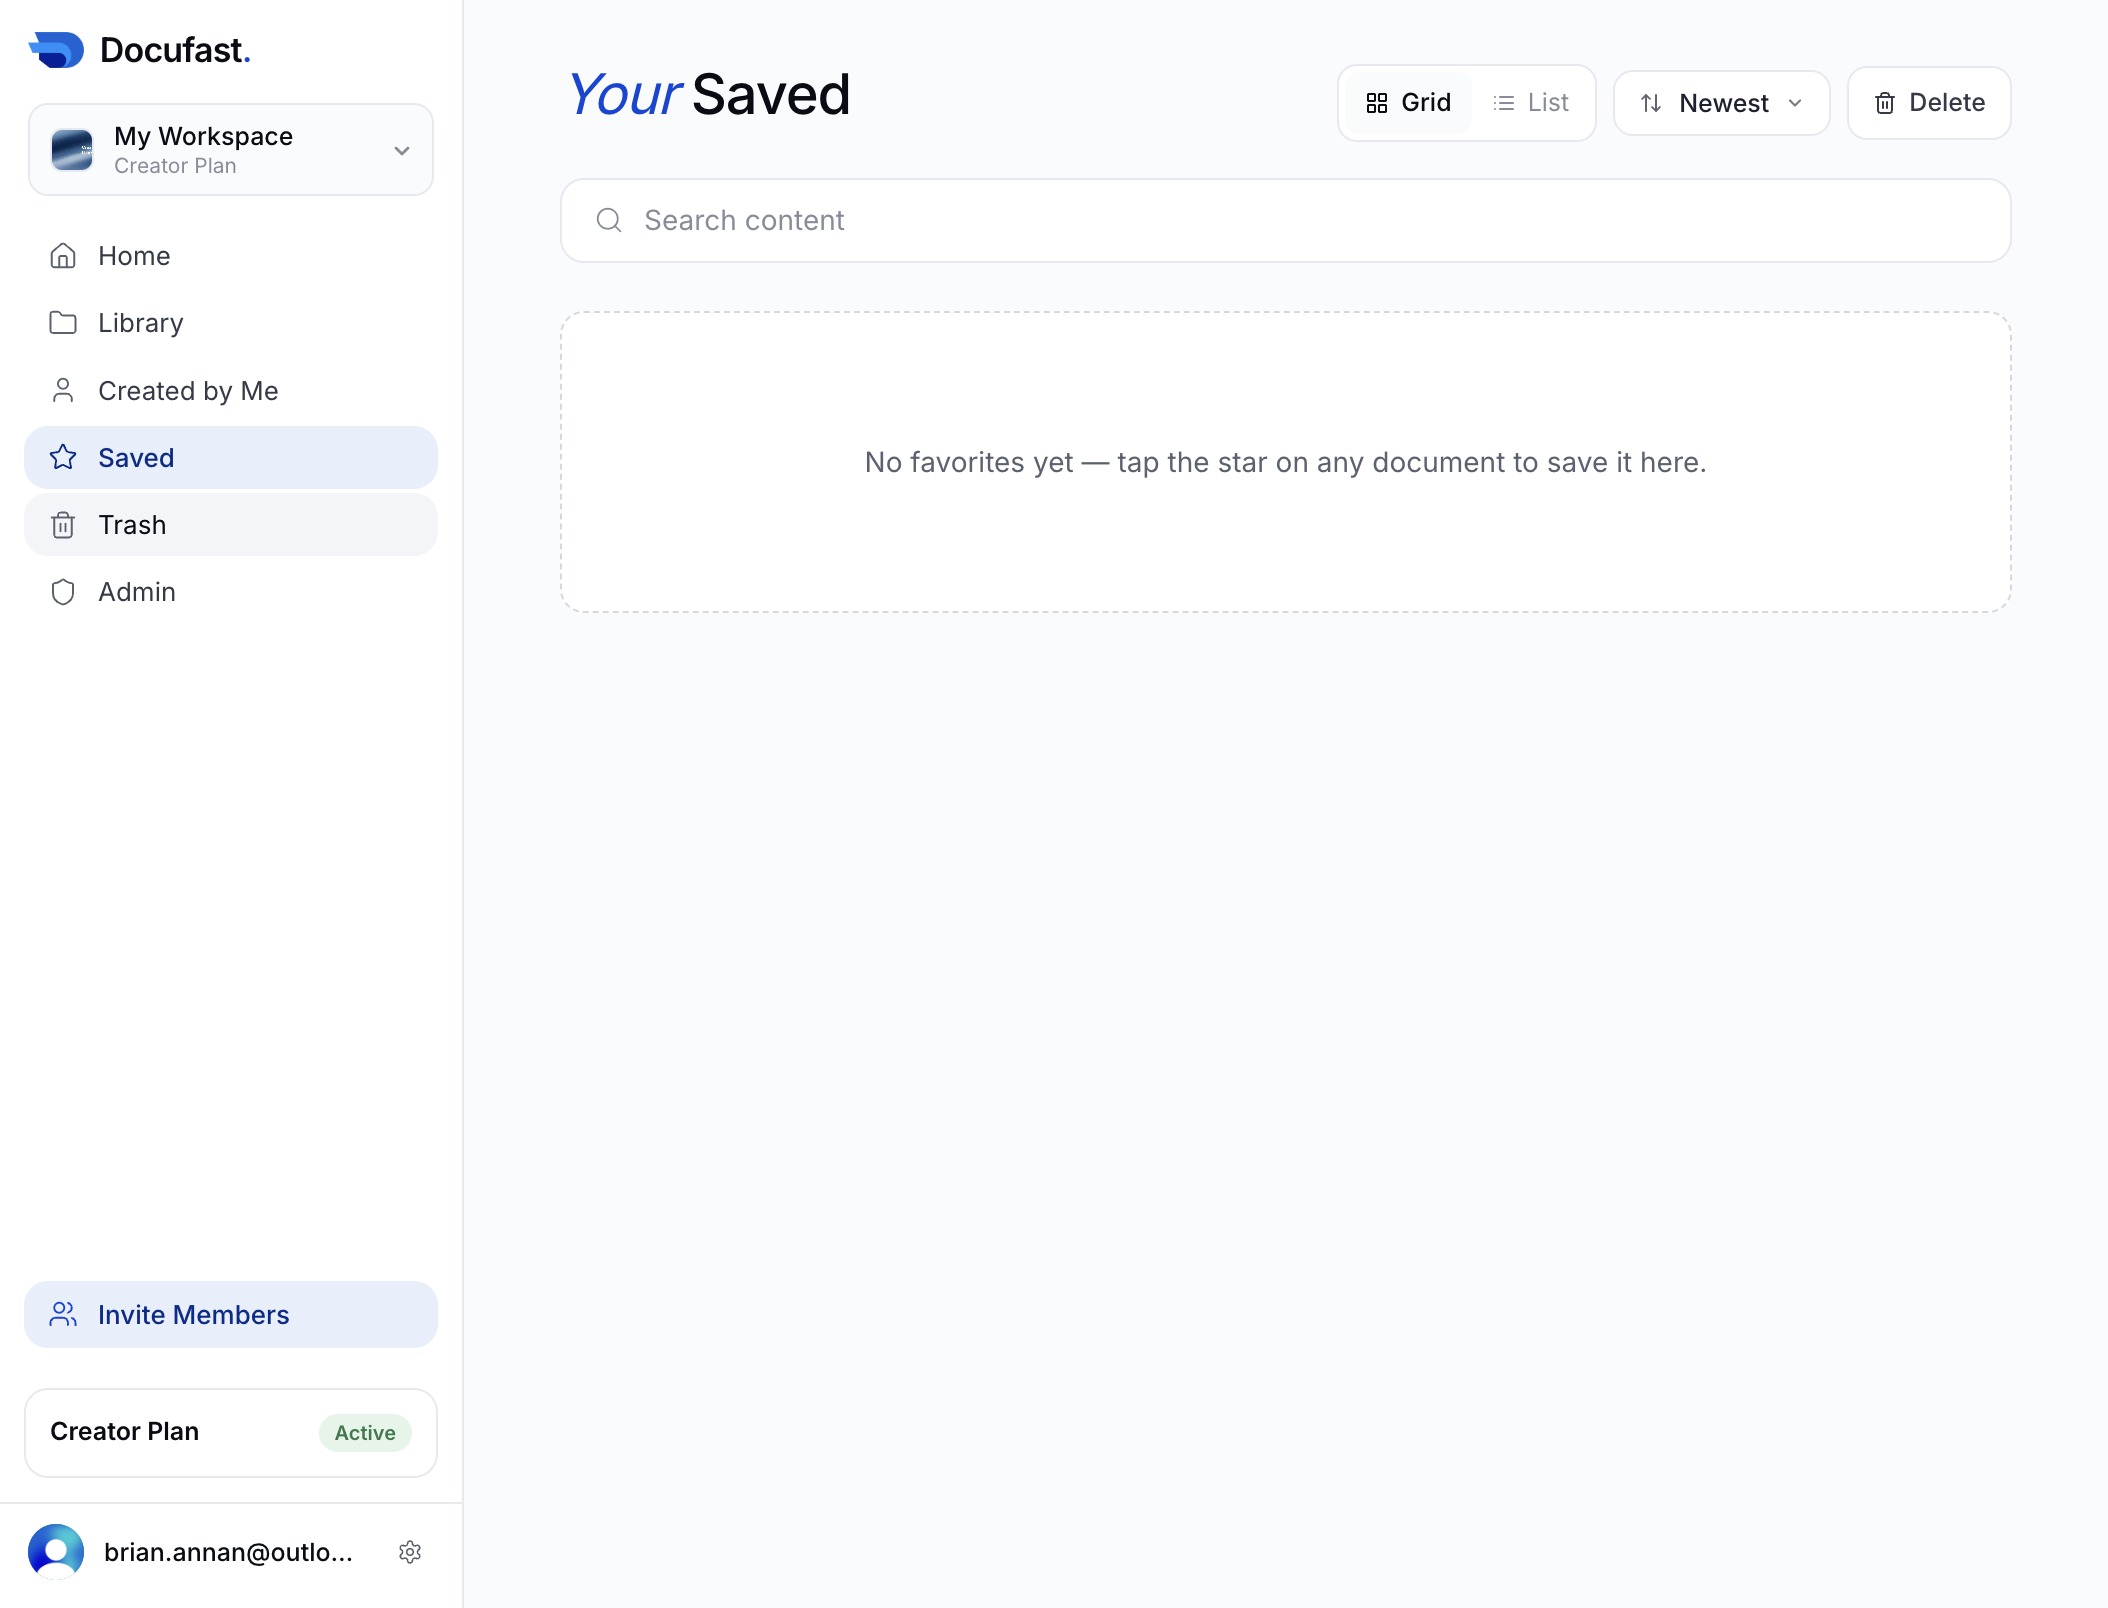
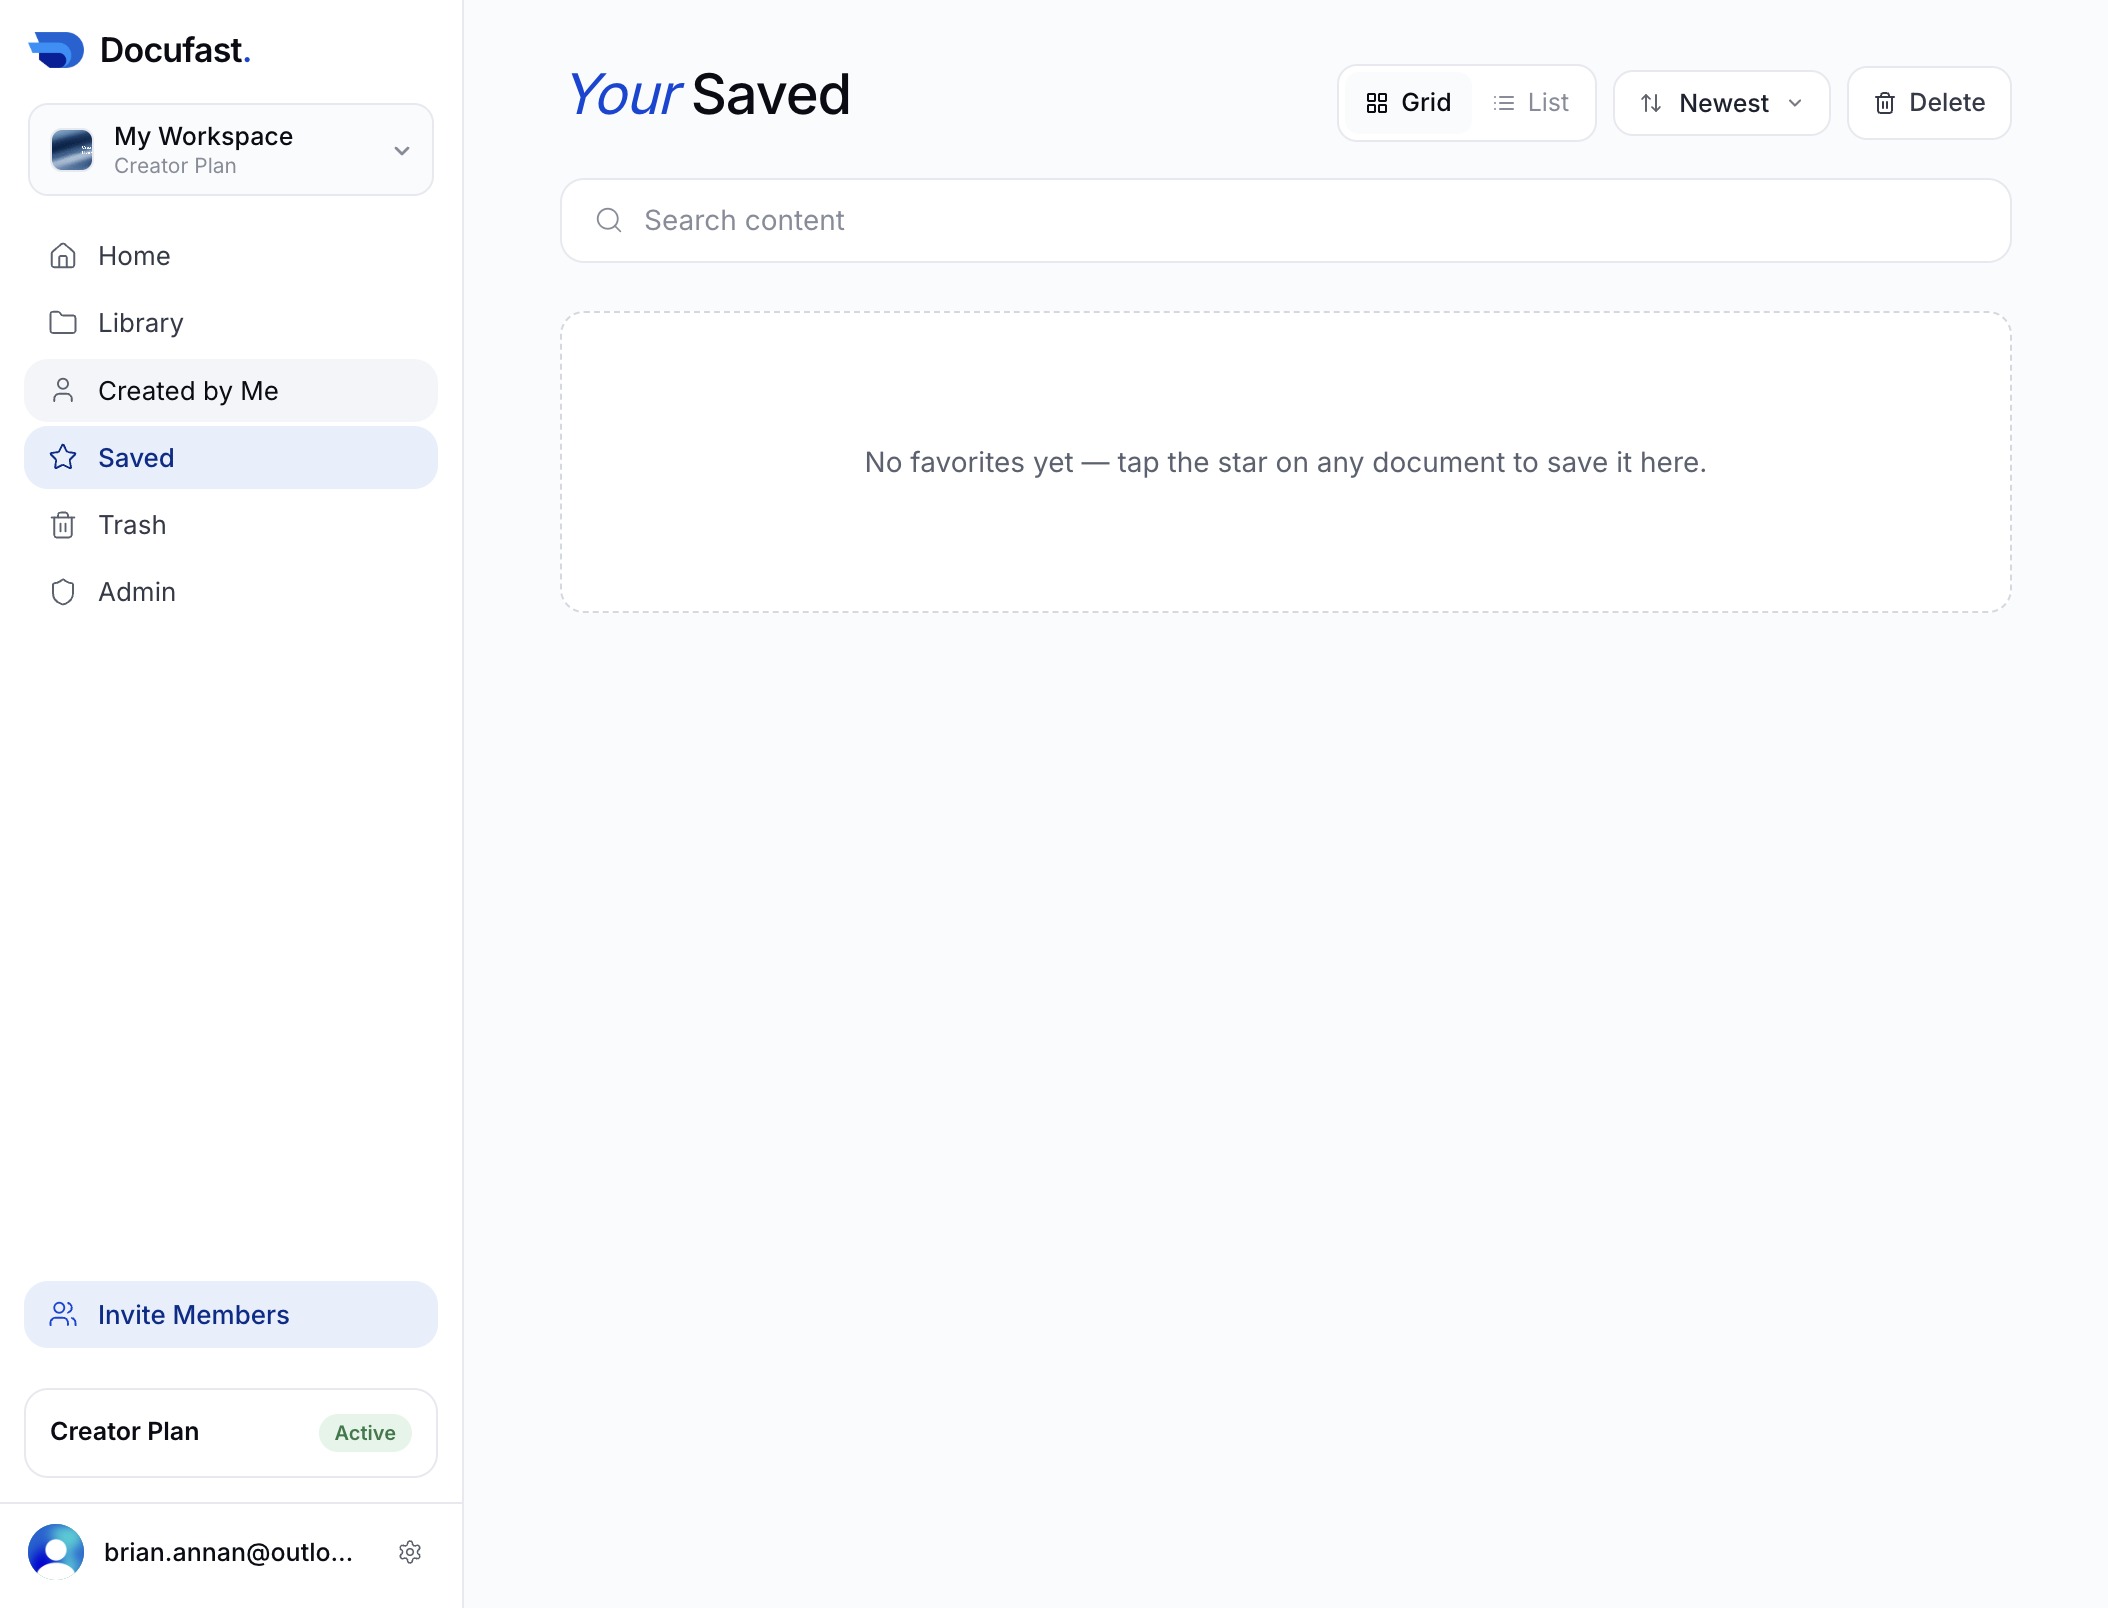
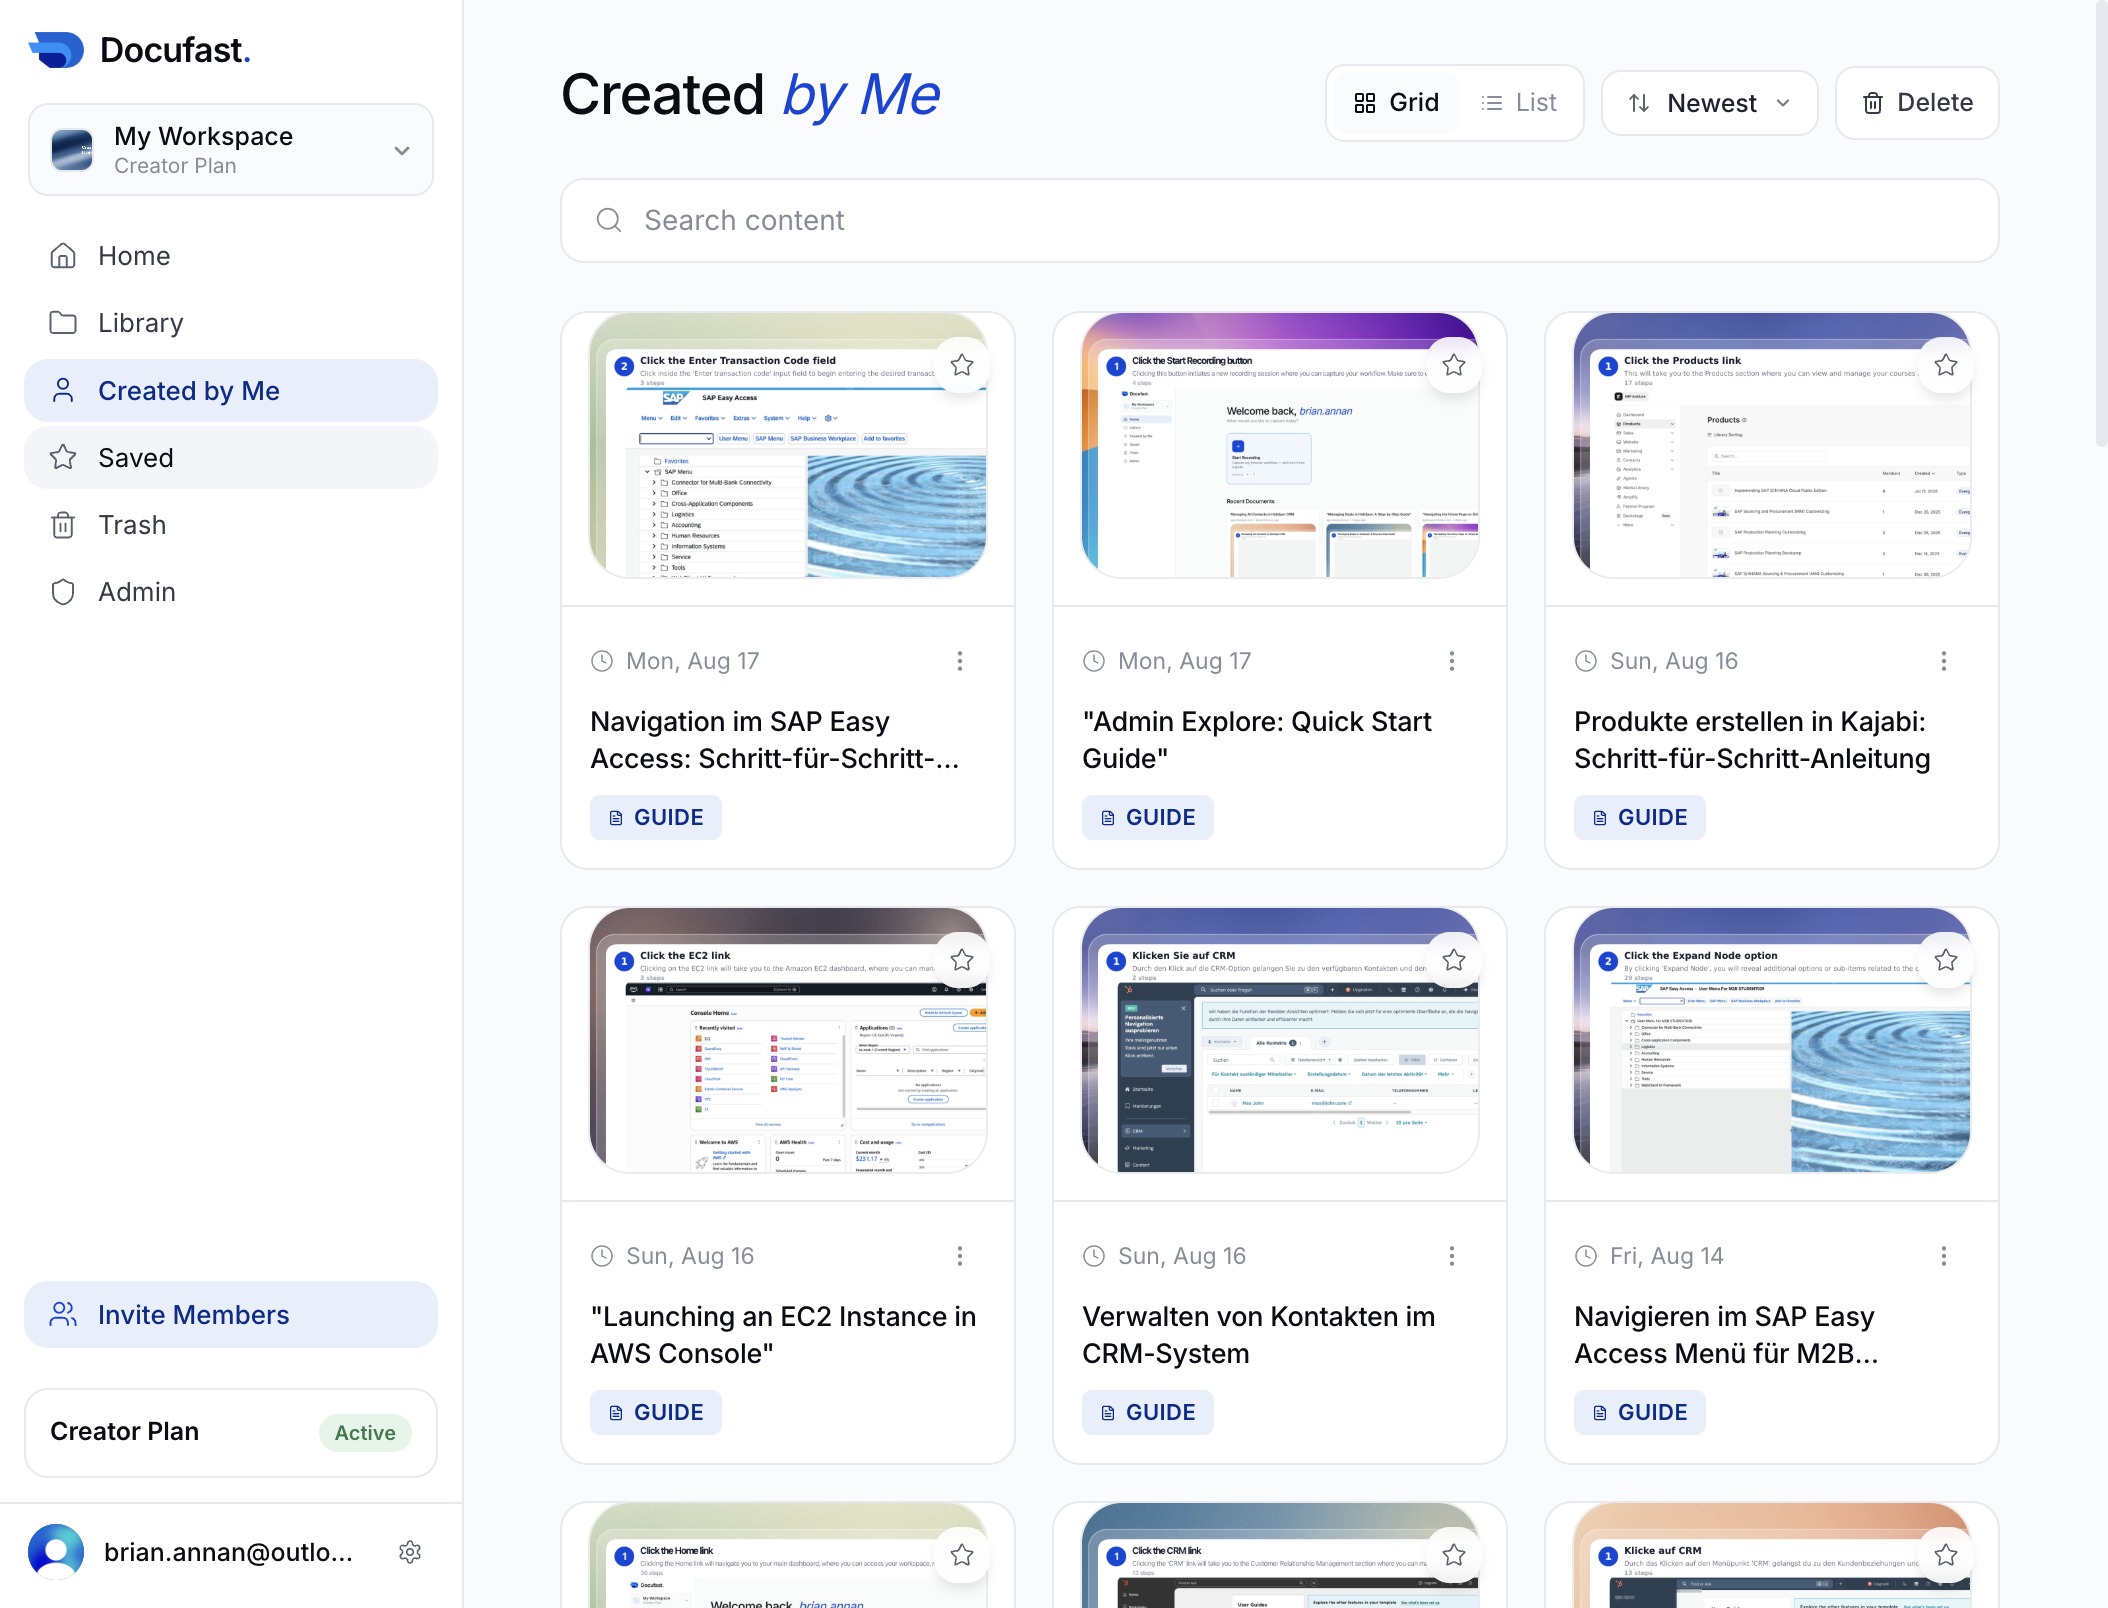
This action opens your Saved documents where you can view and manage your favorites. If no documents are saved yet, you can add favorites by tapping the star icon next to any document.
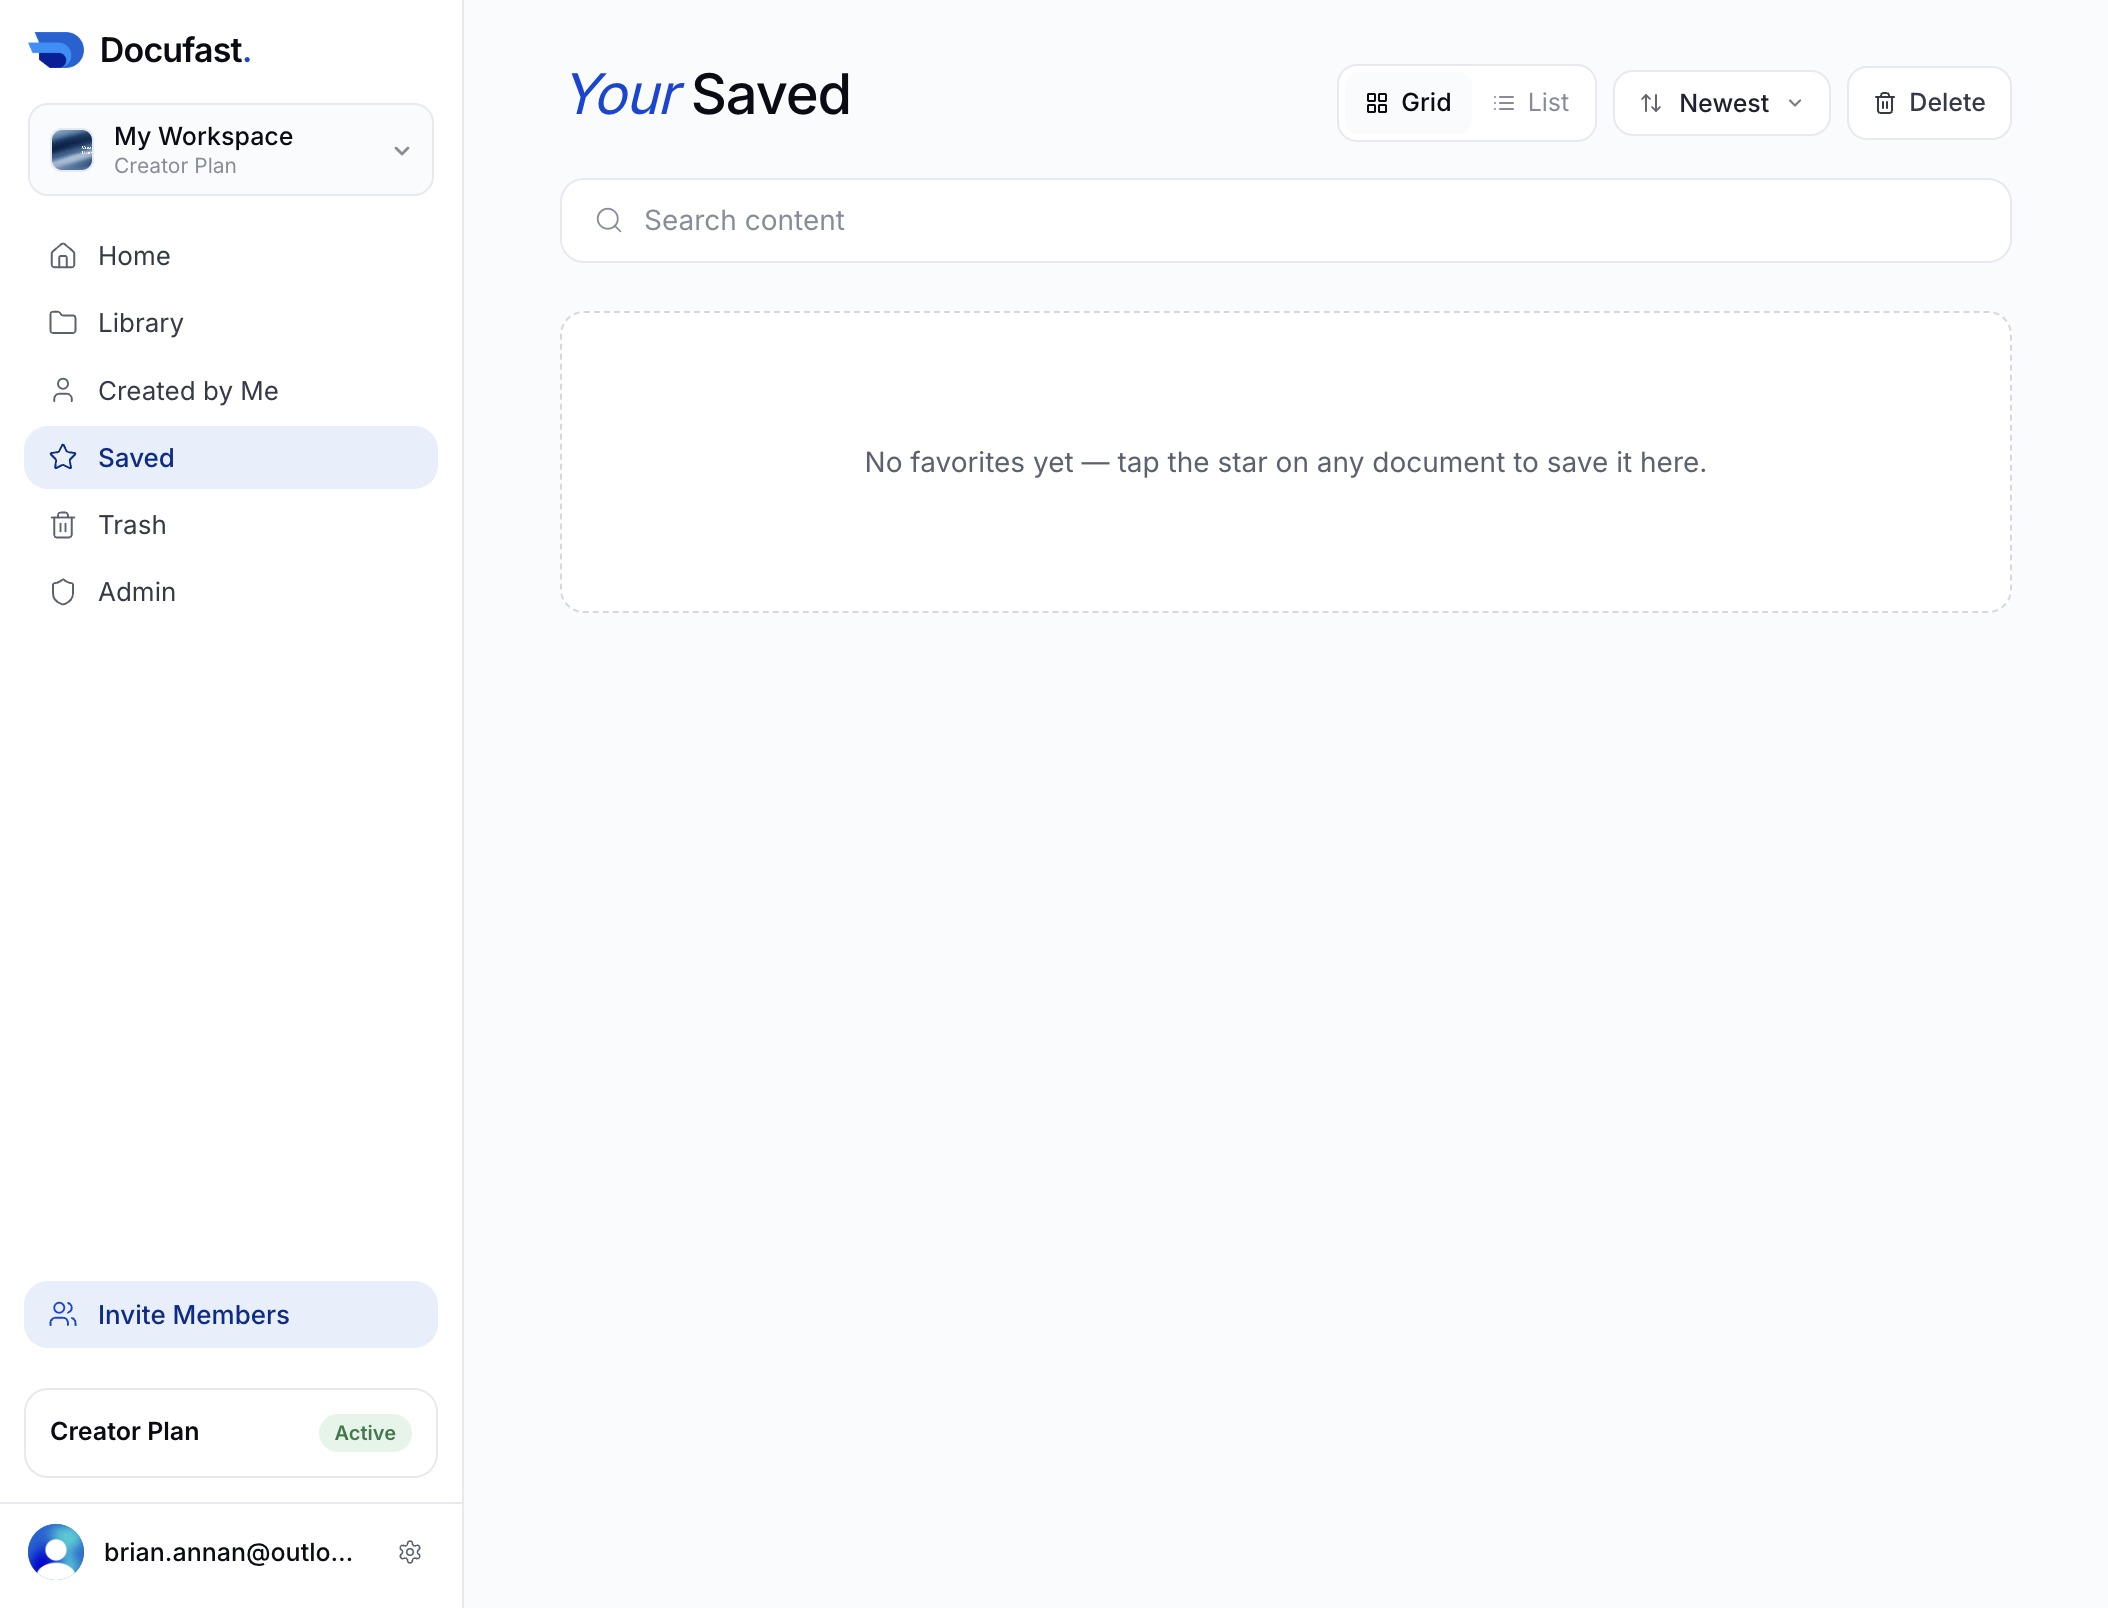
This will display all your saved documents, allowing you to easily access your favorites. If you have not saved any documents yet, you will see instructions on how to save content.
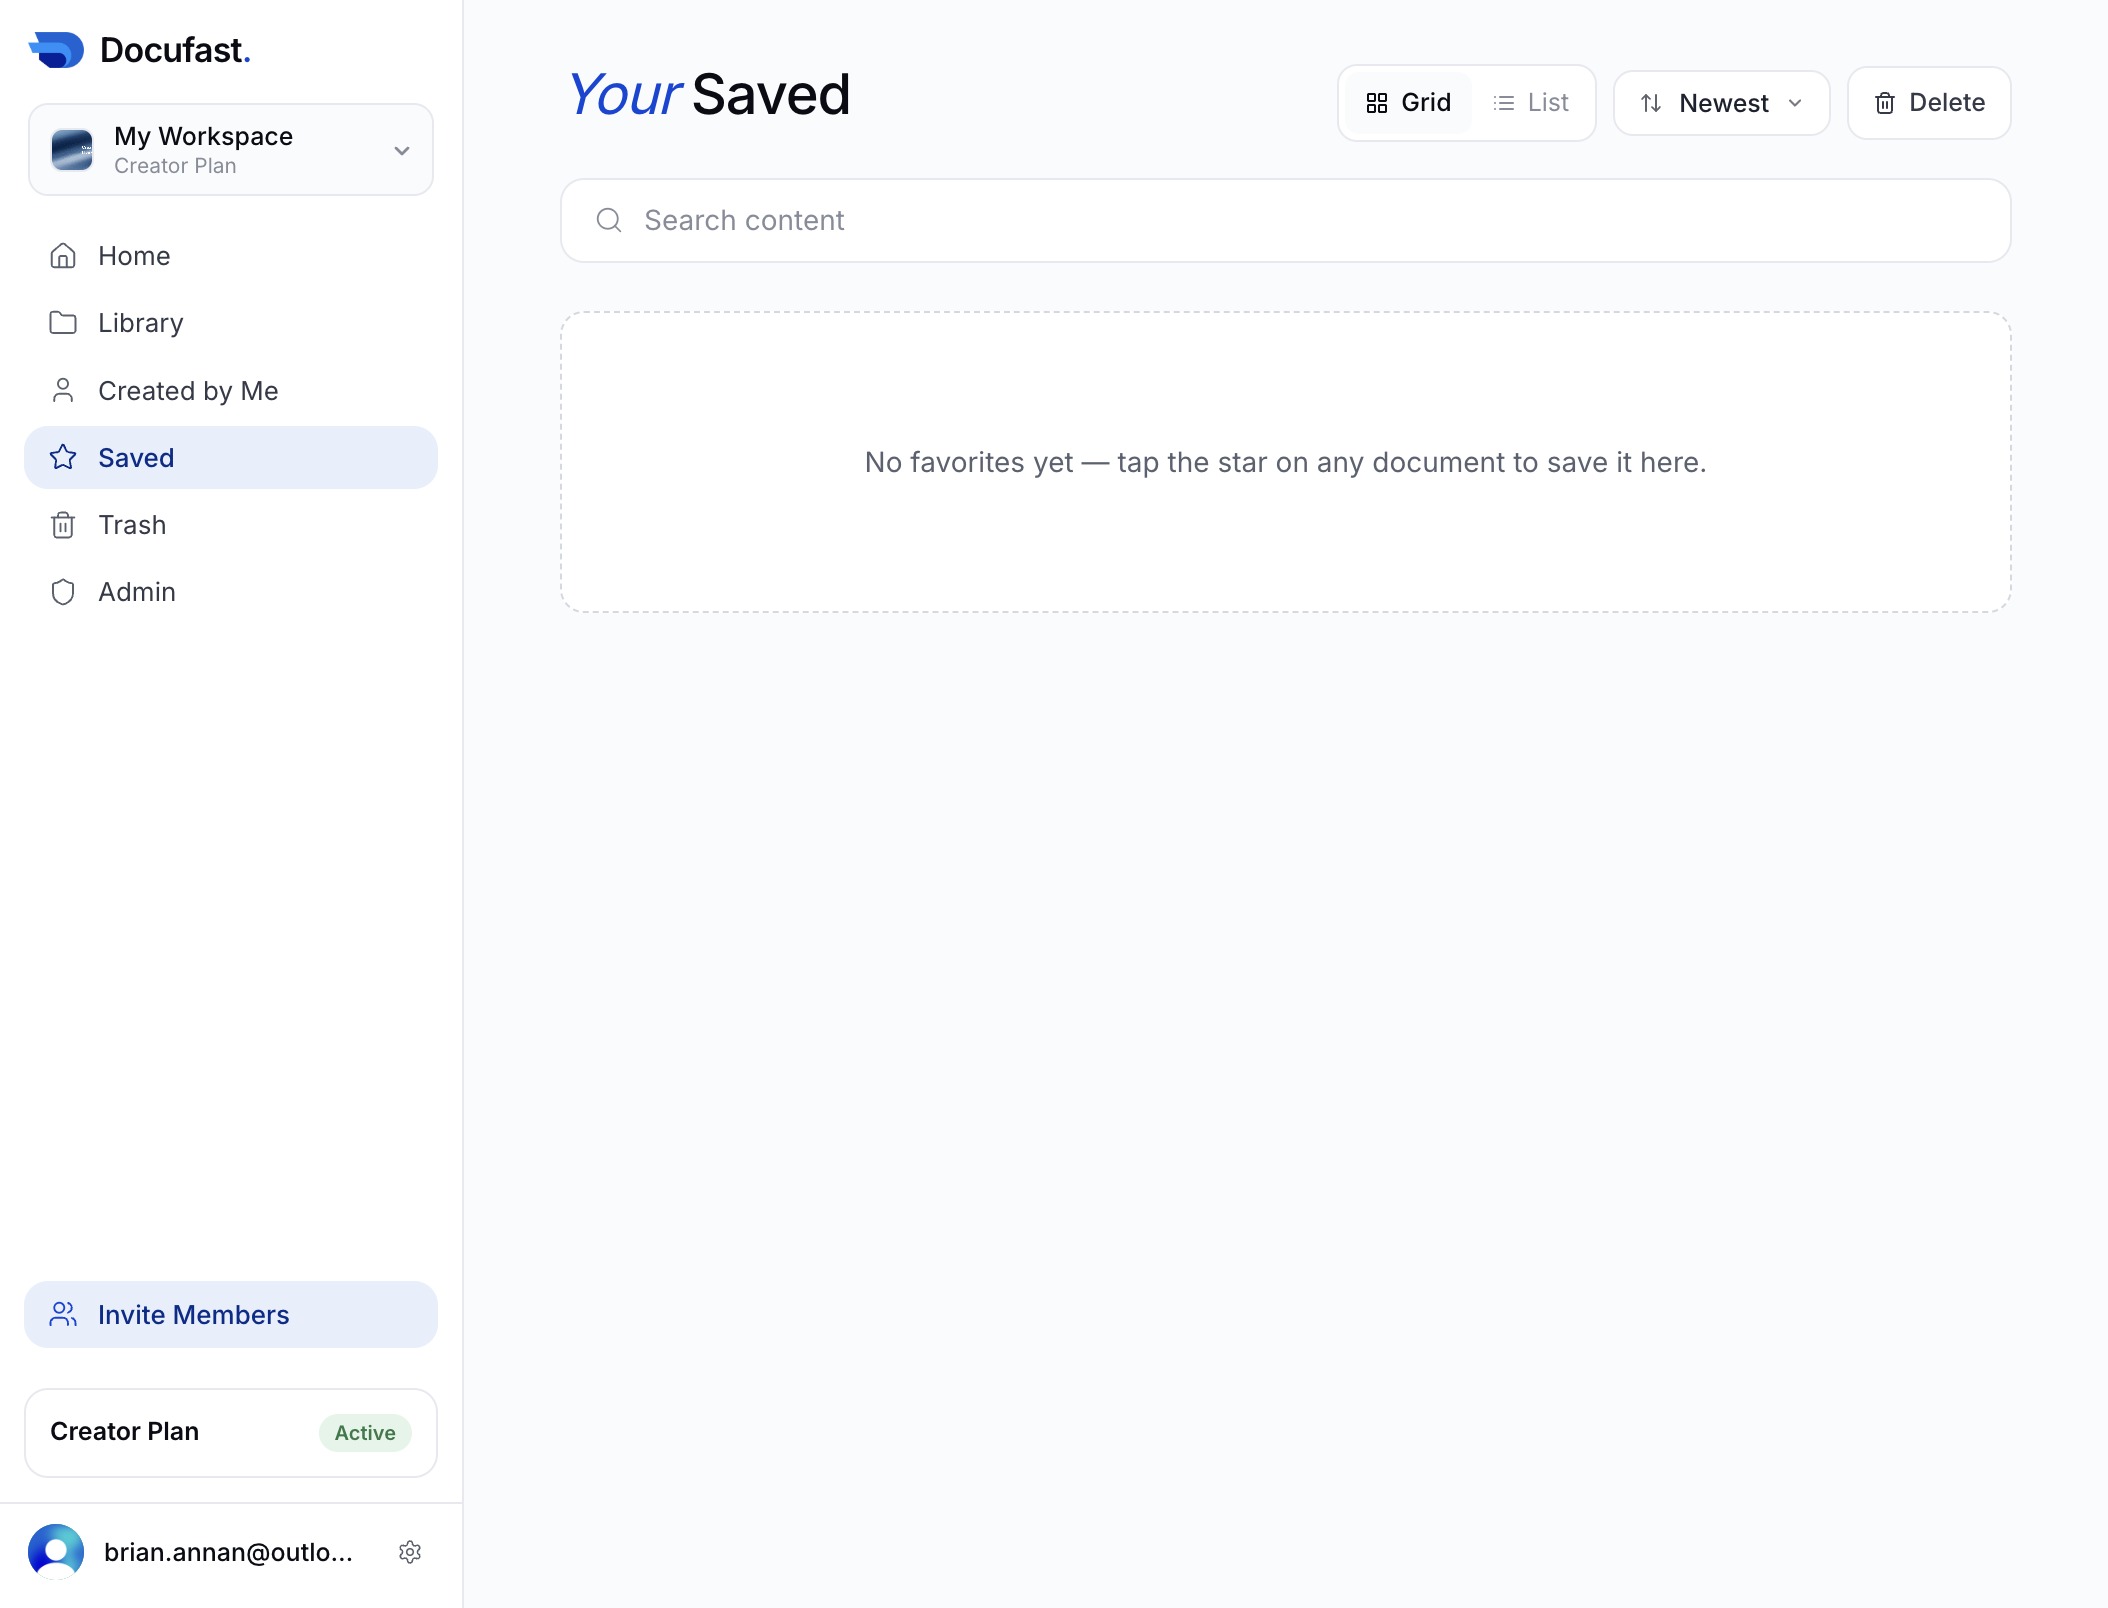
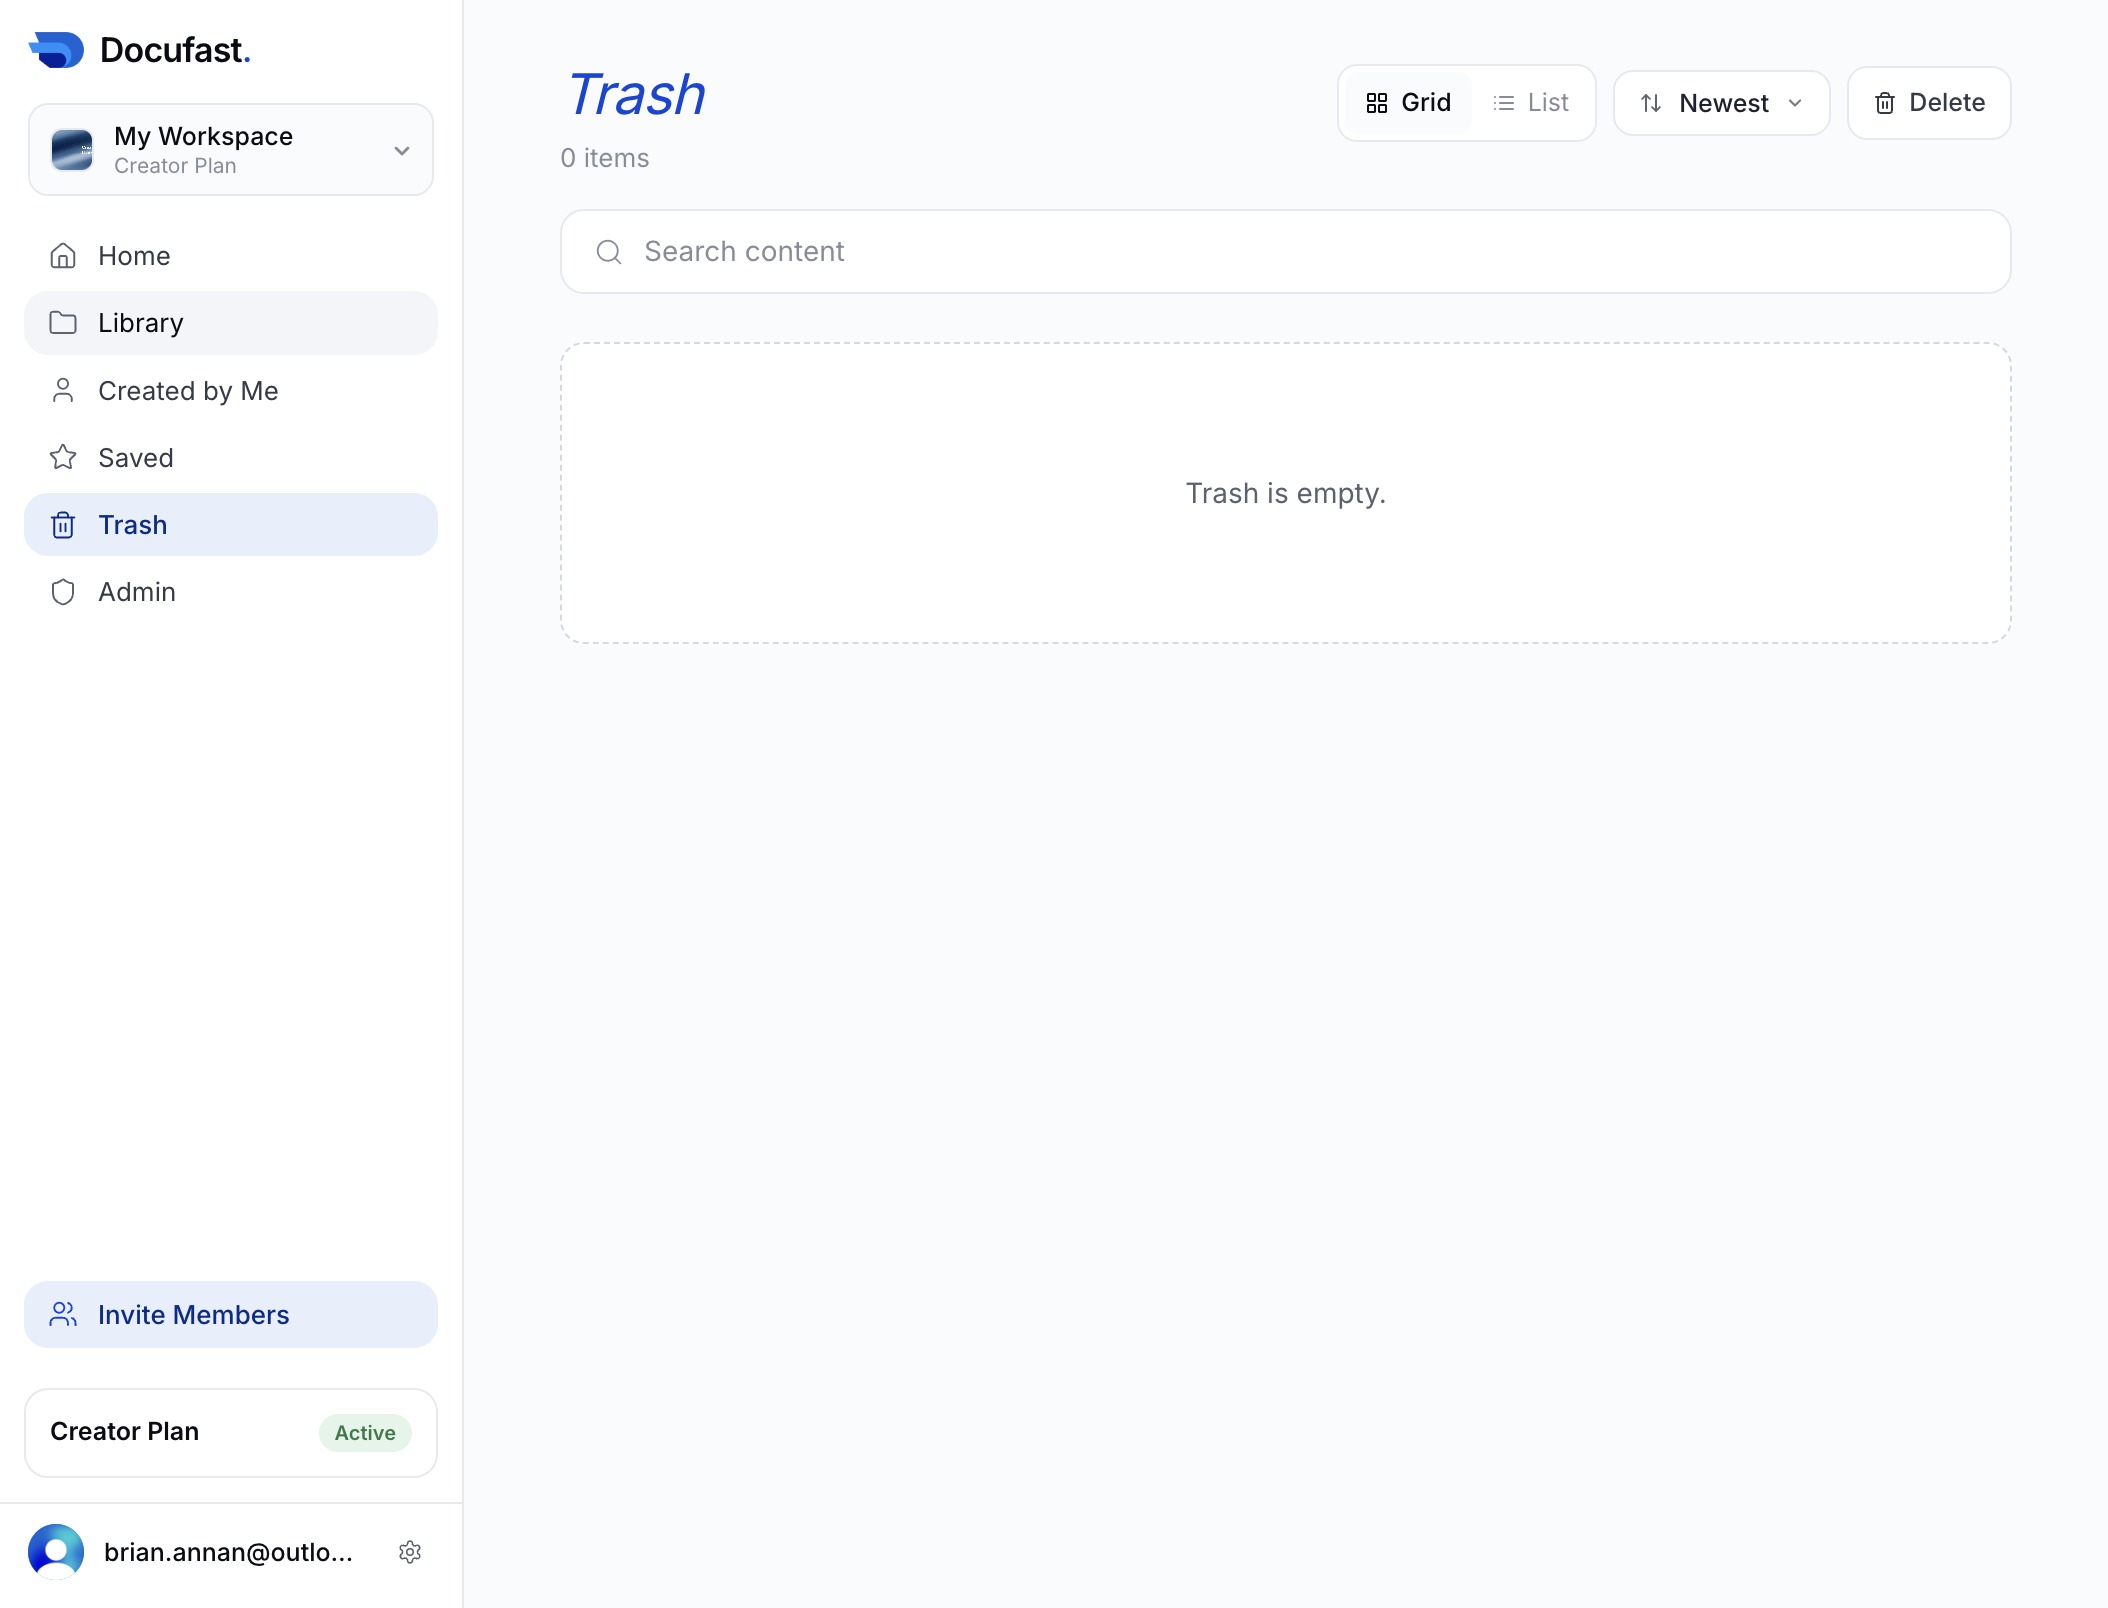
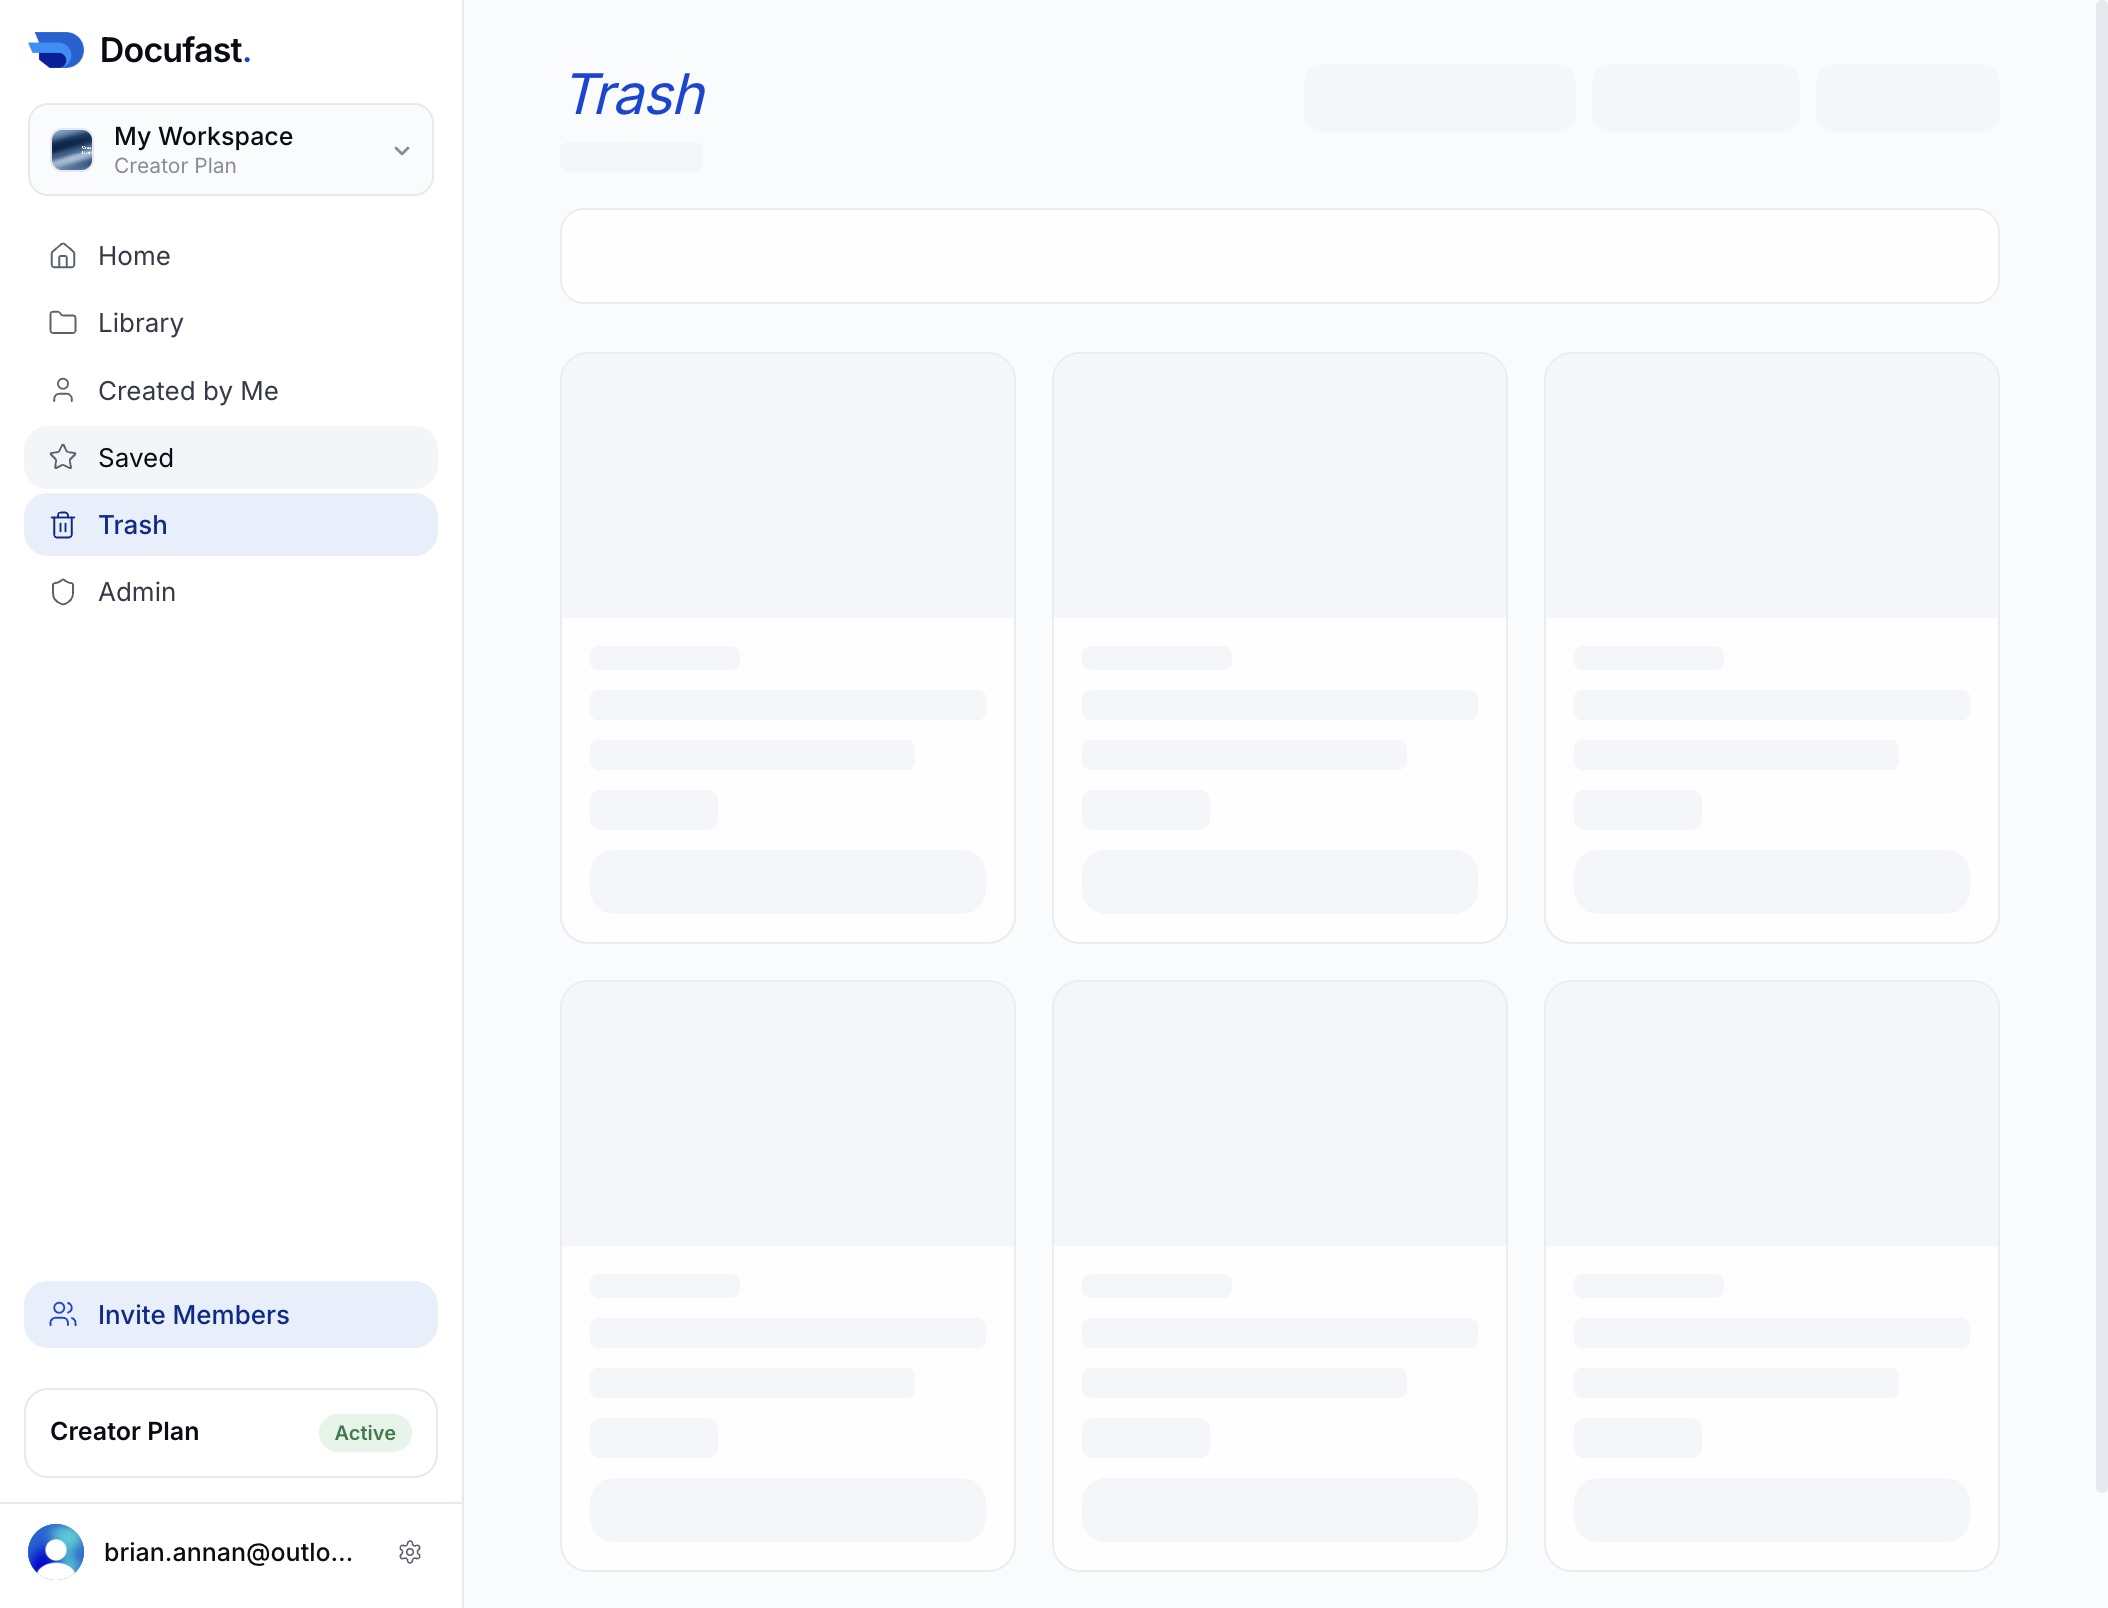
This action will open the Trash section, allowing you to view and manage deleted items within your workspace.
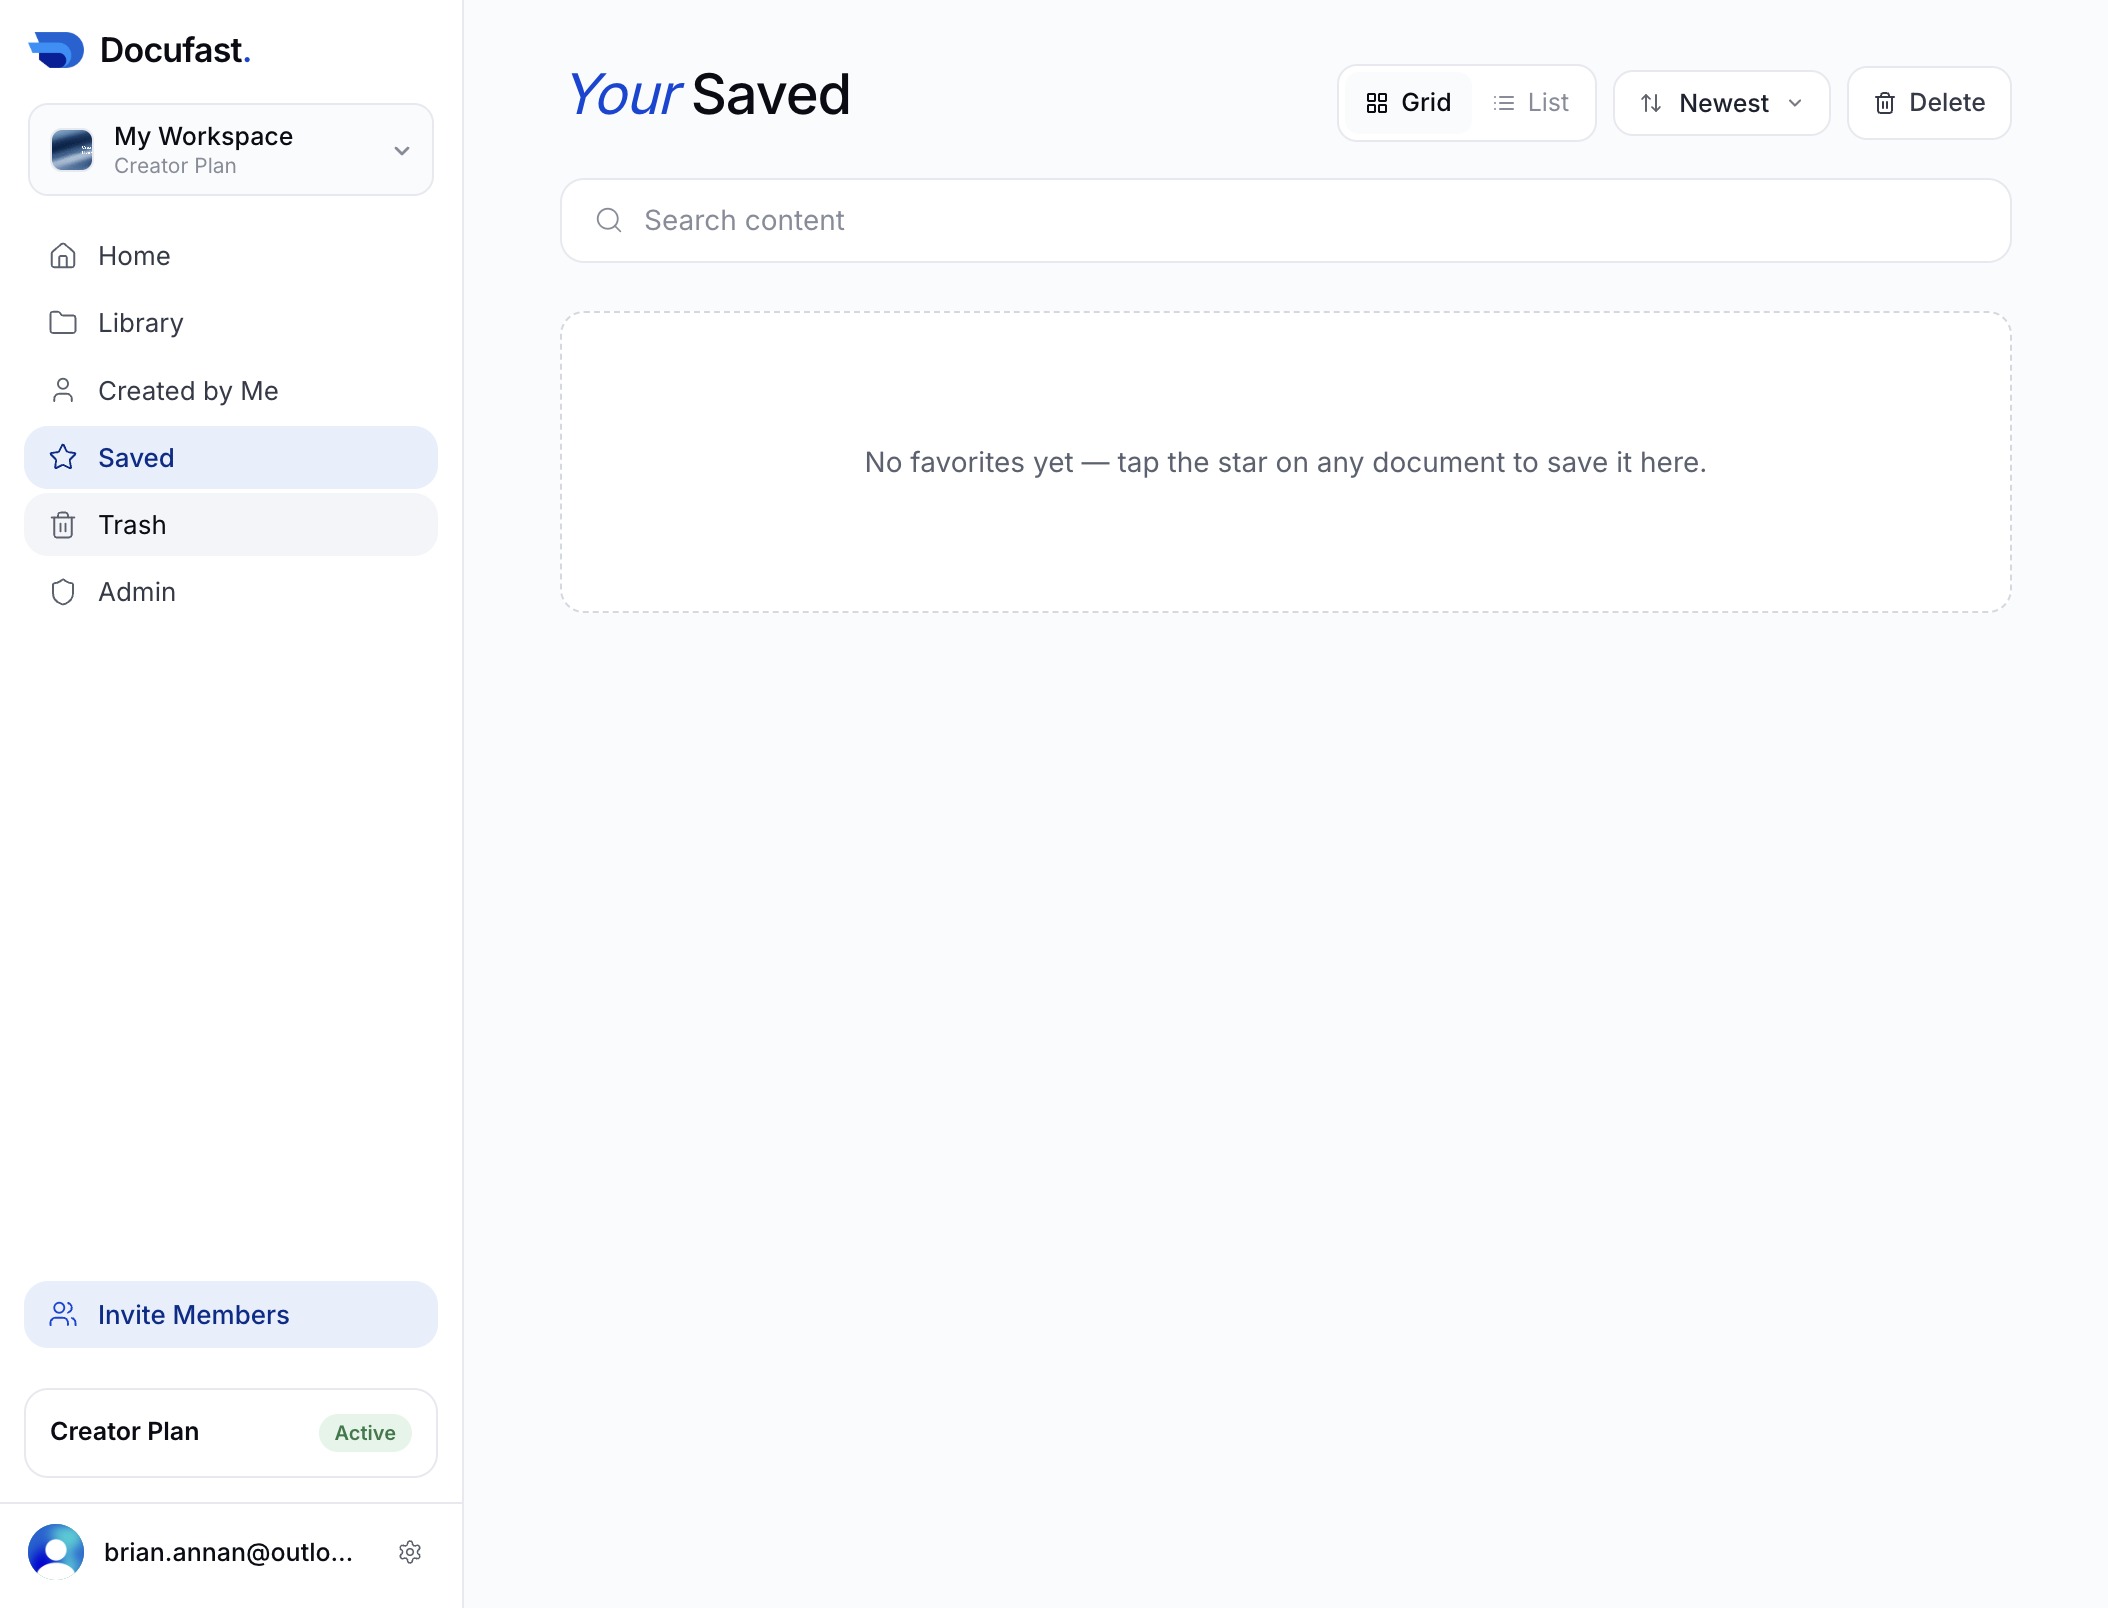
Clicking 'Trash' allows you to view and manage deleted items within your workspace.
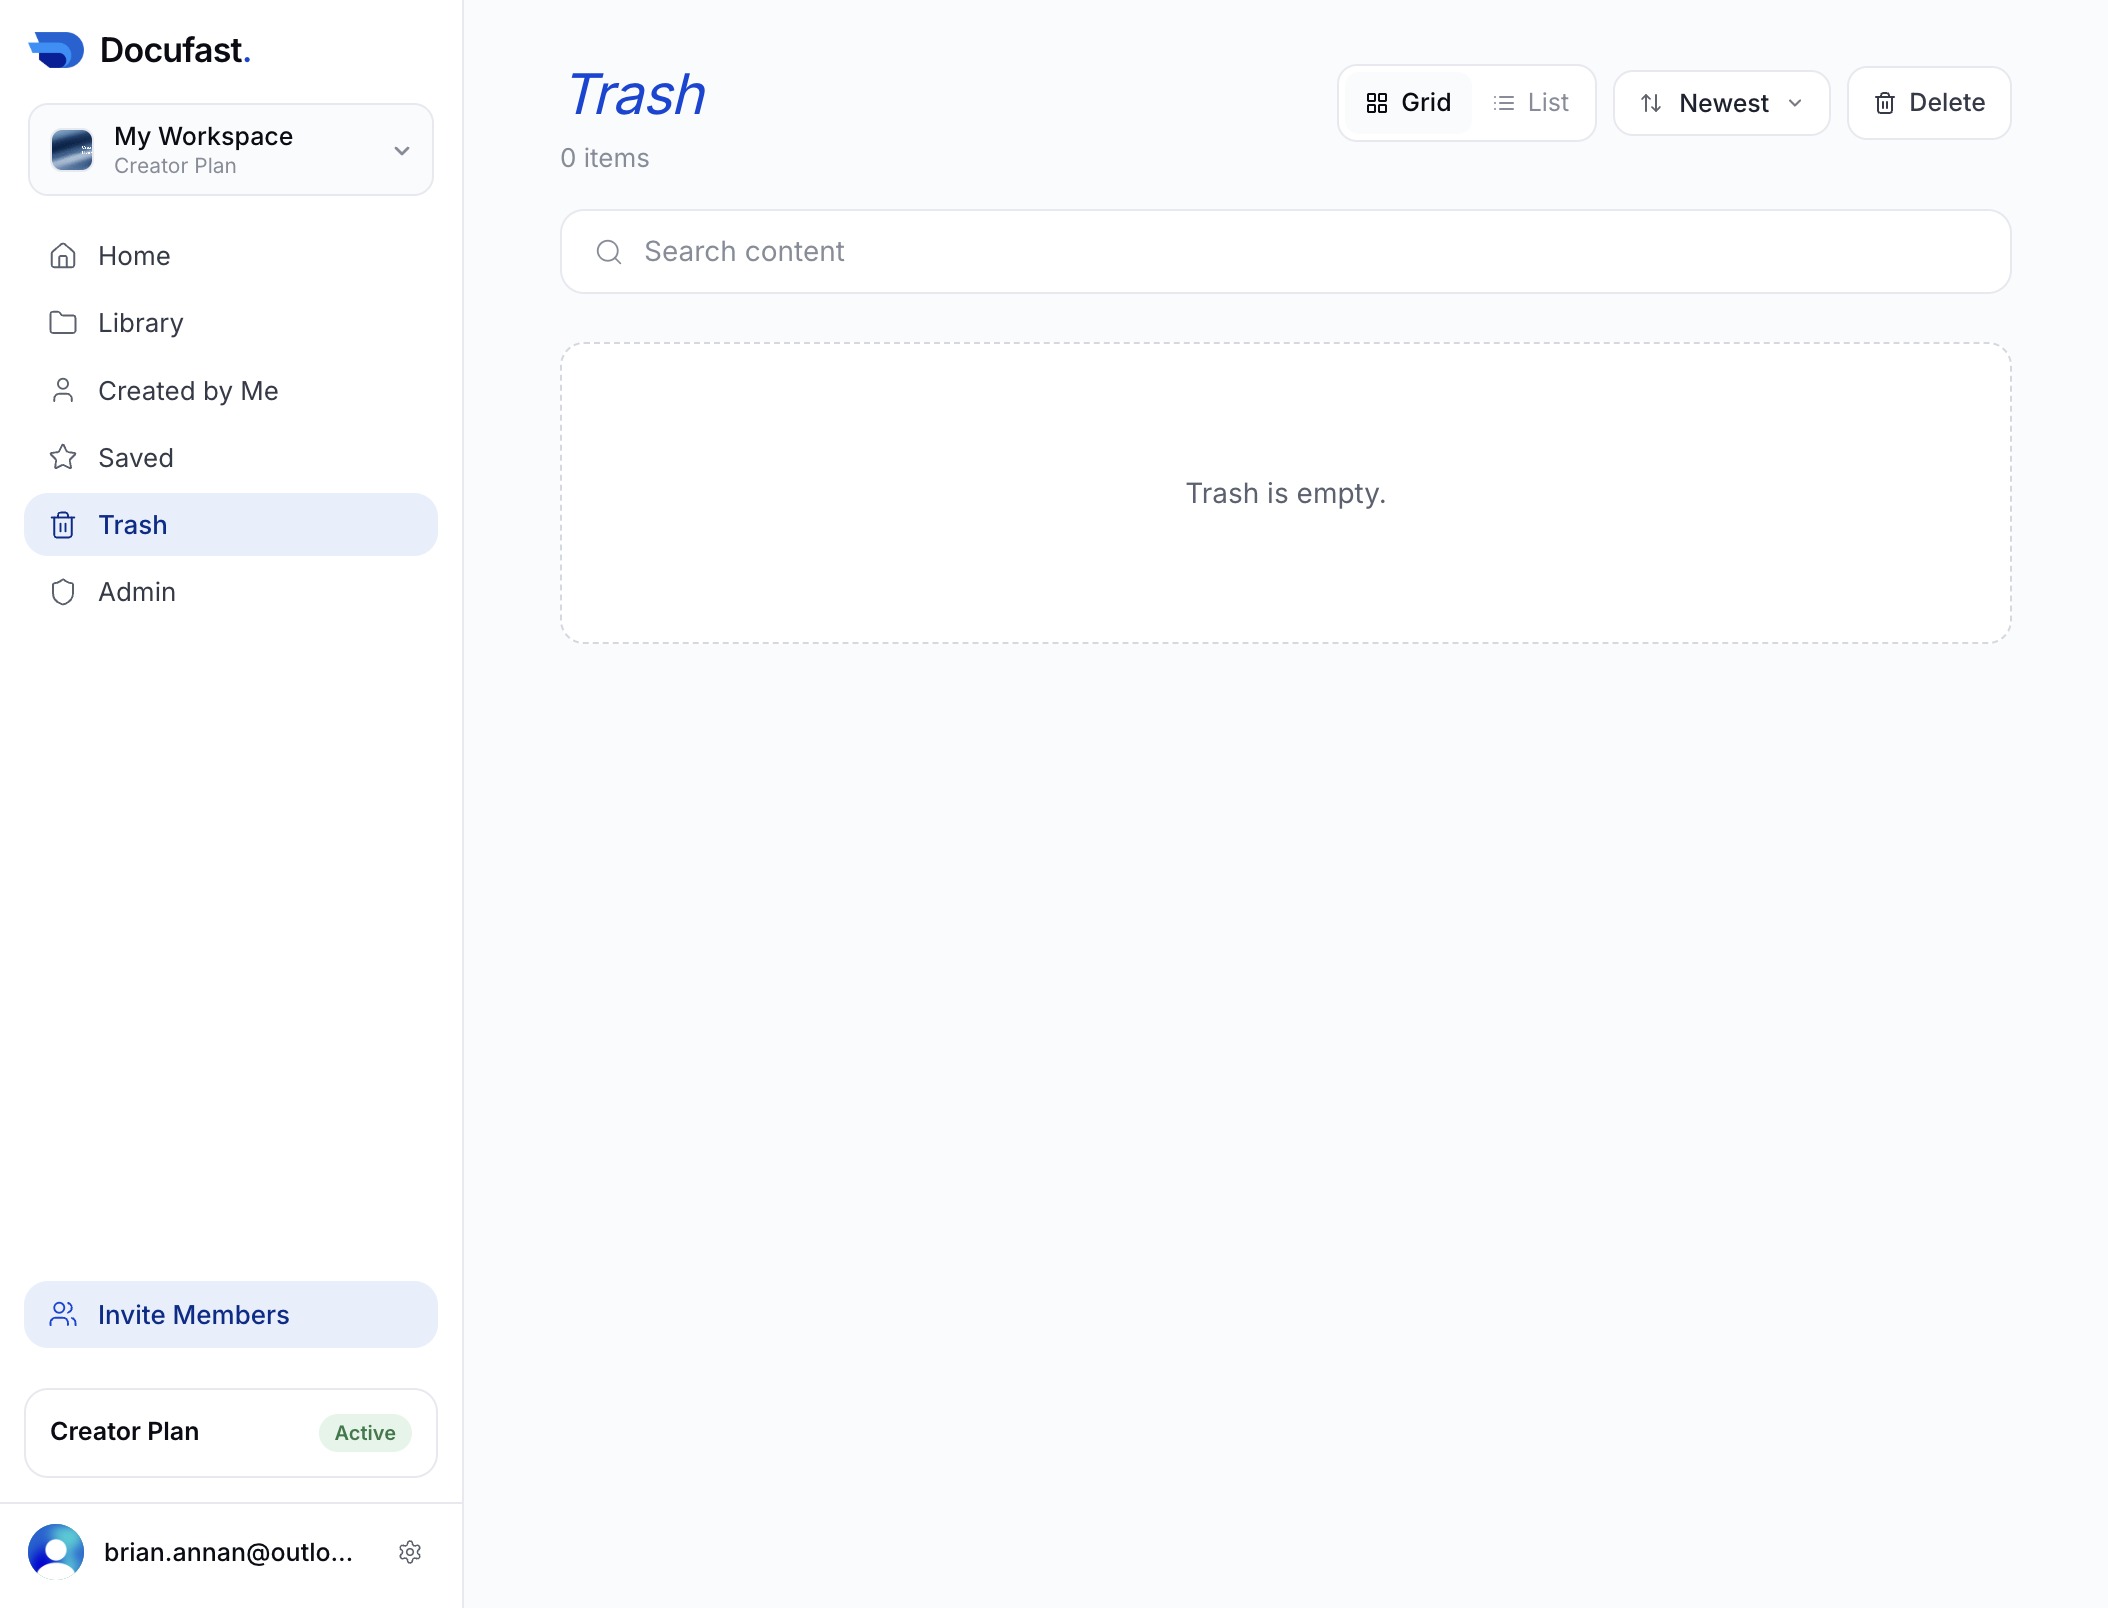
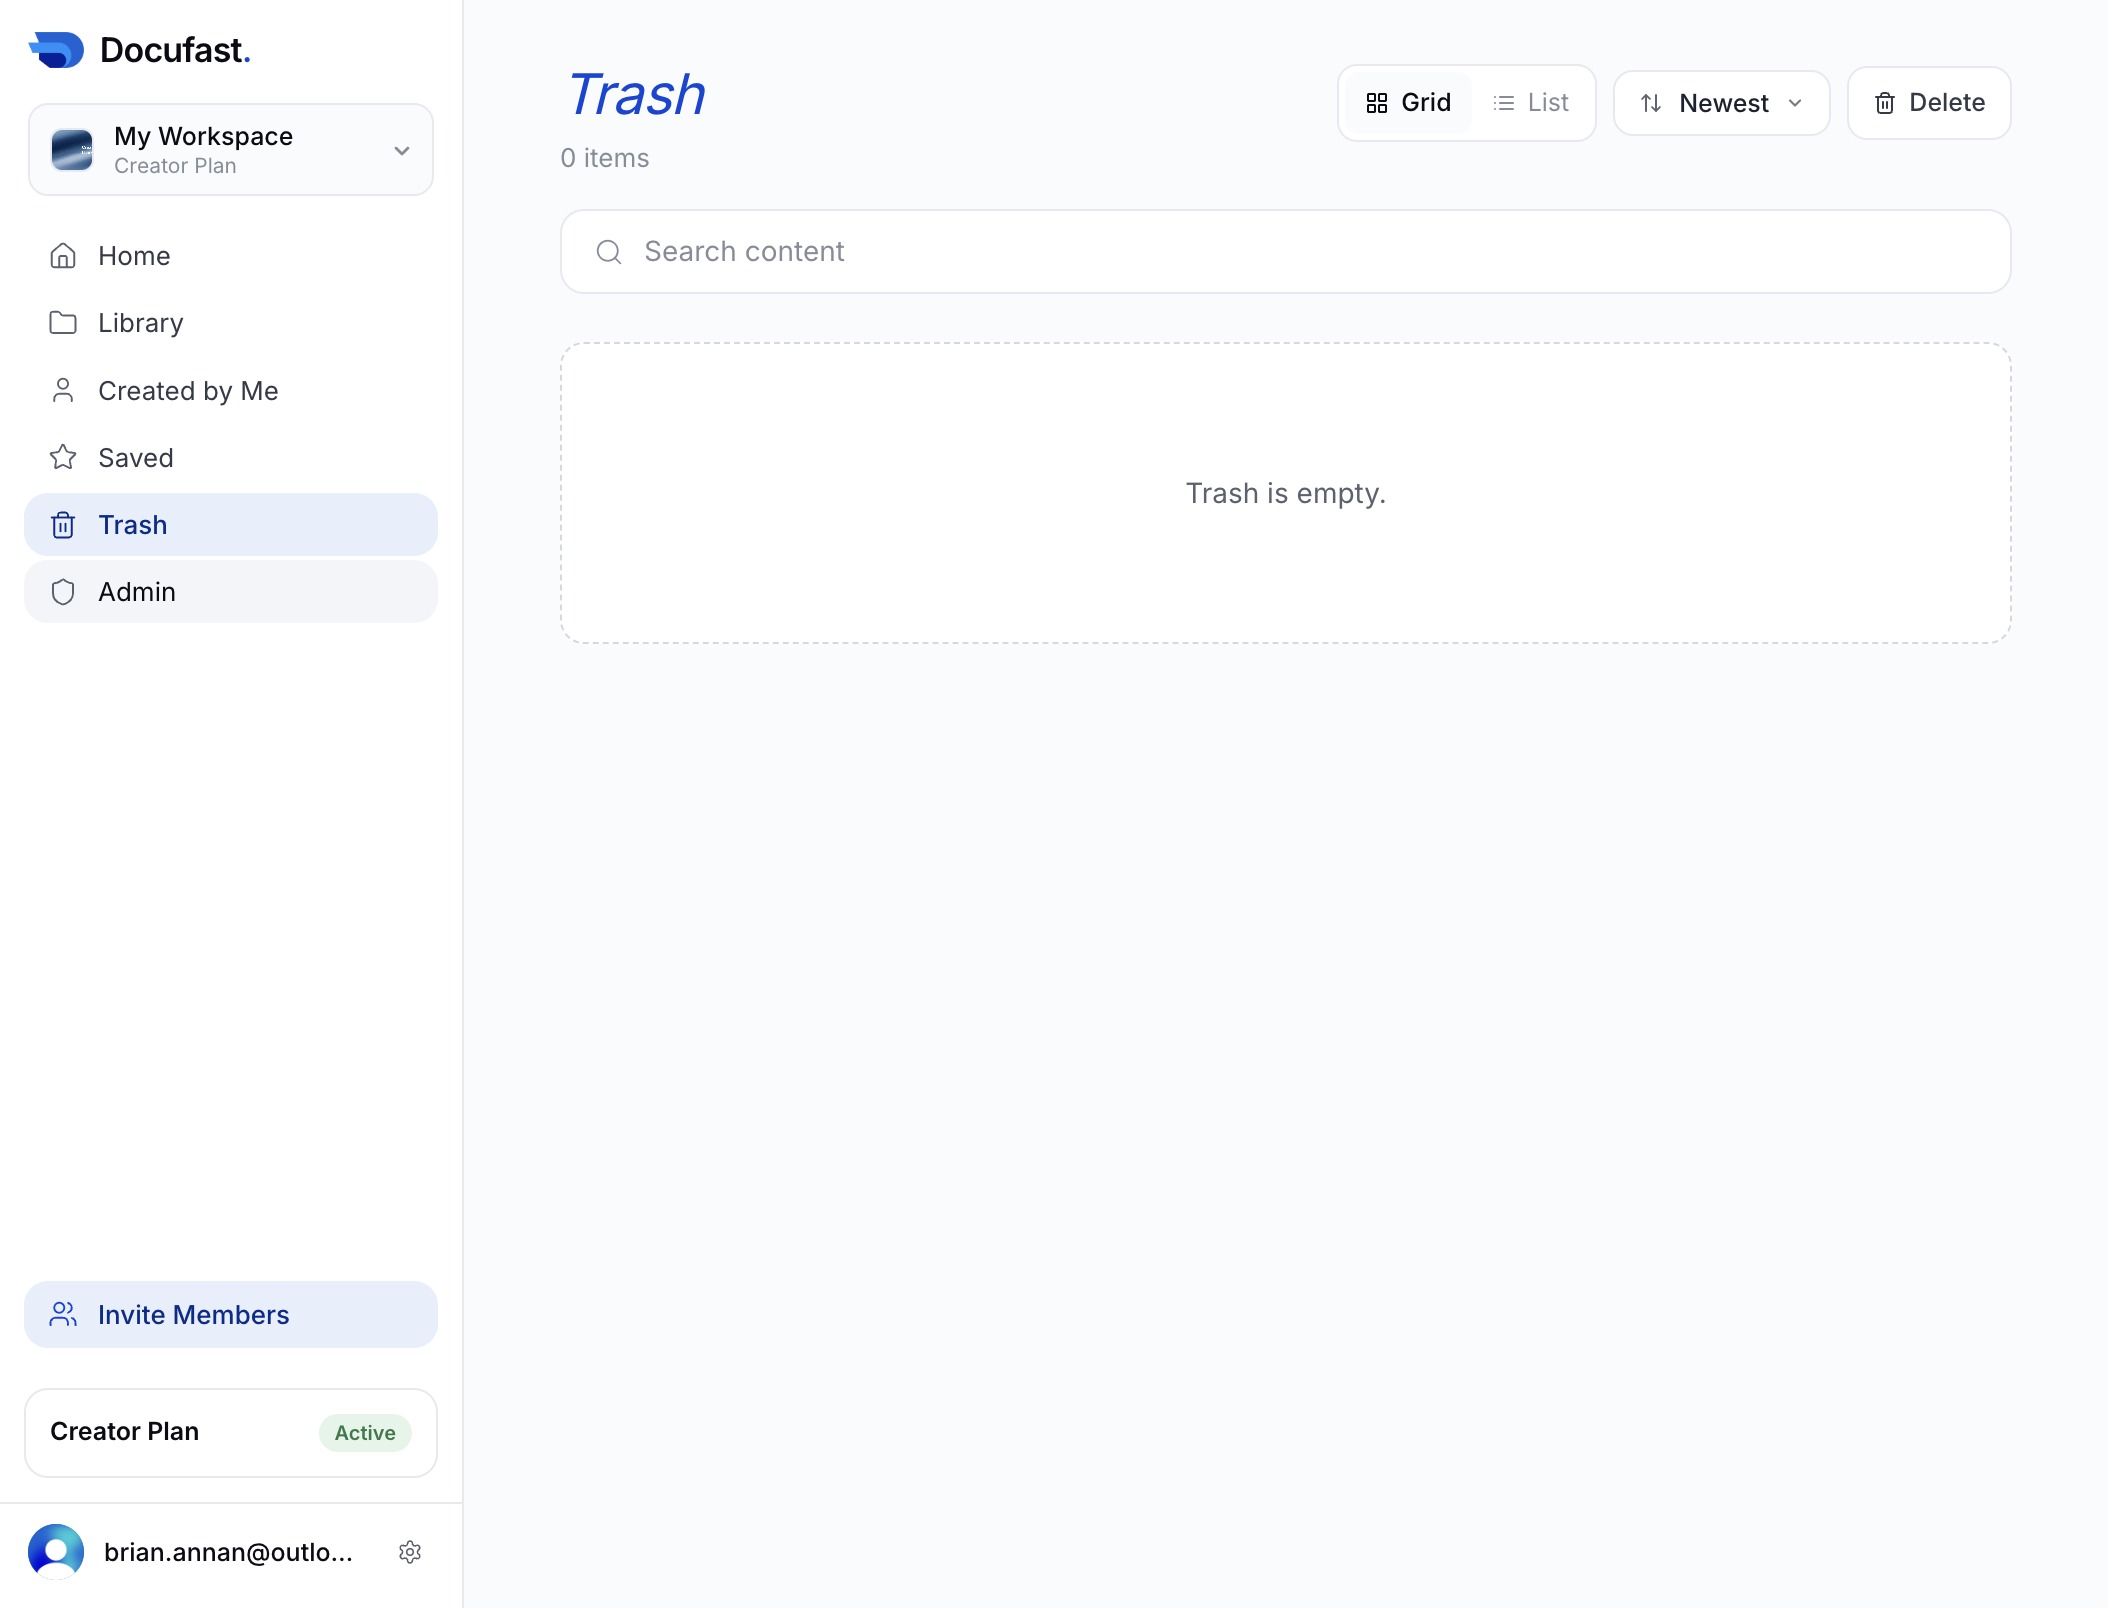
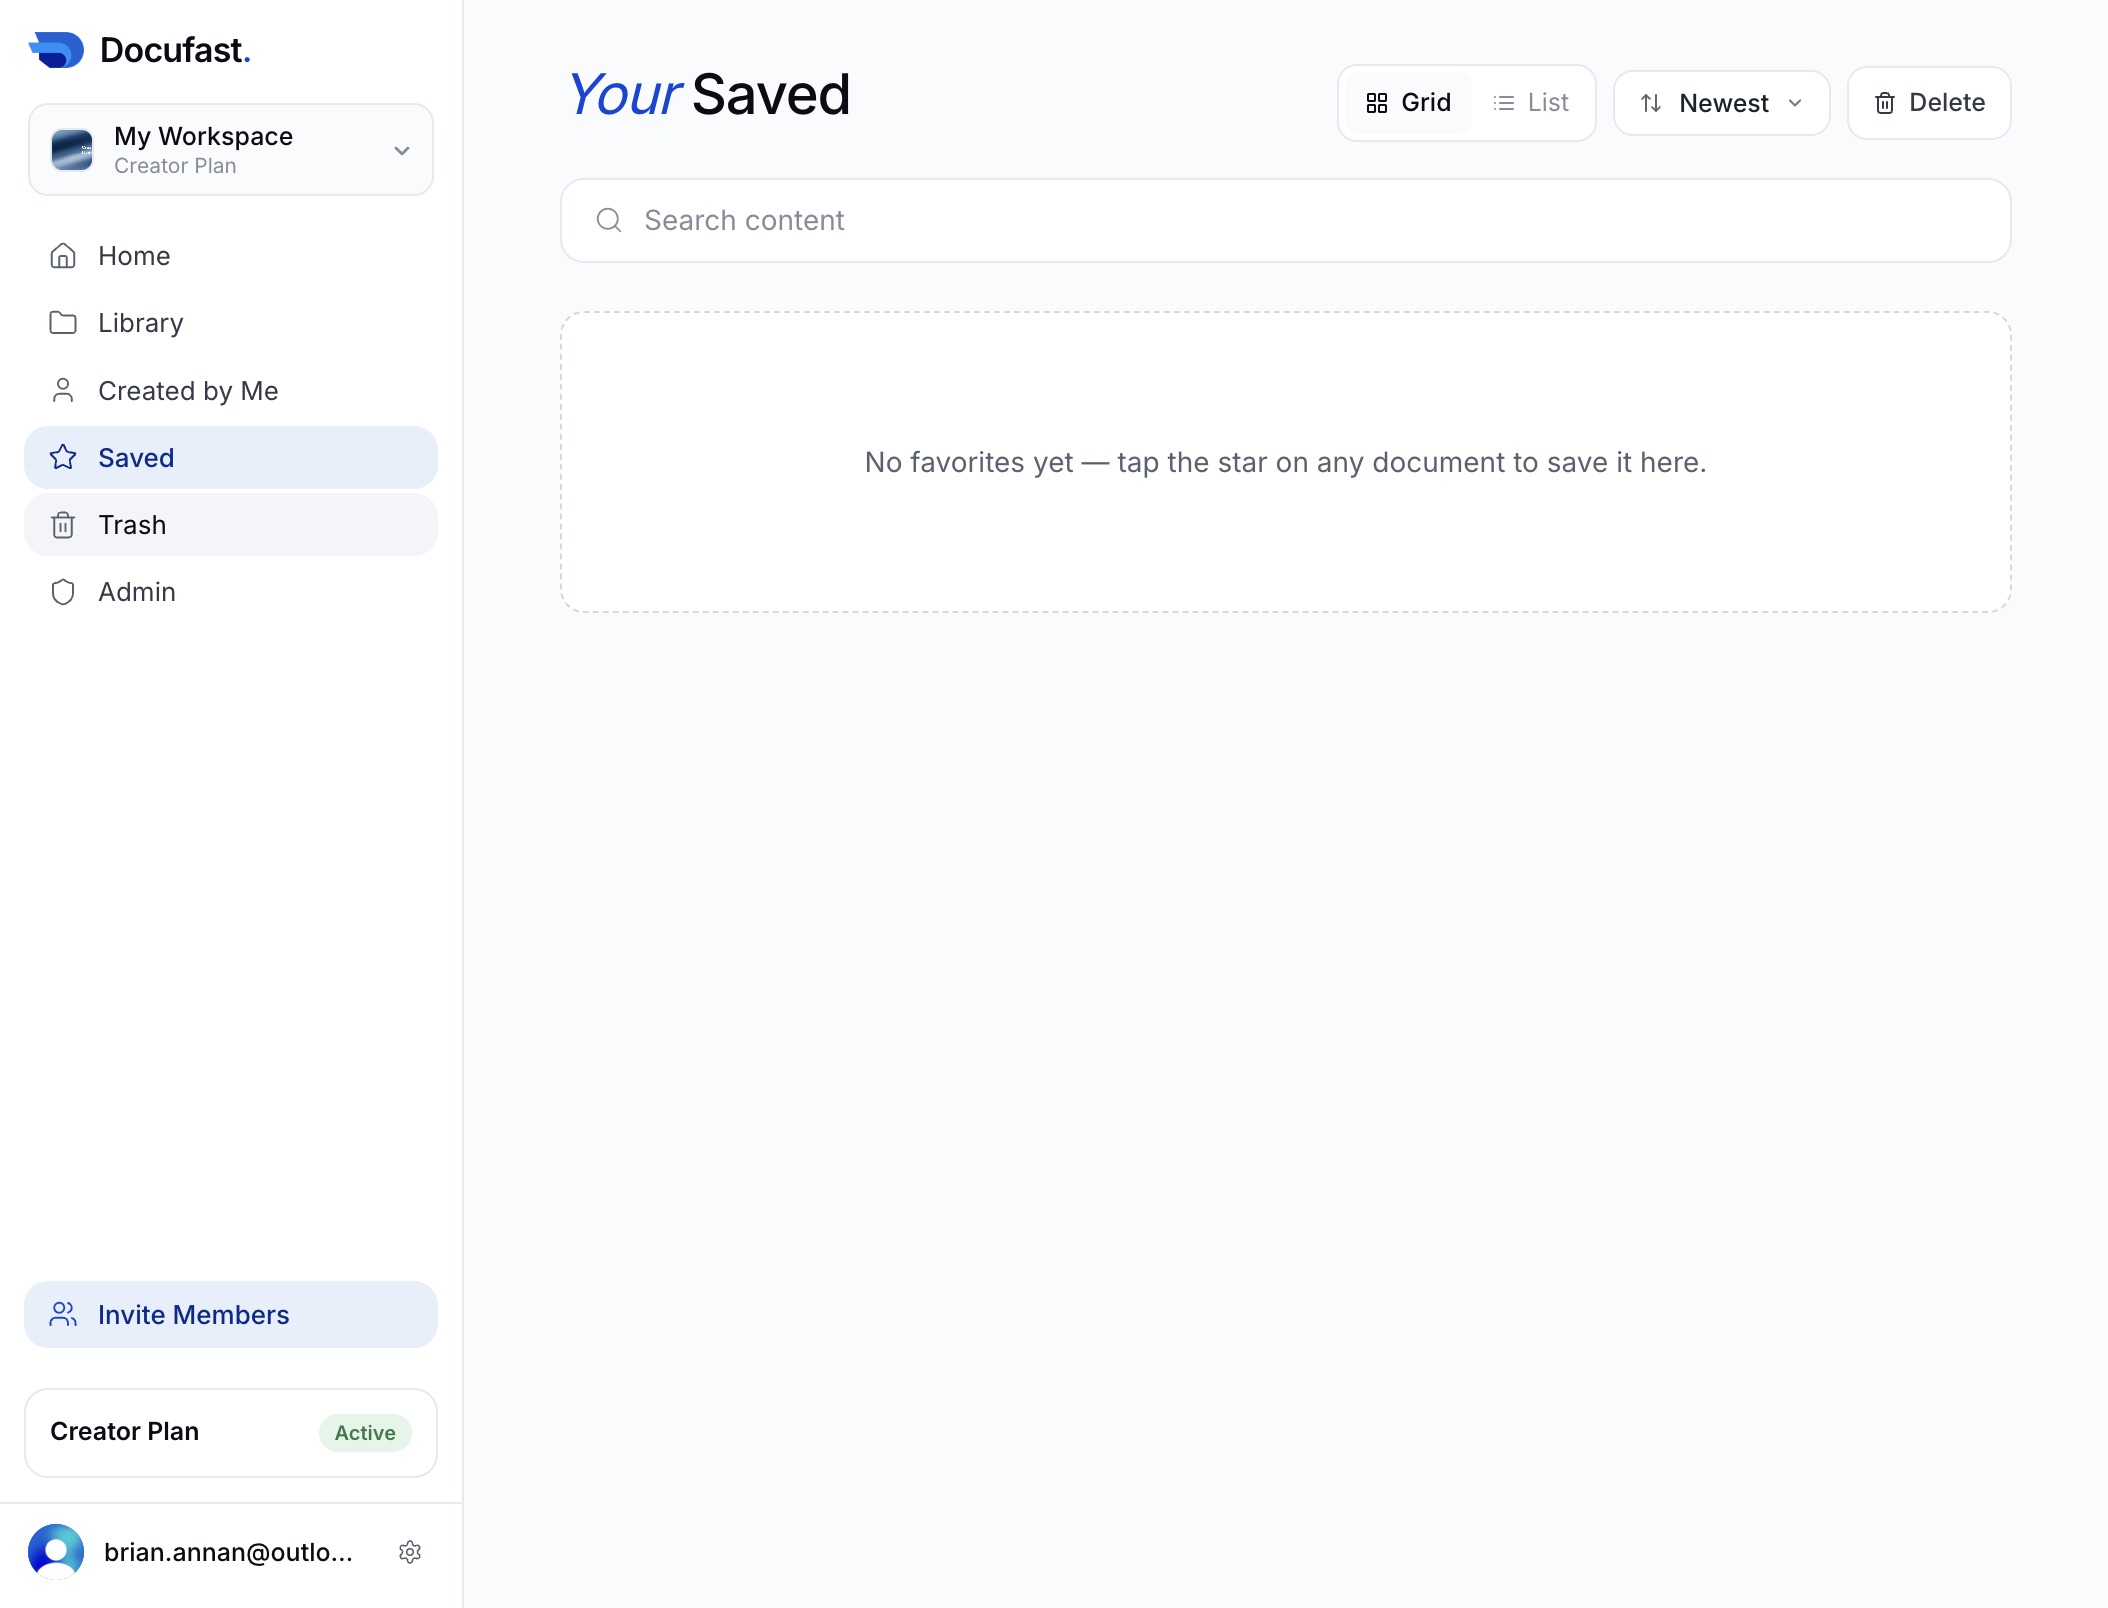
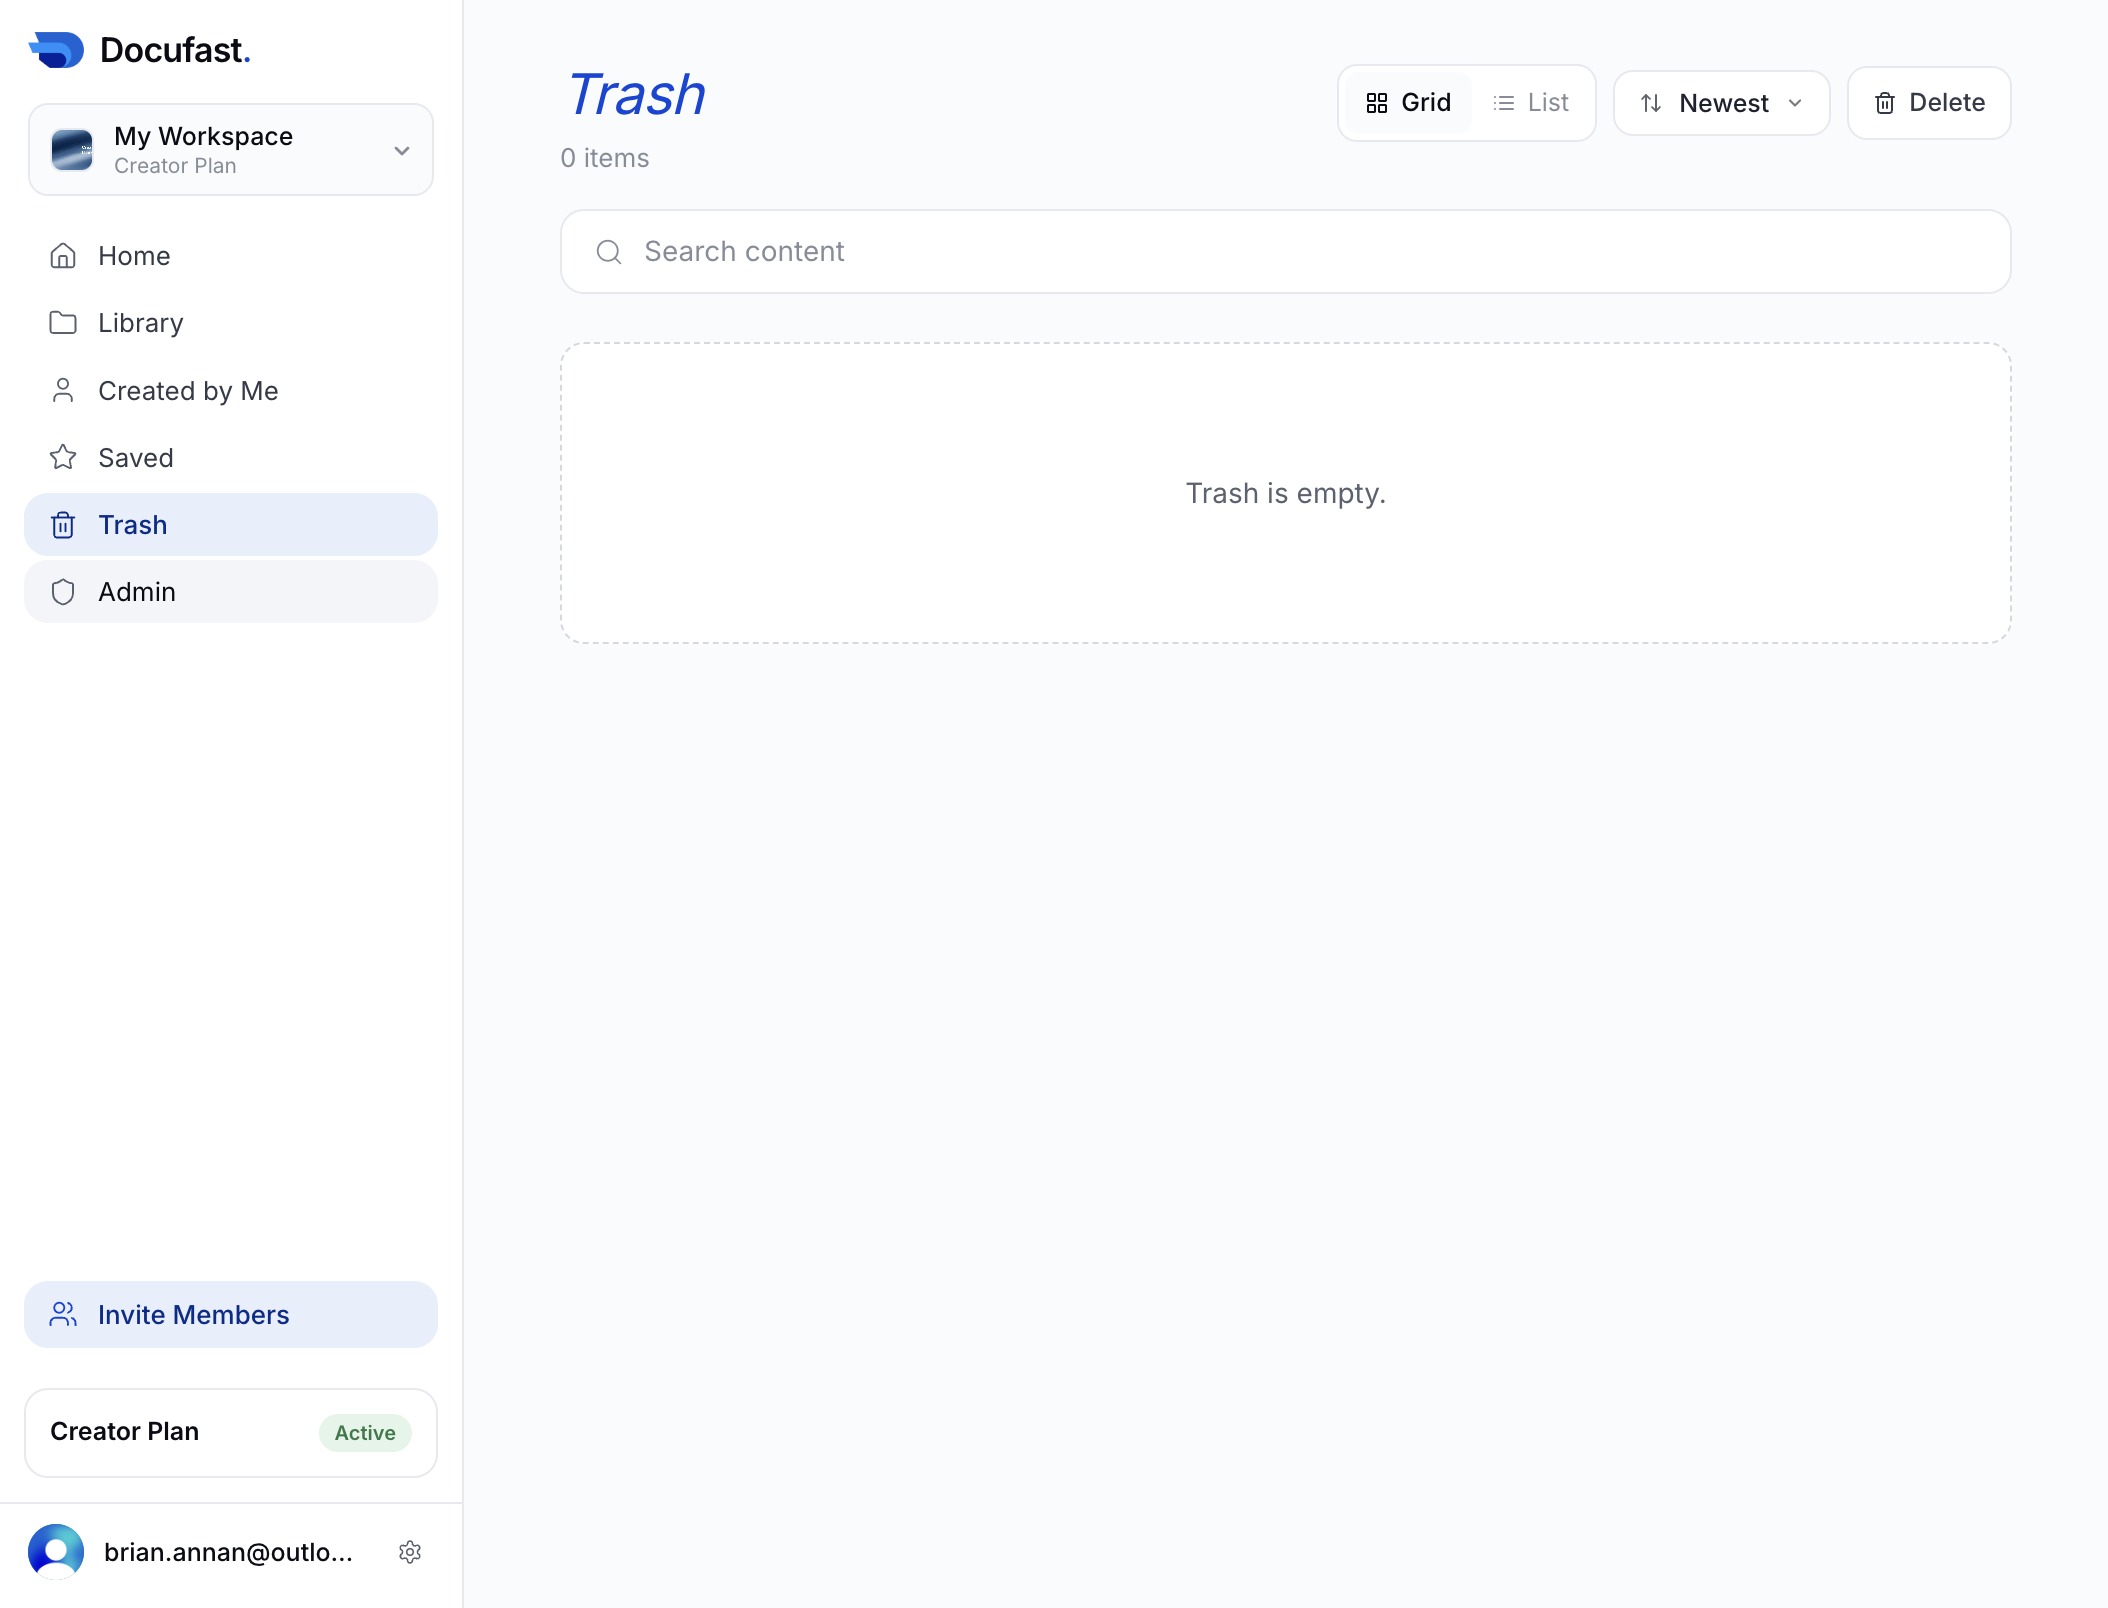
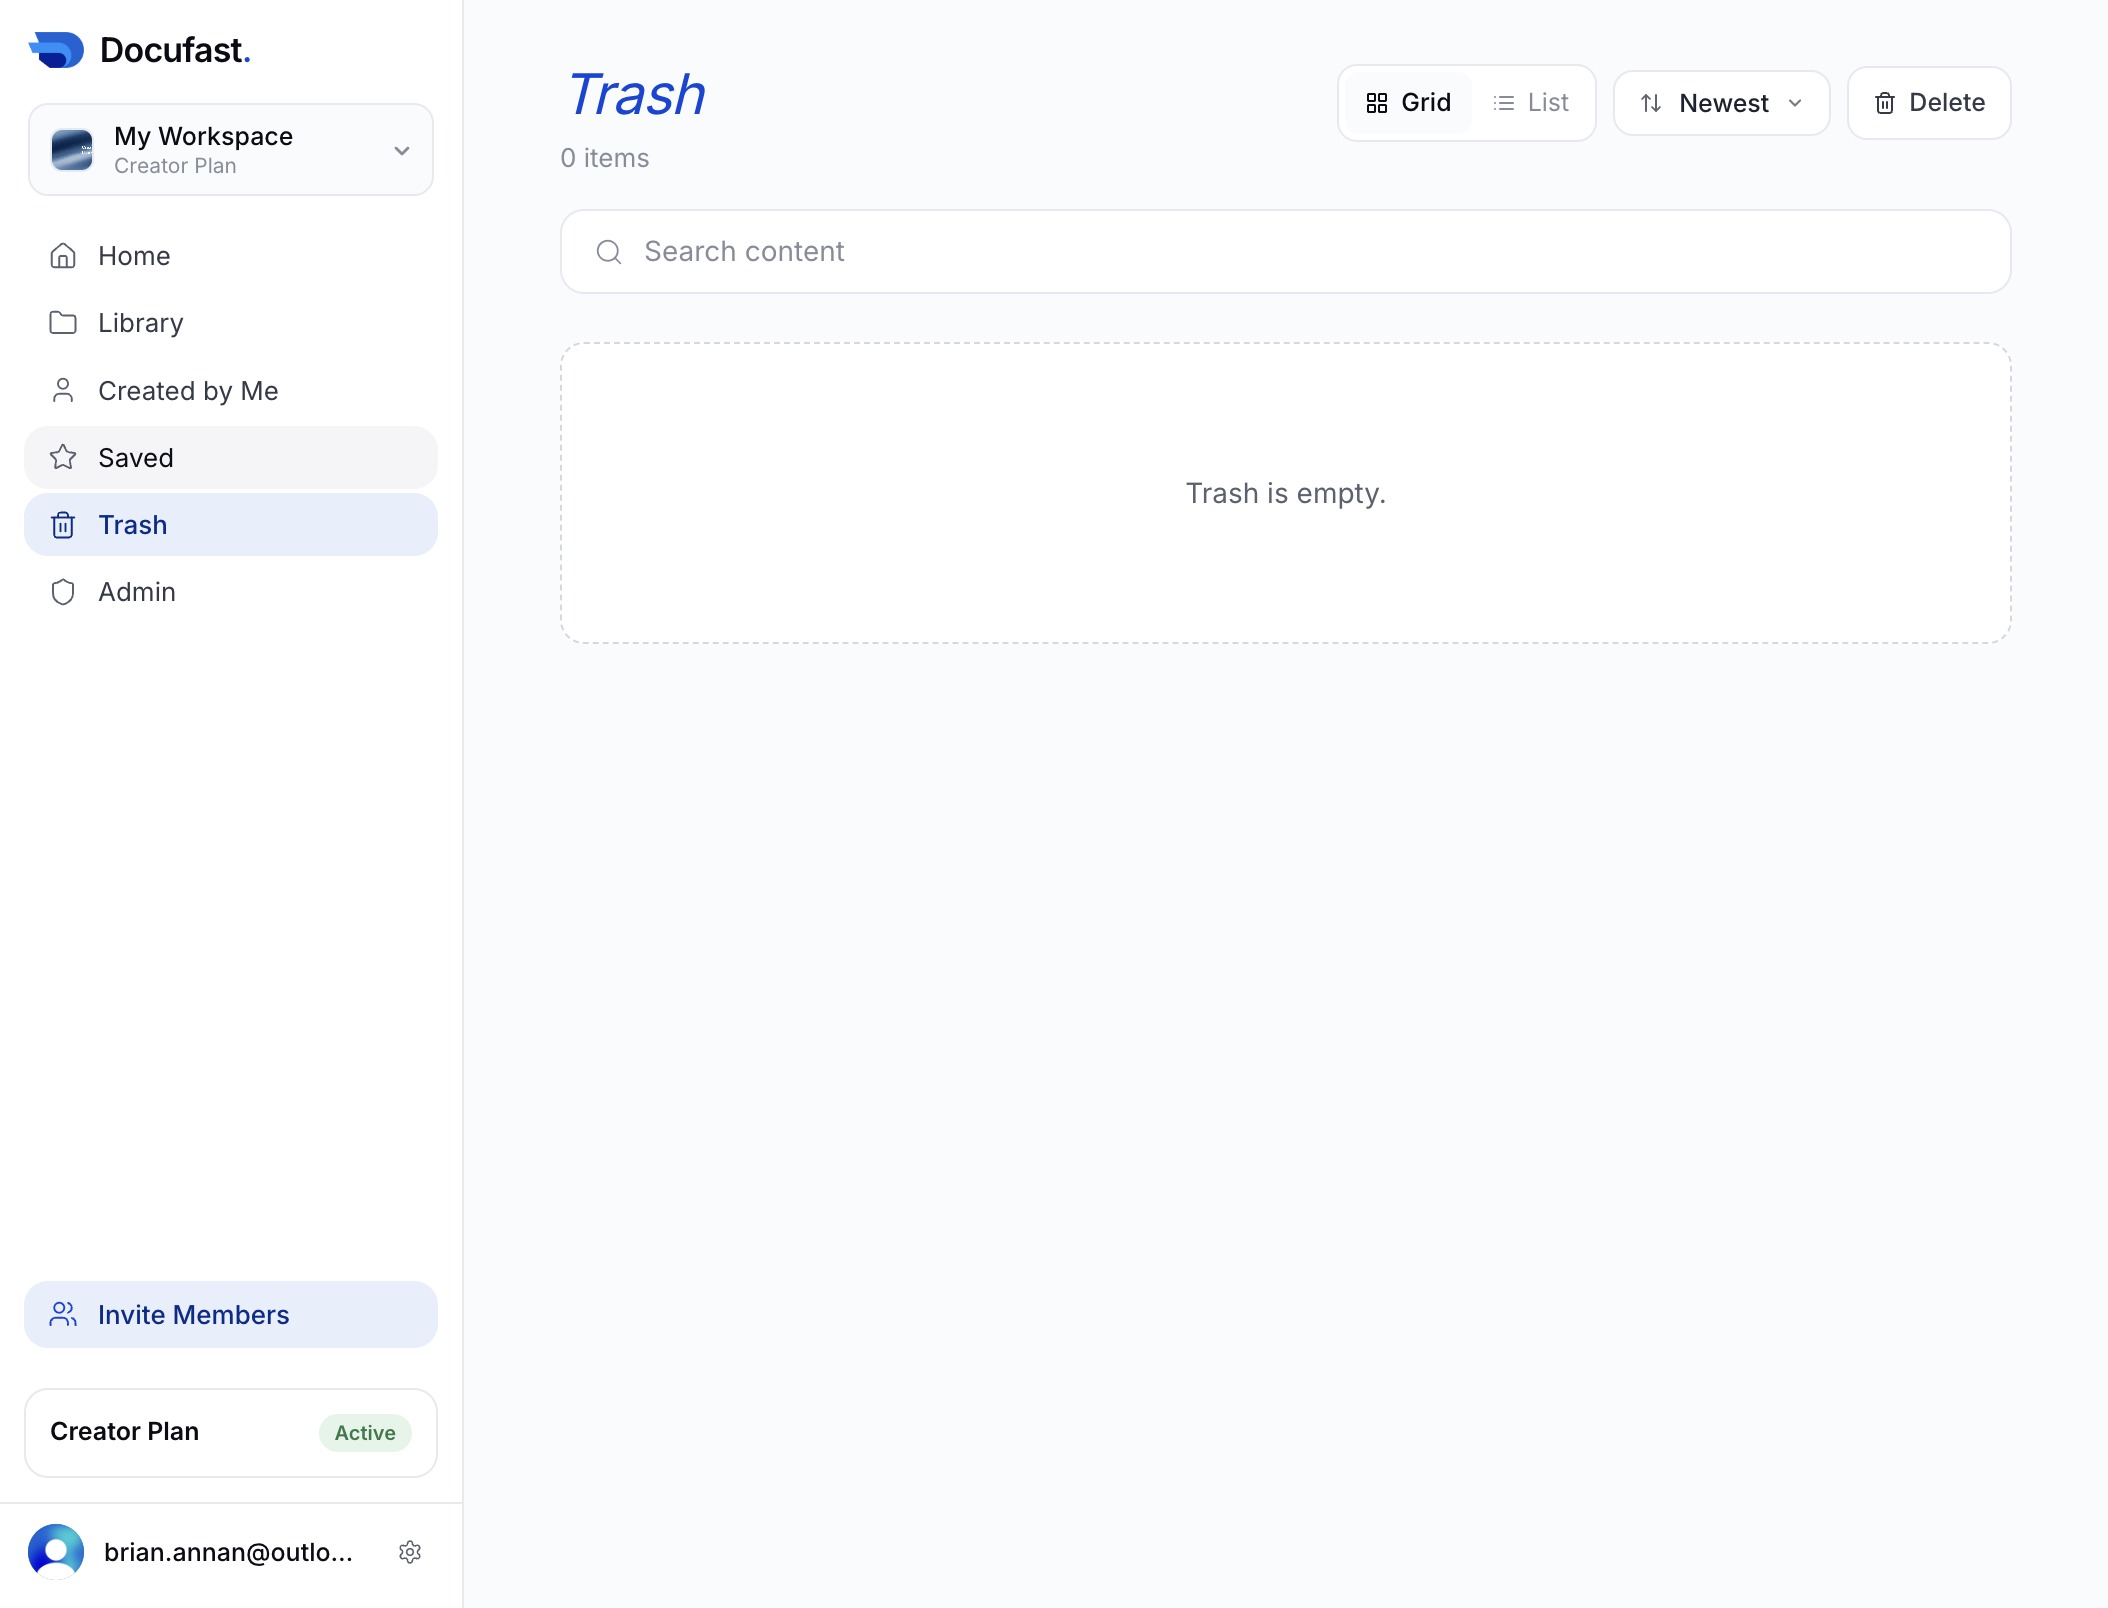
Clicking the Trash icon will navigate you to the Trash section, where you can view and manage deleted items. Currently, the Trash is empty, indicating no items have been deleted.
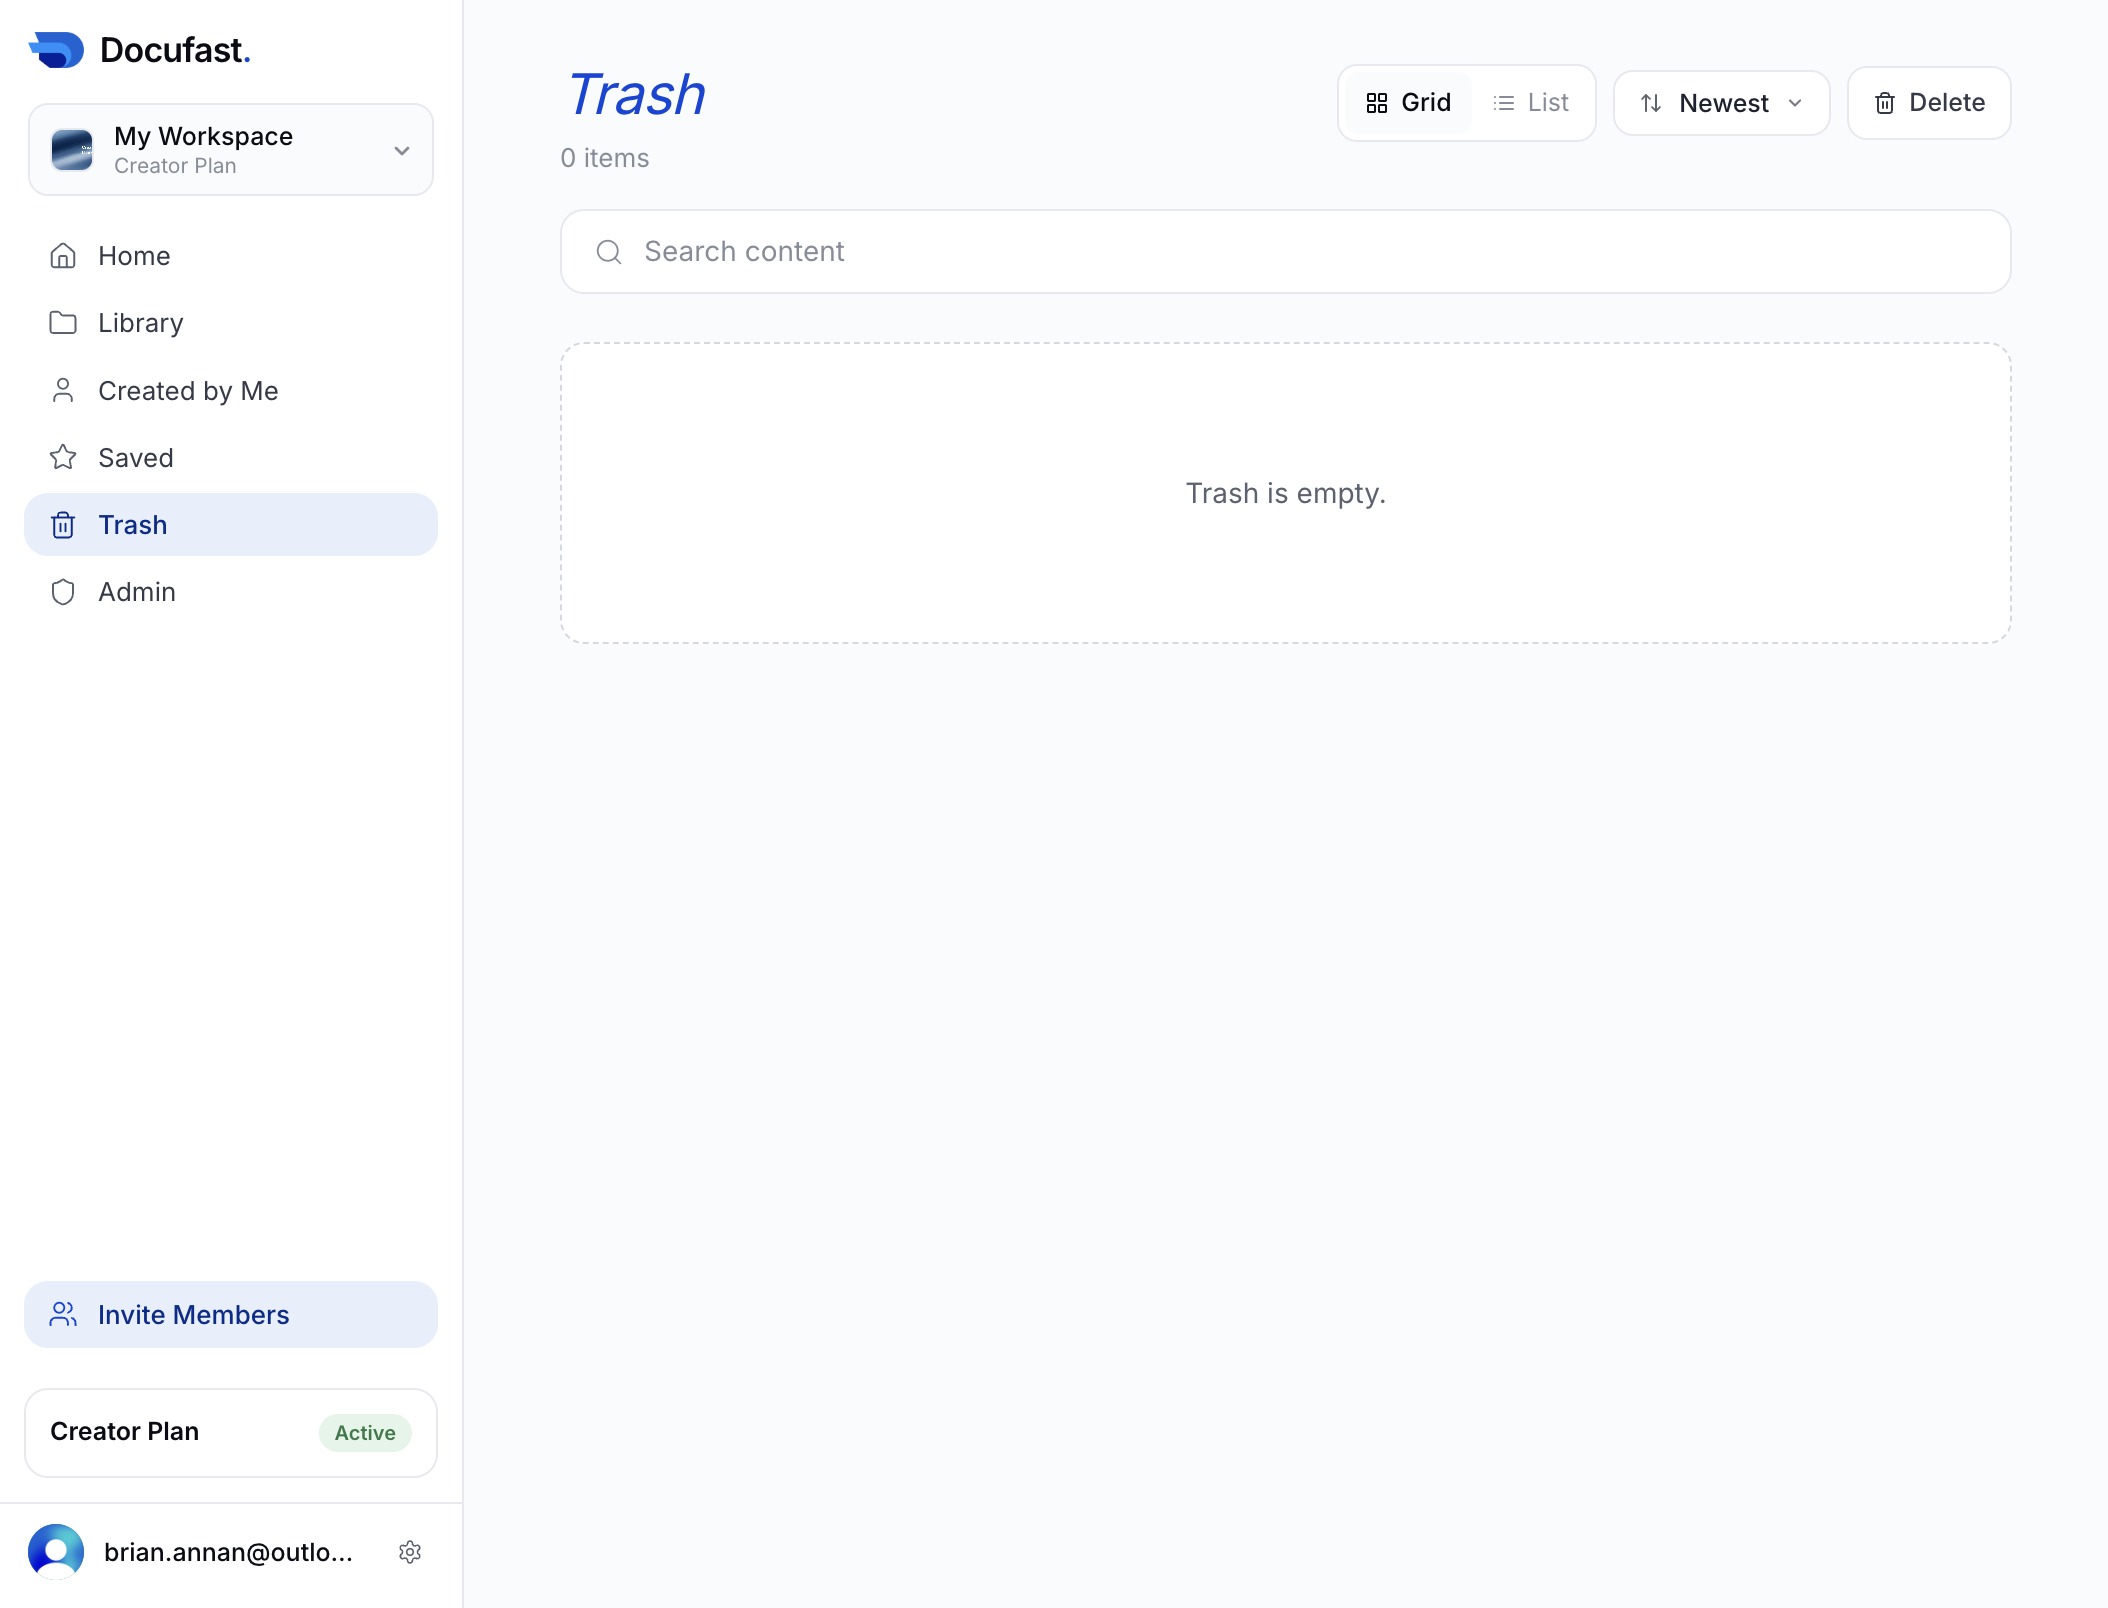
Selecting the Trash option will navigate you to the section for managing deleted items, where you can view and restore or permanently delete content.
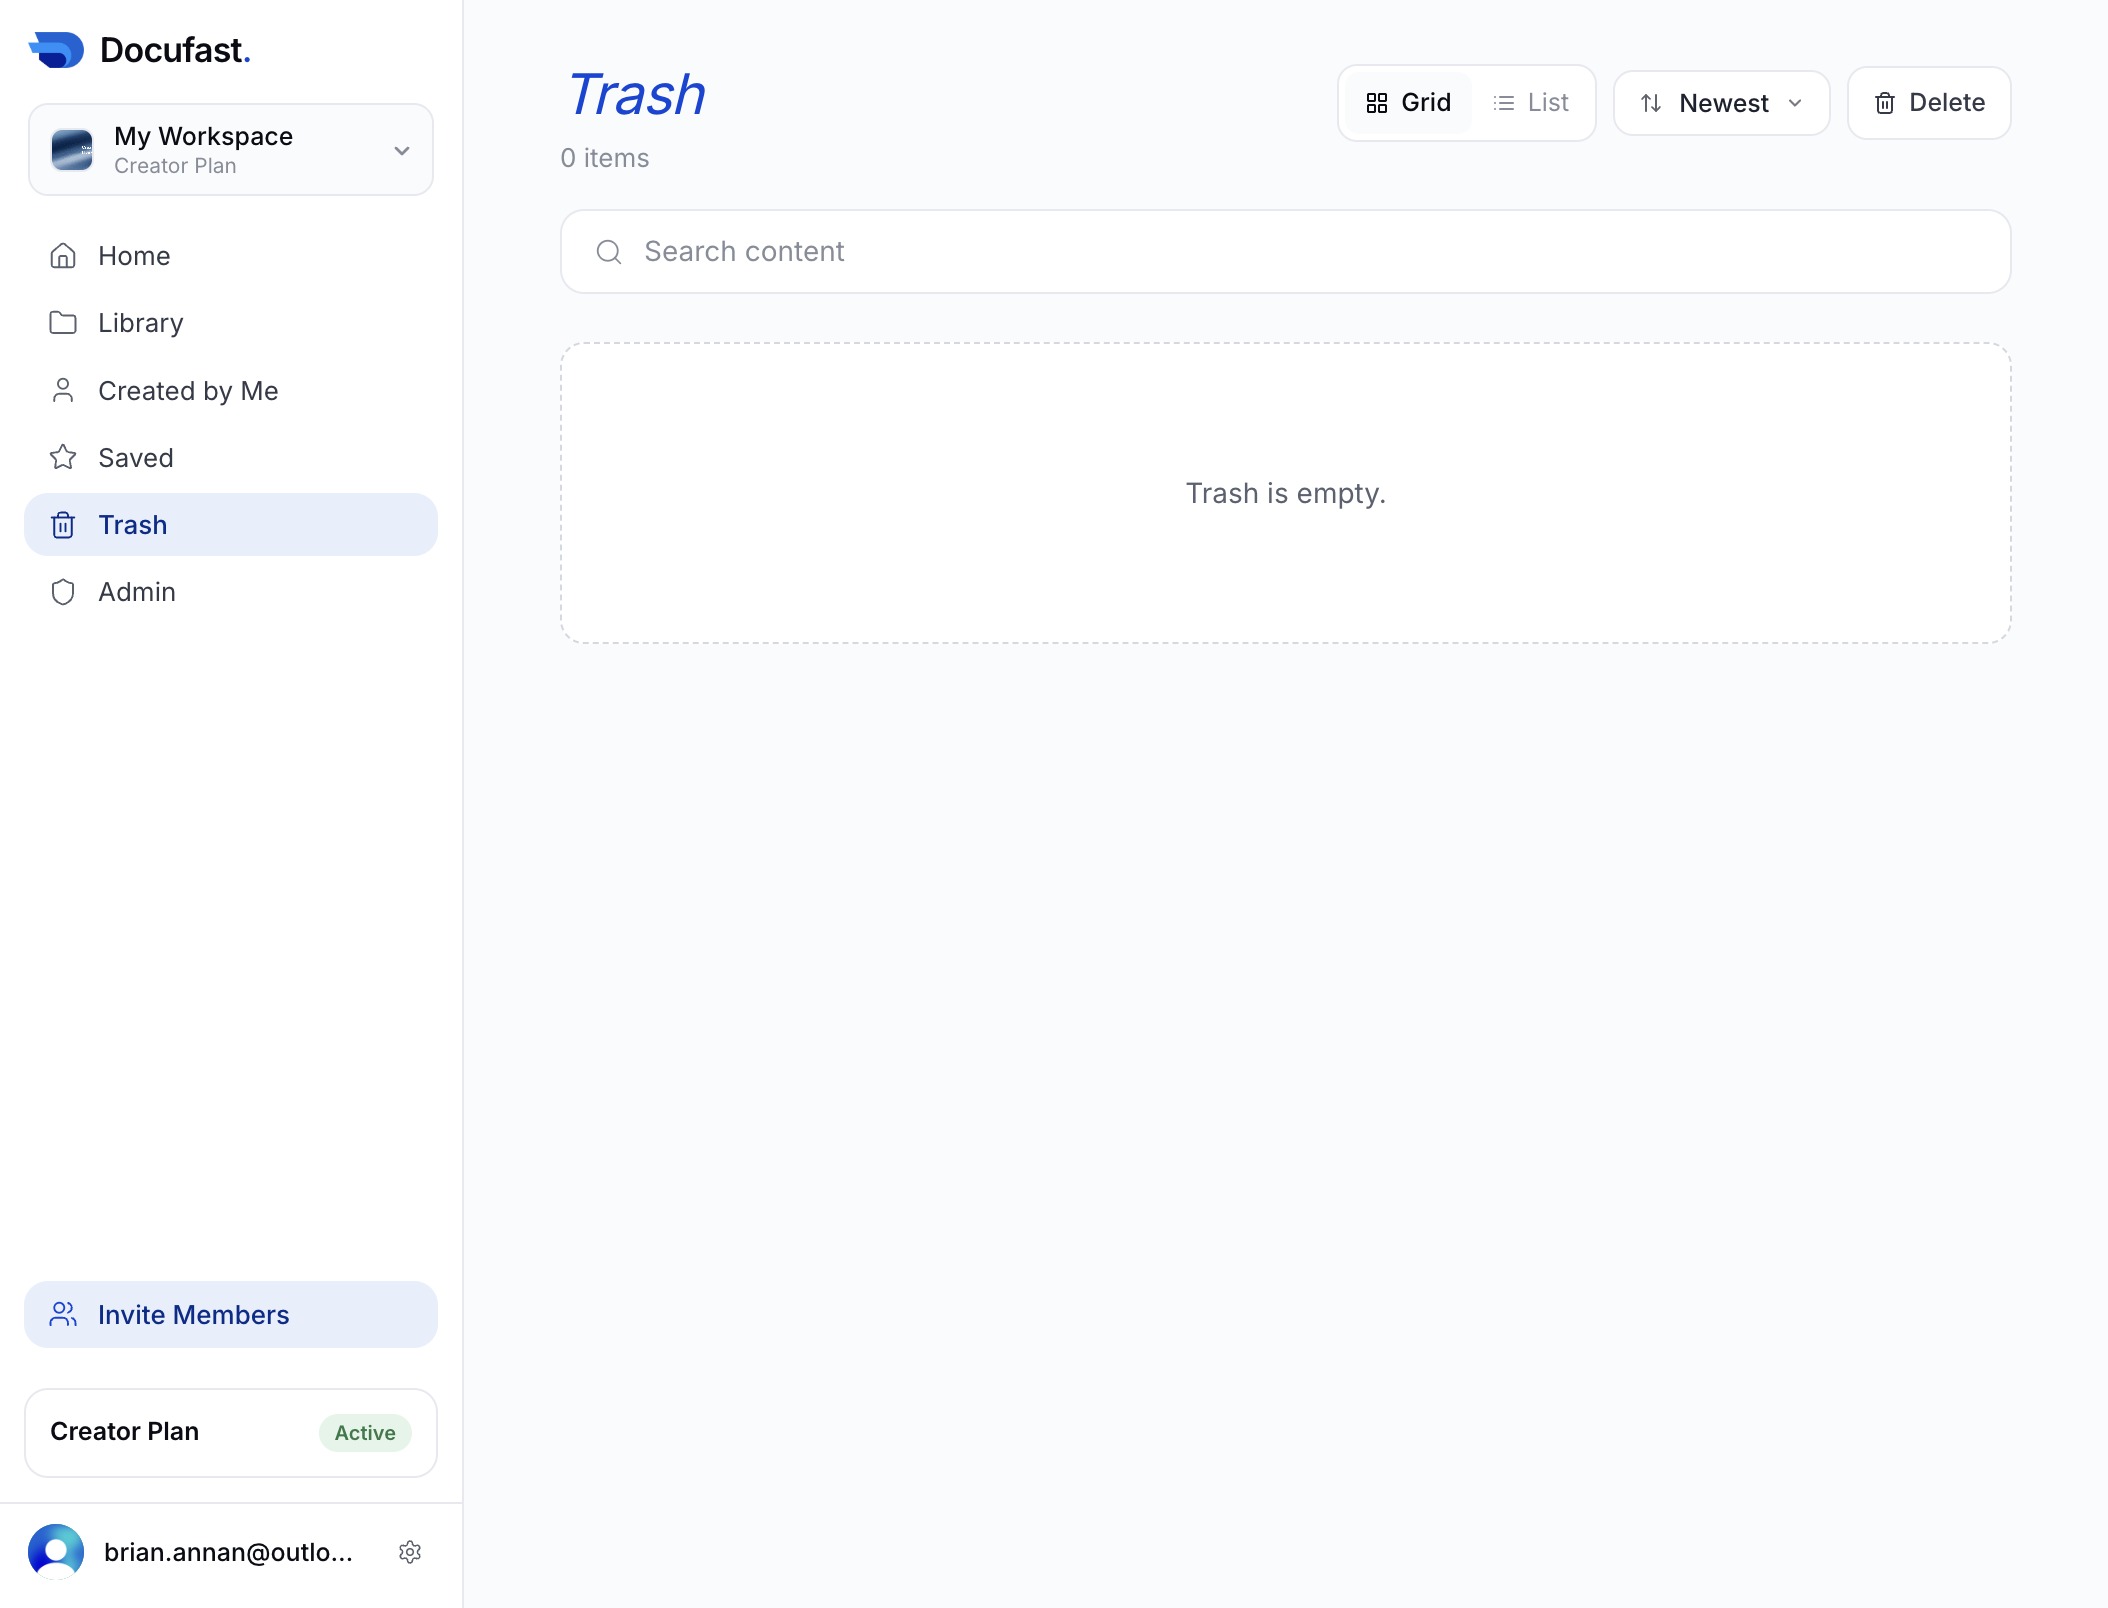
This action opens the Trash section where you can manage deleted items. Currently, it indicates that the Trash is empty.
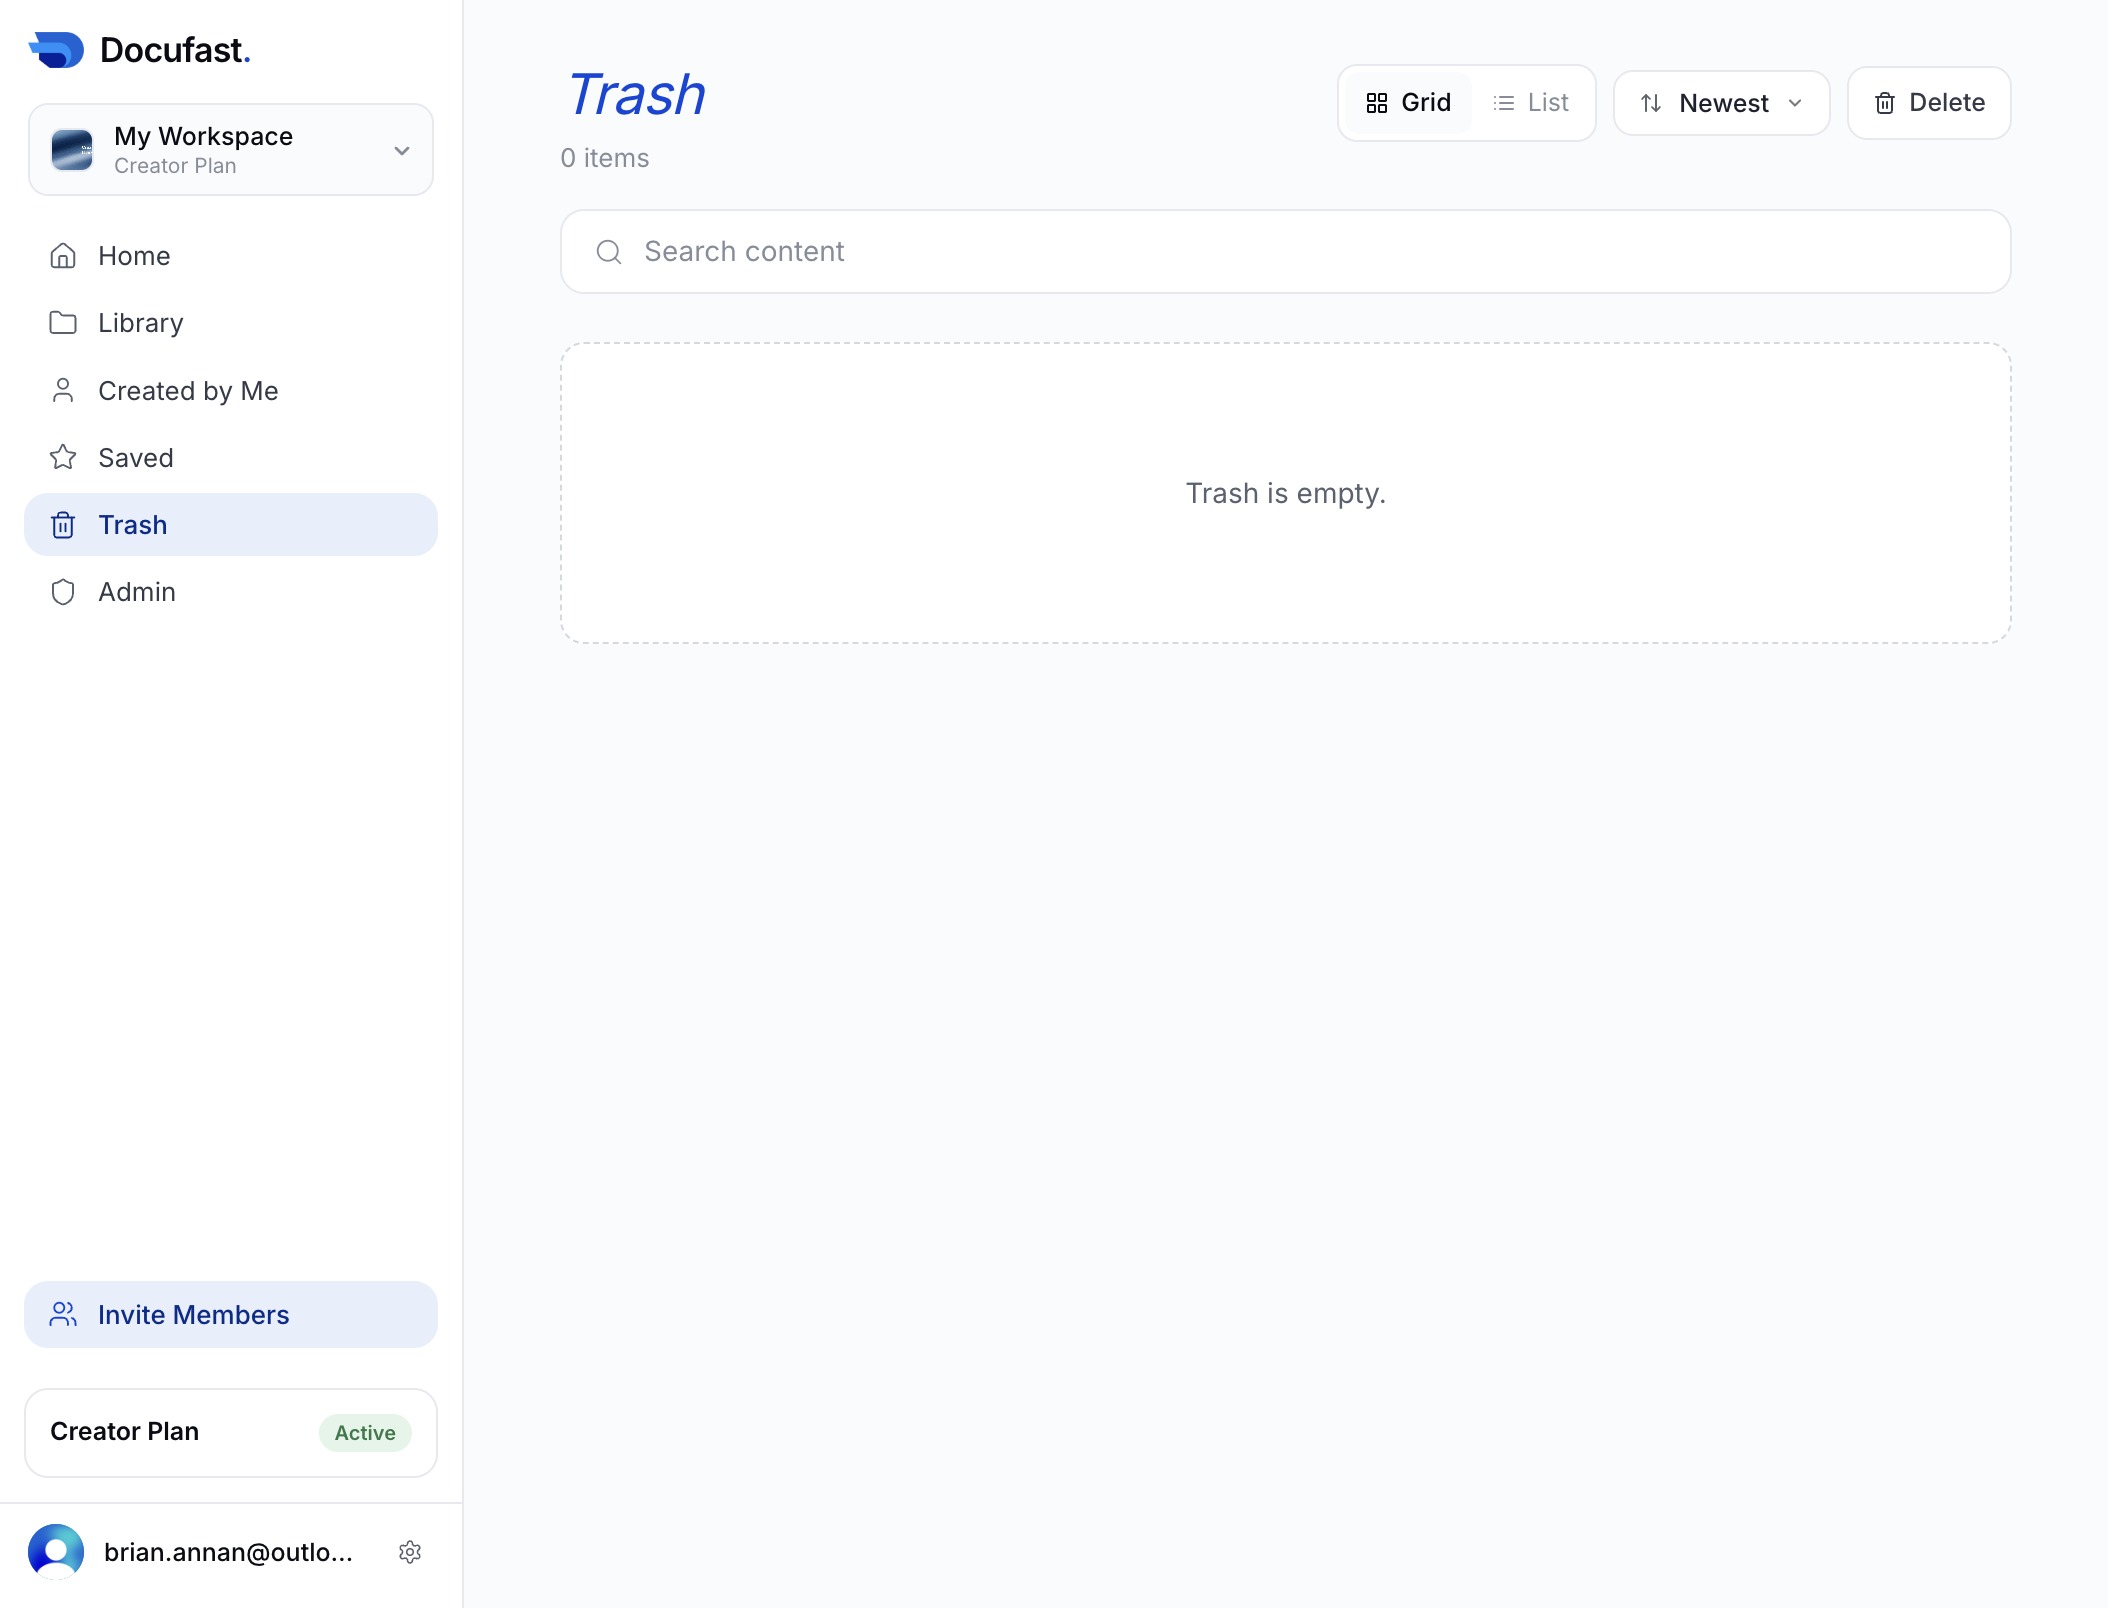
This action opens the Trash section where you can manage deleted items. Since the Trash is currently empty, there are no items to restore or permanently delete.
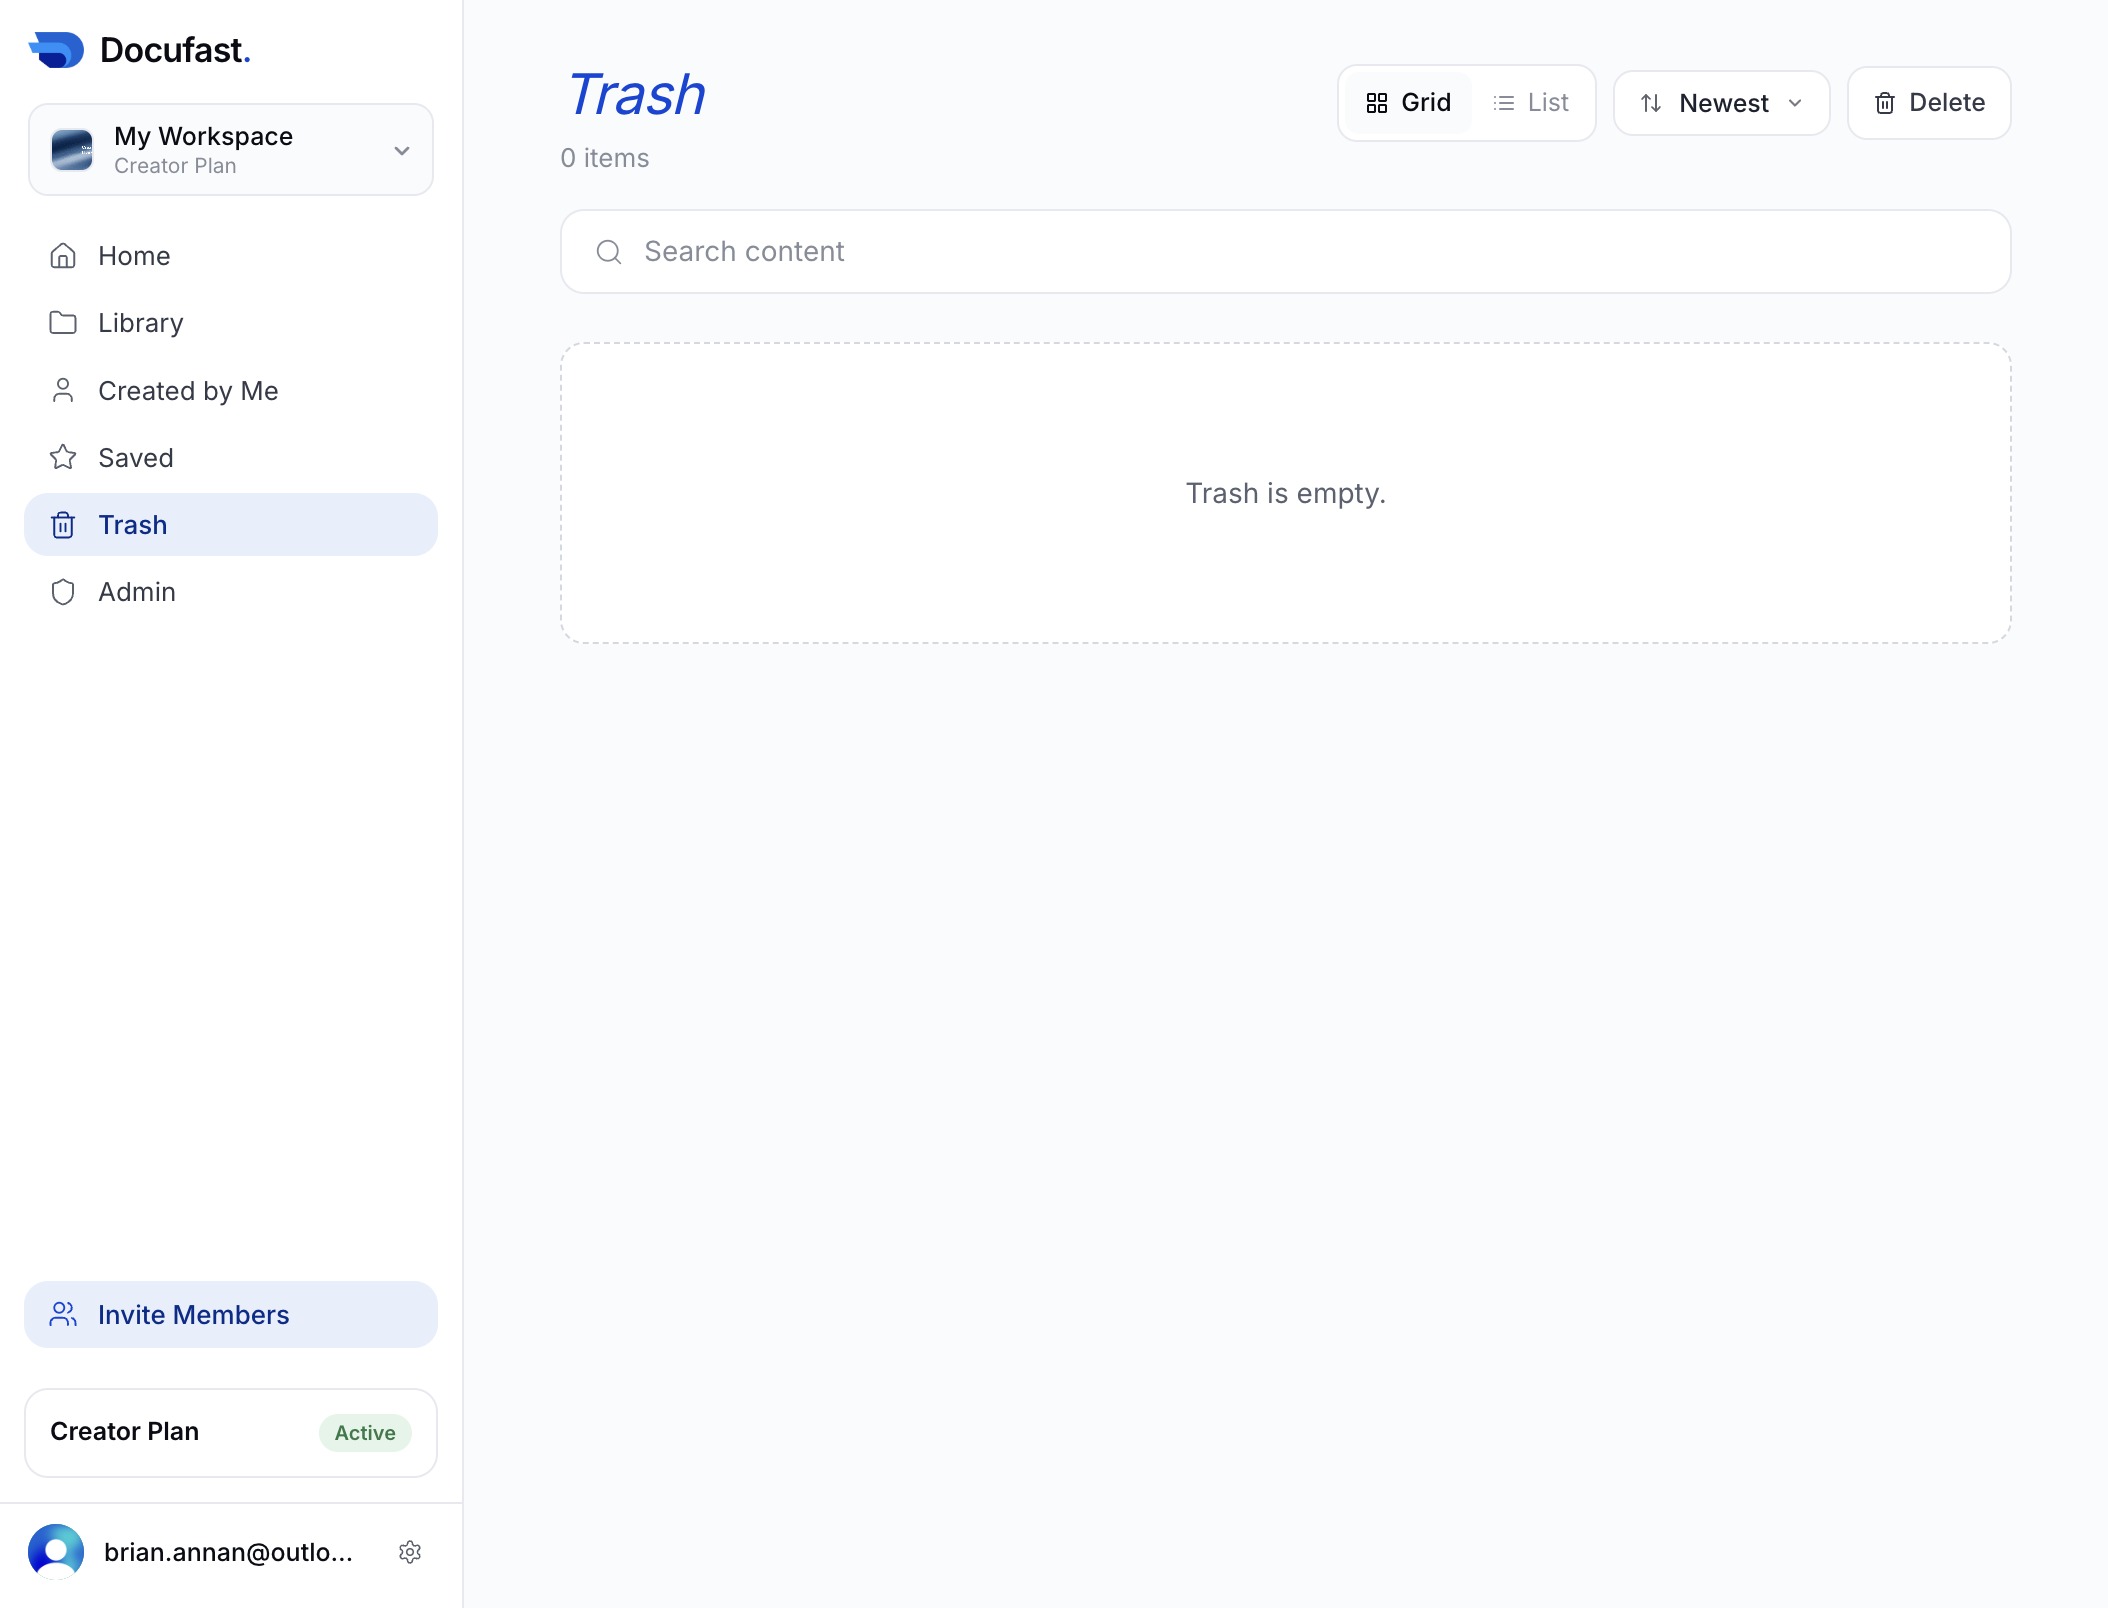
This action opens the Trash section where you can manage deleted items. Since the Trash is currently empty, you'll see a message indicating that there are no items available.
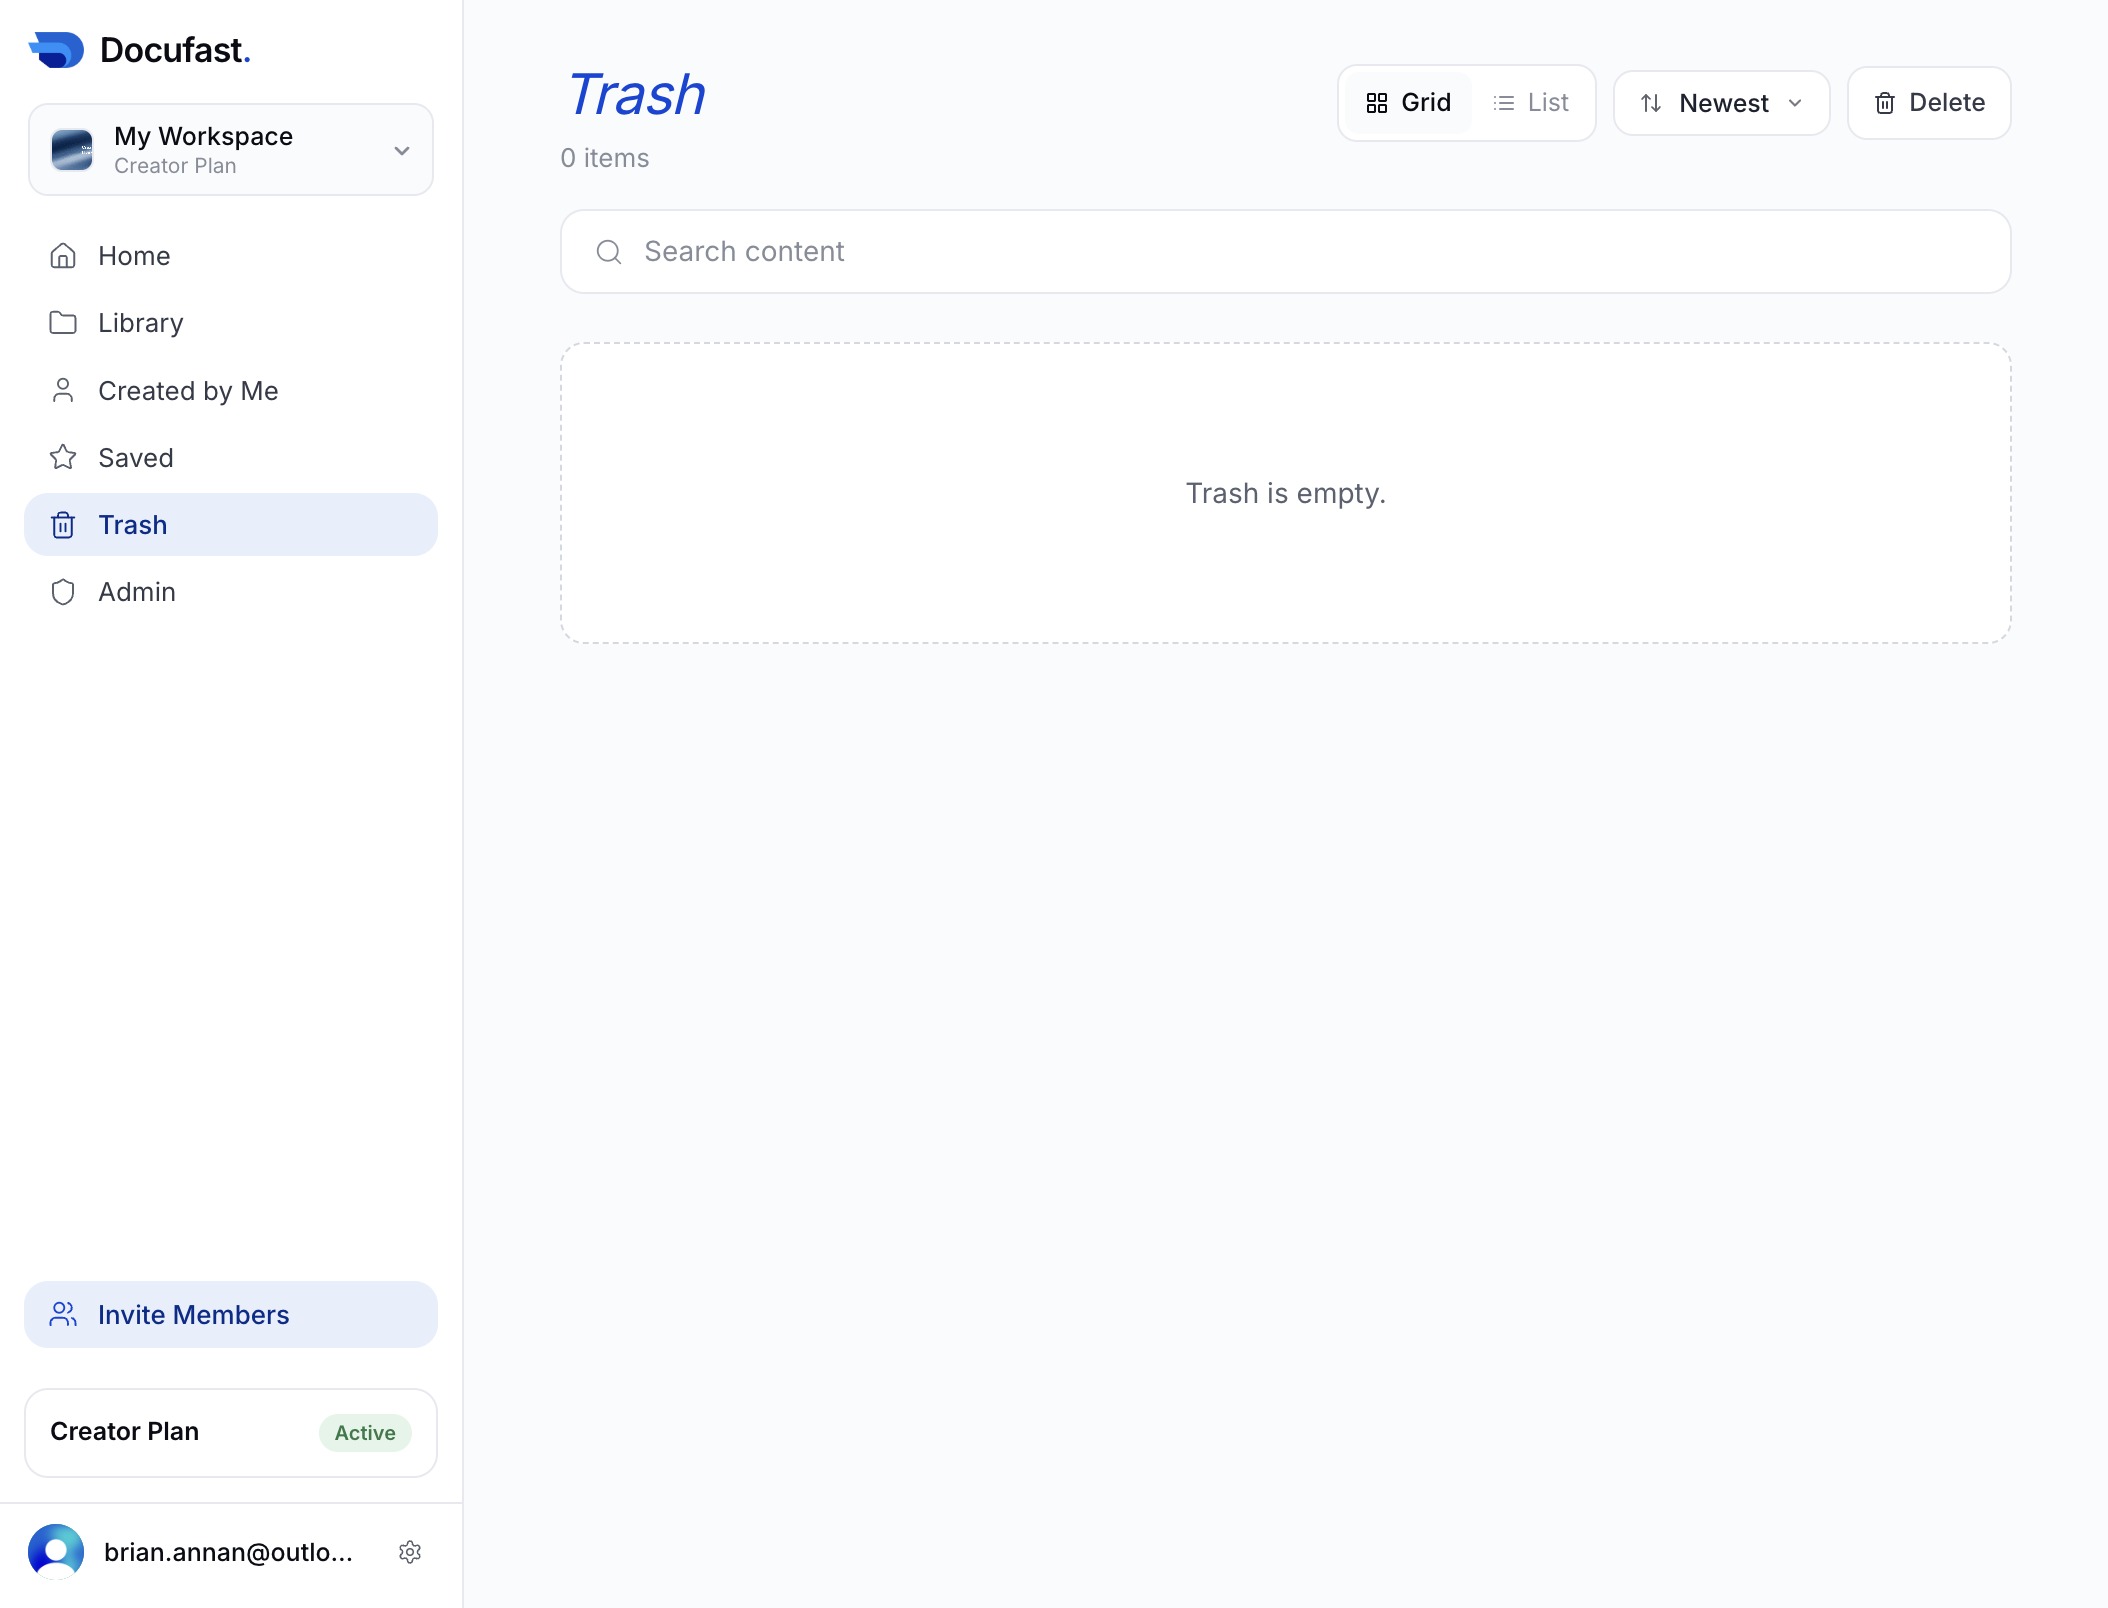
This action takes you to the Library section where you can view and manage your stored documents.
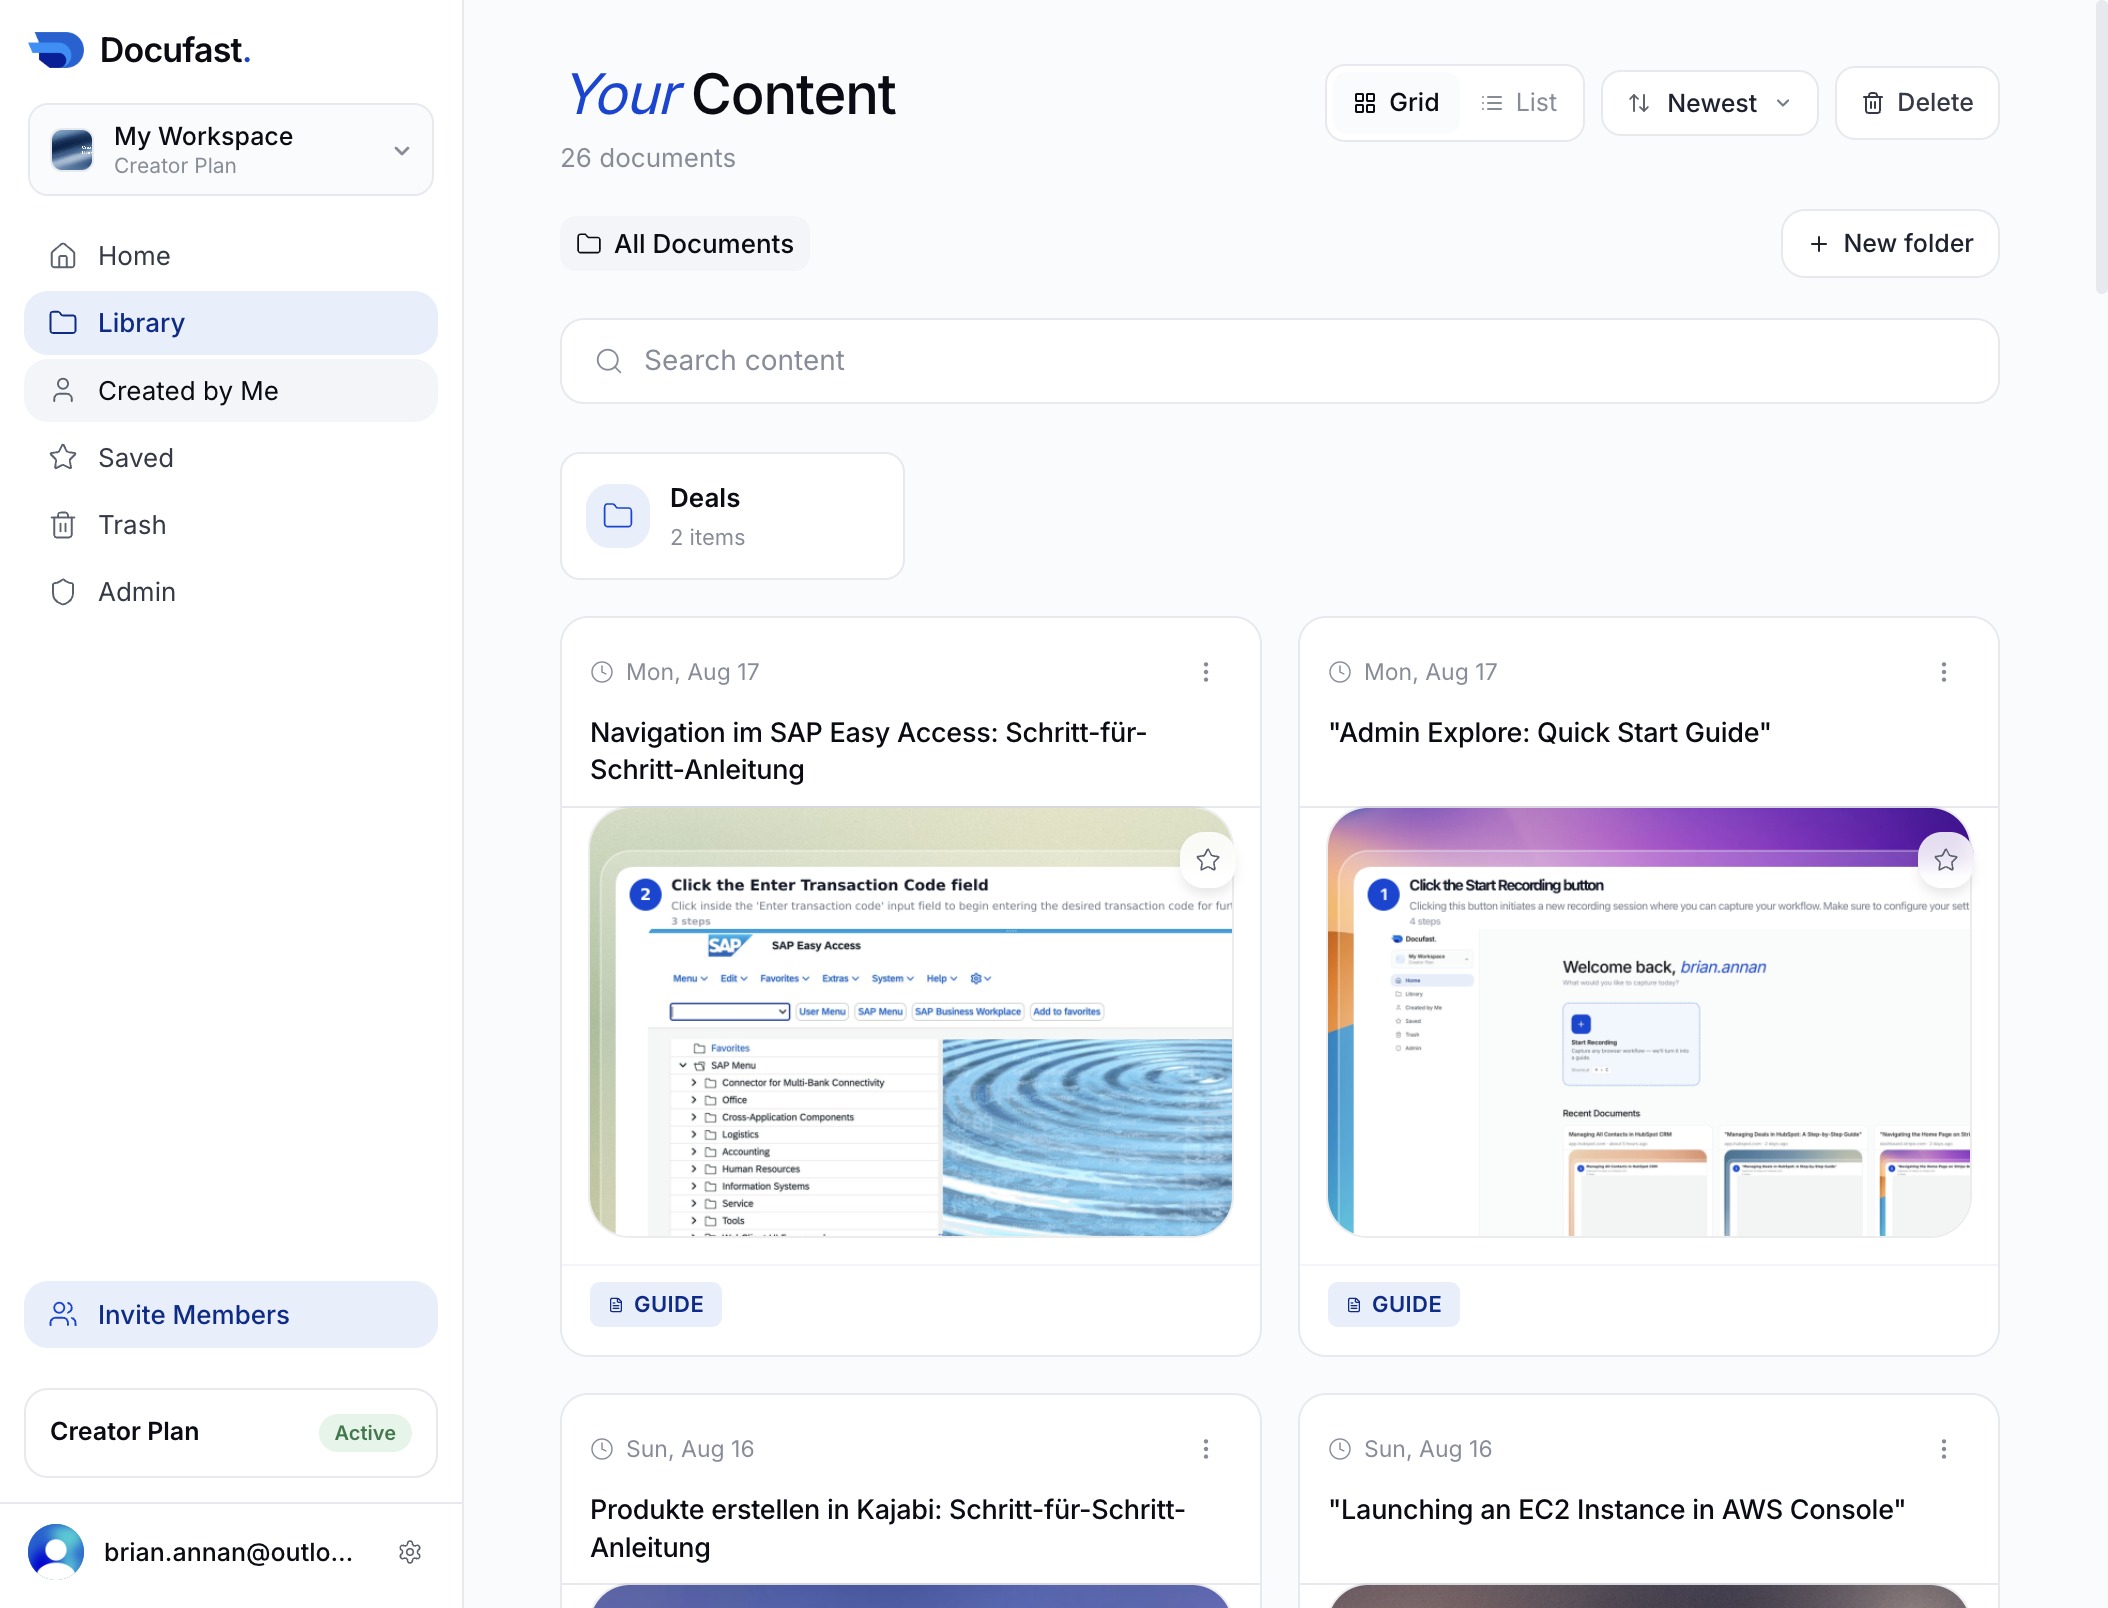
Clicking the Home button takes you back to the main overview of your workspace, providing easy access to key areas like your documents, library, and settings.
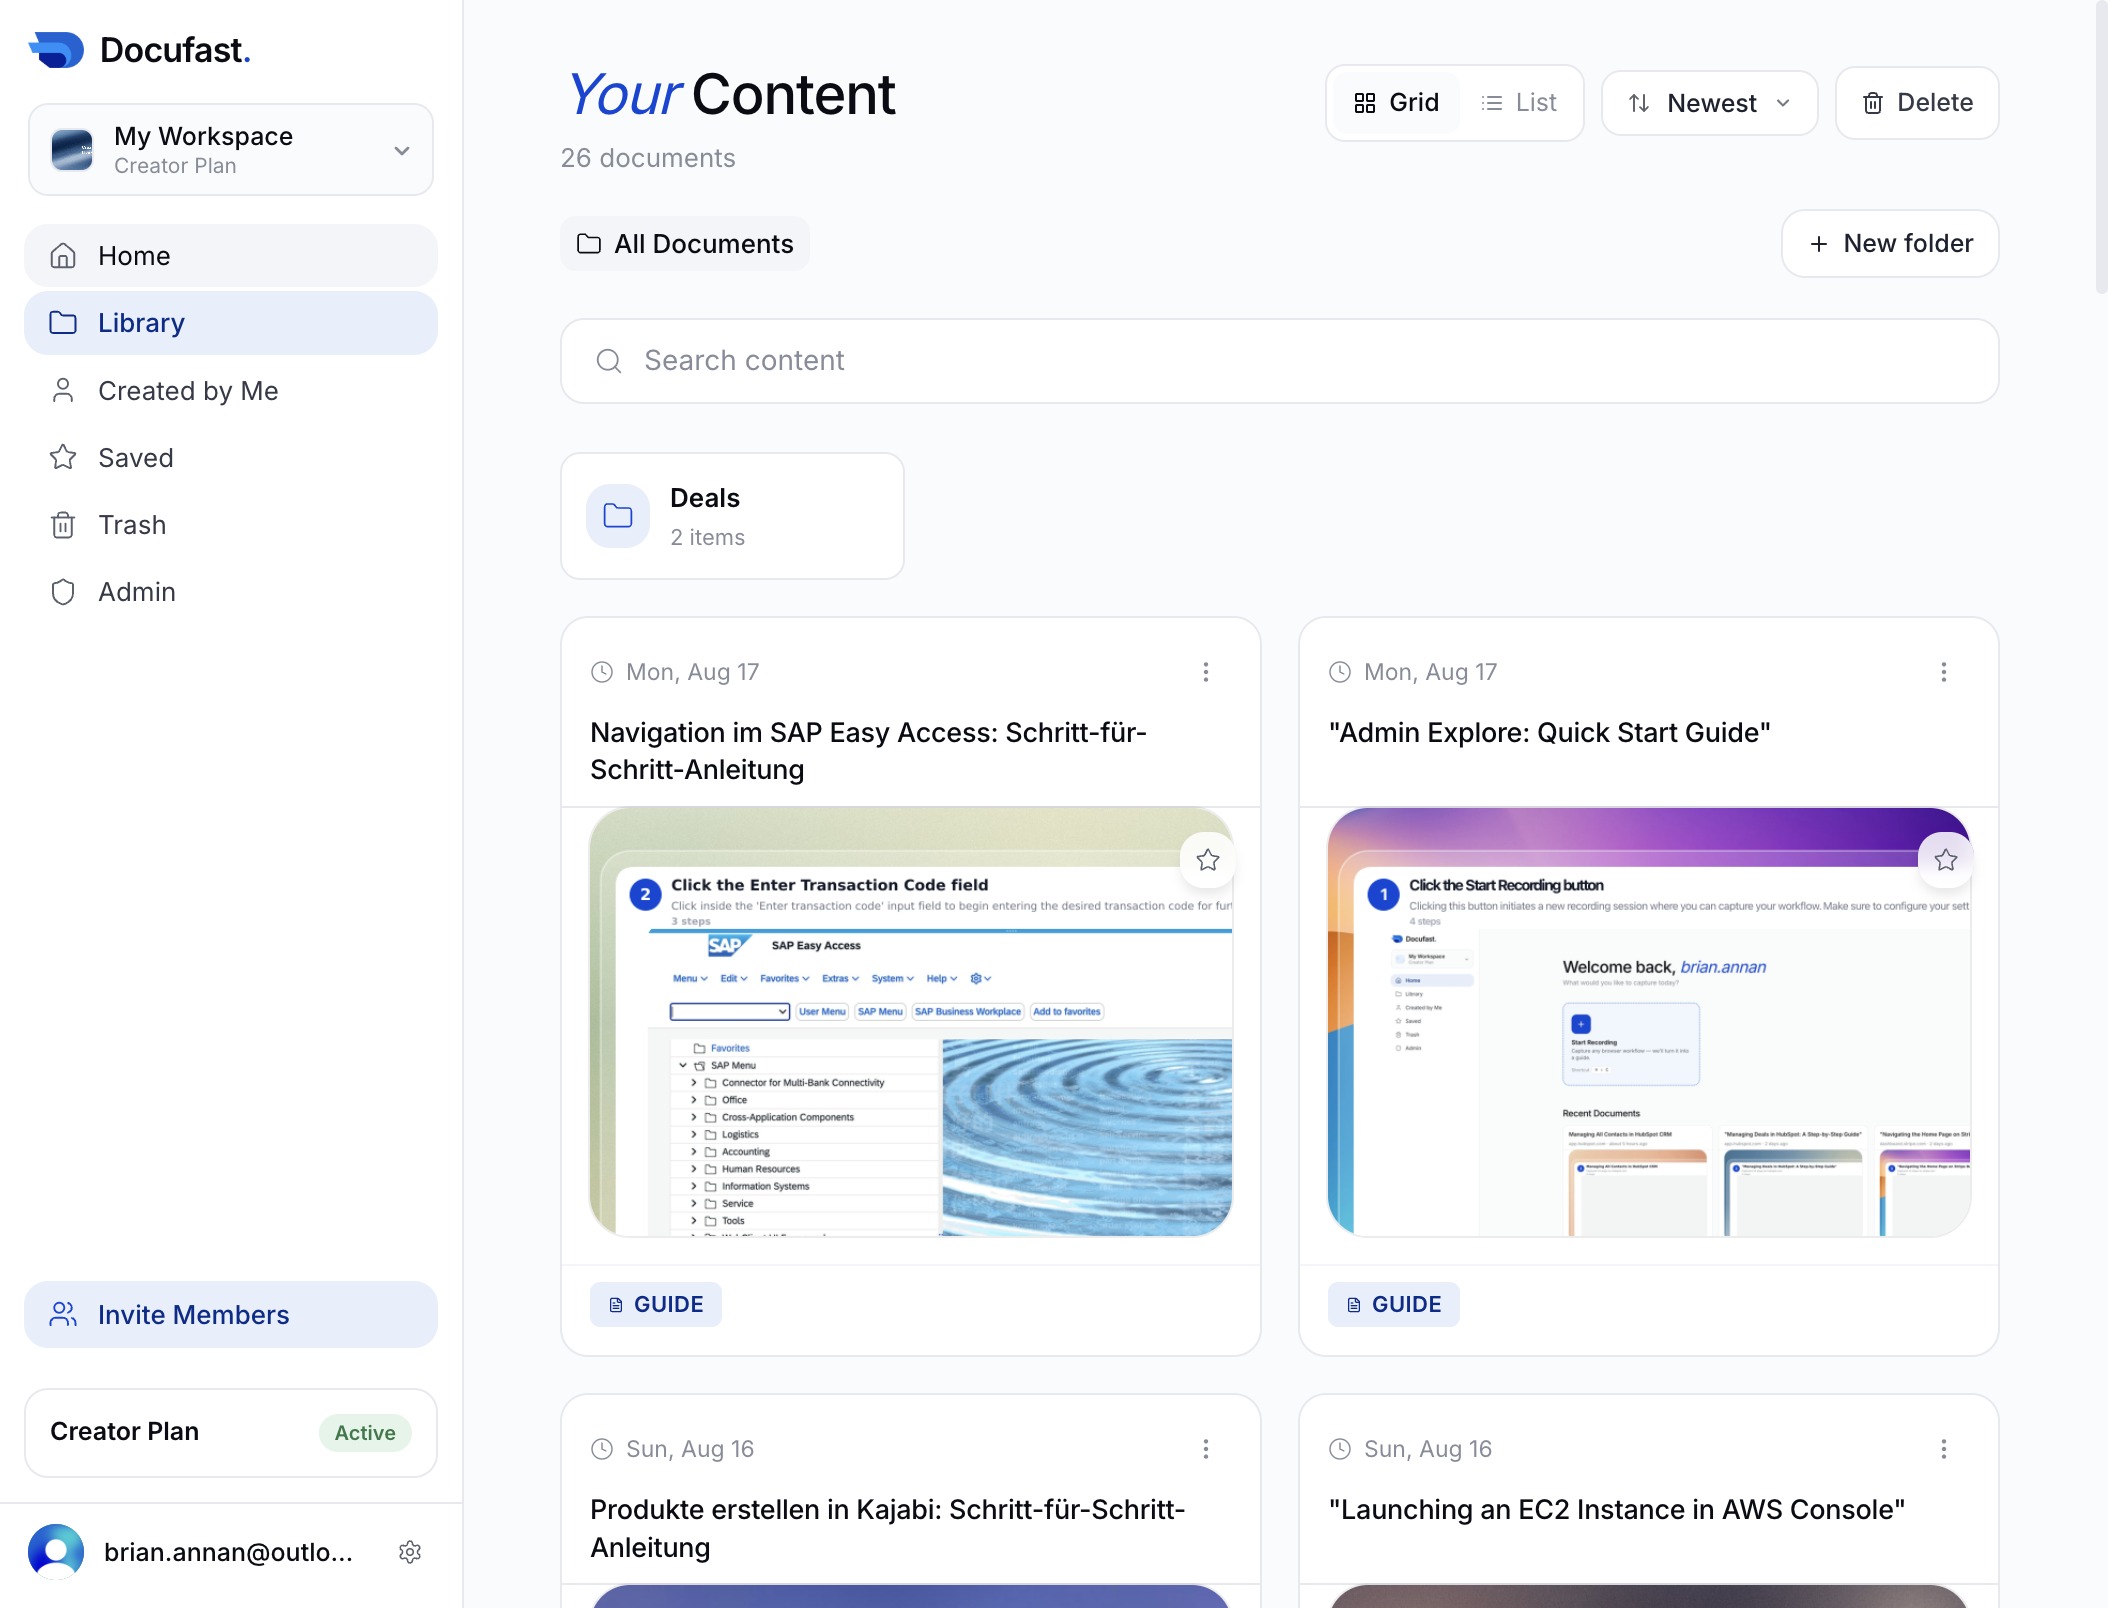
This opens the Library section where you can view and manage your saved documents and resources.
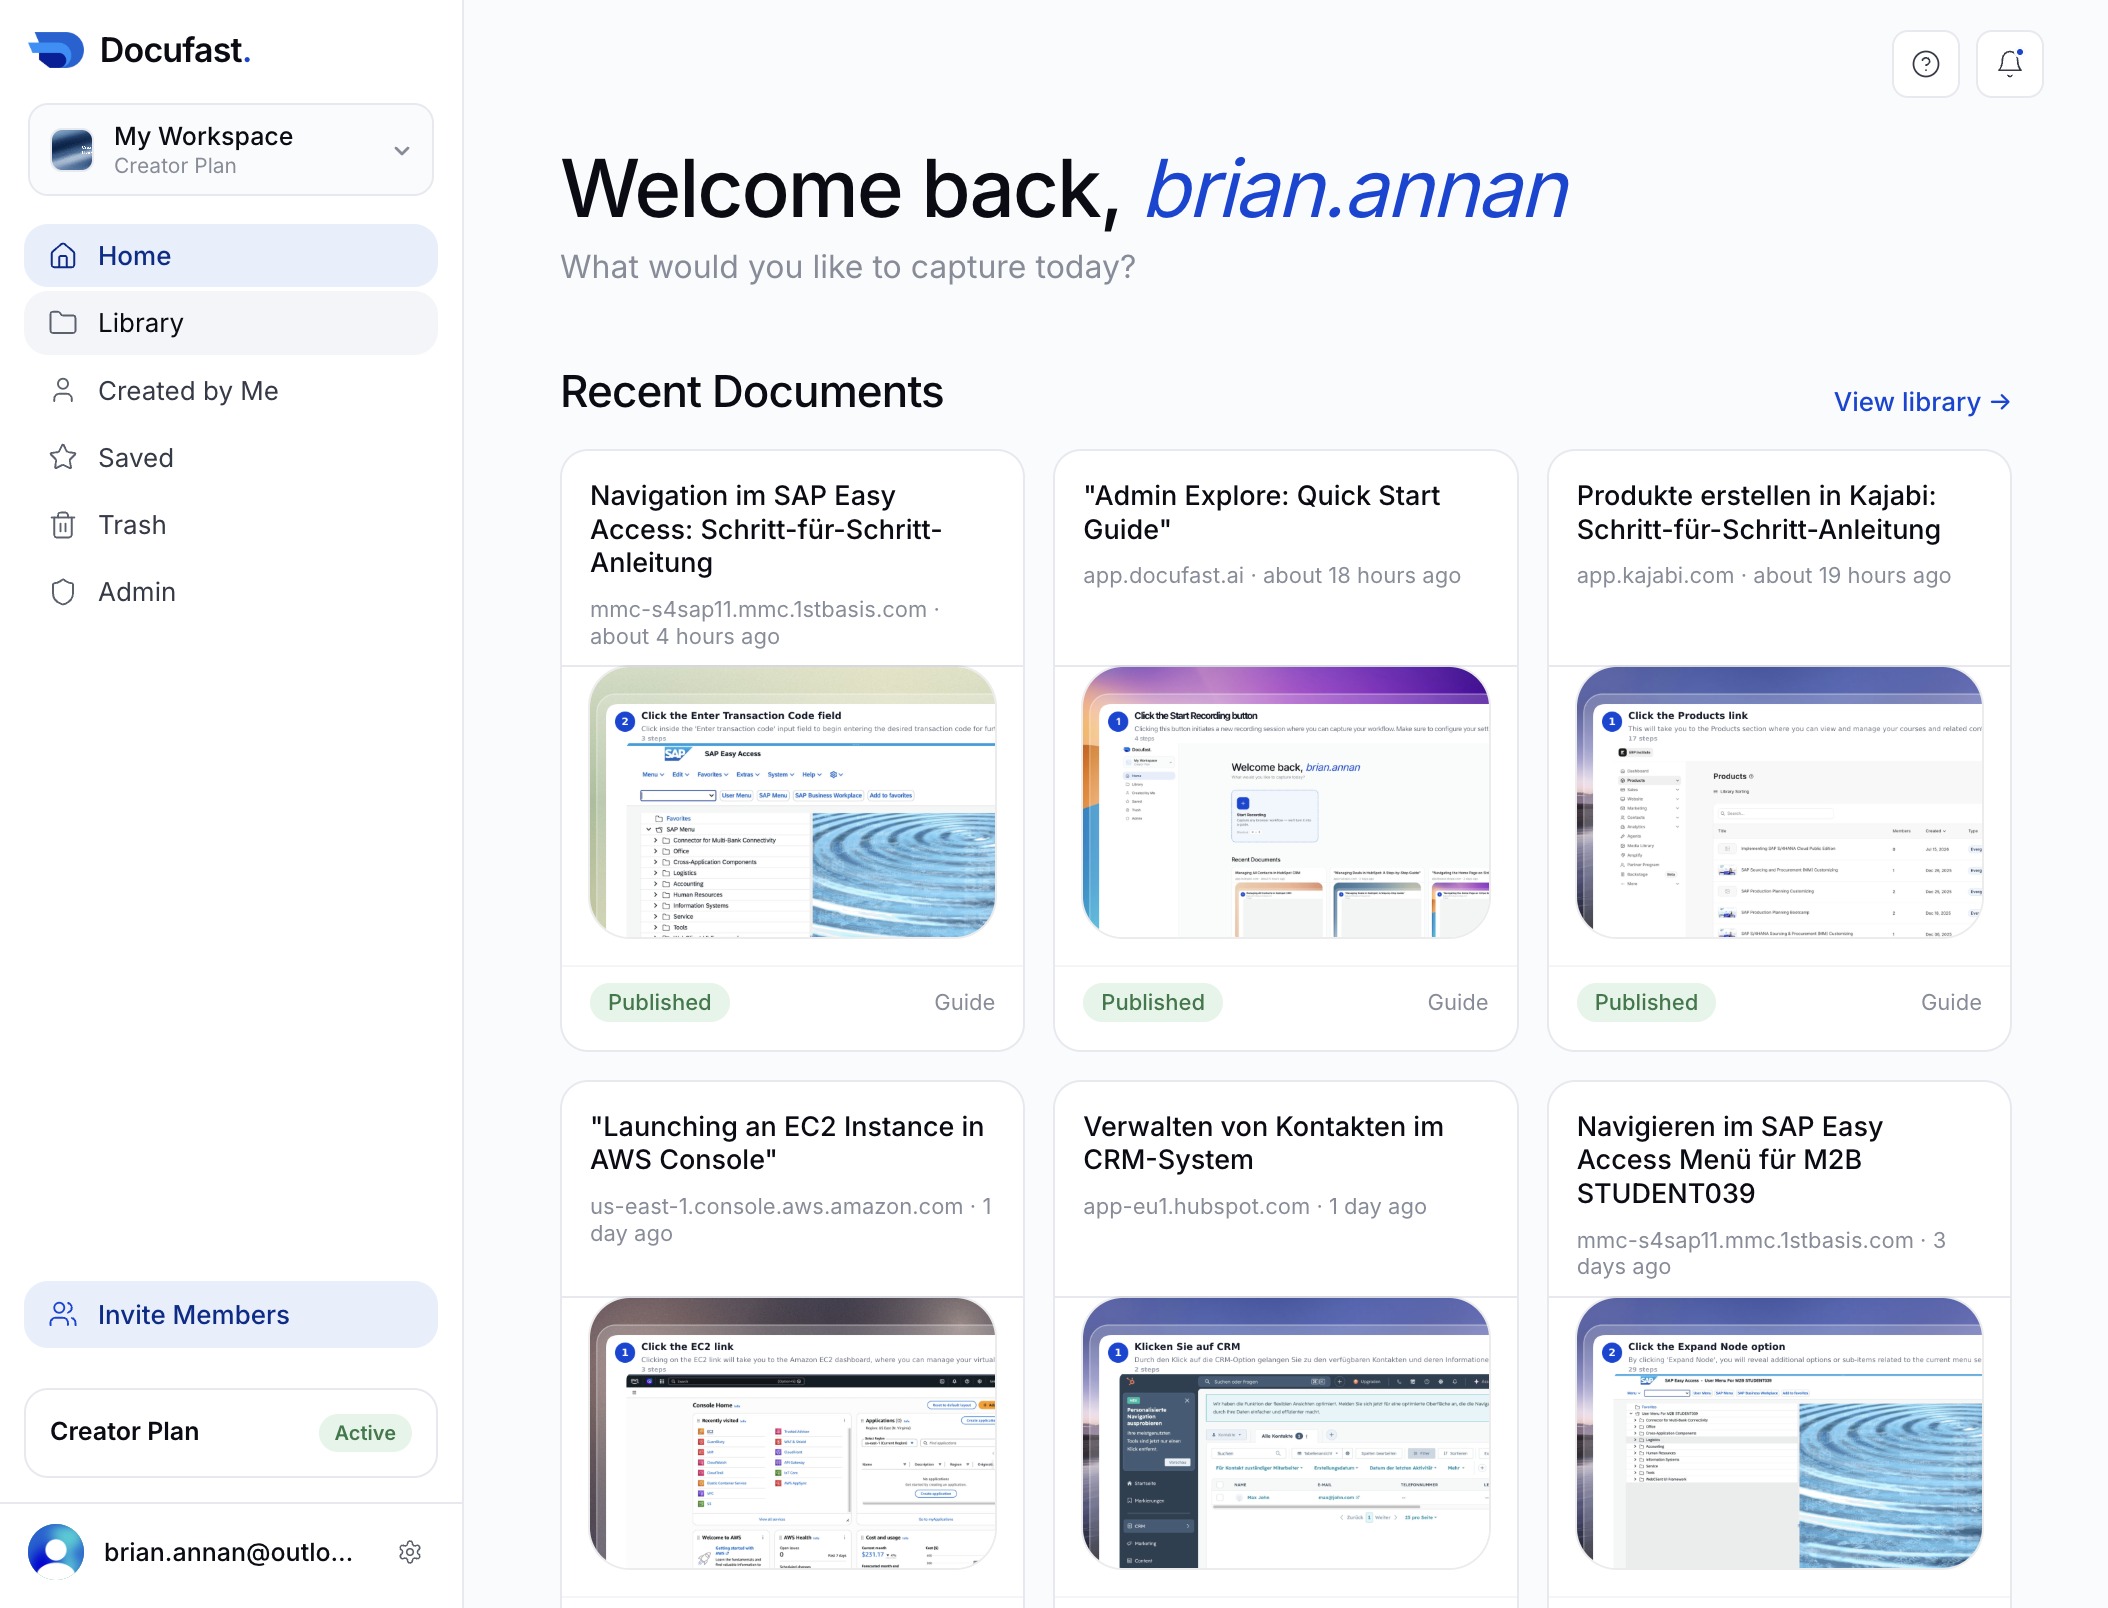
This will filter your documents to show only those you have created, providing a focused view of your content.
This action confirms that your current document or changes have been saved successfully to the 'Saved' section of your workspace.
This action will navigate you to the Trash section, where you can view and manage deleted items.
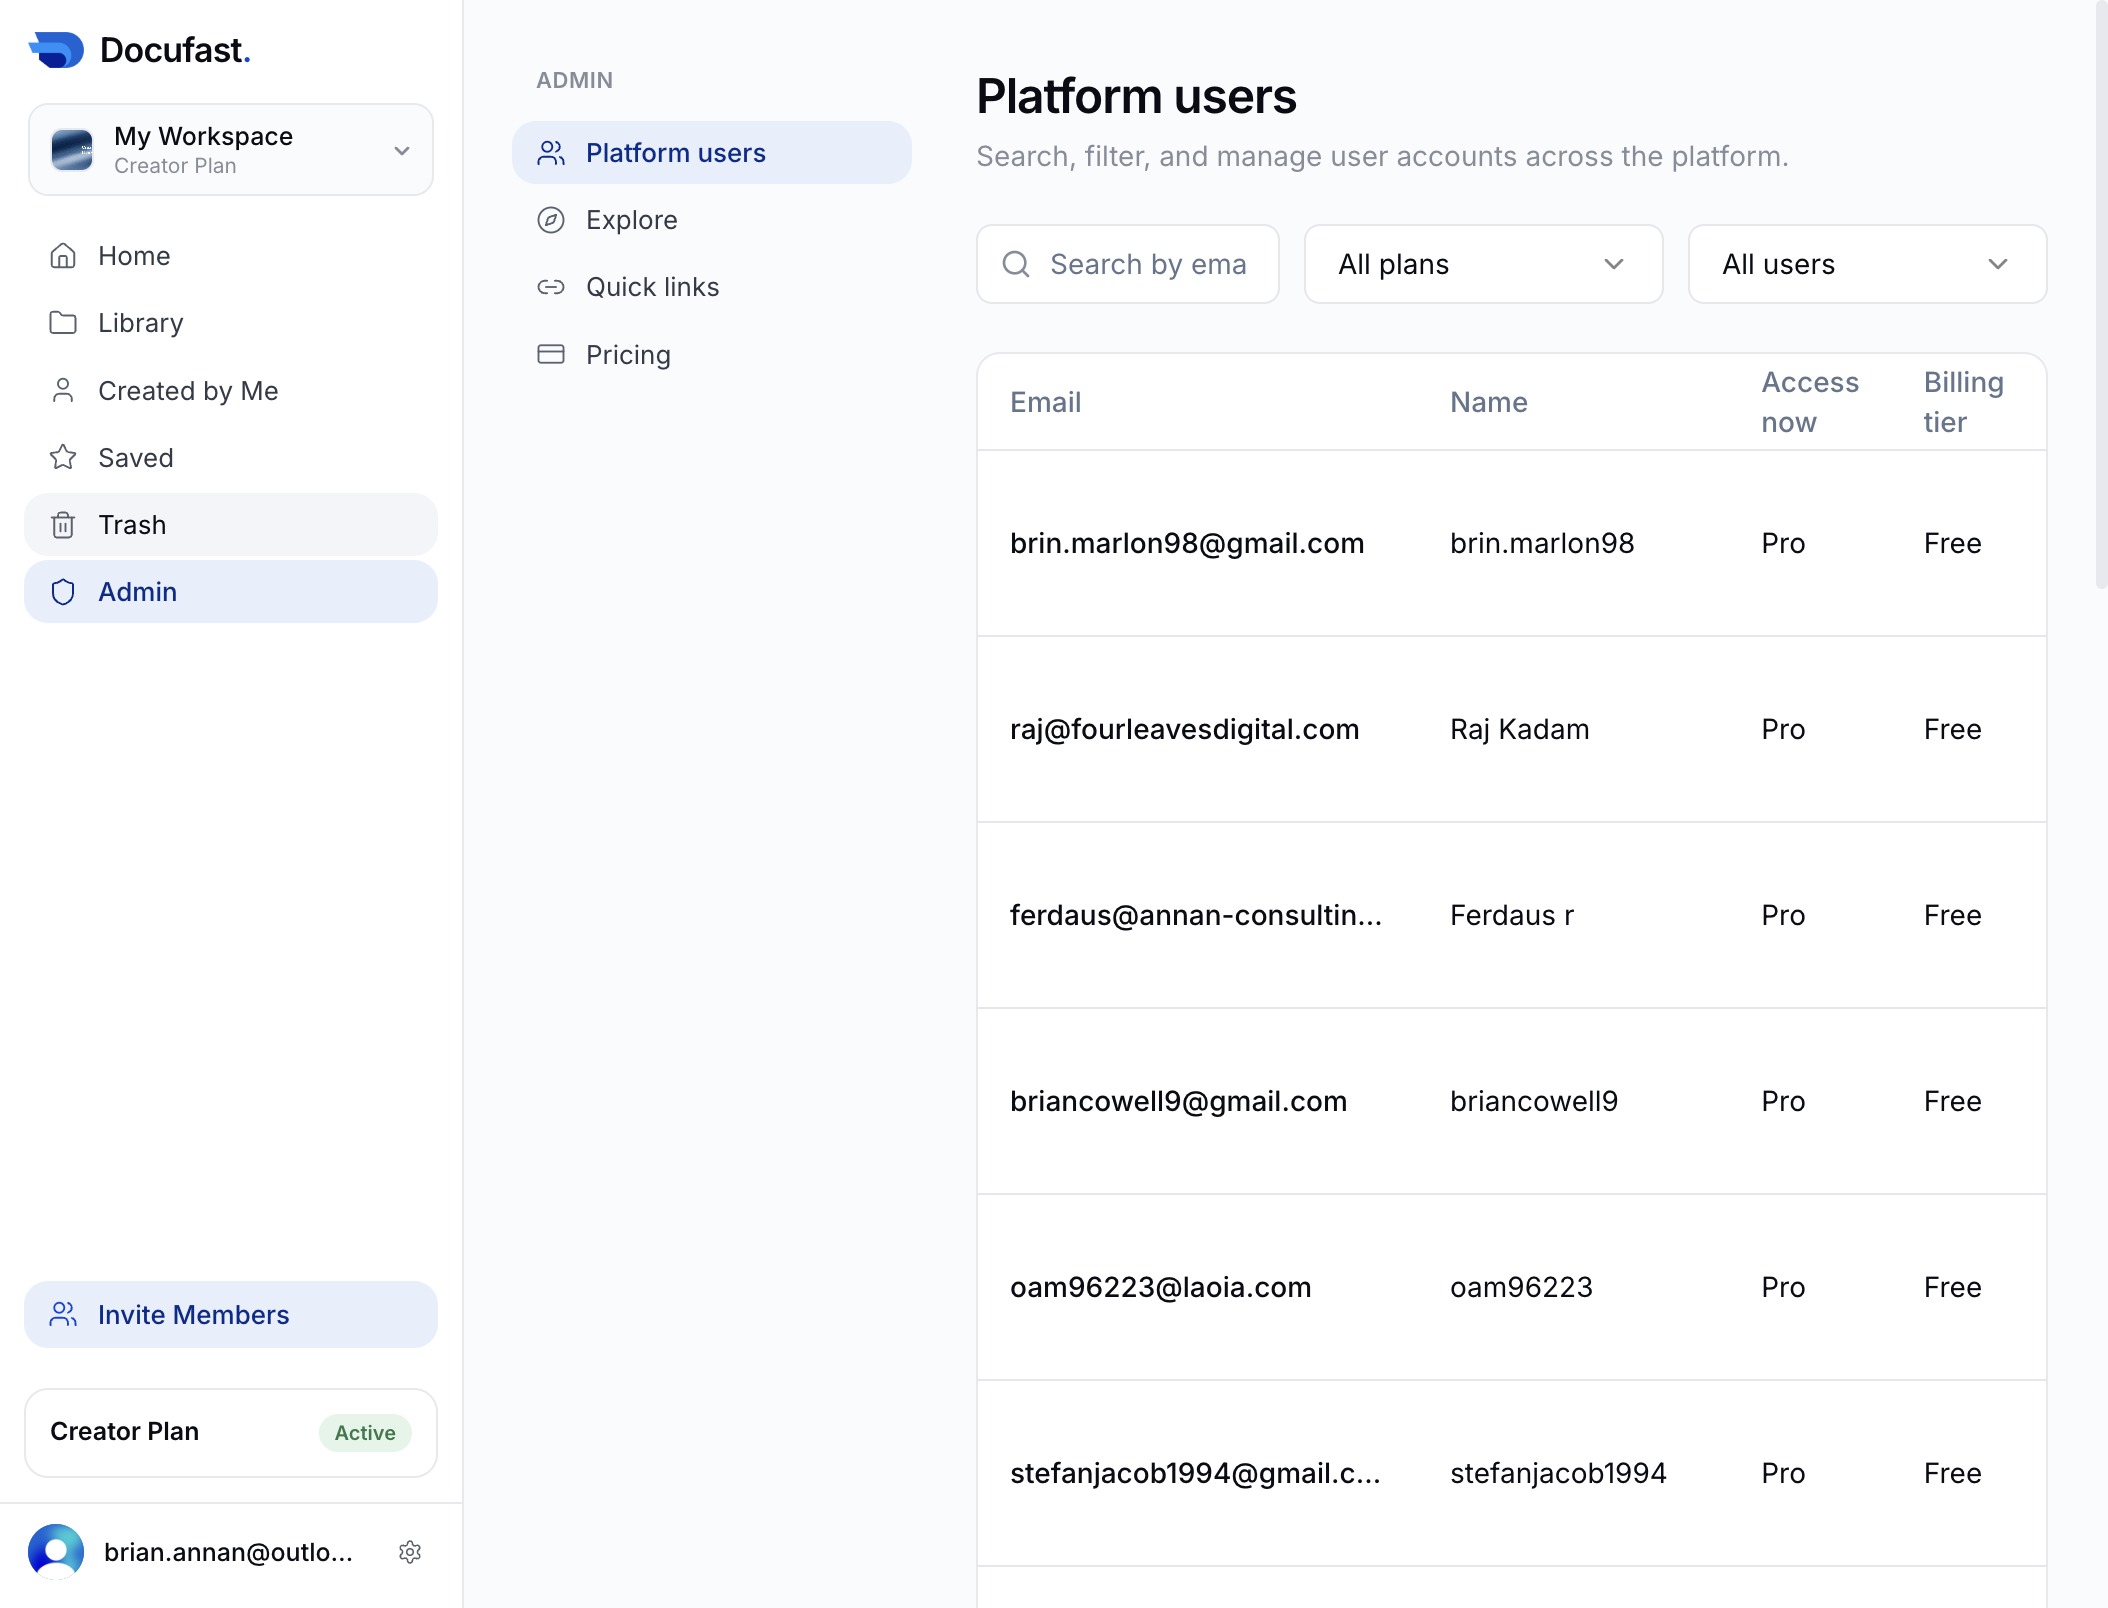
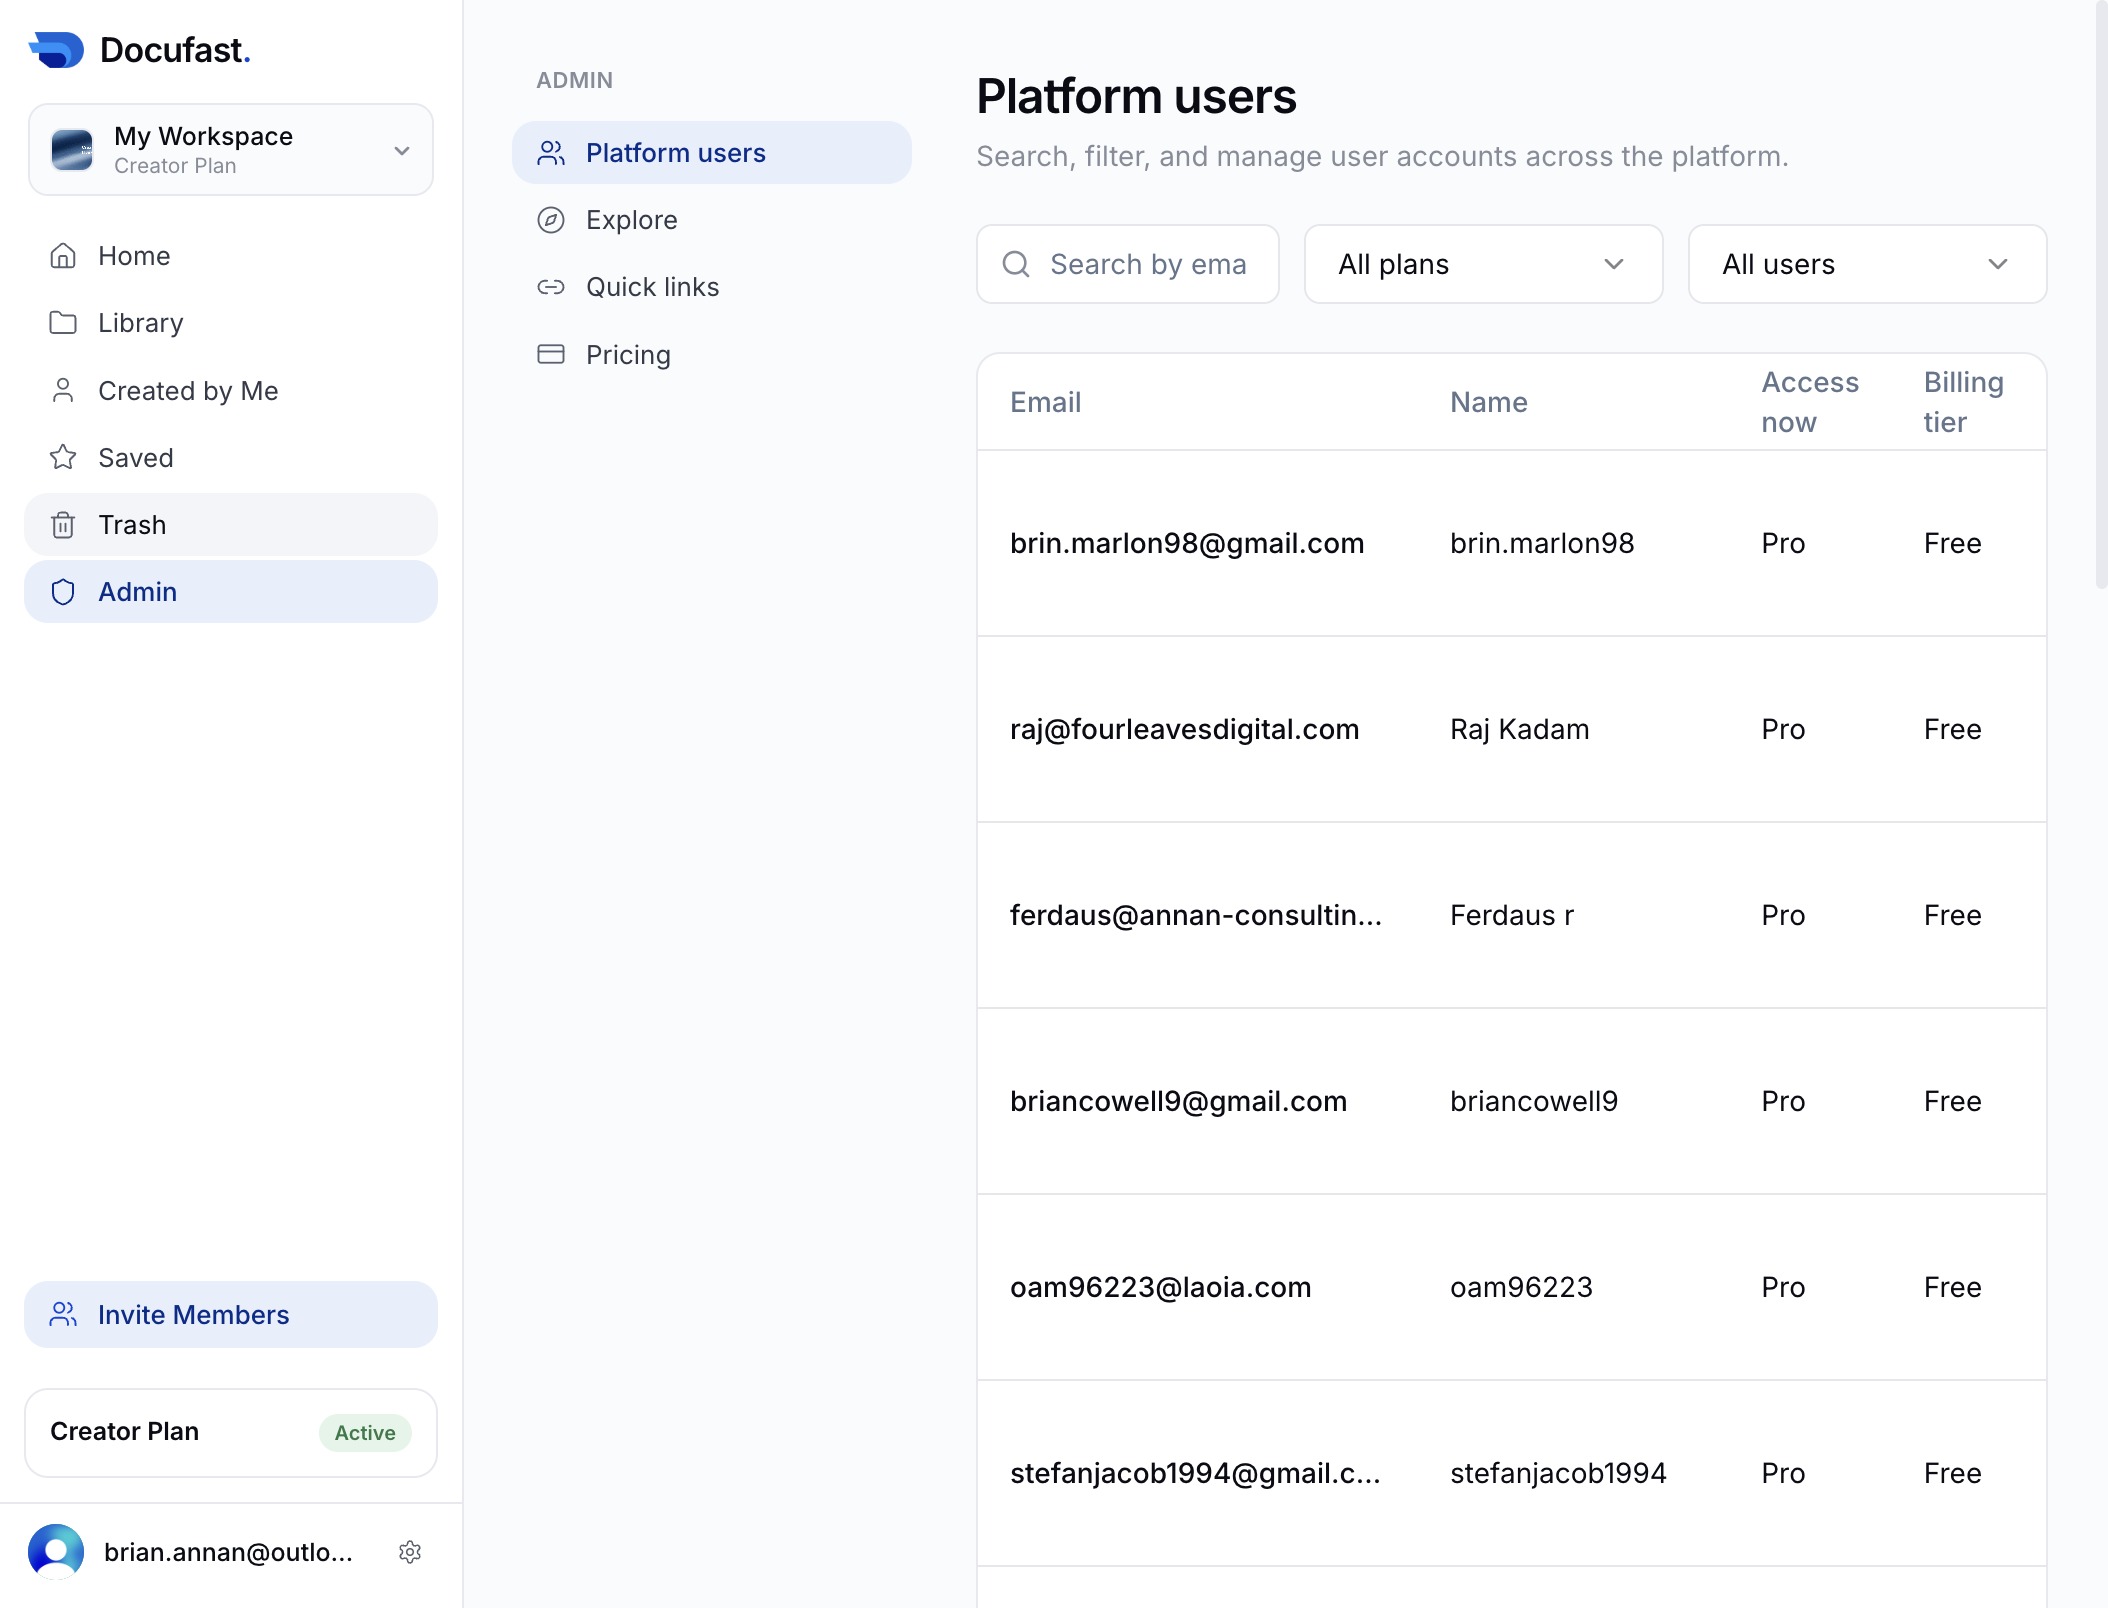
This will take you to the Admin section where you can manage user settings and permissions.
Selecting the Trash link will direct you to the section where you can view and manage deleted items in your workspace.
This action will navigate you to the Saved items area where you can access documents and files that you've marked for easy retrieval.
This will display documents and content you've authored, allowing you to easily access your work within the platform.
This action will direct you to the Library section where you can access and manage your saved documents and guides.
Clicking the 'Home' link will navigate you back to the main dashboard of your workspace, where you can access your documents and settings.
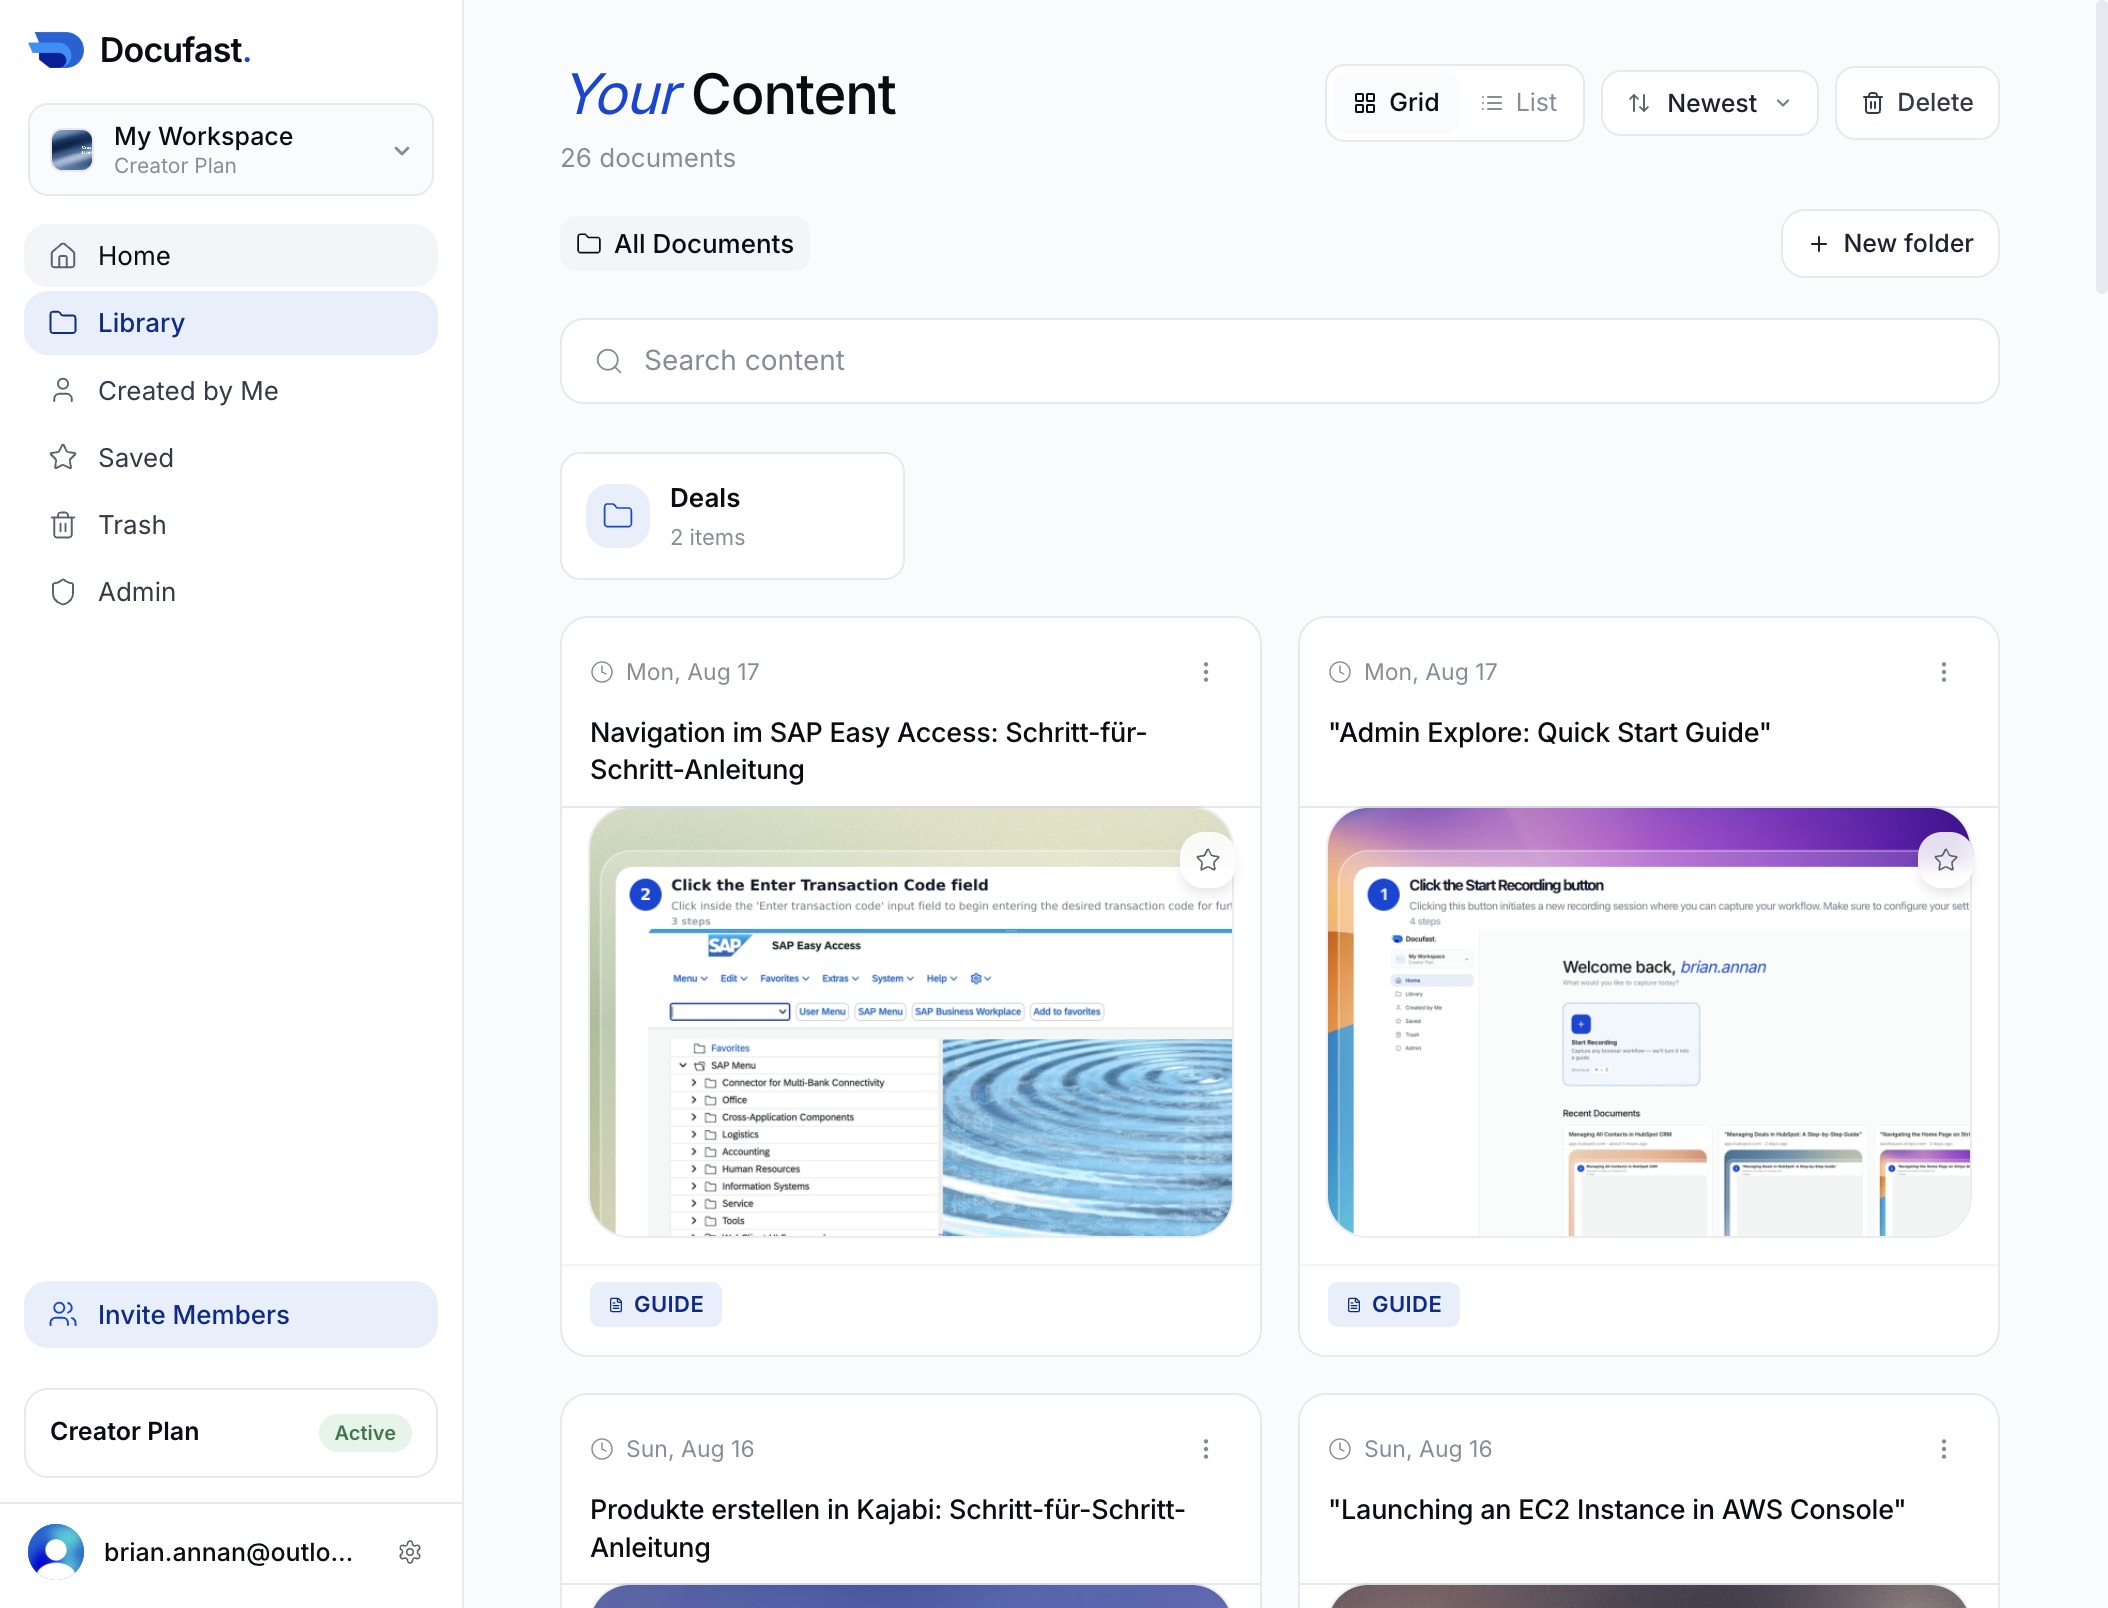
By clicking on the Library option, you will access a repository of your recently created documents and saved materials within Docufast.
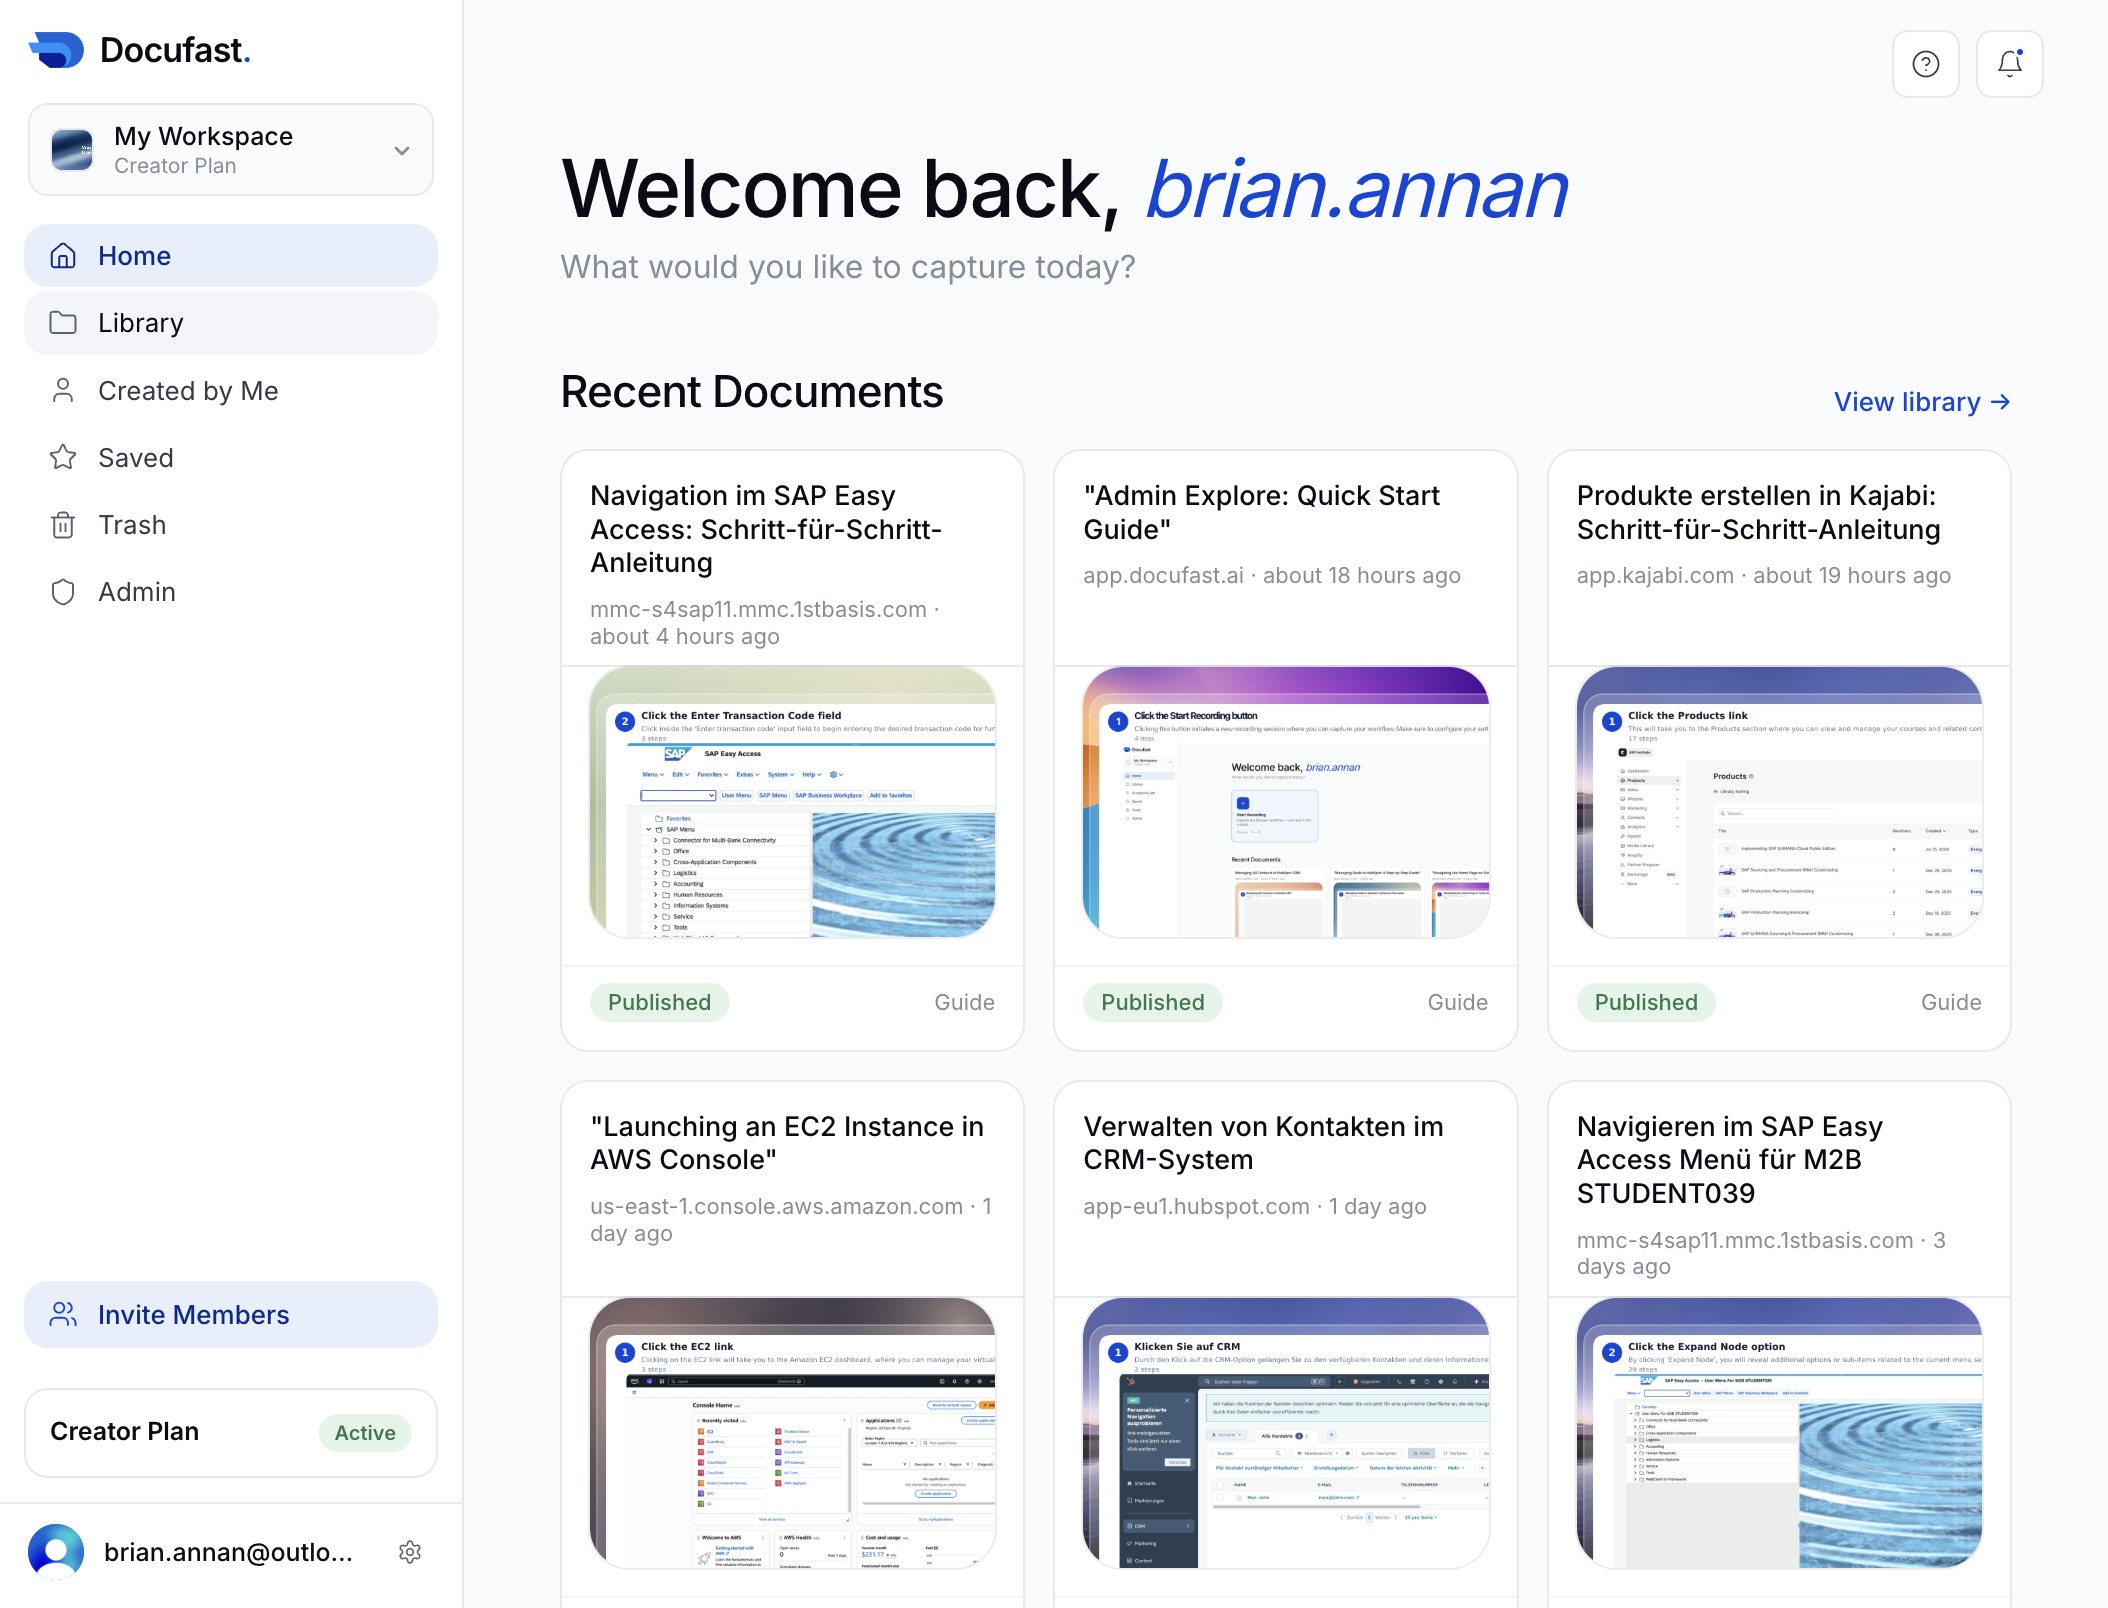
This action displays all documents that you have created within your workspace. You will be able to view and manage your personal files easily.
Clicking the 'Saved' label confirms that your recent changes have been successfully stored. You can now proceed to view or edit your documents in the 'Created by Me' section.
This action will navigate you to the Trash section, where you can manage deleted documents and review items that may be permanently removed from your workspace.
Clicking the Admin link will redirect you to the administration settings, where you can manage user roles, permissions, and other administrative tasks.
This action will open the Trash section where you can manage deleted items from your workspace on the platform.
This action will navigate you to the Saved items, allowing you to view and manage the documents you've saved for quick access.
Clicking the Trash option will take you to the folder where deleted documents are stored, allowing you to review or permanently delete your items.
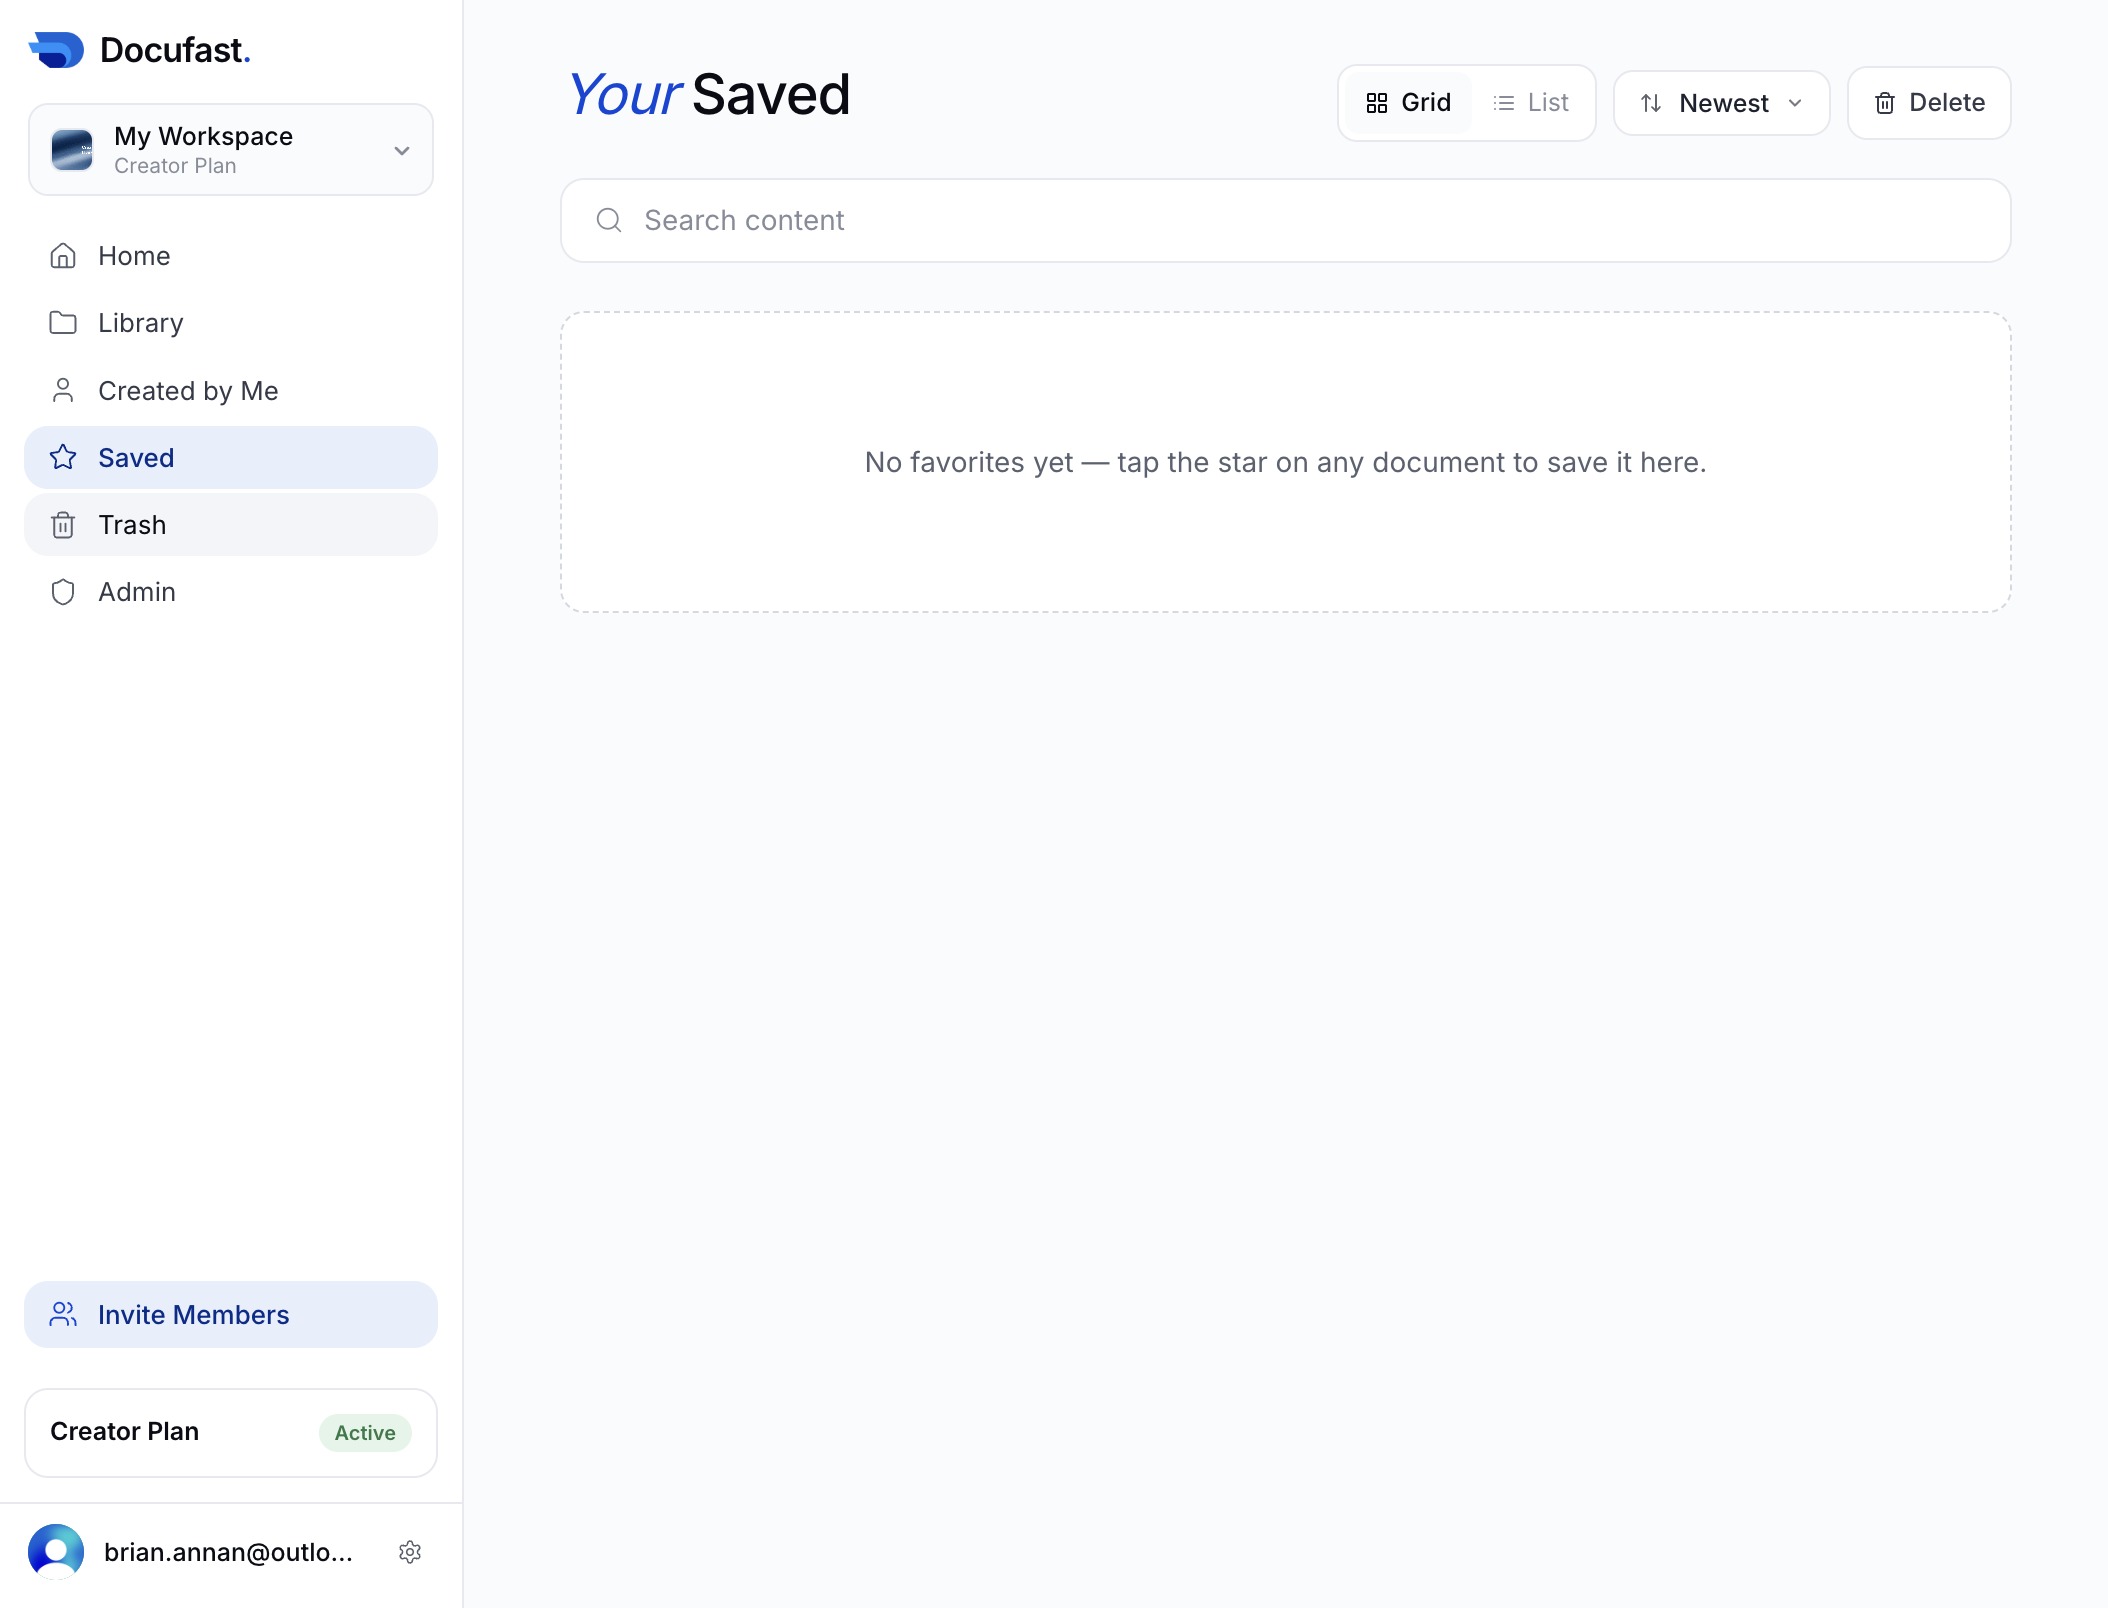
This action will take you to the Saved section where you can view and manage your saved items. If the section is empty, it will indicate that there are currently no saved items.
Selecting 'Created by Me' displays all documents that you have authored, allowing you to manage and review your own files.