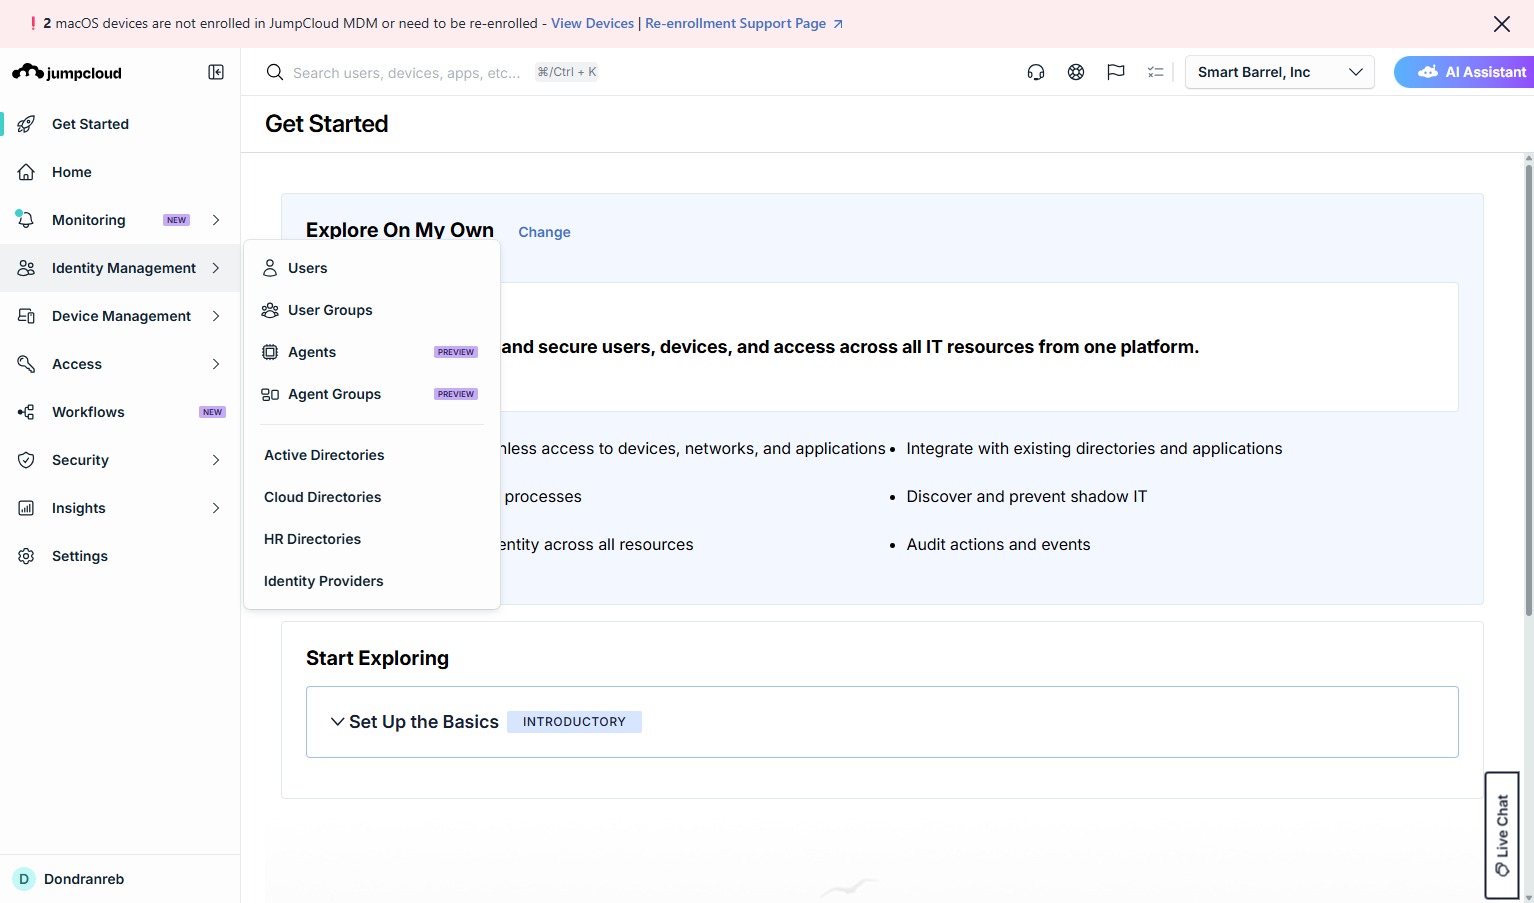
Click Identity Management
Select Identity Management. This opens the section where you manage user categories and permissions across your organization.
Loading screenshot…
100%
Activate new users in the JumpCloud Admin Portal by importing them from Google Workspace, managing their accounts, and ensuring they have the permissions they need.
 don
donActivate new users in the JumpCloud Admin Portal by importing them from Google Workspace, managing their accounts, and ensuring they have the permissions they need.
Select Identity Management. This opens the section where you manage user categories and permissions across your organization.
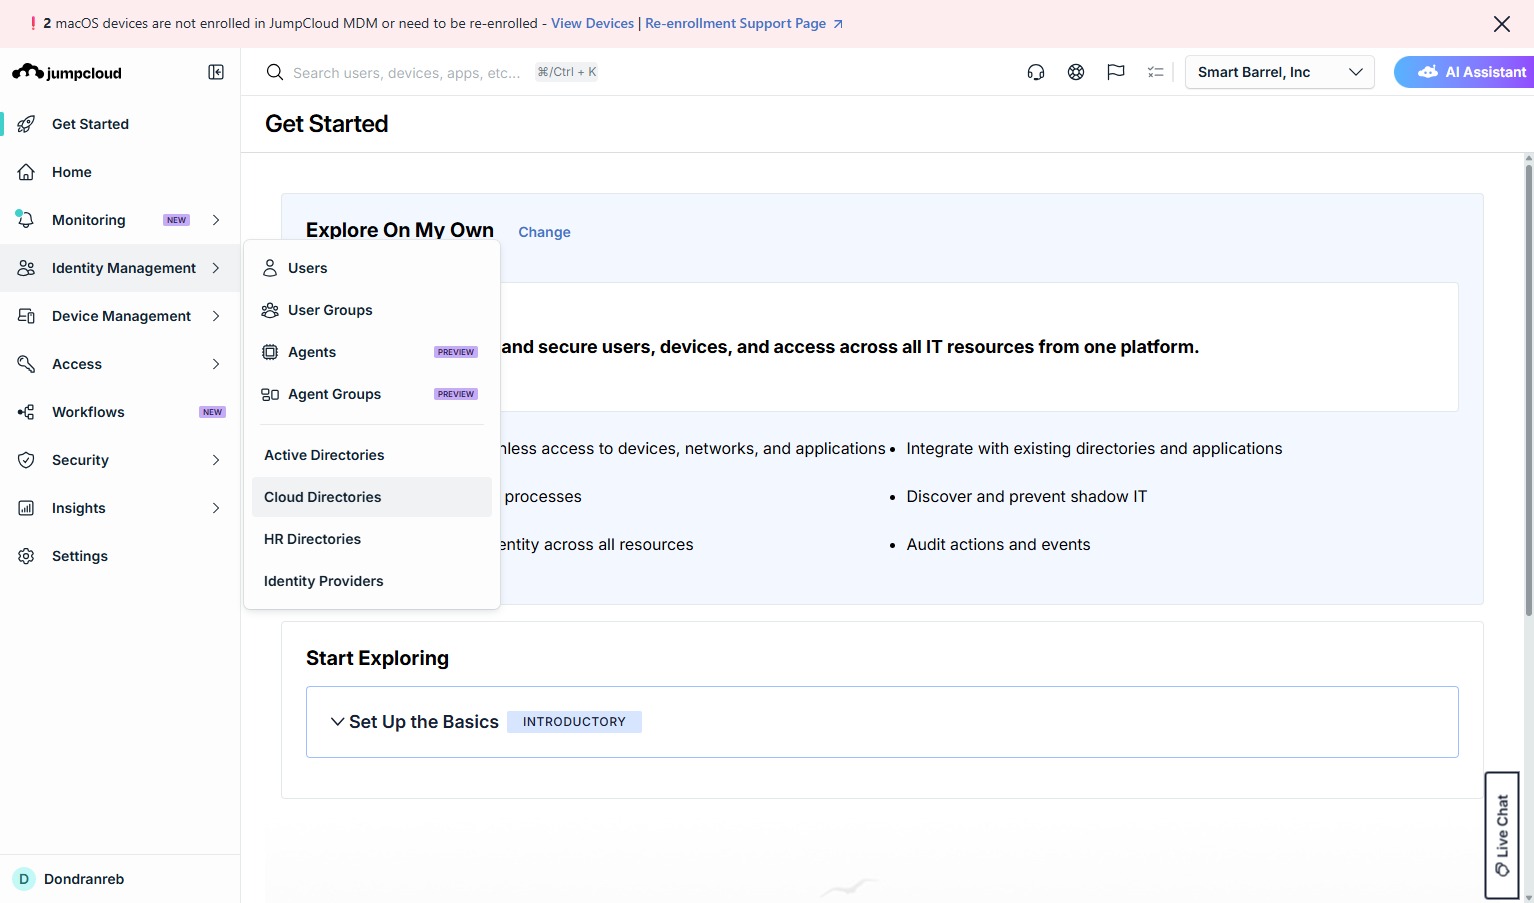
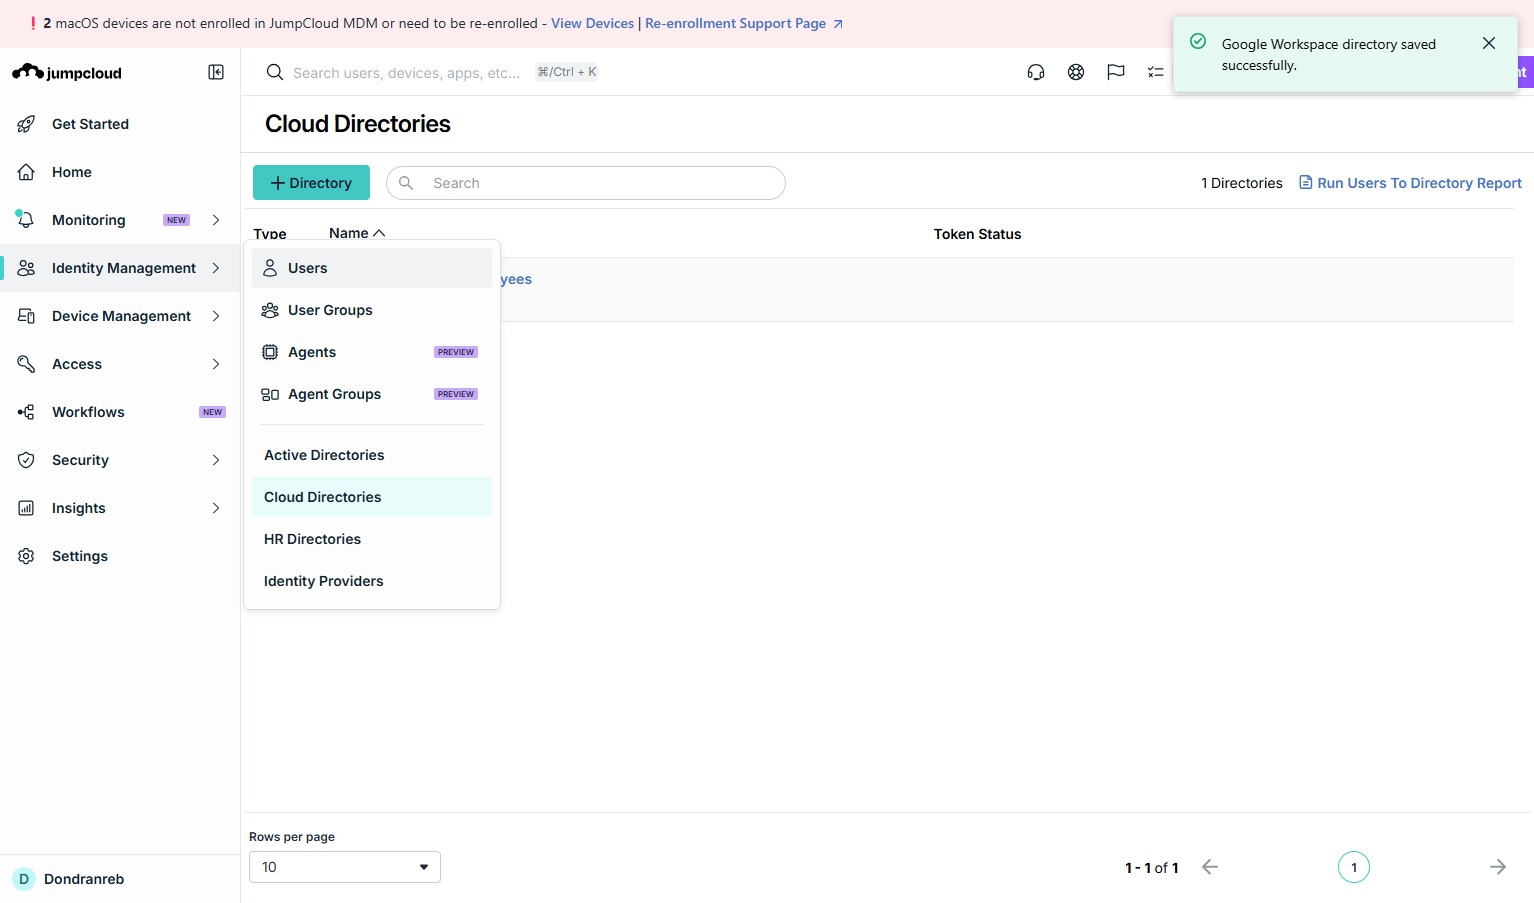
Select Cloud Directories. This is where you manage user directories and directory integrations across your IT infrastructure.
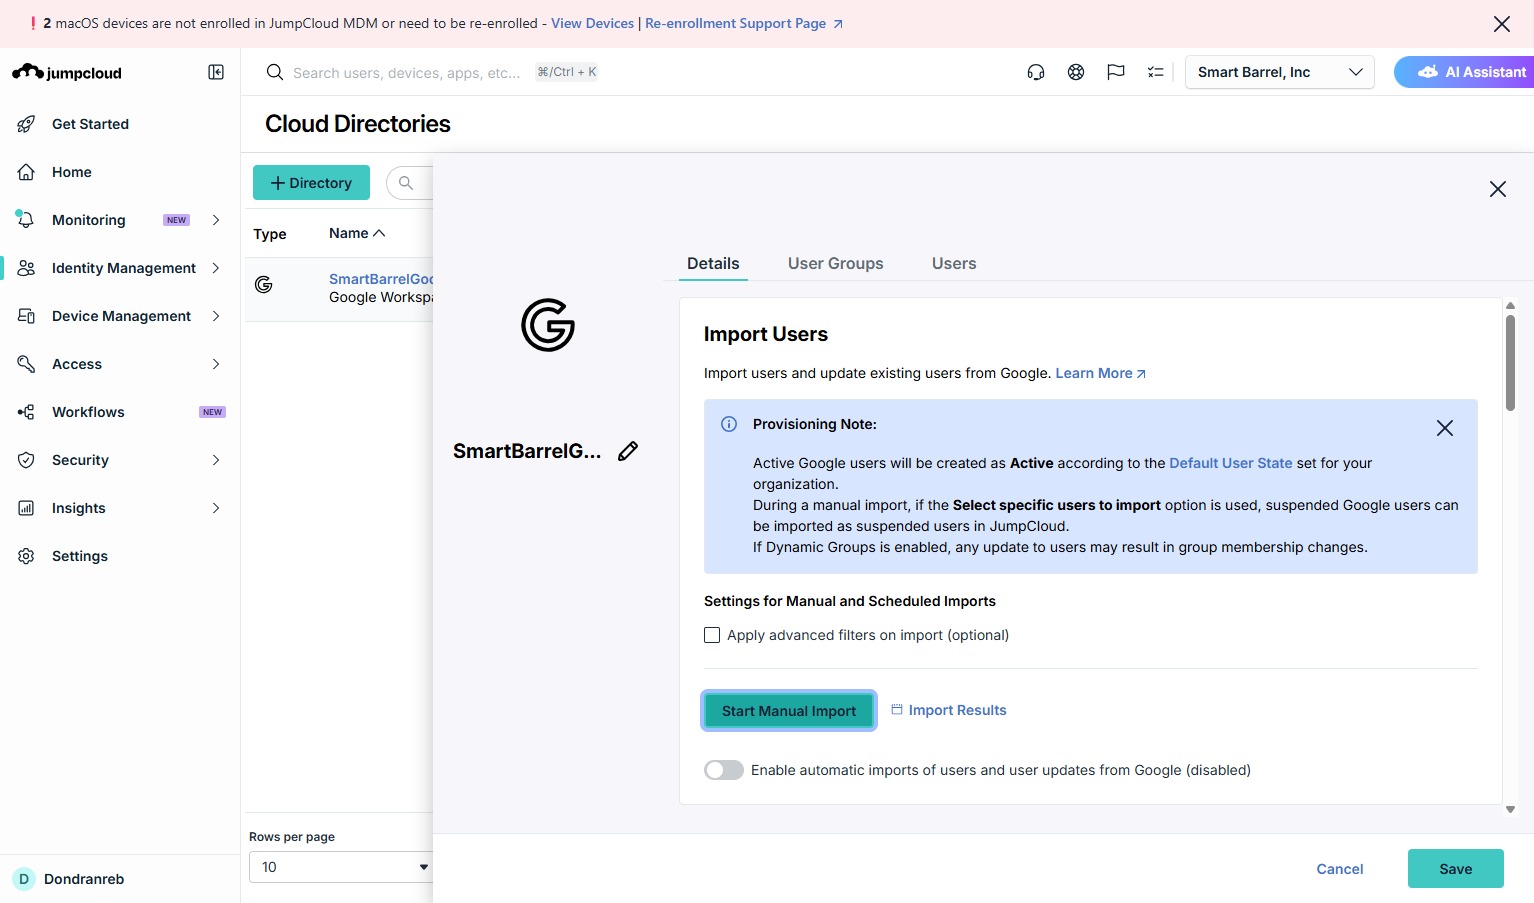
Open SmartBarrelGoogleEmployees to view and manage the Google Workspace directory integration and its settings.

Click Start Manual Import in the import settings. This begins the process of importing existing users from Google.
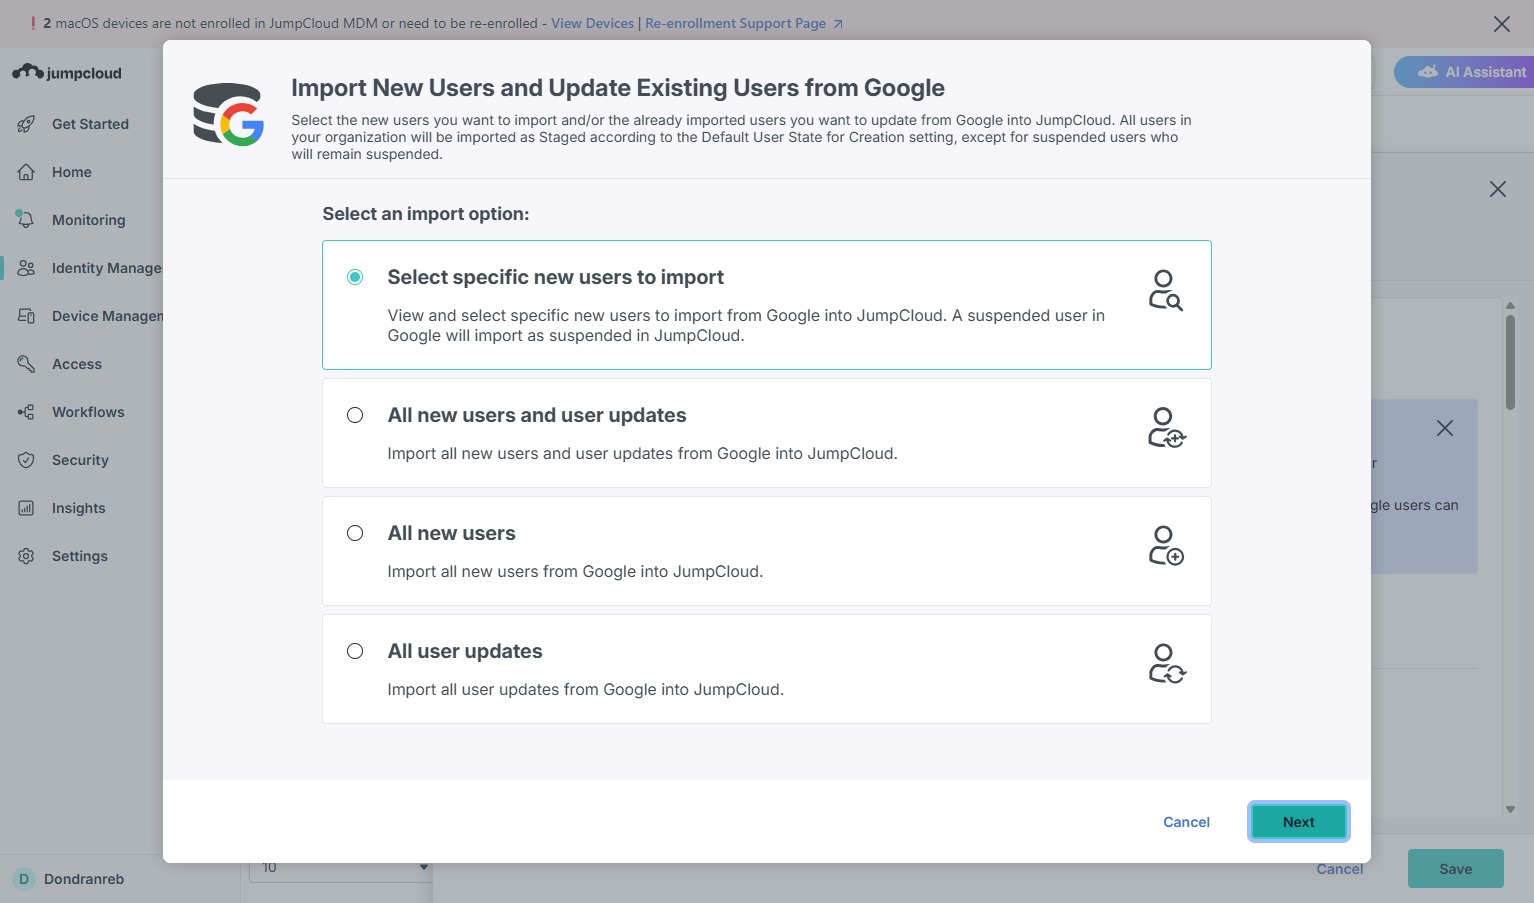
Choose the option to select specific new users from Google. This lets you import only the users you need rather than the full directory.
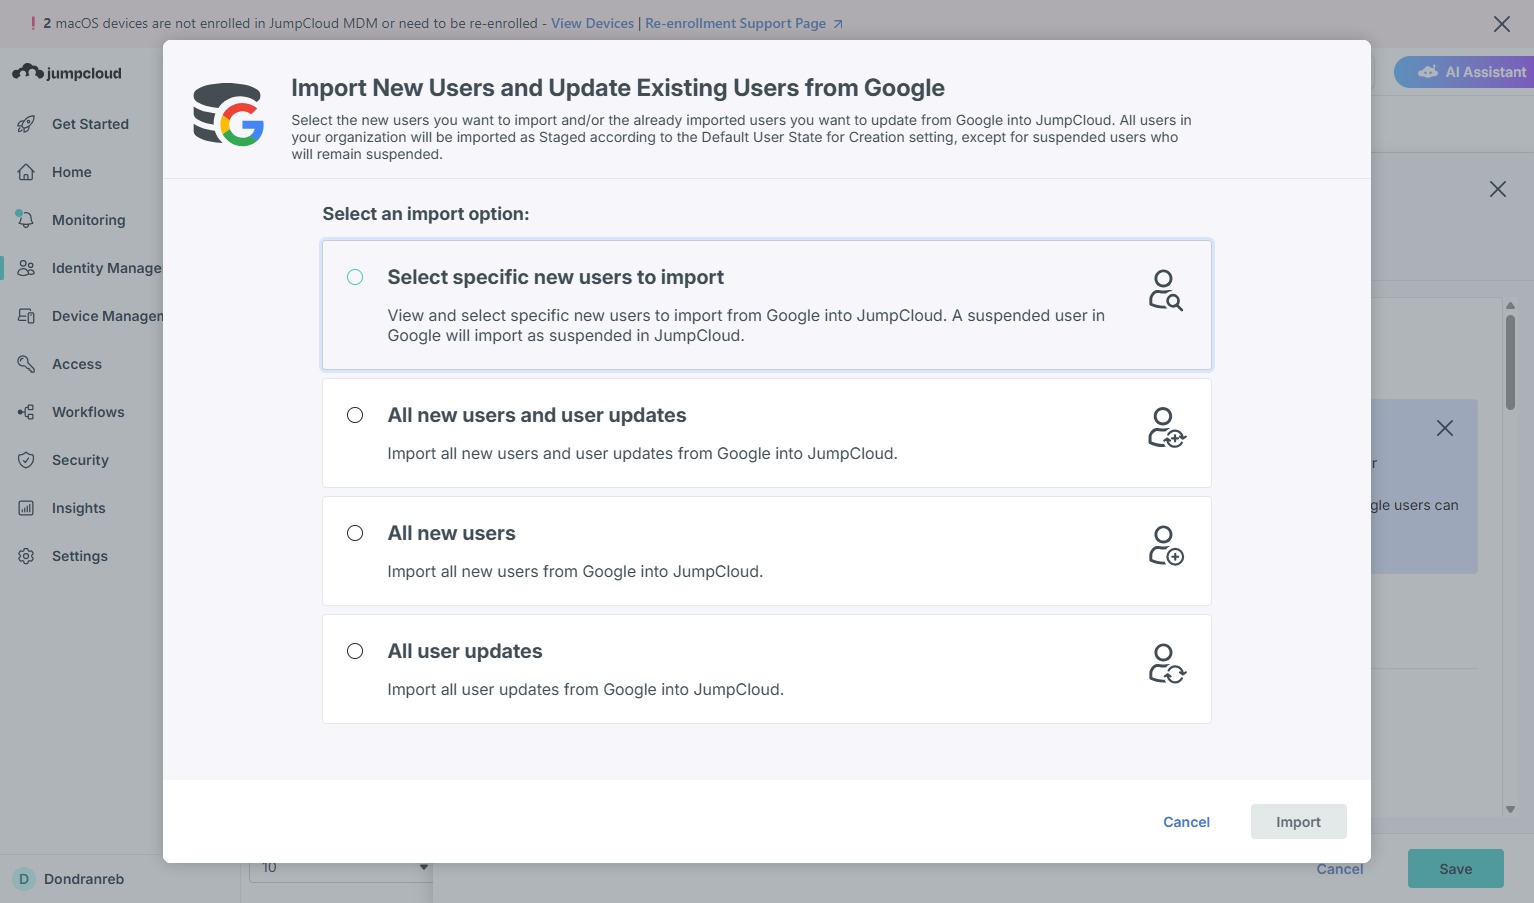
Click Next to continue with the import setup.
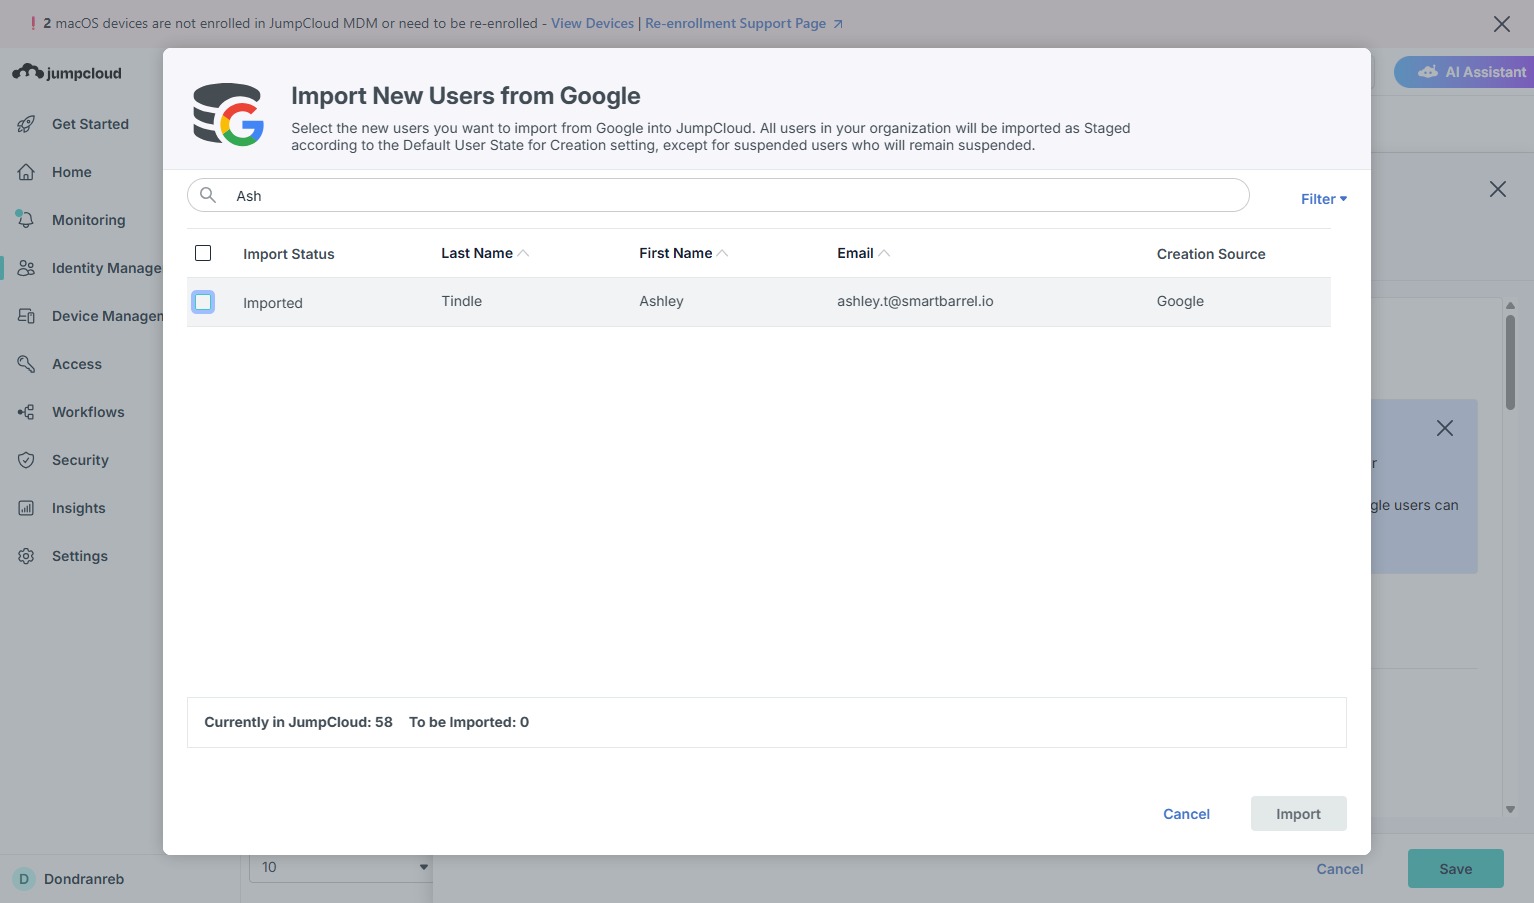
Type the employee's name in the search field to filter the user list and quickly locate the user you want to import.

Tick the checkbox next to the filtered user, then click Import. This imports the user's data from Google into JumpCloud.
Click Save to store your changes in the Cloud Directories section.

Go to the Users section, where you can view and manage user accounts, permissions, and settings.
Click the Search field at the top of the Users section.

Type the employee's name into the search field to locate the newly imported user in the list.

Click the user's name in the list to open their details and account settings.

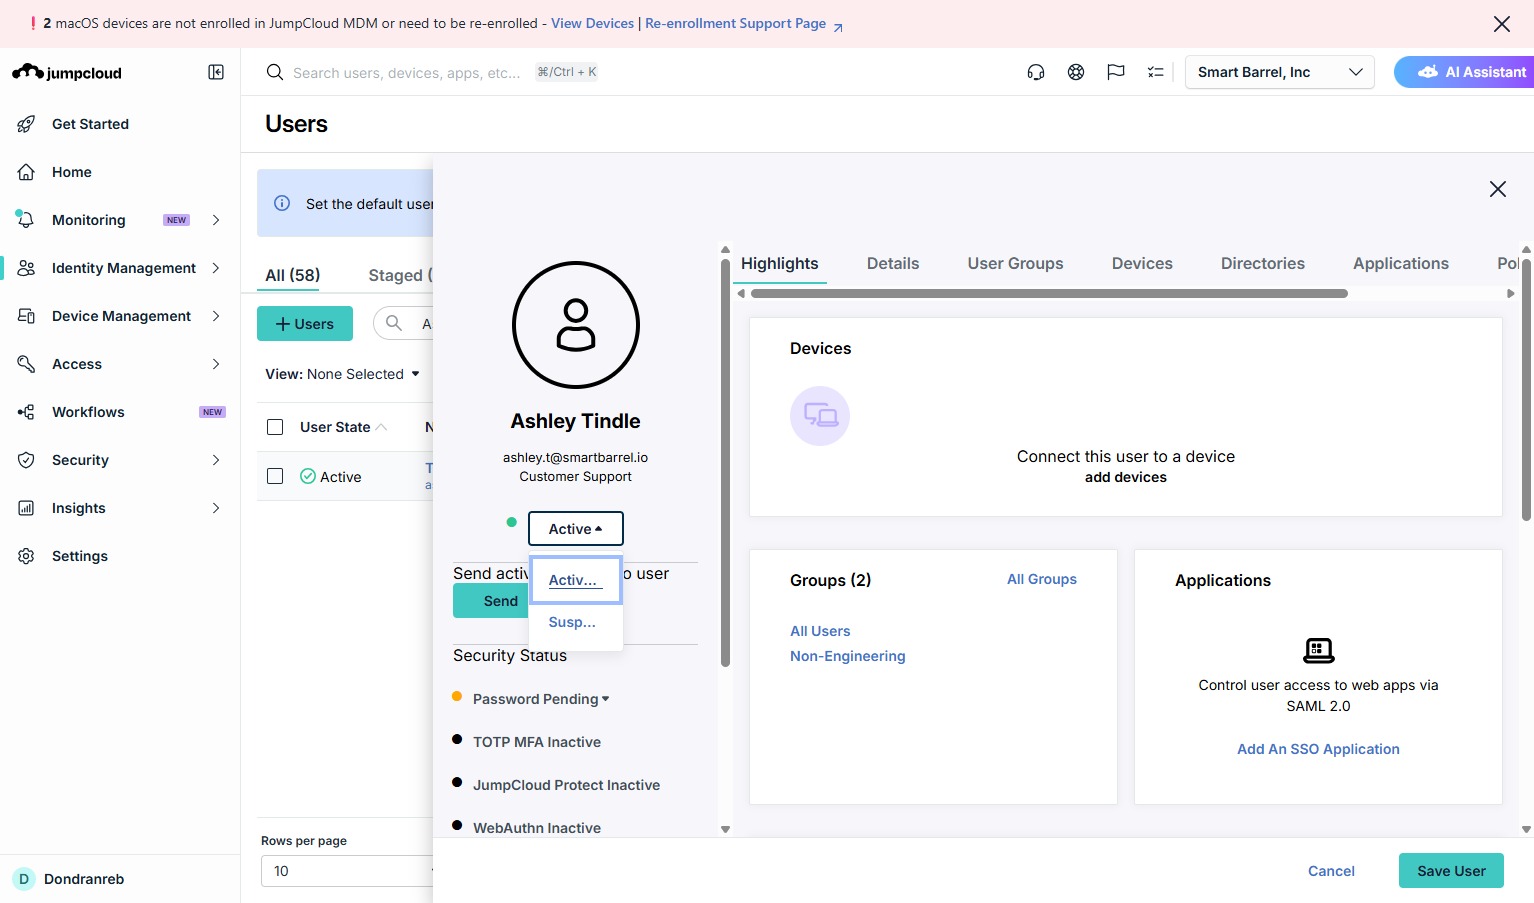
Click the user's status. This is where you manage the user's activity state, which controls their access.
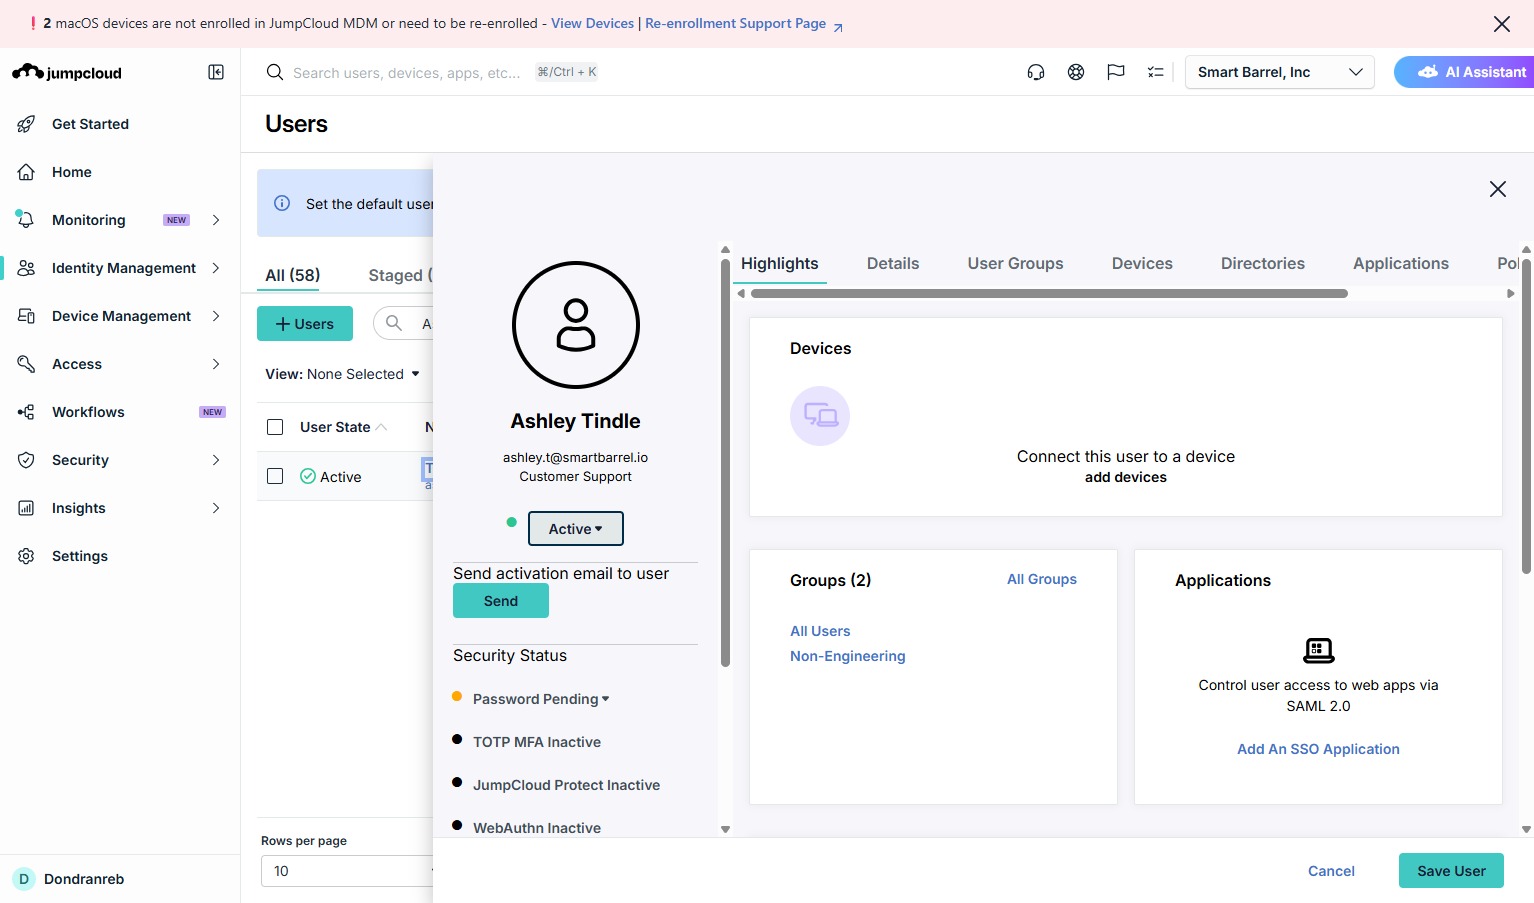
Select Activate to enable the user's access to the system.
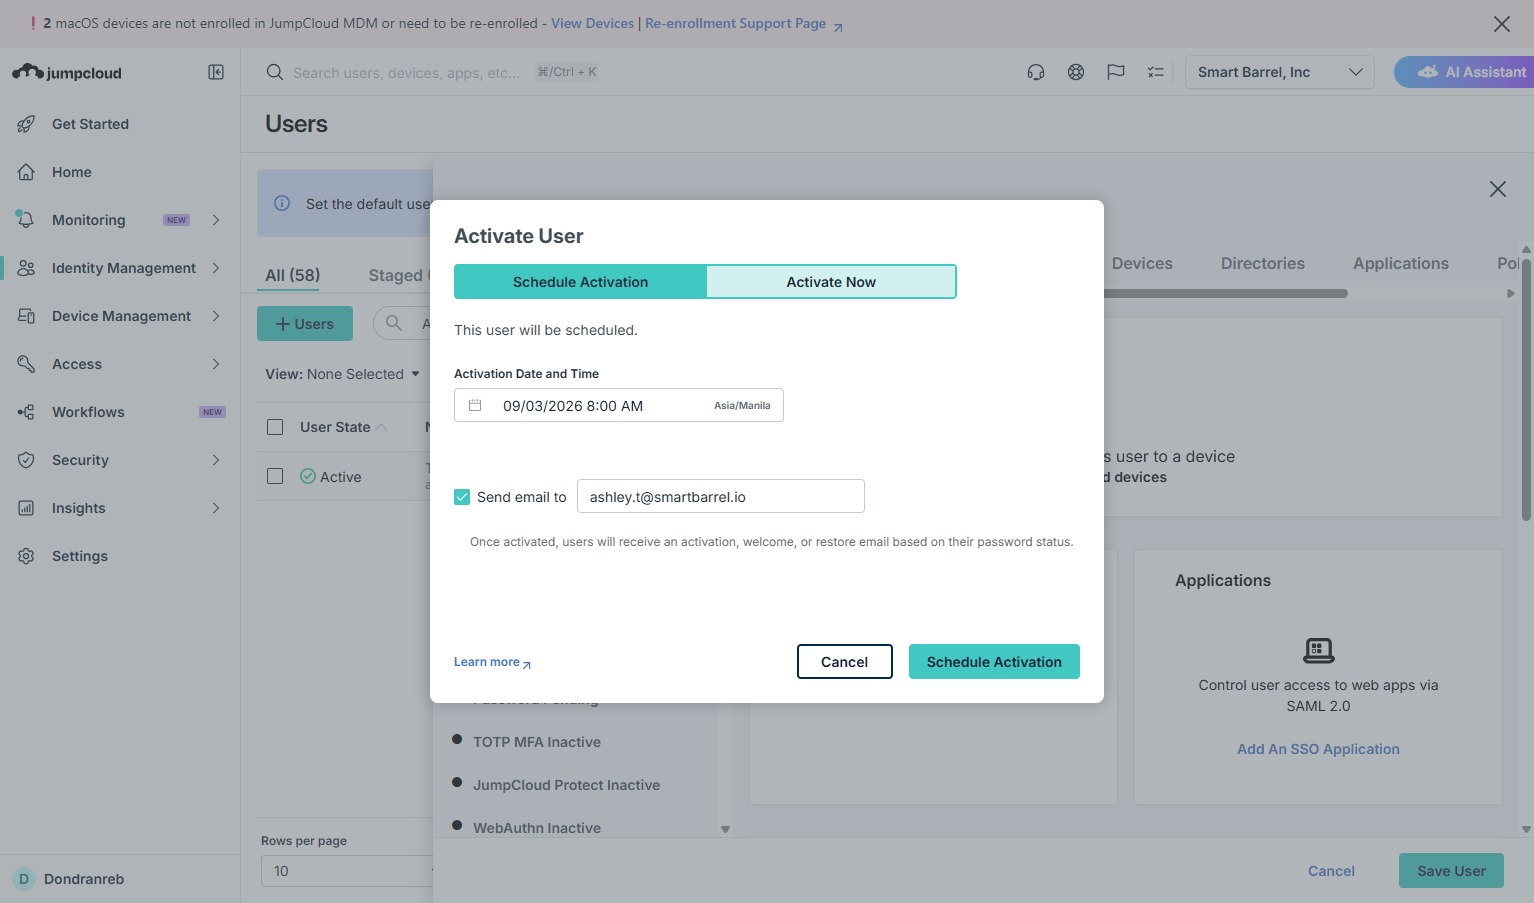
Click Activate Now to activate the user immediately, without waiting for a scheduled activation.
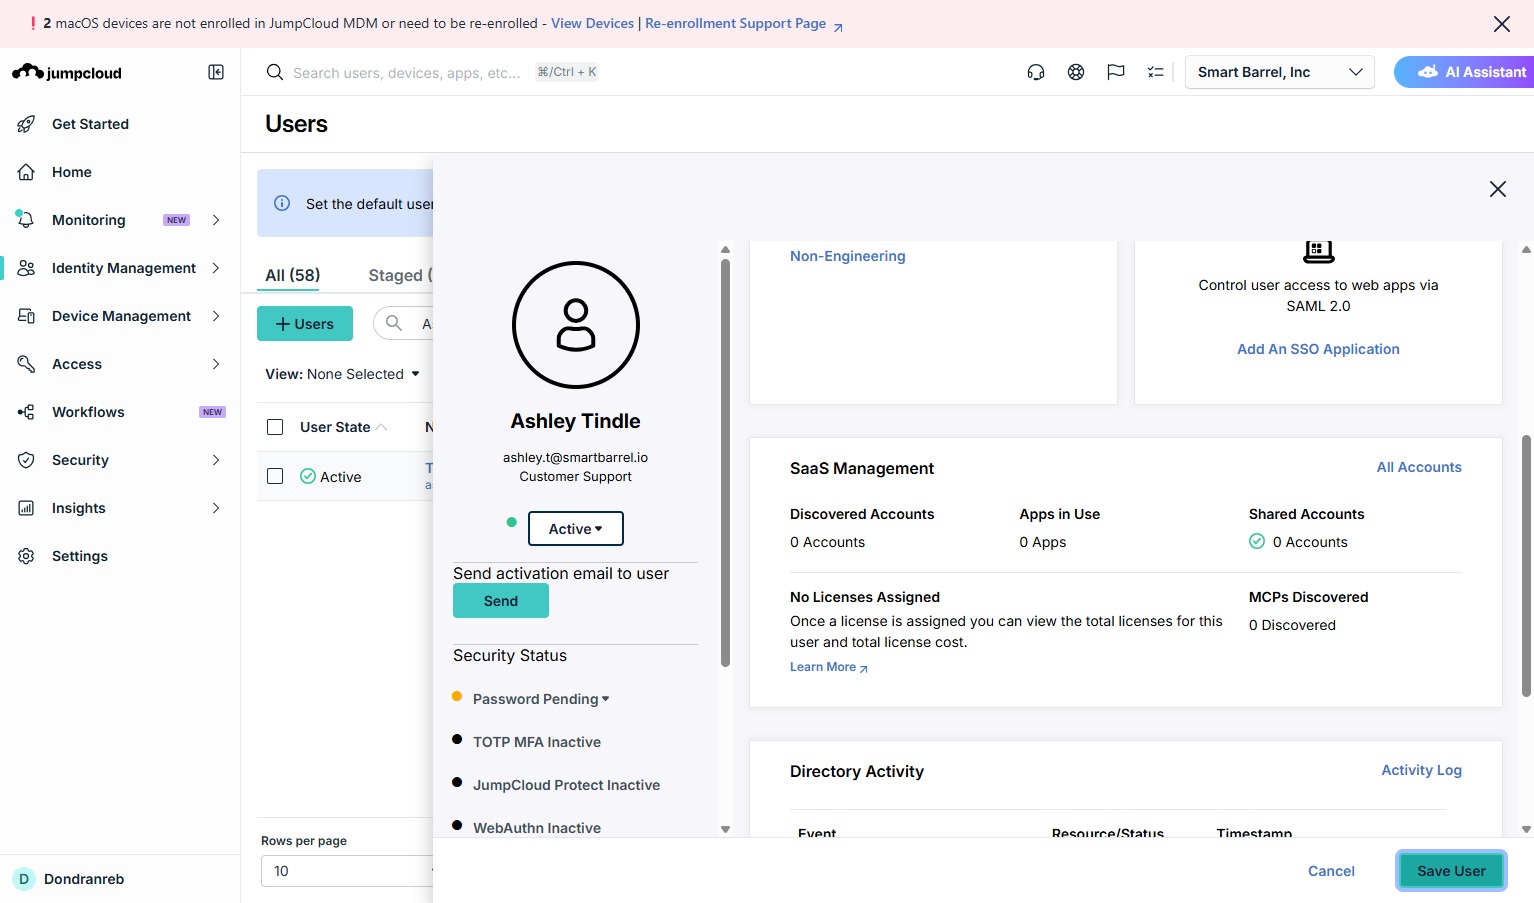
Click Save User to save the changes to the user's profile. JumpCloud will send the user an email with instructions to set up their account. Please also make sure to send the employee the guide on how to enroll their device in JumpCloud. Also, make sure to send the employee the guide on how to enroll their device in JumpCloud.
After the administrator activates the account in the Admin Portal, the user receives an email from JumpCloud. The user follows the link in the email to set up their account and is redirected to the JumpCloud User Portal to complete the setup.
Tip
After the user completes device enrollment and installs the JumpCloud Agent, the administrator can verify the installation from the JumpCloud Admin Portal. Once enrollment is successful, the device appears under the Device Management Overview section. After verifying the device, proceed to the next step of the onboarding process.